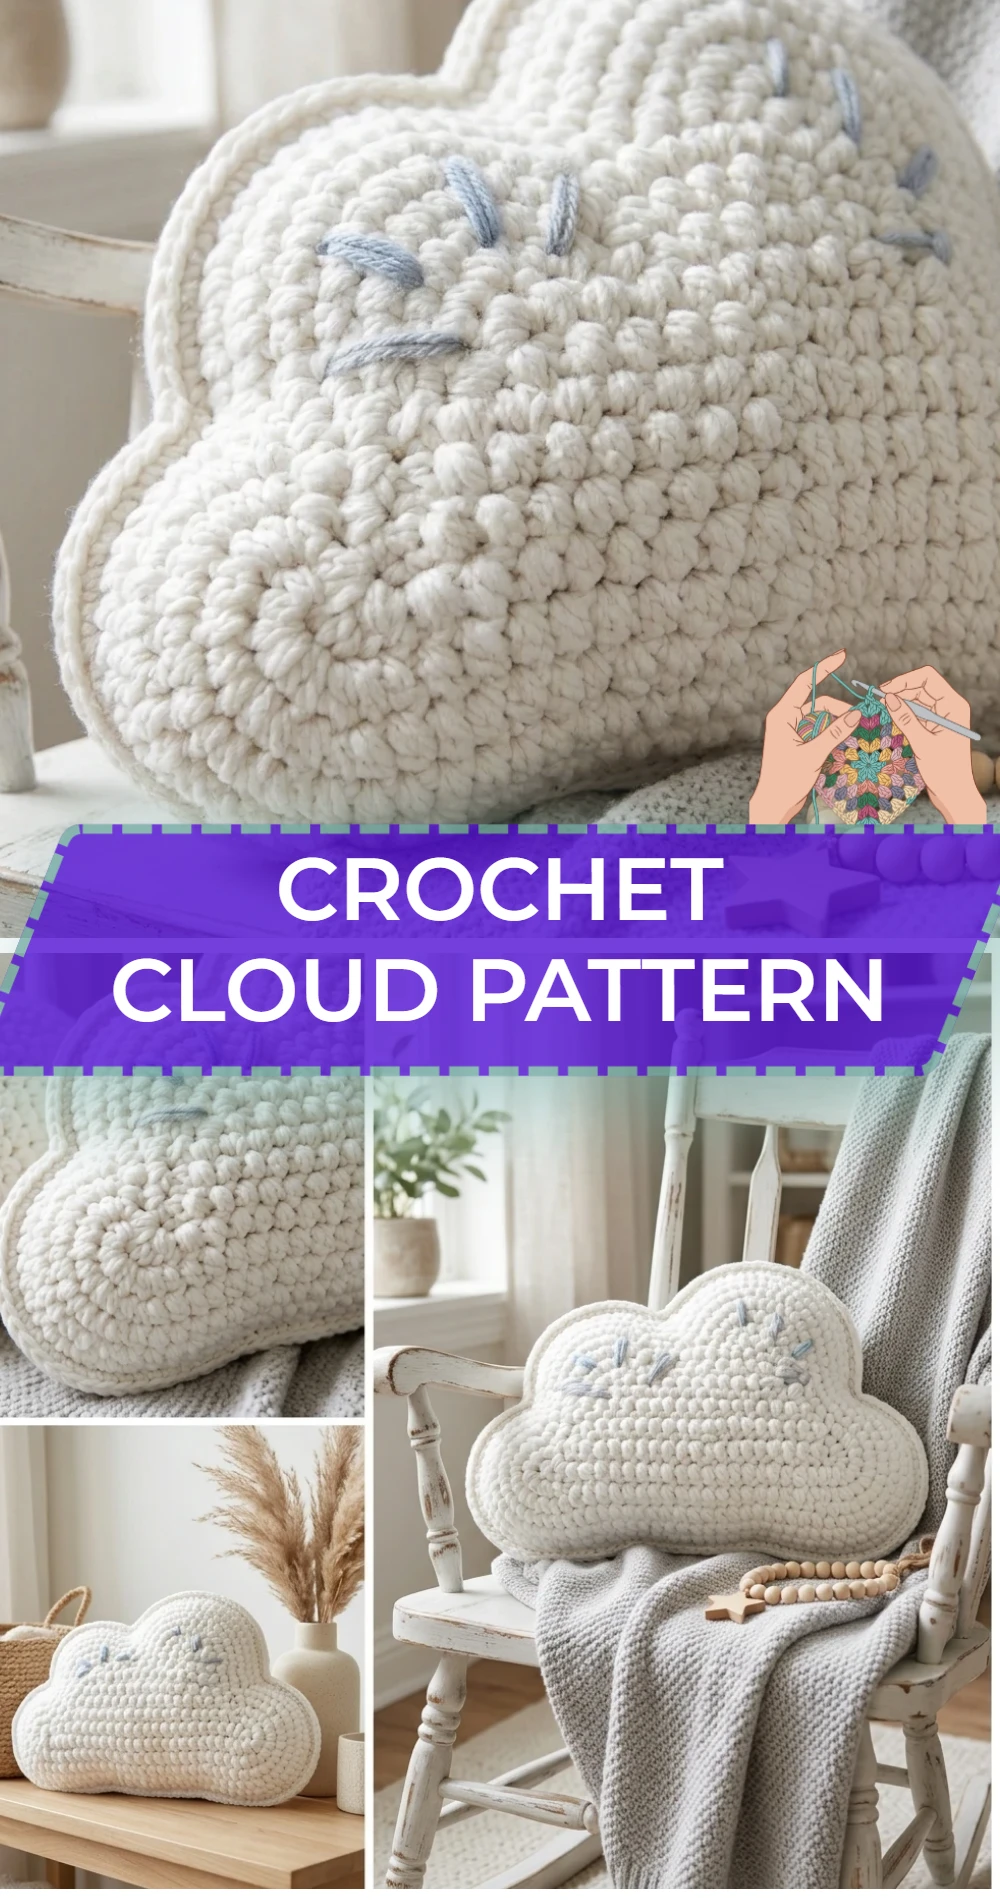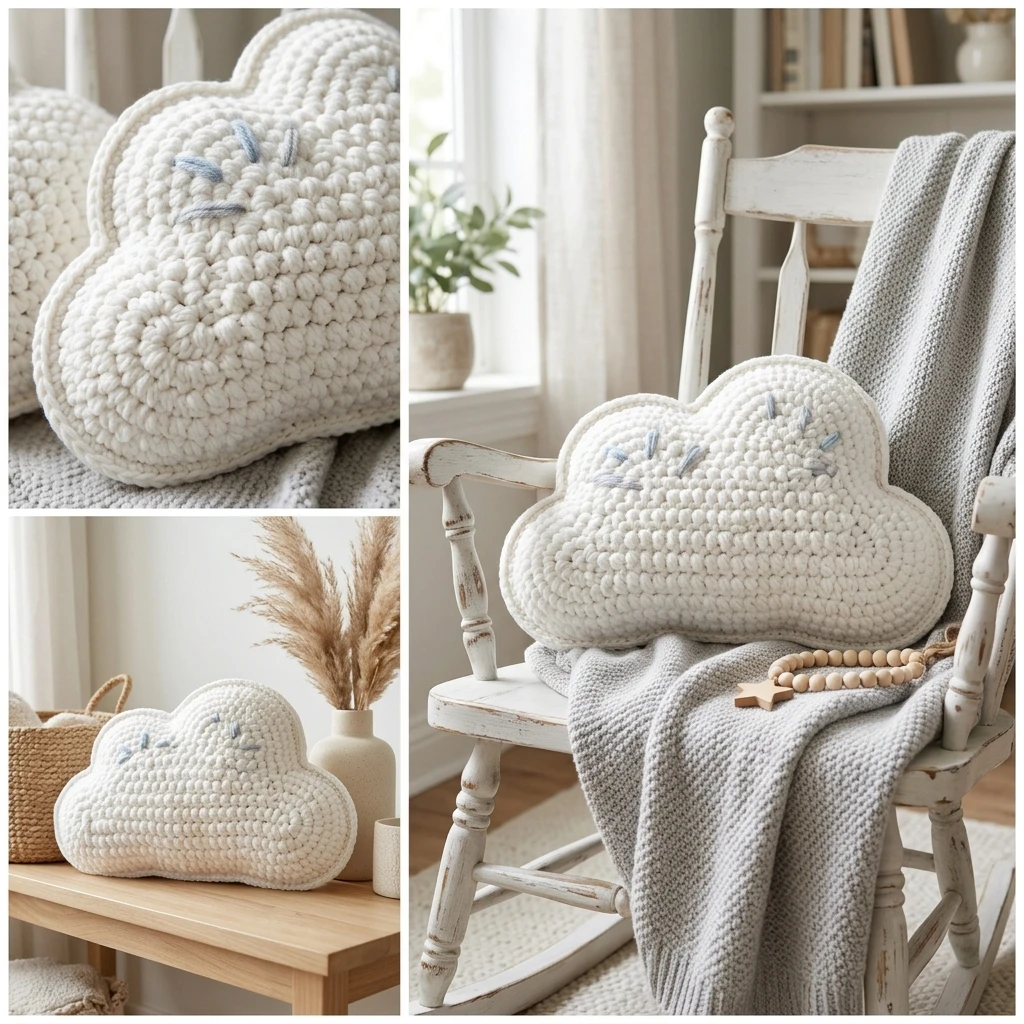
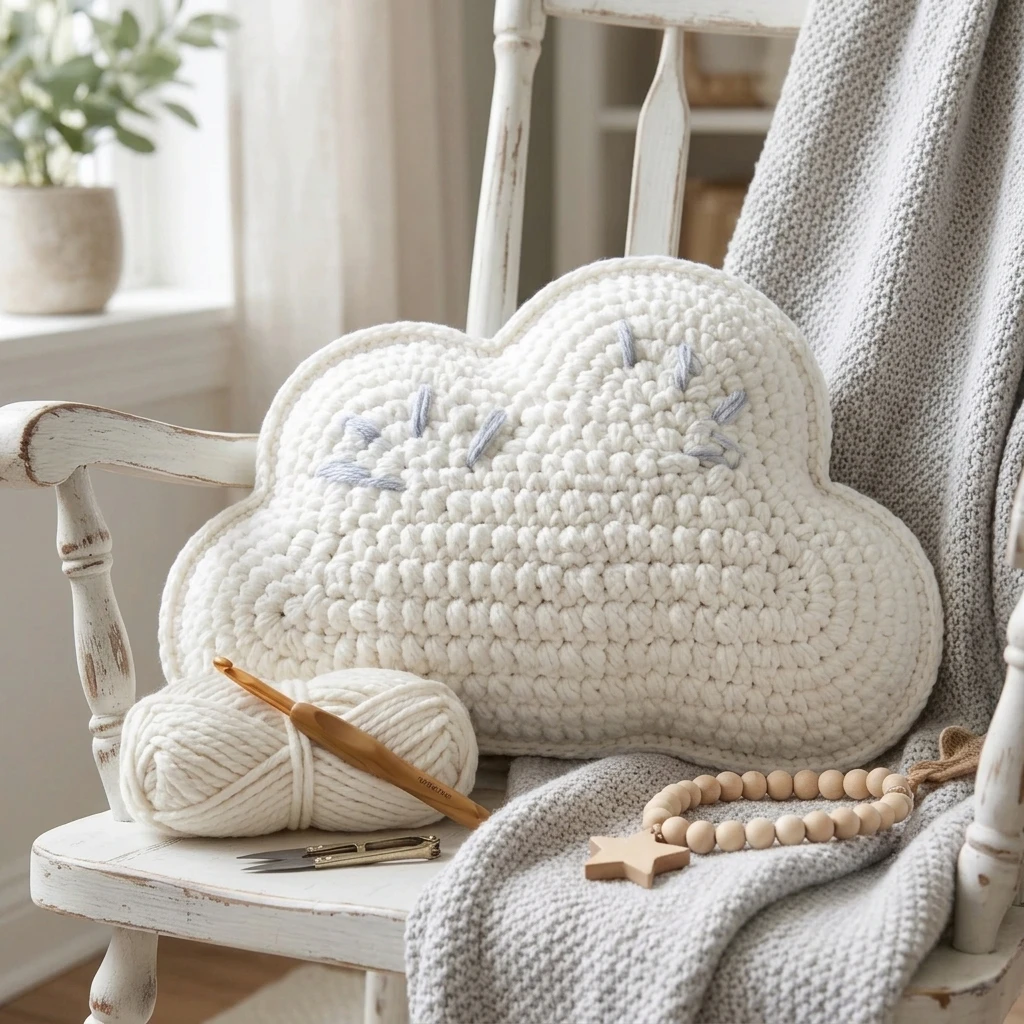
Imagine a soft, plush cloud floating in a nursery or dangling from a whimsical backpack. This Crochet Cloud Pattern creates a charming, puffy accessory that is as versatile as it is delightful. Using foundational stitches to build volume and texture, this design is perfect for beginners looking to practice shaping or experienced crafters needing a quick, satisfying gift. The finished project features a classic “cartoon” silhouette with rounded lobes, making it an ideal choice for wall hangings, baby mobiles, or even cozy throw pillows. The construction is achieved by creating two identical flat panels that are later seamed and stuffed, providing a sturdy yet squishy visual identity.
The Design: What Makes This Pattern Different
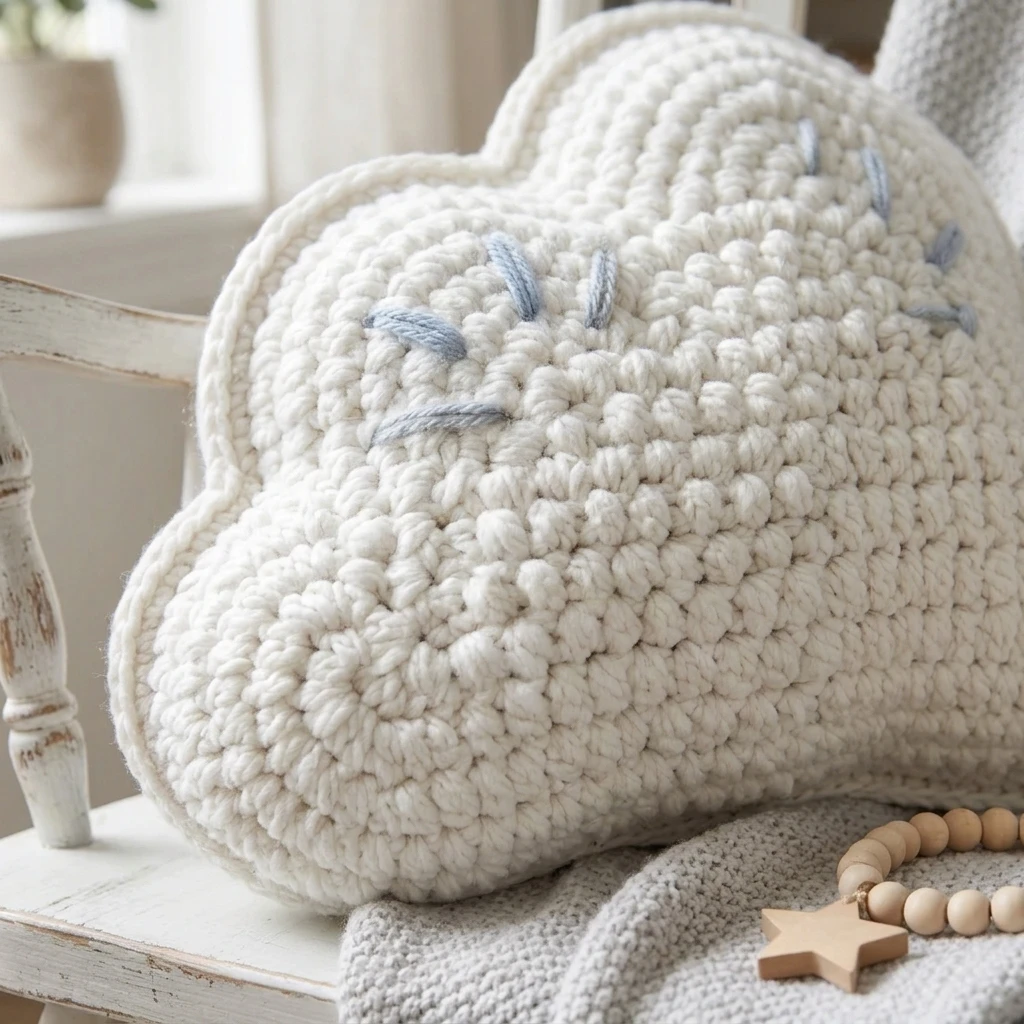
Unlike many amigurumi patterns that rely on complex spherical increases, this cloud design utilizes a “layered silhouette” approach. We begin with a simple rectangular core and then work varying stitch heights—ranging from half-double to triple crochets—directly into the edges to create the organic, undulating curves of a cumulus cloud. This method ensures the cloud remains relatively flat and manageable while still appearing full and three-dimensional once stuffed.
One common mistake to avoid with this pattern is inconsistent tension during the scalloped edging. Because you are placing multiple high-profile stitches (like double or triple crochets) into a single foundation stitch to create the “bumps,” loose tension can cause large gaps. These gaps may allow the white fiberfill to peek through. Aim for a firm, consistent tension, or consider dropping down a hook size for the final decorative round to keep the fabric dense.
Project Info at a Glance
| Feature | Details |
|---|---|
| Skill Level | Beginner / Easy |
| Estimated Time | 1.5 to 2 Hours |
| Finished Size | 7 inches wide x 4 inches tall (Estimated) |
| Hook Size | 4.0mm (G/6) |
| Yarn Weight | Medium / Worsted (Weight 4) |
| Gauge | 16 sc x 18 rows = 4″ (Suggested) |
| Best For | Nursery Decor, Mobiles, and Plushies |
Materials and Tools
Yarn
For a traditional look, a standard acrylic or cotton-blend yarn in white or soft grey works best. You will need approximately 60-80 yards of worsted weight yarn for a medium-sized cloud. Using a matte cotton yarn will provide better stitch definition, while a slightly fuzzy acrylic can give the cloud a softer, more ethereal appearance.
Tools
- 4.0mm (G) Crochet Hook
- Polyester Fiberfill (Stuffing)
- Tapestry Needle for seaming
- Stitch Markers (optional but helpful for the edging)
- Scissors
- Small safety eyes (optional, for a “kawaii” style)
Abbreviations
This pattern uses standard US crochet terminology:
- ch: Chain
- sc: Single Crochet
- hdc: Half Double Crochet
- dc: Double Crochet
- tr: Triple (Treble) Crochet
- sl st: Slip Stitch
- st(s): Stitch(es)
- inc: Increase
Pattern — Step by Step
Core Panel Construction
You will need to make two identical panels. We start by creating a central rectangle that serves as the anchor for our decorative curves. The piece is worked in flat rows, turning at the end of each row.
- Row 1: Ch 16. Sc in the 2nd ch from the hook and in each ch across. Turn. (15 sts)
- Row 2-8: Ch 1. Sc in each st across. Turn. (15 sts)
Creating the Cloud Curves (Edging)
Now, we will work around the entire perimeter of the rectangle to create the “bumps.” Do not fasten off after Row 8. Instead, continue working down the side, across the bottom, and back up the other side.
- Round 9 (The Curves):
- Top Edge: Ch 1. Sc in first 3 sts. [Skip 1 st, 5 dc in next st, skip 1 st, sc in next] repeat across the top.
- Corner 1: 3 hdc in the corner space.
- Side 1: [Skip 1 row space, 4 tr in next, skip 1 row space, sc in next].
- Bottom Edge: [Skip 1 st, 6 dc in next, skip 2 sts, sl st in next, skip 2 sts, 6 dc in next, skip 1 st, sc in next].
- Side 2: 4 dc in the center of the side, sl st to the beginning sc of the top edge.
- Fasten off the first panel. Repeat the entire process for the second panel, but do not fasten off the second panel; use the remaining yarn for assembly.
Assembly
Once you have two identical cloud panels, it is time to turn them into a three-dimensional plushie. Ensure that the “right sides” of the crochet fabric are facing outward on both the front and back.
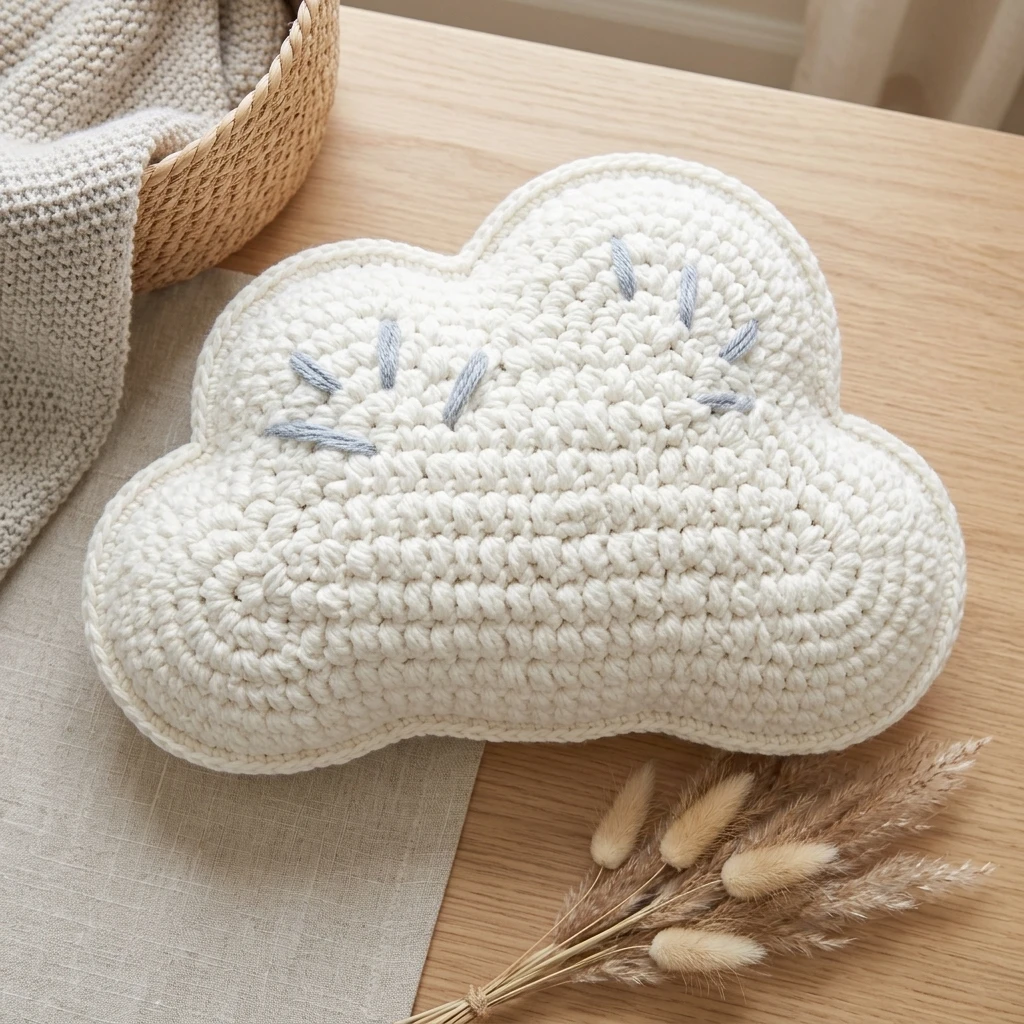
- Place the two panels together, aligning the scalloped edges.
- Using the yarn still attached to the second panel, ch 1 and begin single crocheting through both thicknesses. Match the stitches as evenly as possible.
- Work approximately 3/4 of the way around the cloud.
- Stop and insert the polyester fiberfill. Push the stuffing into the “lobes” of the cloud first to ensure they hold their rounded shape. Do not overstuff, as this may stretch the stitches and show the filling.
- Finish the single crochet seam around the final section.
- Sl st to the first sc, fasten off, and weave in all loose ends using your tapestry needle.
7 Technical Tips for a Better Crochet Cloud Pattern
- Mind the Gaps: If you notice large holes where the dc or tr stitches meet the base, try using a “foundation sc” instead of a starting chain for Row 1 to give the bottom edge more elasticity.
- Invisible Seaming: If you prefer a cleaner look than a sc seam, use a mattress stitch with a tapestry needle to join the two panels. This creates a hidden join that makes the cloud look seamless.
- Symmetry Check: Before you start seaming, use stitch markers to pin the two panels together at the highest peaks of the cloud curves to ensure they stay aligned.
- Stuffing Technique: Use small clumps of fiberfill rather than one large ball. This prevents lumps and allows you to sculpt the cloud’s shape more effectively.
- Yarn Choice for Decor: If making a wall hanging, use a stiff cotton yarn. If making a toy, a soft chenille or velvet yarn will make the cloud incredibly huggable, though you may need a larger hook.
- Safety Eyes Placement: if adding a face, place the safety eyes between rows 4 and 5 of the core rectangle, spaced about 4 stitches apart, before you begin the assembly process.
- Blocking: If your cloud edges look a bit curled or “wavy” after finishing the first panel, a light steam blocking will help the scallops lay flat and look more professional.
Frequently Asked Questions
What is the best yarn for a crochet cloud?
A white medium-weight acrylic yarn is the most common choice for its affordability and “fluffy” appearance. However, for nursery decor that needs to be washed frequently, a cotton-acrylic blend is highly recommended for durability.
How can I make the cloud bigger?
You can easily scale this pattern by using a bulkier yarn (like Weight 5 or 6) and a larger hook (6.0mm or 8.0mm). Alternatively, you can increase the starting chain and add more rows to the core rectangle before working the edging.
Can I make this as a flat applique?
Yes! Simply follow the pattern for a single panel. Do not stuff or join it to a second piece. A single-panel cloud is perfect for sewing onto blankets, hats, or sweaters.
Do I have to use white yarn?
Not at all. Light blue, soft pink, or even dark grey “storm clouds” look wonderful. Variegated yarns with white and blue transitions can also create a beautiful “sky” effect.
My cloud looks more like a flower. What happened?
This usually happens if the scallops are too large or too frequent. Ensure you are following the “skip” instructions in the edging round, as skipping stitches provides the necessary space for the curves to fan out horizontally rather than bunching up.
Conclusion
The Crochet Cloud Pattern is a delightful project that brings a touch of whimsy to any crochet collection. By mastering the balance of different stitch heights and careful seaming, you can create a plush accessory that works as a standalone toy or a decorative accent. Remember to keep your tension consistent and take your time with the stuffing to achieve that perfect puffy look. If you enjoyed this project, save it to your “Crochet Nursery Ideas” board on Pinterest! What will you use your crochet cloud for—a mobile, a pillow, or something else entirely?
Save This Crochet Pattern