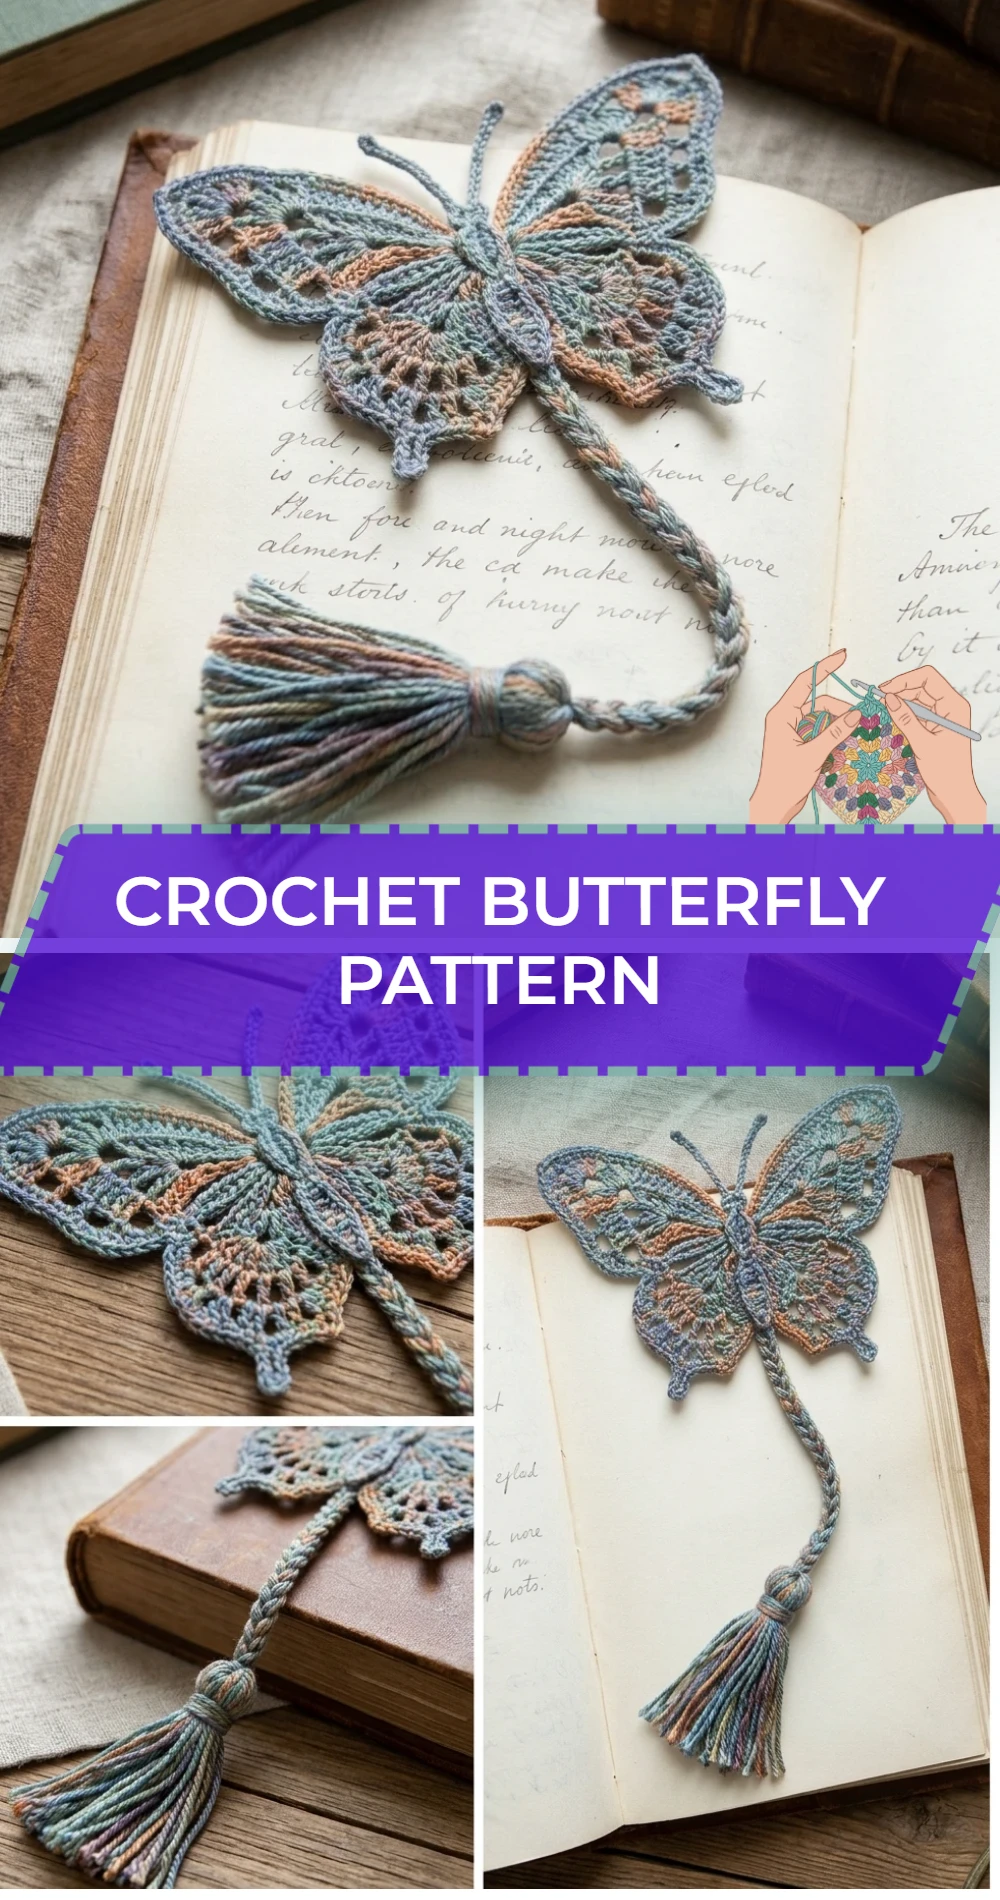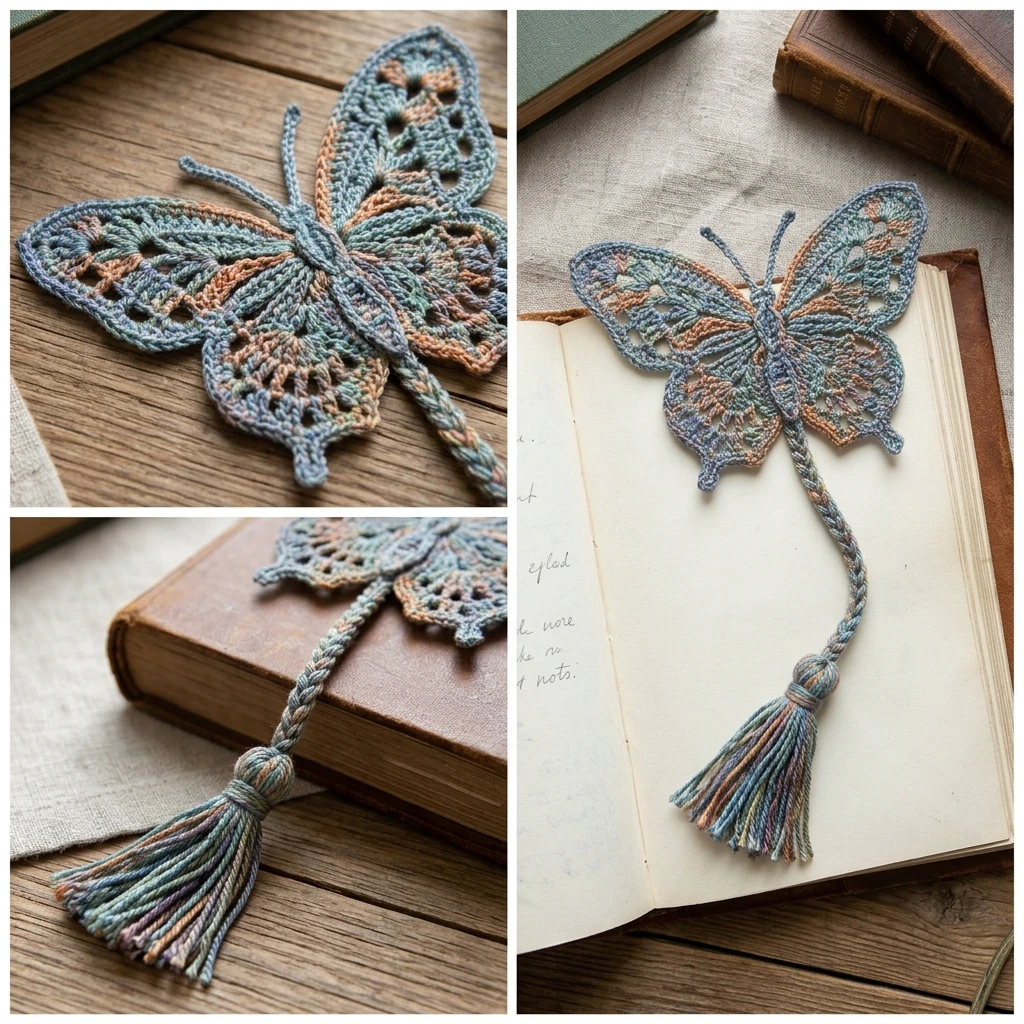
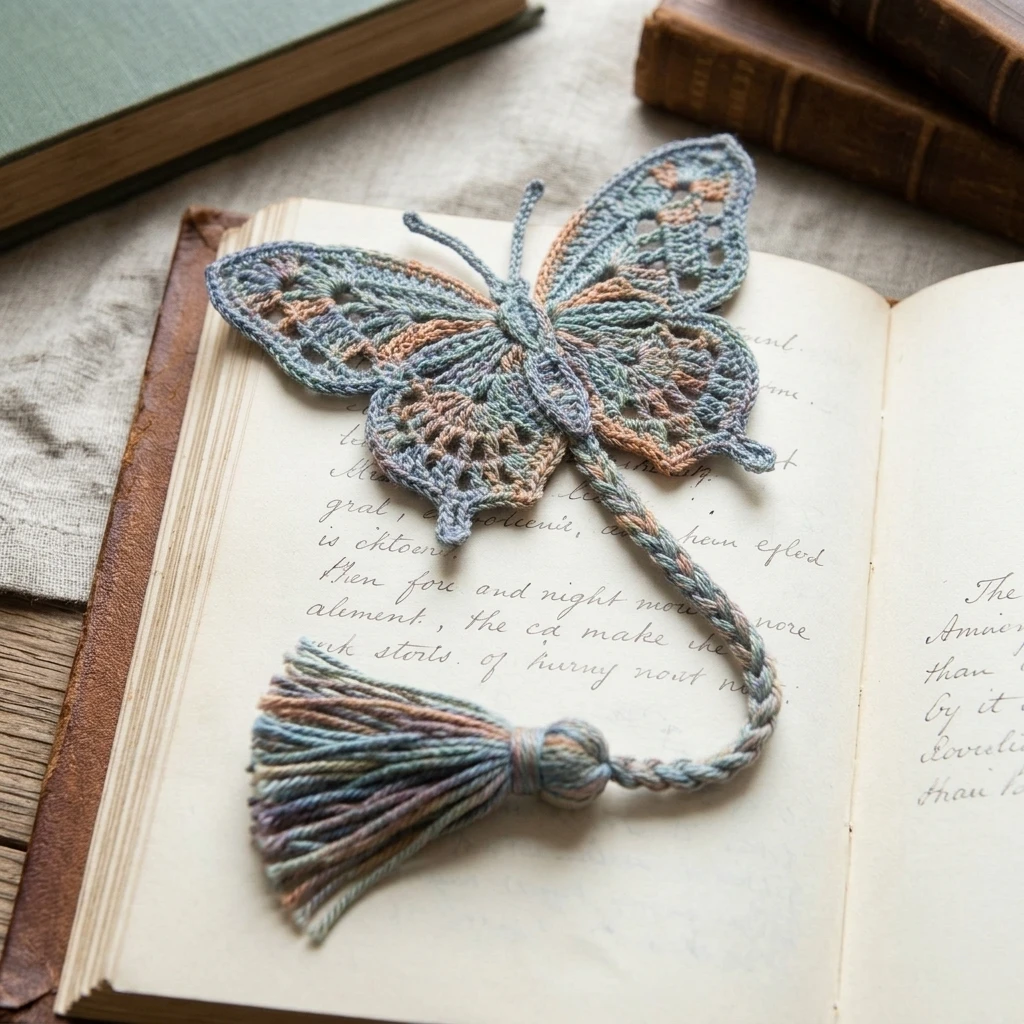
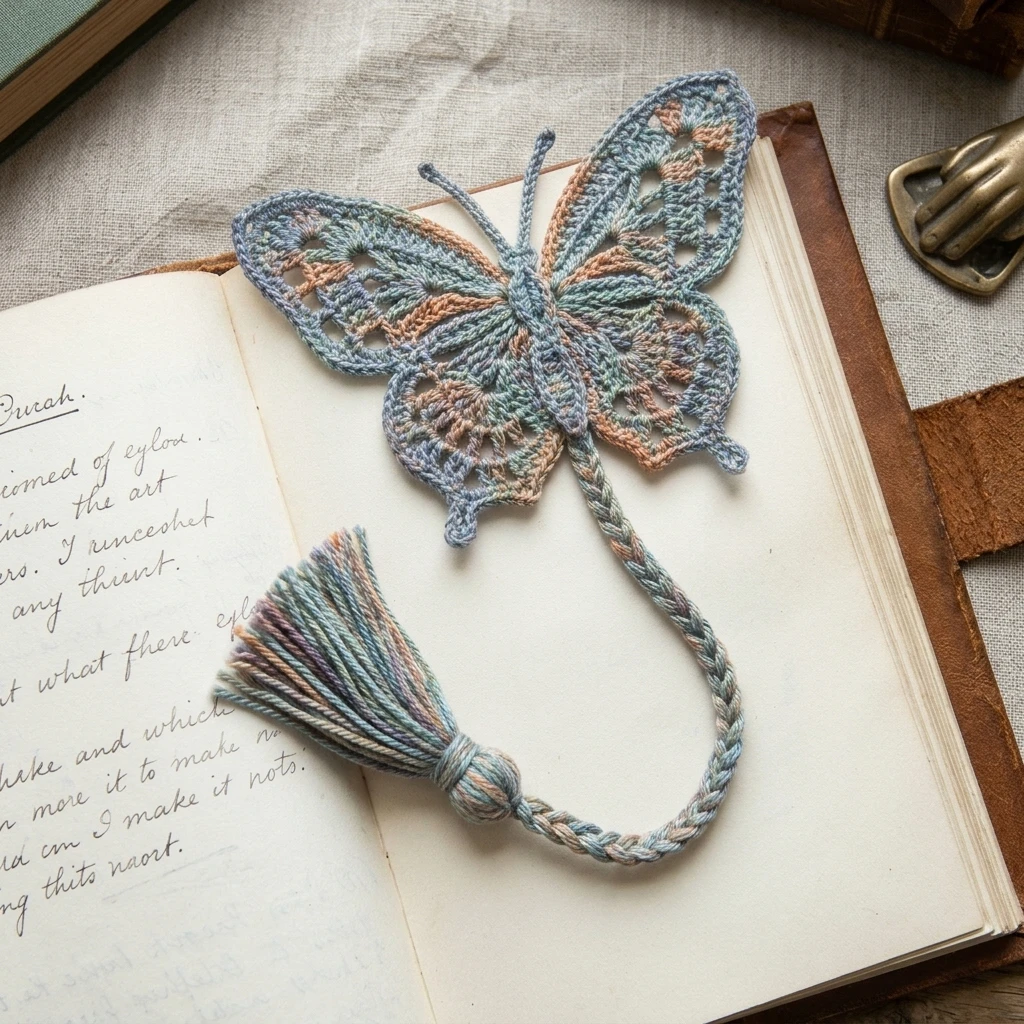
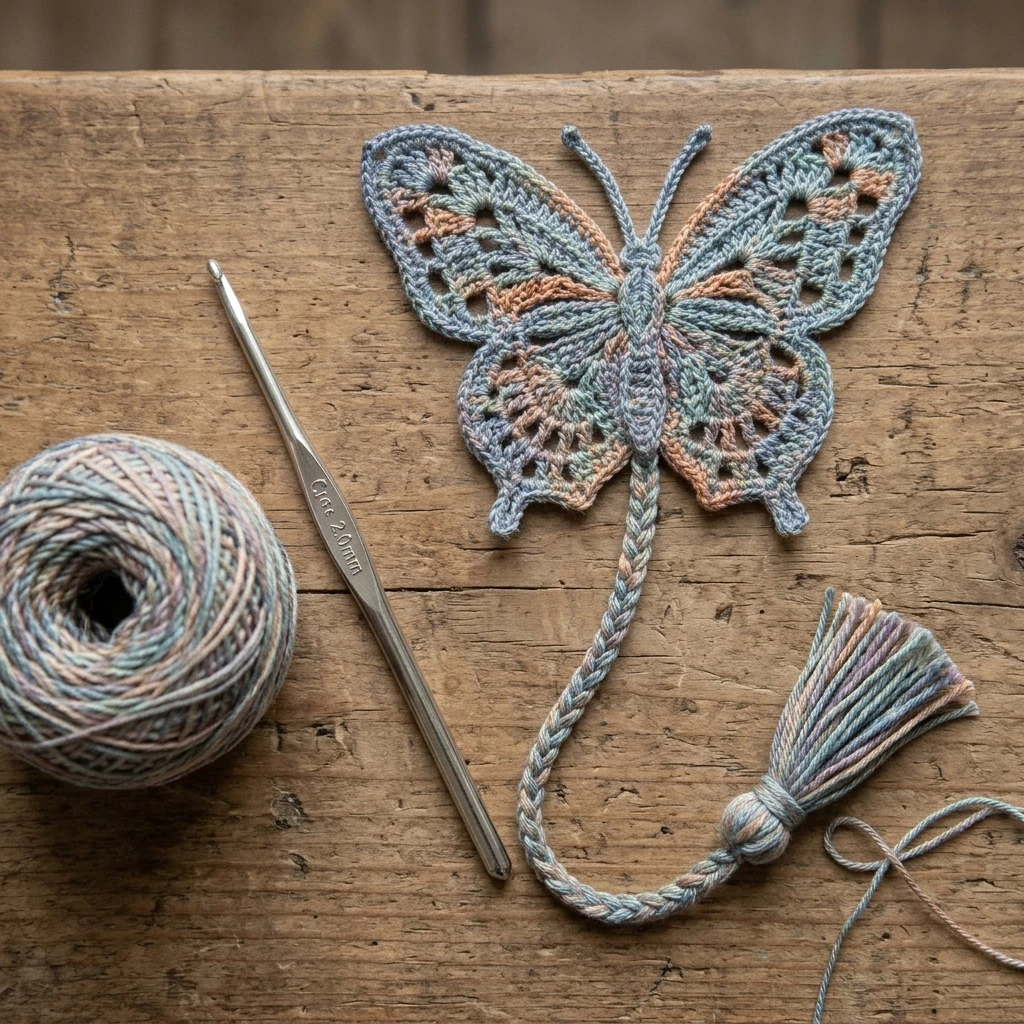
This Crochet Butterfly Pattern creates a delicate, whimsical accent that captures the airy elegance of nature in a handful of stitches. Featuring symmetrical, scalloped wings and a slender central body, these butterflies are perfect for embellishing sun hats, creating colorful nursery mobiles, or gifting as dainty hair accessories. The construction is ingeniously simple: we work a circular floral-inspired motif in rounds, which is then folded and secured to instantly transform into a three-dimensional butterfly with layered wing depth.
The Design: What Makes This Pattern Different
Unlike flat, two-dimensional butterfly patterns that require separate wing attachments, this design utilizes a “magic circle” foundation that expands into an eight-pointed star. By strategically varying the height of the stitches—transitioning from double crochets to towering trebles—the wings naturally take on a tapered, organic shape. The structural decision to fold a round motif creates a double-layered wing effect, giving the butterfly more substance and durability than a single-layer applique. One common mistake to avoid is working the center ring too tightly; if the foundation is constricted, the butterfly will buckle inward rather than lying flat when folded, distorting the wing symmetry.
Project Info at a Glance
| Feature | Details |
|---|---|
| Skill Level | Easy / Advanced Beginner |
| Estimated Time | 20–30 Minutes |
| Finished Size | Approximately 3″ wide x 2.5″ tall (photo-inspired) |
| Hook Size | 3.5mm (E-4) or 4.0mm (G-6) |
| Yarn Weight | DK Weight or Sport Weight Cotton |
| Gauge | Not critical for this project |
| Best For | Appliques, Garlands, and Embellishments |
Materials and Tools
Yarn
For a crisp, defined stitch, a mercerized cotton yarn is suggested. This pattern is an excellent scrap-buster, requiring approximately 15–20 yards of yarn per butterfly. You may choose a solid color for a classic look or a variegated yarn to mimic the natural color shifts found on a Monarch or Swallowtail.
Tools
You will need a crochet hook that matches your yarn weight (typically 3.5mm for a tight, sturdy wing), a pair of sharp embroidery scissors, and a tapestry needle for weaving in ends. A small length of contrasting yarn or embroidery floss is also needed to create the antennae and secure the fold.
Abbreviations
- ch: Chain
- dc: Double Crochet
- lp: Loop
- mc: Magic Circle (Magic Ring)
- sc: Single Crochet
- sl st: Slip Stitch
- st(s): Stitch(es)
- tr: Treble Crochet
Pattern — Step by Step
The Circular Foundation
The butterfly begins as a circular motif. Ensure your stitches are worked into the center ring consistently to maintain a balanced shape.
- Round 1: Start with a Magic Circle. Ch 3 (counts as 1 dc), work 1 dc into the ring. *Ch 2, work 2 dc into the ring. Repeat from * 6 more times until you have 8 clusters of 2-dc. Ch 2 and join with a sl st to the top of the beginning ch-3. [Total: 8 clusters, 8 ch-2 spaces]
- Round 2: Sl st into the first ch-2 space. Ch 3 (counts as 1 dc), 2 dc, ch 3, 3 dc all in the same space. *In the next ch-2 space, work (3 dc, ch 3, 3 dc). Repeat from * in each ch-2 space around. Join with a sl st to the top of the beginning ch-3. [Total: 8 shells/petals]
- Round 3 (The Edging): Sl st to the first ch-3 space. Work 8 dc into the ch-3 space, then work 1 sc in the space between the shells. *Work 8 dc in the next ch-3 space, 1 sc in the space between shells. Repeat from * around. Fasten off and weave in all ends. Your work should now look like a flat, 8-petaled flower.
Assembly
The assembly phase is where the floral motif is manipulated into its final lepidopteran form. It is essential to align the petals perfectly before securing the center to ensure the wings are even.
- Fold the circular motif in half so that four petals are on the top and four are on the bottom.
- Align the petals so they sit directly on top of one another. The fold should run horizontally through the center.
- Cut a 10-inch piece of contrasting yarn or twine. Wrap this yarn tightly around the center of the folded circle (between the sets of wings) three or four times to cinch the “waist” of the butterfly.
- Tie a secure double knot at the top of the butterfly’s head.
- Leave the yarn tails long to serve as antennae. Trim them to your desired length and tie a small knot at the tip of each tail to prevent fraying.
7 Technical Tips for a Better Crochet Butterfly Pattern
- Maintain Consistent Tension: Because this project is small, any variation in tension will be highly visible. Try to keep your stitches firm so the wings don’t droop.
- Choose the Right Yarn: Cotton or linen blends work best. Acrylic can be too soft, causing the wings to lose their crisp, scalloped edges over time.
- Invisible Joins: Use an invisible join method when finishing Round 3 to prevent a noticeable bump on the edge of one wing.
- Blocking is Key: For the most professional look, lightly steam block your finished butterfly to help the wings lay flat and accentuate the scalloped borders.
- Antennae Stability: If using yarn for antennae, dip the tips in a bit of clear fabric glue or white glue mixed with water to make them stand upright.
- Color Play: Try changing yarn colors between Round 2 and Round 3 to create a “border” effect on the wing tips.
- Secure the Center: When wrapping the body, ensure the wrap is tight enough to create a distinct “head” and “abdomen” shape, which gives the butterfly its realistic silhouette.
Frequently Asked Questions
Can I make this butterfly larger?
Yes. To increase the size, simply use a bulkier yarn (like Aran or Chunky weight) and a larger hook. The construction steps remain exactly the same regardless of yarn thickness.
How do I attach this to a garment?
The easiest way is to use the yarn tails from the antennae or a separate strand of matching yarn to sew the butterfly onto your project through the center body wrap. This allows the wings to remain free and “fluttery.”
Can I use this pattern for a brooch?
Absolutely. For a brooch, it is recommended to use a slightly smaller hook than the yarn calls for to create a very stiff fabric, then sew a metal pin back to the flat reverse side of the butterfly body.
How do I prevent the magic circle from coming undone?
After pulling the magic circle tight, use your tapestry needle to weave the yarn tail through the base of the stitches at least twice, then tie a small knot before hiding the end.
Is this butterfly washable?
If you use cotton yarn, the butterfly is fully washable. However, if you have starched or glued the antennae, you should hand wash only and spot-clean the wing areas to maintain the shape.
Conclusion
The Crochet Butterfly Pattern is a delightful project that transforms basic stitches into a stunning piece of fiber art. Whether you use them to brighten up a plain cardigan or string them together for a springtime banner, these butterflies offer endless possibilities for customization. Don’t forget to experiment with different color combinations to create your own unique garden. If you enjoyed this tutorial, please save it to your crochet board on Pinterest! What color will you choose for your first butterfly?
Save This Crochet Pattern