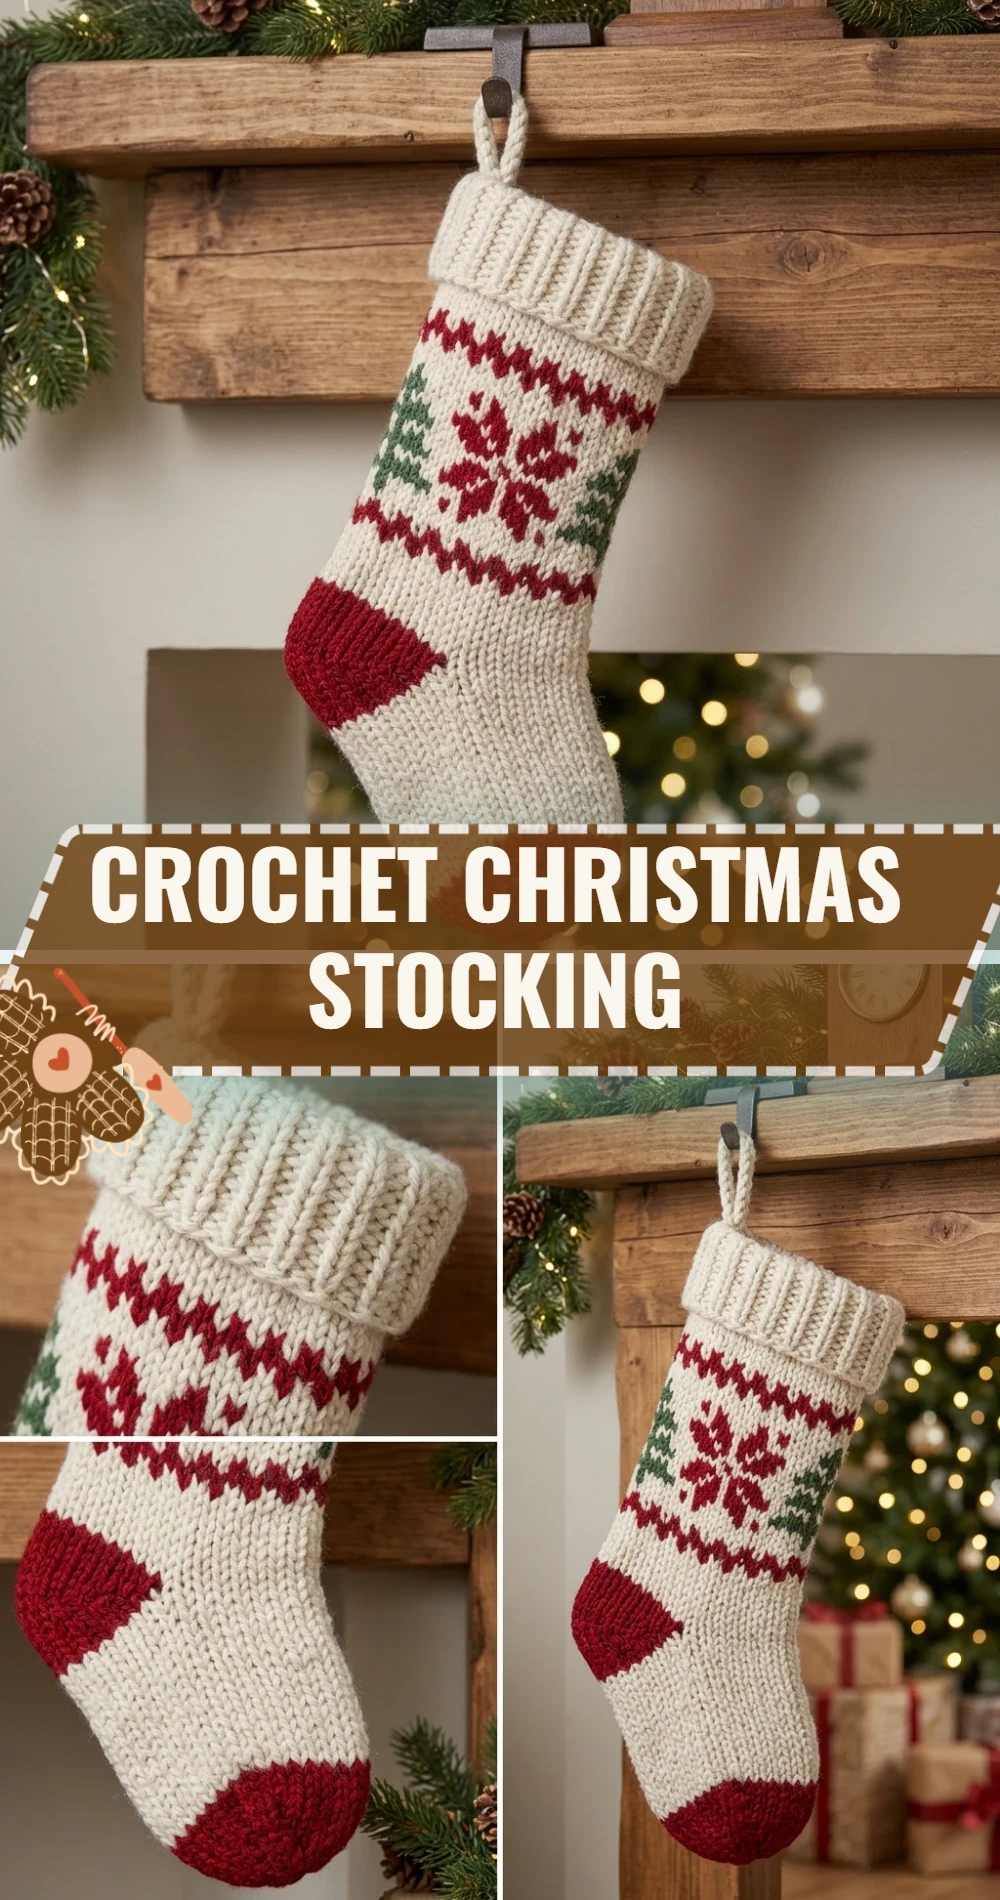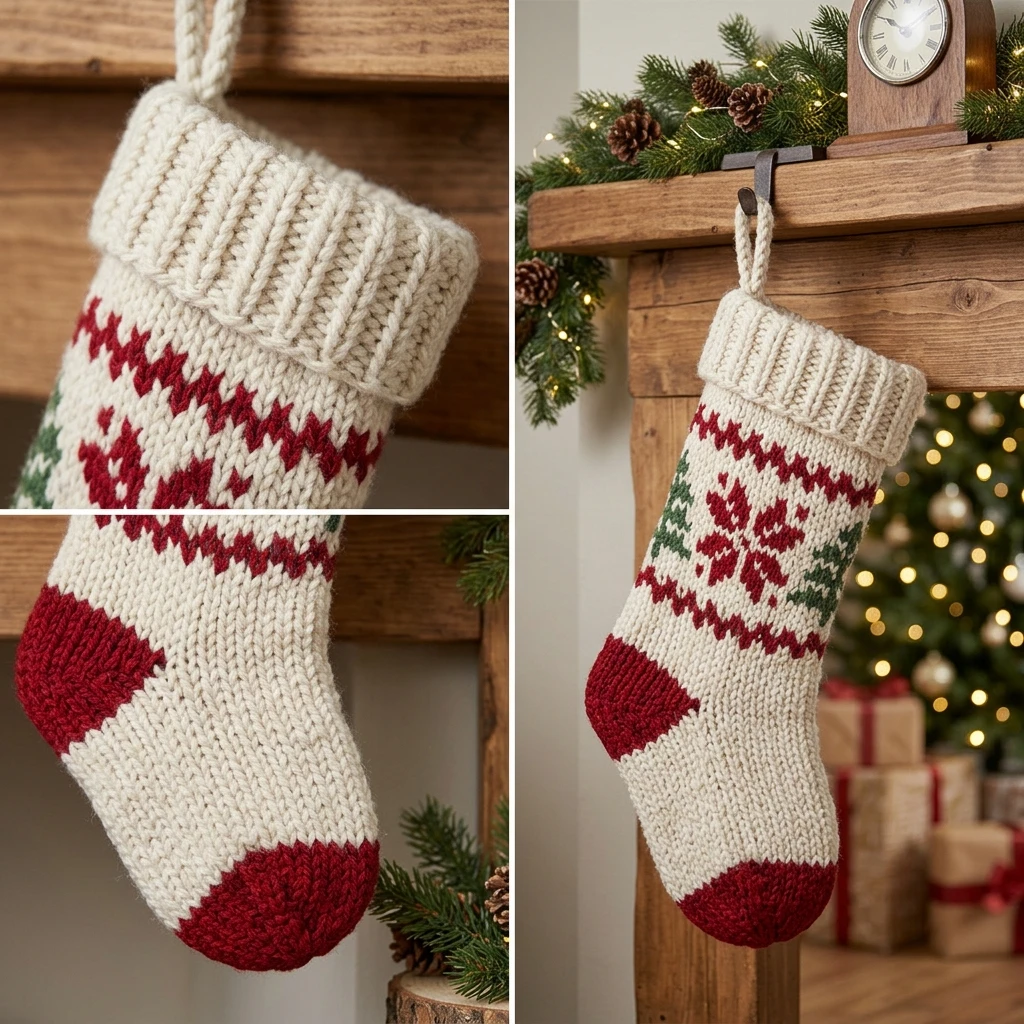
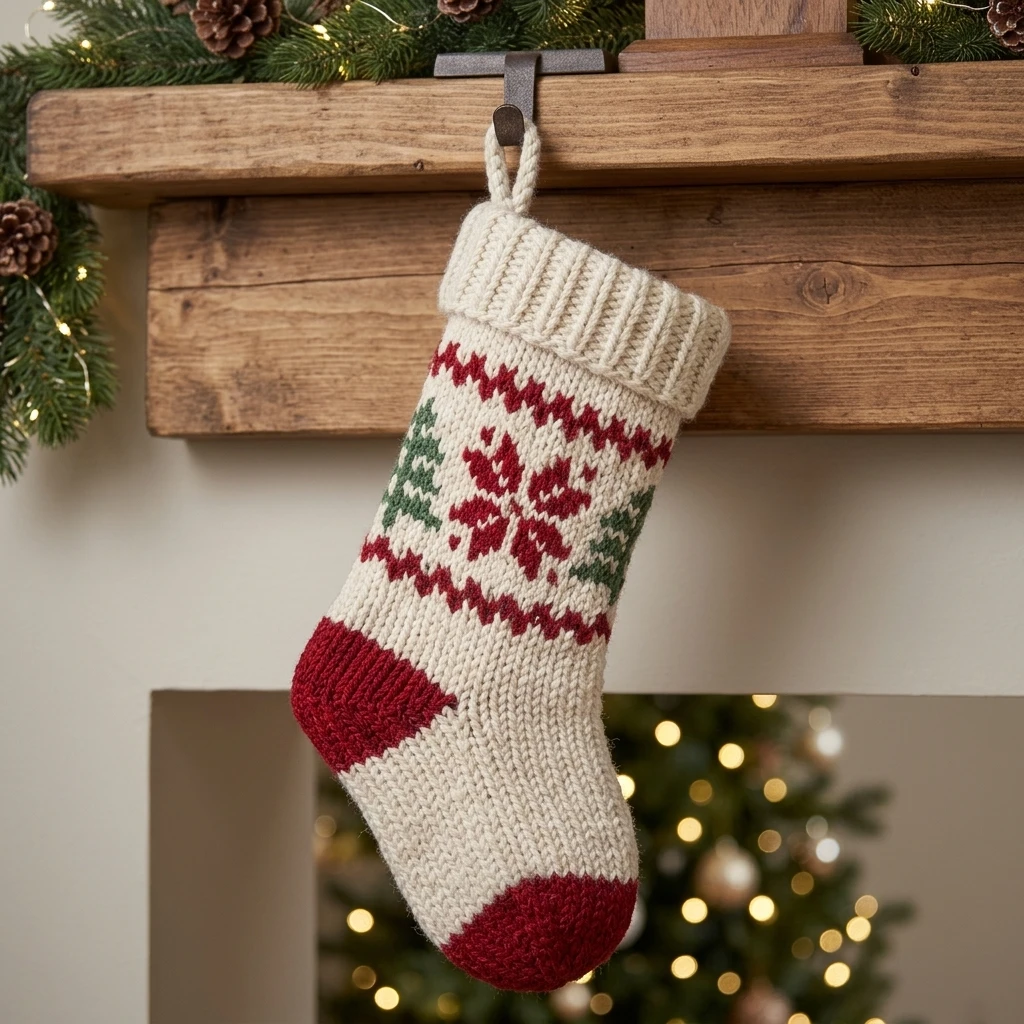
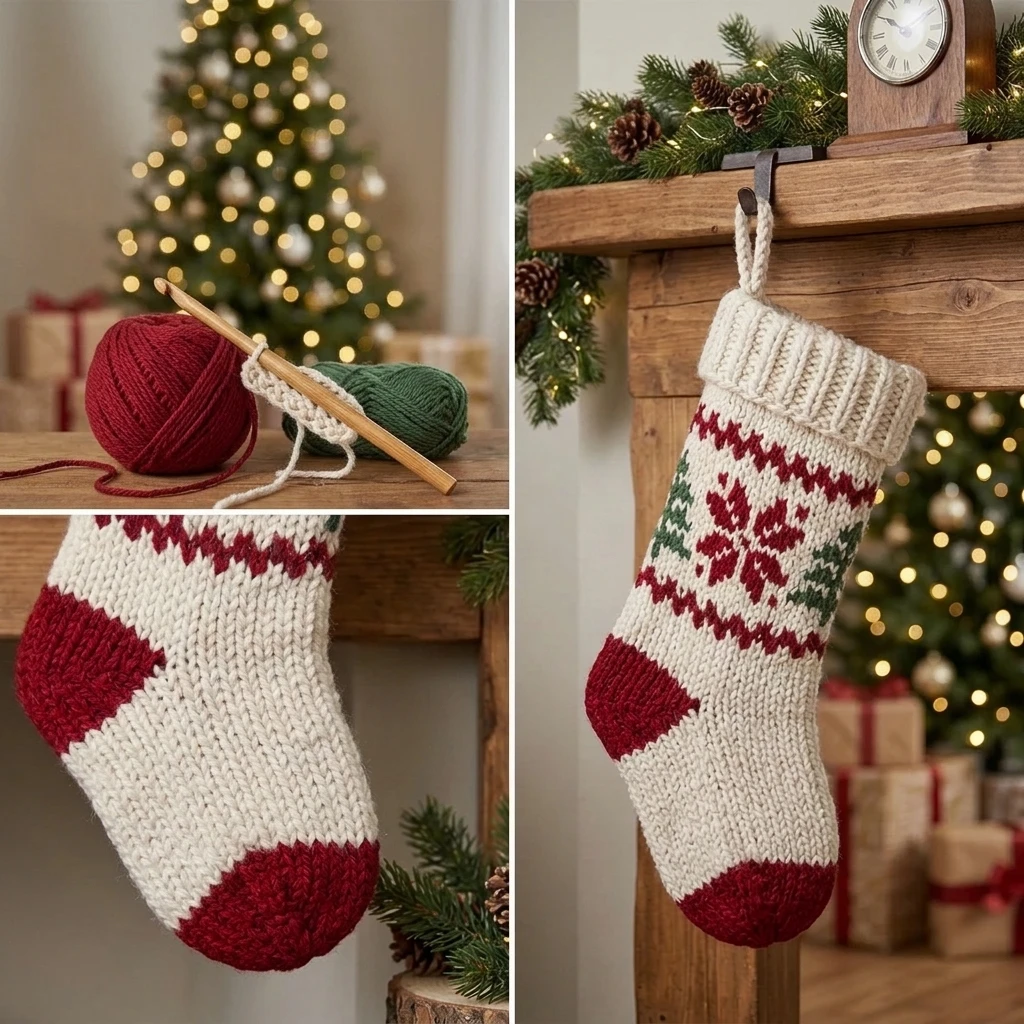
A handmade Christmas stocking is more than just a holiday decoration; it is a future heirloom that brings a sense of warmth and nostalgia to the mantel. This specific pattern focuses on a classic silhouette with a modern, clean-lined aesthetic, featuring a sturdy ribbed cuff and a smooth, rounded toe. Whether you are crafting a set for the whole family in coordinated neutrals or sticking to the vibrant reds and greens of the season, this project is designed for durability to hold plenty of treats. The construction utilizes a traditional heel-turn technique, ensuring the stocking hangs correctly even when filled with heavier gifts.
The Design: What Makes This Pattern Different
This crochet Christmas stocking stands out due to its structural integrity. Many crochet stockings tend to stretch out or become misshapen when hung; however, this design utilizes a denser stitch count in the heel and toe sections to maintain its form. We have opted for a vertical ribbed cuff that provides a tactile contrast to the smooth body of the leg.
A common mistake to avoid when working on this pattern is failing to maintain consistent tension during the heel turn. Because you switch from working in continuous rounds to working in flat rows for the heel, many crocheters inadvertently loosen their grip, leading to gaps where the heel joins the foot. Keeping your stitches snug during these transitions ensures a professional, store-bought finish.
Project Info at a Glance
| Feature | Details |
|---|---|
| Skill Level | Intermediate (requires heel shaping) |
| Estimated Time | 4 – 6 Hours |
| Finished Size | Approx. 17 inches long and 6 inches wide (flat) |
| Hook Size | 5.5 mm (I-9) or 6.0 mm (J-10) |
| Yarn Weight | Bulky (Weight 5) or Worsted held double |
| Gauge | 12 sts x 14 rows = 4″ in Single Crochet |
| Best For | Holiday Decor, Personalized Gifts |
Materials and Tools
Yarn
To achieve the sturdy look shown in the photos, we recommend approximately 250–300 yards of a high-quality acrylic or wool-blend yarn. Using a bulky weight yarn ensures the project works up quickly and stays stiff enough to hold its shape. If using worsted weight, consider holding two strands together for a similar effect.
Tools
- 5.5 mm crochet hook (or size needed to obtain gauge)
- Large-eye tapestry needle for weaving in ends
- Stitch markers (essential for marking the start of rounds)
- Sharp scissors
- Measuring tape
Abbreviations
- ch: chain
- sc: single crochet
- hdc: half double crochet
- sl st: slip stitch
- st(s): stitch(es)
- inc: increase (2 sc in one stitch)
- sc2tog: single crochet two together (decrease)
- BLO: back loop only
Pattern — Step by Step
Part 1: The Ribbed Cuff
The cuff is worked flat in rows and then joined to create a circle. This creates a vertical ribbed look that mimics knitting.
- Ch 13.
- Sc in 2nd ch from hook and each ch across. (12 sts)
- Ch 1, turn. Sc in BLO of each st across.
- Repeat Row 3 until the piece measures approximately 12 inches when slightly stretched.
- Sl st the first and last rows together to form a tube. Do not fasten off.
Part 2: The Leg
The leg is worked in continuous rounds directly from the edge of the cuff.
- Ch 1, sc evenly around the edge of the cuff. Aim for 36–40 stitches depending on your ribbing row count.
- Work sc in each st around for 25 rounds or until the leg reaches your desired length.
Part 3: The Heel Turn
The heel is worked over only half of the stitches in the round, moving back and forth in rows.
- Identify the center back of the stocking. Sc across the next 18 sts.
- Ch 1, turn. Sc across those 18 sts for 8 rows.
- To turn the heel: Sc 10, sc2tog, ch 1, turn.
- Sc 3, sc2tog, ch 1, turn.
- Continue working only the center stitches, picking up one side stitch at the end of each row until only the center stitches remain.
Part 4: The Foot and Toe
Resume working in rounds, picking up stitches along the sides of the heel flap to rejoin the leg stitches.
- Sc around the entire opening (the heel and the unworked leg stitches).
- Decrease at the “corners” where the heel meets the leg for the first 3 rounds to smooth the transition.
- Work even rounds of sc for 15 rounds.
- Toe Shaping: [Sc 4, sc2tog] repeat around.
- Work one round even.
- [Sc 3, sc2tog] repeat around.
- Continue decreasing until 8 sts remain. Fasten off, leaving a long tail.
Assembly
The assembly for this project is minimal as it is worked largely in one piece, but attention to detail here ensures the stocking looks polished.
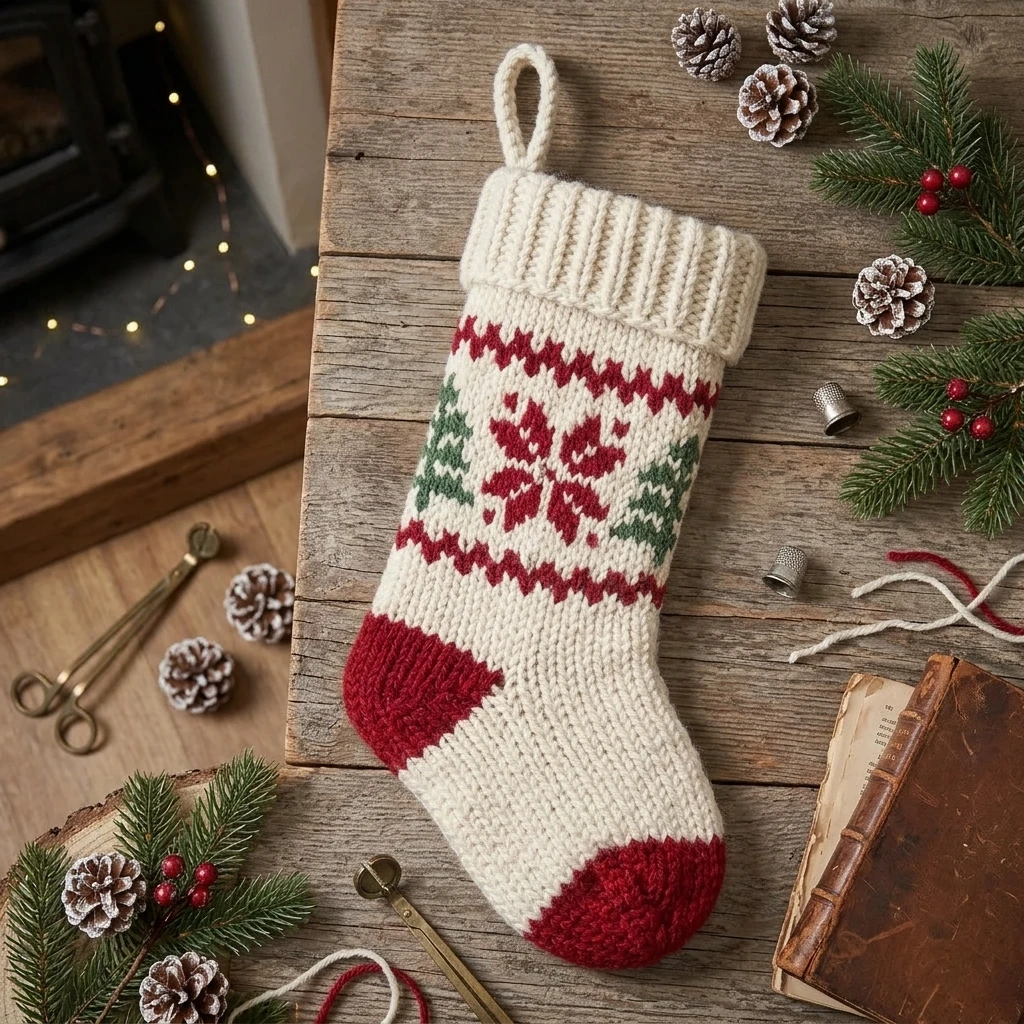
- Thread the long yarn tail from the toe into a tapestry needle and weave through the front loops of the remaining 8 stitches. Pull tight to close the toe and secure inside.
- Turn the stocking inside out and weave in all loose ends from the cuff and color changes.
- Create a hanging loop: Join yarn at the top back seam of the cuff. Ch 15, then sl st back into the starting point. Reinforce with several stitches to ensure it can support weight.
- Fold the cuff down over the top of the leg to hide the join between the ribbing and the sc rounds.
7 Technical Tips for a Better Crochet Christmas Stocking
- Check Your Gauge: If your stitches are too loose, the stocking will stretch excessively when filled with candy. Use a smaller hook if necessary.
- Use Stitch Markers: Since the foot is worked in continuous rounds, it is easy to lose your place. Mark the first stitch of every round.
- Invisible Decreases: When working the toe, use the “invisible decrease” method (working through front loops only) to avoid bulky bumps.
- Reinforce the Heel: If you expect the stocking to be used for many years, consider using a slightly smaller hook for the heel section to make the fabric denser.
- Yarn Choice Matters: Cotton yarn will not stretch at all, while wool has some “memory.” Choose acrylic for the most budget-friendly, vibrant colors that stay consistent in size.
- Blocking: Use a cardboard stocking form to steam block your finished piece. This sets the shape and makes the stitches look much more uniform.
- Lining (Optional): If you are worried about small items falling through the stitches, consider sewing a simple fabric liner into the stocking.
Frequently Asked Questions
Can I make this stocking bigger?
Yes. To increase the size, use a larger hook and thicker yarn (jumbo weight), or simply add more rows to the ribbing and more rounds to the leg and foot sections.
How do I add stripes without a visible seam?
To avoid a “jog” in your stripes, use the “seamless color change” technique: on the last stitch of the old color, pull through the final two loops with the new color.
Is this pattern suitable for beginners?
While the leg and cuff are easy, the “heel turn” can be tricky for absolute beginners. We recommend practicing a mini-heel on a swatch first.
What is the best way to personalize it?
You can surface crochet a name onto the cuff or use felt letters and fabric glue for a quick, clean look.
How do I prevent the hanging loop from stretching?
Instead of just a chain, work a row of single crochets back over your chain loop to make it thicker and more resistant to stretching under weight.
Conclusion
Creating a Crochet Christmas Stocking is a rewarding way to add a personal touch to your holiday celebrations. By mastering the heel turn and focusing on consistent tension, you will produce a high-quality piece that lasts for generations. Don’t forget to save this project to your holiday crochet board on Pinterest so you can find it every year!
What colors are you choosing for your holiday theme this year—classic red and white, or something more modern like teal and silver?
Save This Crochet Pattern