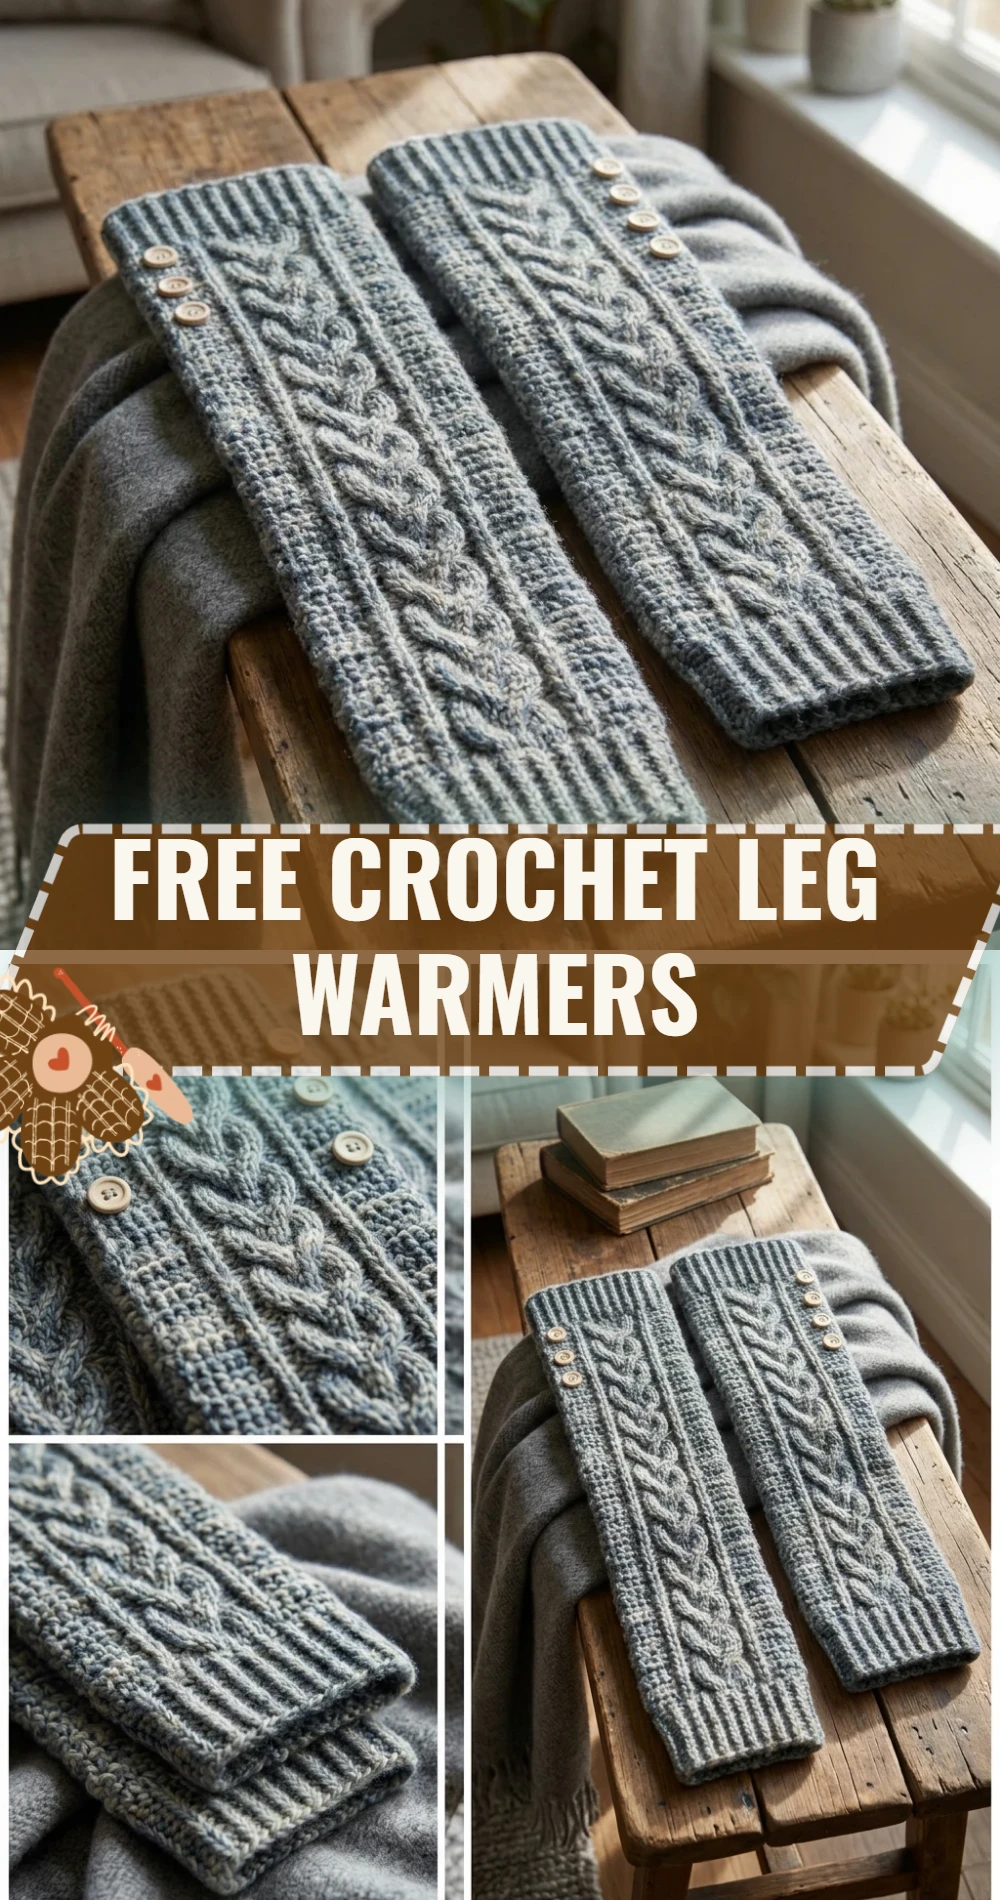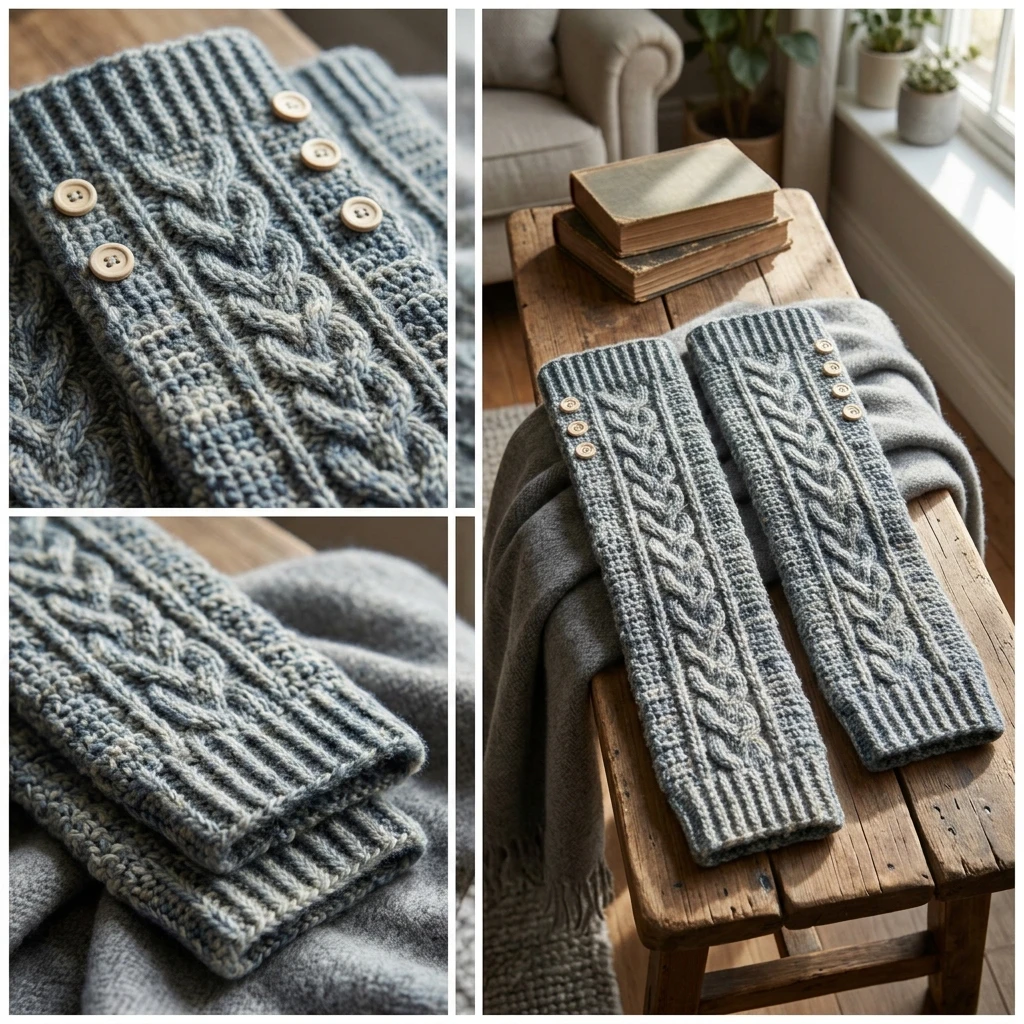
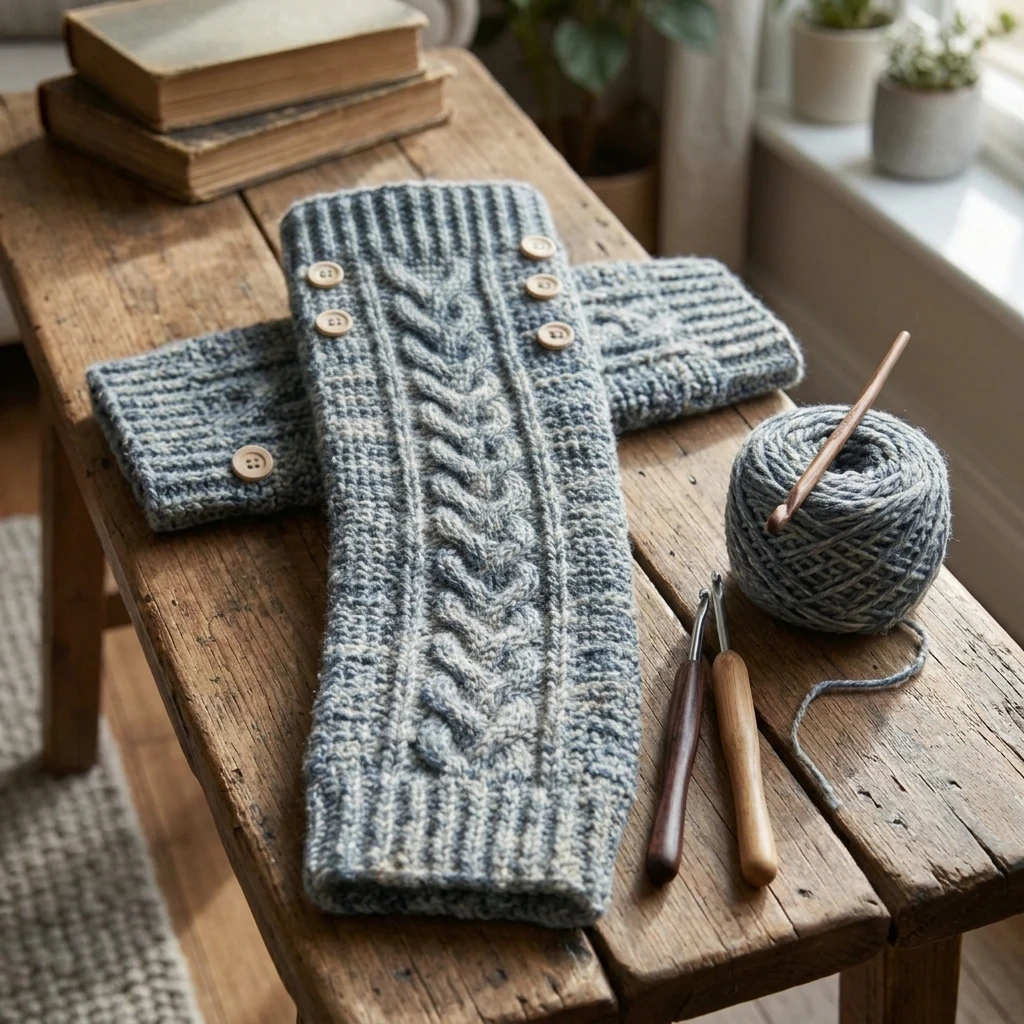
Embrace the cozy aesthetics of a handmade winter wardrobe with these stylish crochet leg warmers. Designed to provide both warmth and a chic, layered look, this project features a sophisticated ribbed texture that mimics traditional knitwear while offering the sturdy, comforting structure of crochet. Whether you are heading to a yoga session, prepping for a dance class, or simply styling them over leggings for a crisp autumn walk, these leg warmers are the ultimate functional accessory. The construction uses vertical rows to ensure maximum stretch and a flattering fit for all calf sizes.
The Design: What Makes This Pattern Different
Unlike traditional horizontal rounds that can lack elasticity, this design utilizes a vertical ribbing technique. By working into the back loops of the stitches, we create a fabric that is highly expandable, allowing the leg warmers to stay snug against the leg without being restrictive. The design also incorporates a subtle taper if desired, though the standard rectangular construction provided here is optimized for a trendy “slouchy” look. A common mistake to avoid is chaining too tightly at the start; a tight foundation chain will prevent the top or bottom edge from stretching, resulting in an uncomfortable fit around the calf or ankle.
Project Info at a Glance
| Skill Level | Easy / Beginner Friendly |
| Estimated Time | 4 – 6 Hours |
| Finished Size | Approx. 12″ length x 11″ circumference (Highly adjustable) |
| Hook Size | 5.0 mm (U.S. H/8) |
| Yarn Weight | Medium / Worsted (Weight 4) |
| Gauge | Photo-inspired: 14 sts x 10 rows = 4″ in HDC BLO |
| Best For | Layering, dancers, and cold-weather fashion |
Materials and Tools
Yarn
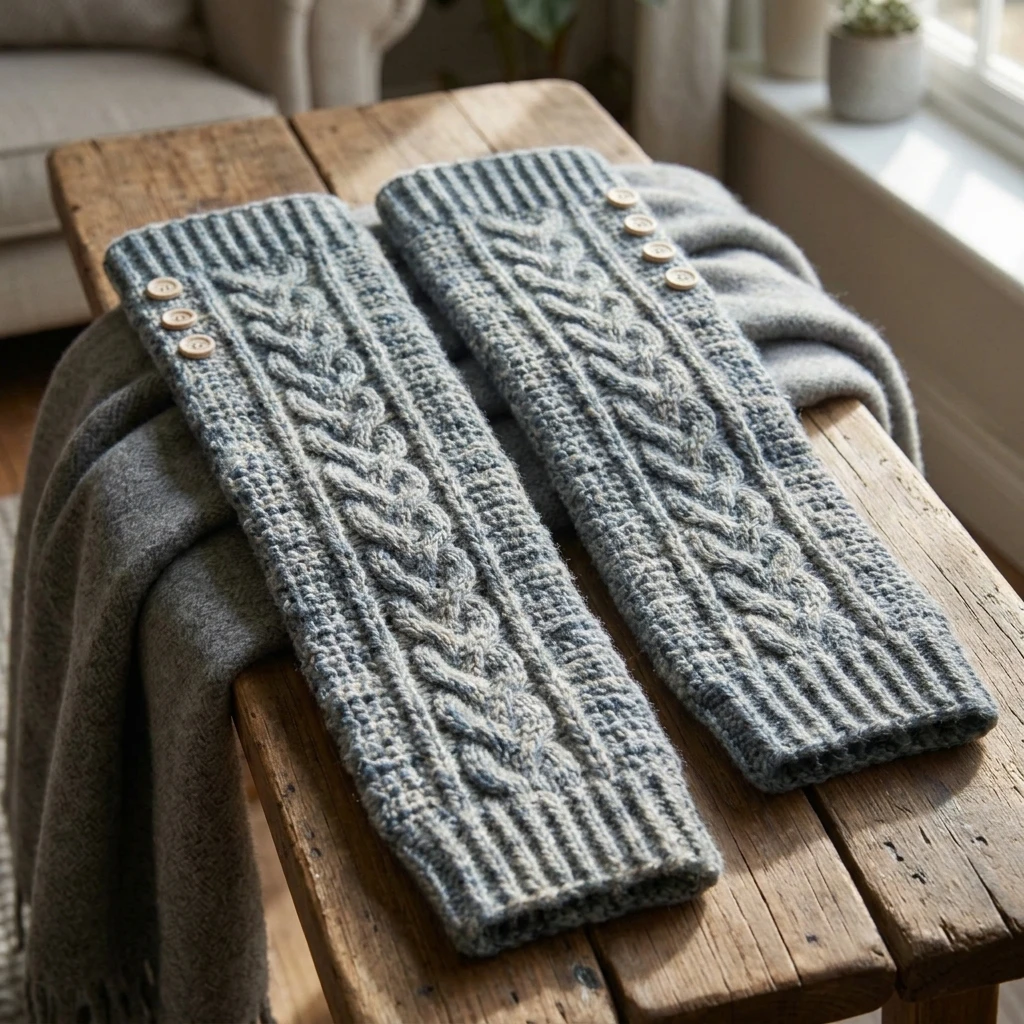
For this project, you will need approximately 250 to 350 yards of a soft worsted weight yarn. An acrylic-wool blend is suggested for its balance of warmth and elasticity, though 100% premium acrylic works excellently for those with sensitive skin. Estimated quantities are based on a standard adult medium size.
Tools
- 5.0 mm crochet hook (or size needed to obtain gauge)
- Measuring tape
- Yarn needle for weaving ends
- Sharp scissors
- Stitch markers (optional, to mark the first stitch of each row)
Abbreviations
- ch: chain
- st(s): stitch(es)
- hdc: half double crochet
- blo: back loop only
- sl st: slip stitch
- yo: yarn over
Pattern — Step by Step
Construction Overview
These leg warmers are worked flat in a large rectangle. The height of your foundation chain determines the length (height) of the leg warmer, while the number of rows you work determines the circumference (width) that wraps around your leg. Once the rectangle reaches your desired width, it is seamed together to form a tube.
The Main Body
- Foundation: Ch 41 (or a chain that matches your desired length from ankle to below the knee, plus 1 for the turning chain).
- Row 1: Hdc in the second ch from the hook and in each ch across. Ch 1, turn. (40 hdc)
- Row 2: Hdc in the BLO of the first st and each st across to the end of the row. Ch 1, turn. (40 hdc)
- Row 3 – Row 32 (or until desired width): Repeat Row 2. To check the fit, wrap the fabric around your widest part of the calf. It should be snug but not stretched to its limit.
- Finalizing the Width: Ensure you end on an even-numbered row to make the seam less visible. Do not fasten off yet if you plan to slip stitch the seam.
Finishing the Edges
If you prefer a more gathered look at the ankle, you can add a final row of slip stitches along the bottom edge of the finished tube, or simply leave the ribbing as is for a modern, straight-edged aesthetic.
Assembly
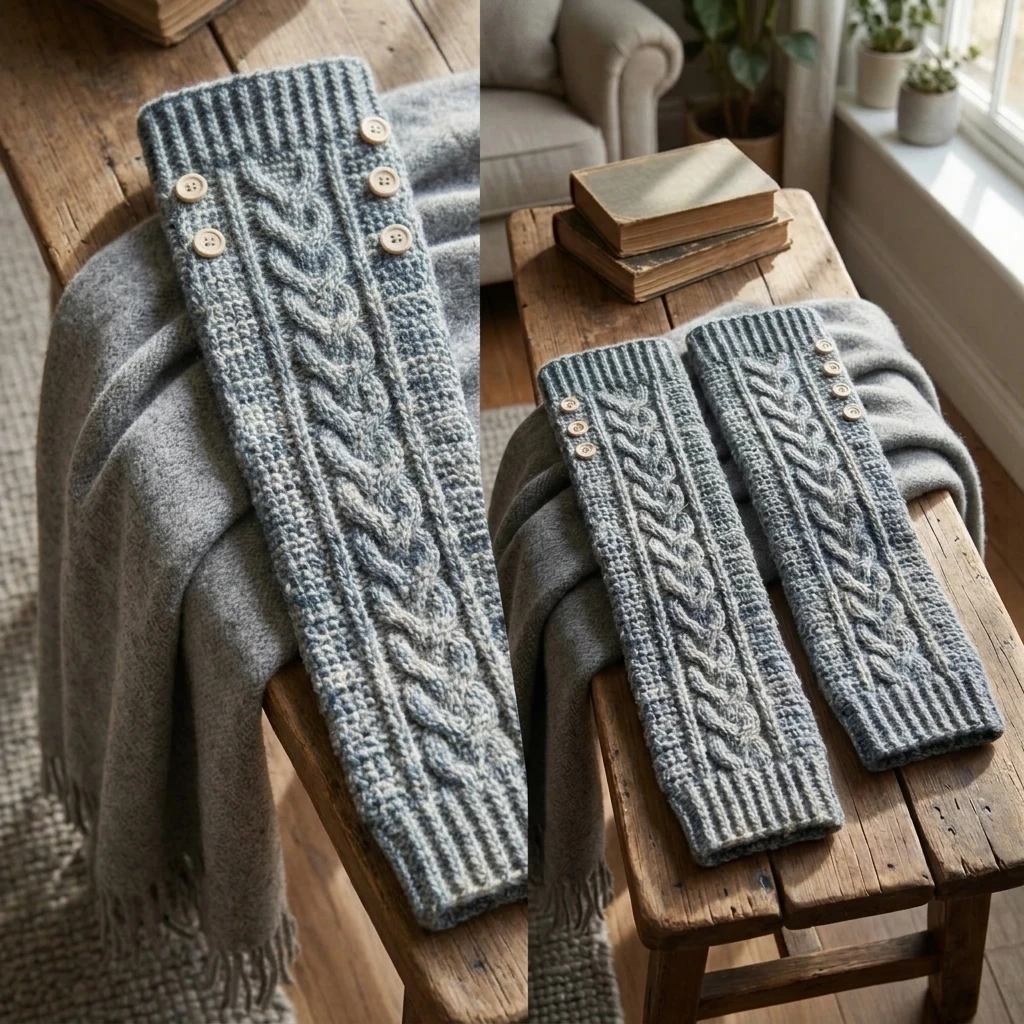
The assembly process turns your flat ribbed rectangle into a functional garment. Using a professional seaming technique ensures that the leg warmer maintains its stretch and the seam remains discreet against the skin.
- Fold the rectangle in half so the foundation row and the final row meet.
- Align the stitches carefully. You can use stitch markers to hold the ends together.
- Using a slip stitch through both layers (or a mattress stitch with a yarn needle), join the two edges together from bottom to top.
- If using slip stitches, keep your tension loose so the seam doesn’t pull or pucker.
- Fasten off and weave in all yarn tails securely on the inside of the leg warmer.
- Turn the leg warmer right-side out so the seam is hidden on the interior.
7 Technical Tips for a Better Free Crochet Leg Warmers
- Foundation Chain Tension: Always use a slightly larger hook for your foundation chain or chain very loosely to ensure the top and bottom openings can stretch over your foot.
- Identify the Back Loop: Ensure you are working into the loop furthest away from you. Consistent BLO placement is what creates the “knit-look” ridges.
- Count Your Stitches: It is easy to lose a stitch at the end of a ribbed row. Count every few rows to ensure you still have 40 stitches (or your starting count).
- Customizing Length: If you want “over-the-knee” warmers, increase your initial chain to 60 or more. Always measure your leg first!
- Fiber Elasticity: Wool has more “memory” than cotton. If using cotton yarn, you may need to add a few rounds of elastic thread at the top to prevent sliding.
- The Invisible Seam: For the flattest seam, use the mattress stitch. It allows the ribbing pattern to continue almost uninterrupted.
- Blocking: Lightly steam block your finished leg warmers to relax the stitches and improve the drape, especially if using a wool blend.
Frequently Asked Questions
What is the best yarn for leg warmers?
Worsted weight acrylic or wool blends are ideal. They offer the right balance of thickness for warmth without being too bulky to wear under boots.
How do I make these smaller for a child?
Reduce the initial chain length to the desired height (e.g., 8-10 inches) and work fewer rows until the width matches the child’s calf circumference minus one inch for stretch.
Will these slide down while walking?
The ribbing provides a natural grip. However, if you find them sliding, you can weave a matching piece of yarn or thin elastic through the top row of stitches to act as a drawstring.
Can I use a different stitch?
Yes, you can use single crochet or double crochet in the back loops. Note that single crochet will create a denser, firmer fabric, while double crochet will be lacier and more flexible.
How many skeins of yarn do I need?
Most standard adult sizes can be completed with two 100g skeins of worsted weight yarn, often leaving enough left over for a matching headband!
Conclusion
Crocheting your own leg warmers is a rewarding way to add a touch of handmade luxury to your winter outfits. This ribbed design is not only stylish but also incredibly versatile, allowing for endless customization in length and color. If you enjoyed this tutorial, be sure to pin this pattern to your Crochet Wearables board on Pinterest for later! Have you decided on a solid classic color or a trendy variegated yarn for your first pair?
Save This Crochet Pattern