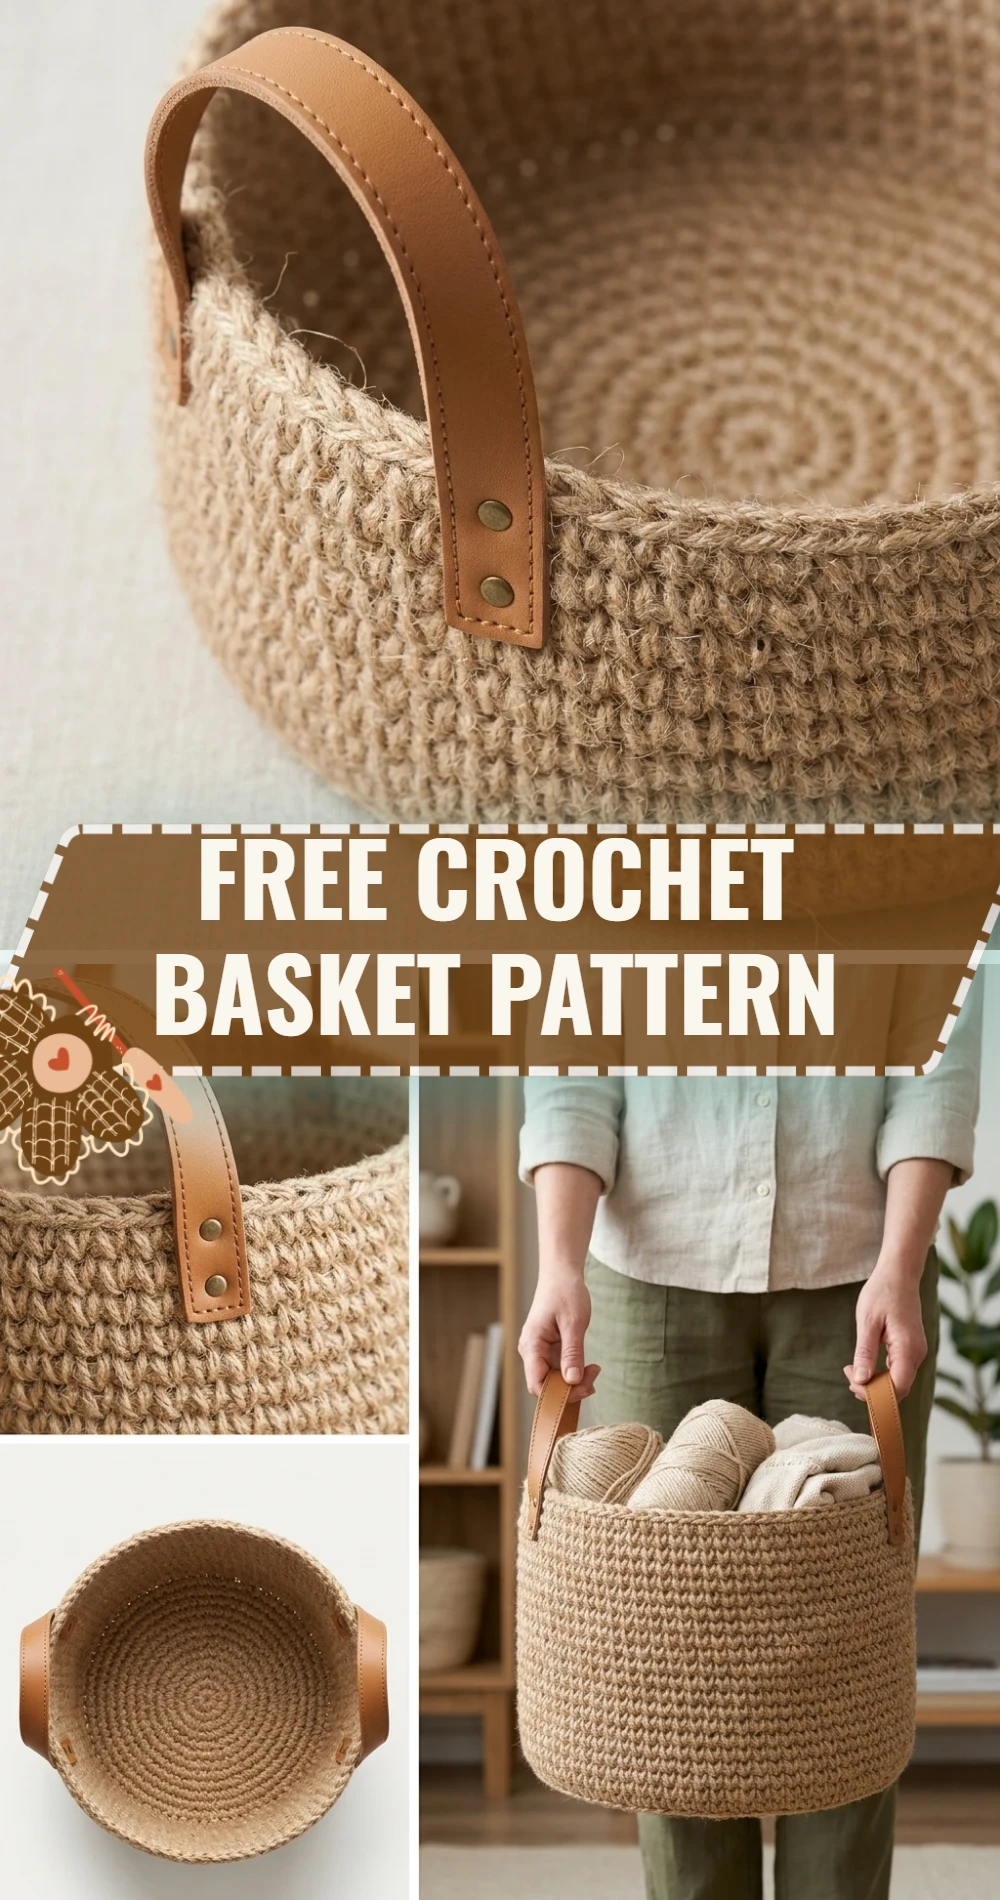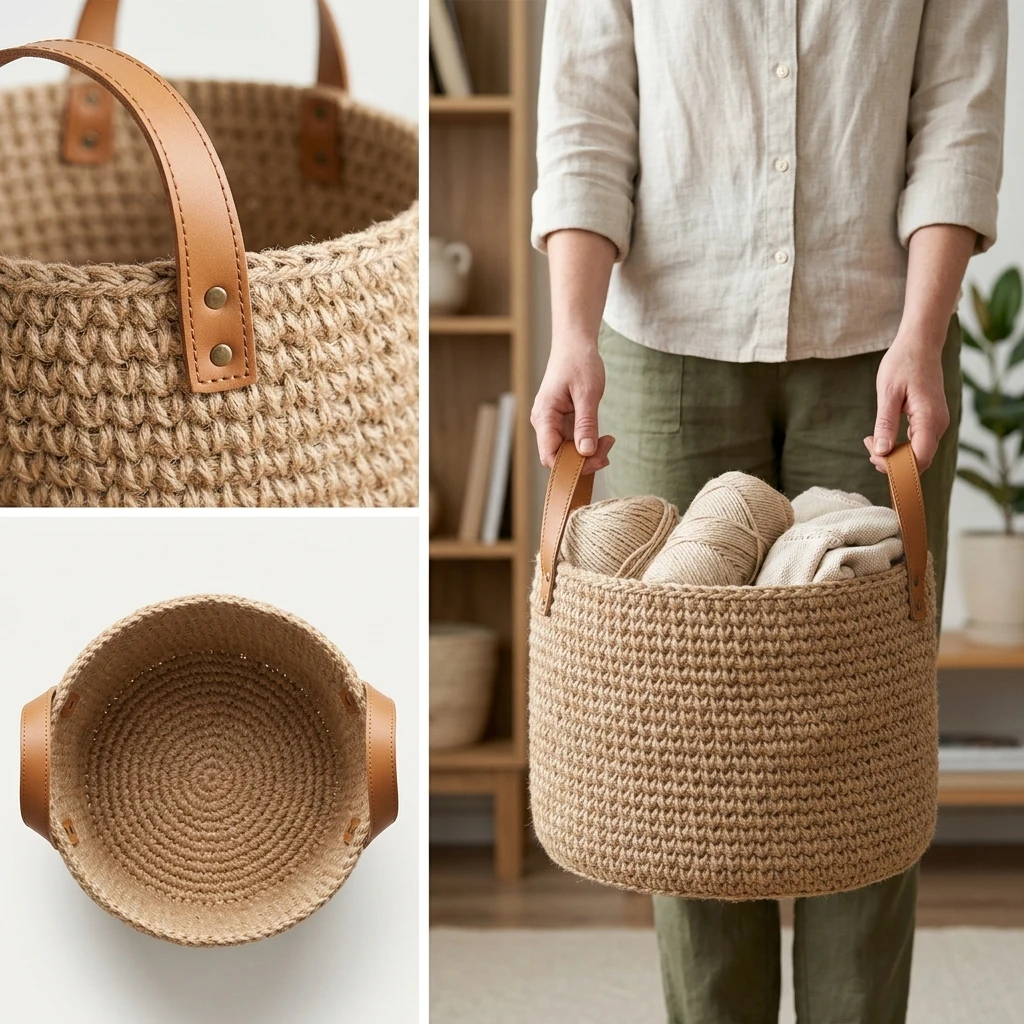
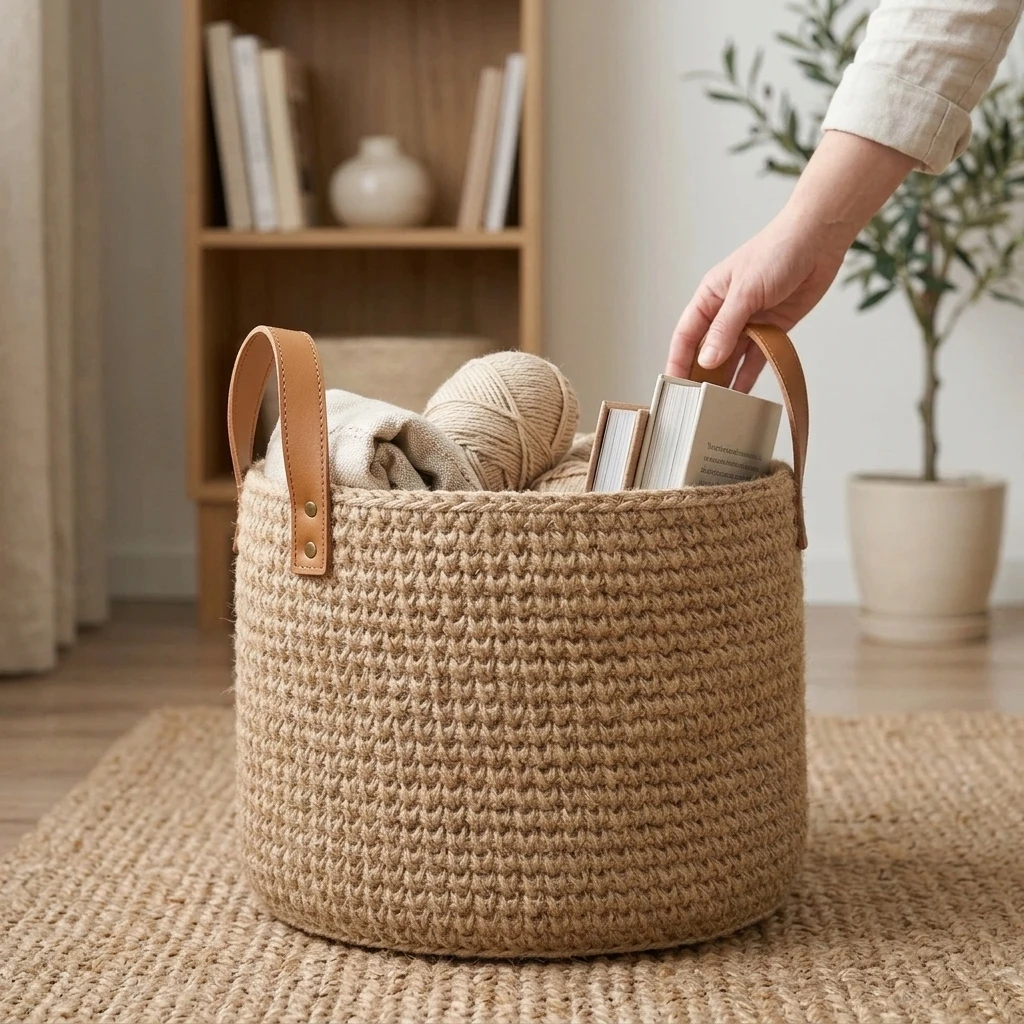
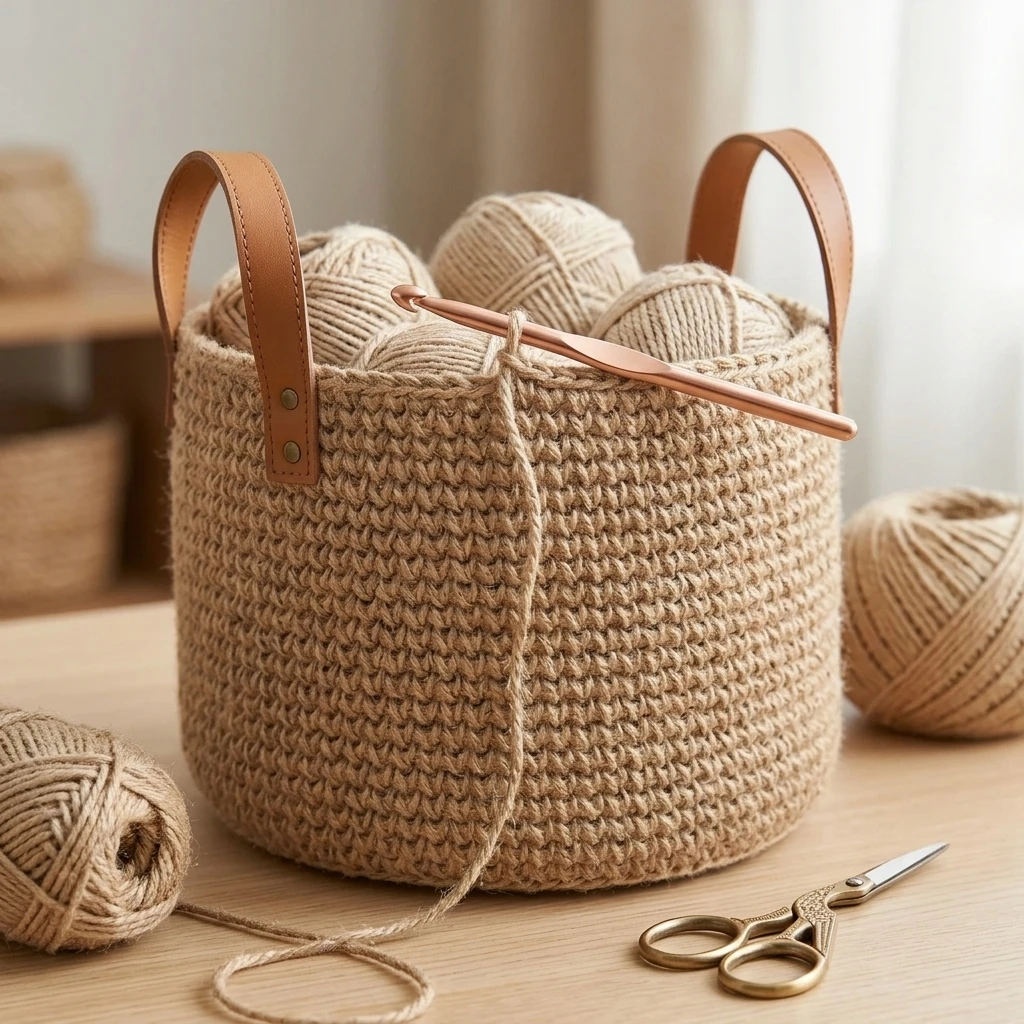
Transform your living space with a touch of handmade elegance using this functional and stylish Free Crochet Basket Pattern. This project results in a sturdy, circular storage solution characterized by its thick walls and clean, minimalist aesthetic. Perfect for organizing yarn stashes, holding potted plants, or tidying up a nursery, this basket is constructed from the bottom up in seamless rounds. It suits makers of all levels looking to master the art of structural crochet, providing a satisfyingly quick project that doubles as a beautiful piece of home decor.
The Design: What Makes This Pattern Different
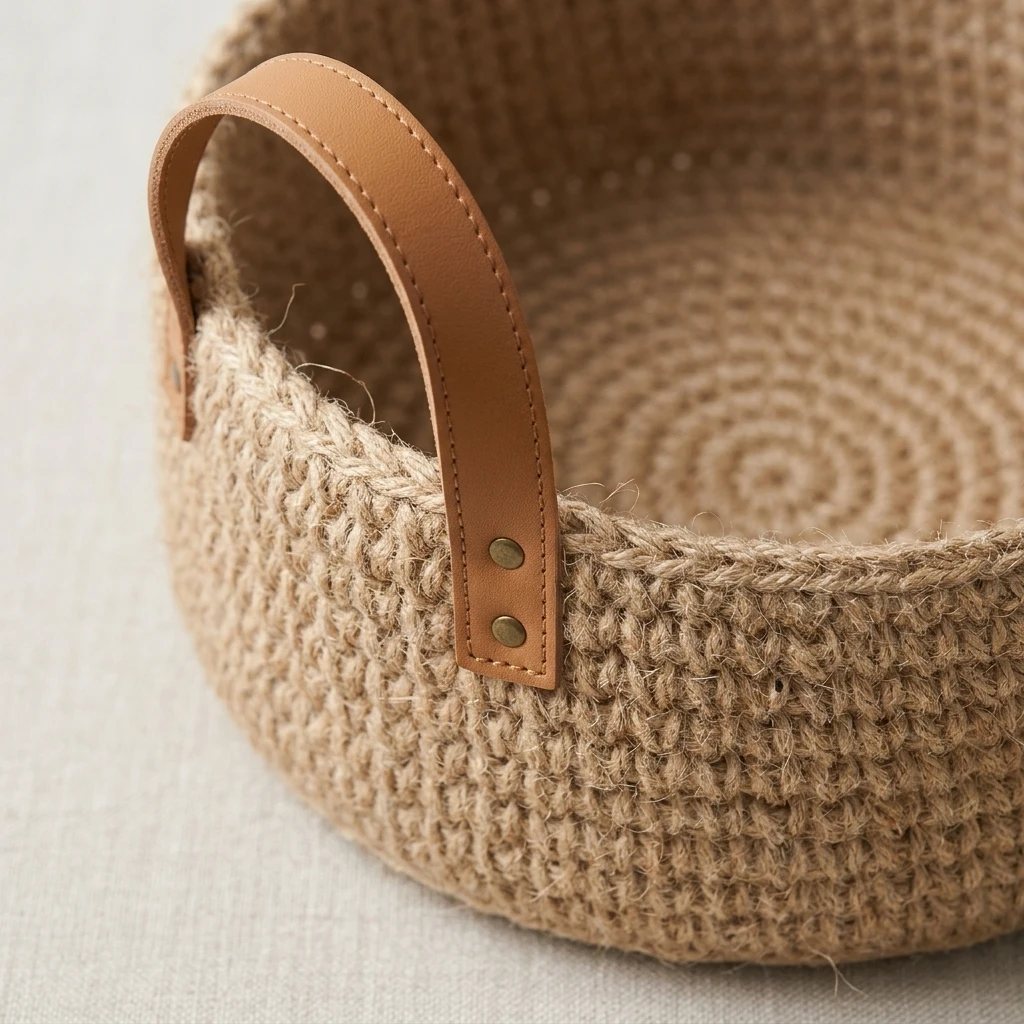
The visual identity of this basket relies on structural integrity and stitch definition. Unlike floppy containers that lose their shape when empty, this design utilizes the Waistcoat Stitch (also known as Center Single Crochet) to create a dense, knit-like fabric that stands upright independently. The base is worked in standard single crochet increases to ensure a flat foundation, while the transition to the walls uses a back-loop-only technique to create a crisp “corner” edge. A common mistake to avoid is working with loose tension; for a truly functional basket, the stitches must be tight enough to prevent the weight of the contents from bowing the sides.
Project Info at a Glance
| Feature | Details |
|---|---|
| Skill Level | Easy / Advanced Beginner |
| Estimated Time | 2–4 Hours |
| Finished Size | Approx. 8″ diameter x 6″ height (adjustable) |
| Hook Size | 6.5mm (K) or 8.0mm (L) |
| Yarn Weight | Super Bulky (#6) or T-shirt Yarn |
| Gauge | 9 sts x 10 rows = 4″ in Waistcoat Stitch (suggested) |
| Best For | Home Organization & Modern Decor |
Materials and Tools
Yarn
To achieve the necessary stiffness, it is suggested to use approximately 150–200 yards of a Super Bulky cotton blend or recycled T-shirt yarn. If using a lighter weight yarn, such as Worsted or Bulky, it is recommended to hold two strands together throughout the project to maintain the structural density required for the walls.
Tools
- 6.5mm or 8.0mm crochet hook (choose a size smaller than the yarn label recommends for a tighter tension).
- Large-eye tapestry needle for weaving in bulky ends.
- Stitch markers (essential for tracking the start of continuous rounds).
- Measuring tape.
- Scissors.
Abbreviations
- ch: chain
- sc: single crochet
- csc: center single crochet (Waistcoat Stitch)
- inc: increase (2 stitches in the same space)
- sl st: slip stitch
- st(s): stitch(es)
- BLO: back loop only
- MR: magic ring
Pattern — Step by Step
The Circular Base
The base is worked in continuous rounds. Do not join with a slip stitch unless specified. Use a stitch marker to move up each round.
- Round 1: 6 sc into MR. (6)
- Round 2: inc in each st around. (12)
- Round 3: [sc, inc] 6 times. (18)
- Round 4: [sc 2, inc] 6 times. (24)
- Round 5: [sc 3, inc] 6 times. (30)
- Round 6: [sc 4, inc] 6 times. (36)
- Round 7: [sc 5, inc] 6 times. (42)
- Round 8: [sc 6, inc] 6 times. (48) (Diameter should be approx 8″).
The Transition and Walls
The transition creates the vertical wall of the basket. From here, we switch to the Center Single Crochet (csc) for thickness.
- Round 9: sc in BLO of each st around. (48)
- Rounds 10–22: csc in each st around. To work the csc, insert your hook into the “V” of the stitch below rather than the top loops. (48)
- Round 23 (Finishing): sl st loosely in each st around to create a finished top edge. Fasten off.
Assembly
Because this basket is worked in a single piece, the assembly focuses on the final shaping and securing of the yarn tails to ensure longevity and a professional finish.
- Pull the starting magic ring tail tight to close the center hole completely and weave it into the stitches on the underside of the base.
- Use an invisible join for the final slip stitch round to create a seamless top perimeter.
- Weave the final tail down into the inside of the basket, following the vertical lines of the waistcoat stitches to hide the yarn.
- Steam block the sides if necessary to remove any creases from storage, though the density of the stitches should allow it to stand alone.
7 Technical Tips for a Better Free Crochet Basket Pattern
- Check Your Tension: If your base is curling into a bowl too early, your tension is too tight or you missed an increase. It should lie perfectly flat.
- The Hook Swap: Use an ergonomic hook with a large handle, as working tight stitches with bulky yarn can be taxing on the hands.
- Stitch Placement: In the waistcoat stitch, ensure you are going through the center of the “V” and not just under the top loops, or the wall will lose its rigidity.
- Invisible Increases: Offset your increases in each round of the base (e.g., don’t stack them directly on top of each other) to prevent the base from becoming hexagonal.
- Yarn Choice: Avoid 100% acrylic yarns for large baskets, as they tend to stretch over time. Cotton or linen blends are much more supportive.
- Color Changes: If you want stripes, change color at the last pull-through of the previous stitch for a clean line.
- Size Customization: You can make this basket any size. Simply continue the increase pattern (sc 7, inc; sc 8, inc, etc.) until the base reaches your desired width before starting the walls.
Frequently Asked Questions
What is the best yarn for a crochet basket?
T-shirt yarn or multi-strand cotton yarn are the best choices. They offer the density and “weight” required to keep the sides from collapsing. Avoid silky or very soft yarns like merino unless you plan to use a plastic insert.
How do I make the sides stiffer?
Working with a hook that is 1–2 sizes smaller than recommended for the yarn will create a tighter fabric. Additionally, the Waistcoat Stitch naturally creates a double-layered thickness that adds significant stiffness.
Can I add handles to this pattern?
Yes. On the second-to-last round, ch 8–10 and skip 6–8 stitches on two opposite sides of the basket. On the final round, work sc or sl st into the chain space to strengthen the handle.
Is this basket washable?
This depends on your yarn. If using T-shirt yarn or cotton, you can usually machine wash on a delicate cycle and reshape it while damp. Always air dry to prevent the basket from losing its shape.
Why is my basket leaning to one side?
Crocheting in continuous rounds can sometimes cause a slight “slant” due to the natural lean of crochet stitches. To fix this, try to keep your tension very consistent or switch to joined rounds (sl st, ch 1) if the lean is too pronounced.
Conclusion
This Free Crochet Basket Pattern offers a blend of utility and modern design, making it a must-have project for any home crafter. By using the waistcoat stitch and bulky materials, you create a durable container that rivals store-bought alternatives. Save this pattern to your “Crochet Home Decor” board on Pinterest so you can make a set in various sizes! What will you be storing in your new handmade basket?
Save This Crochet Pattern