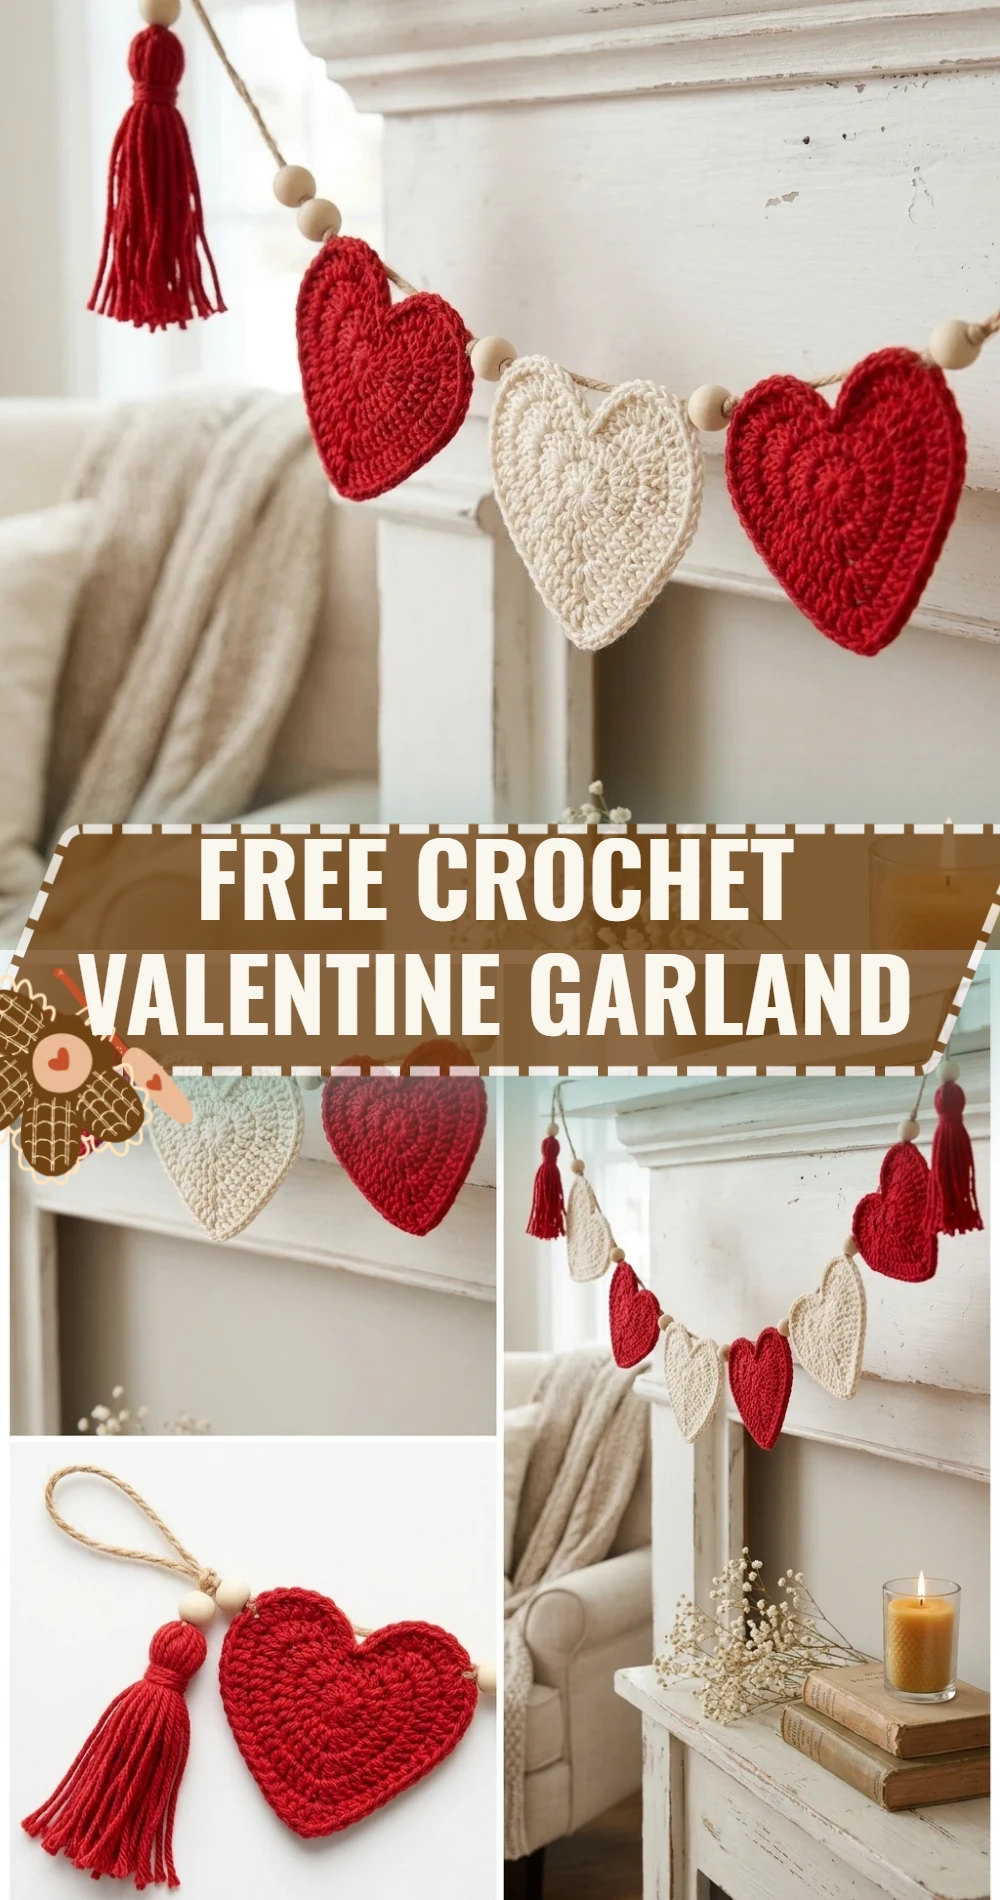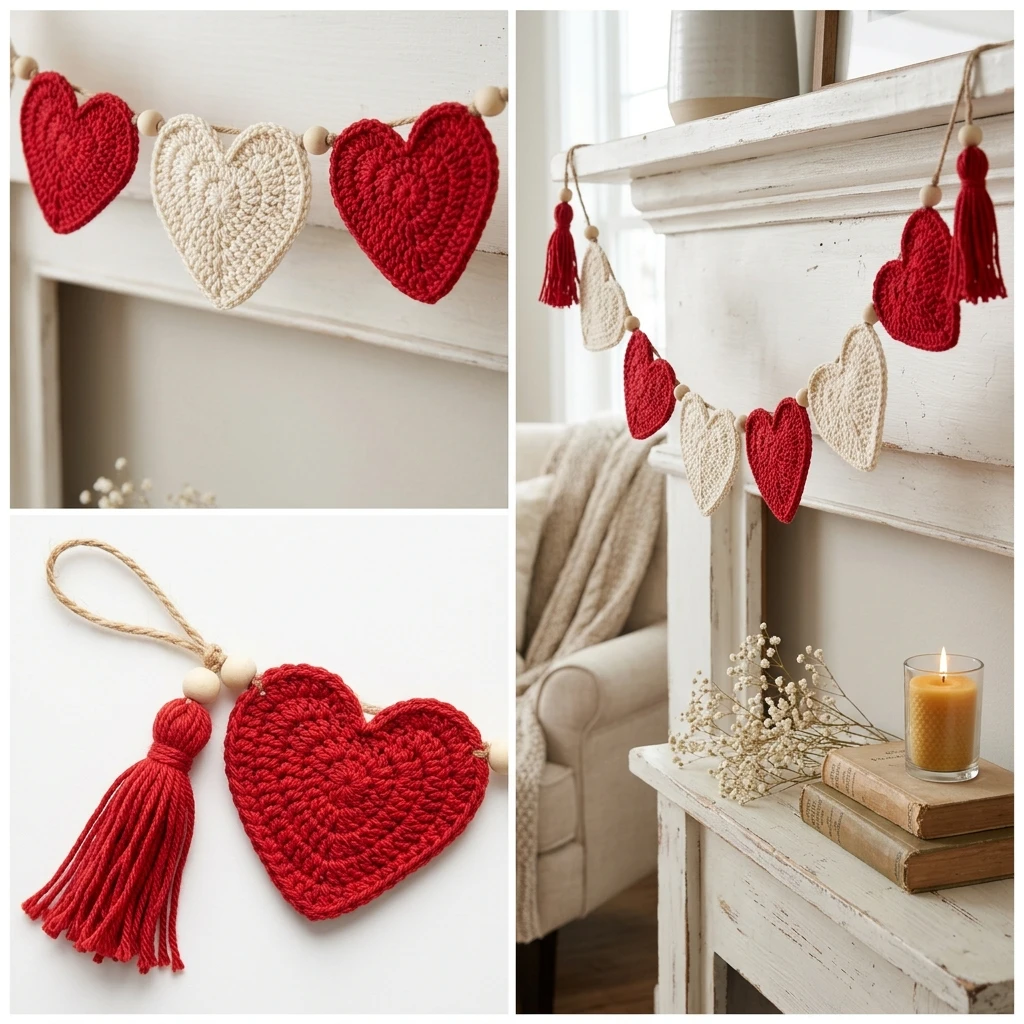
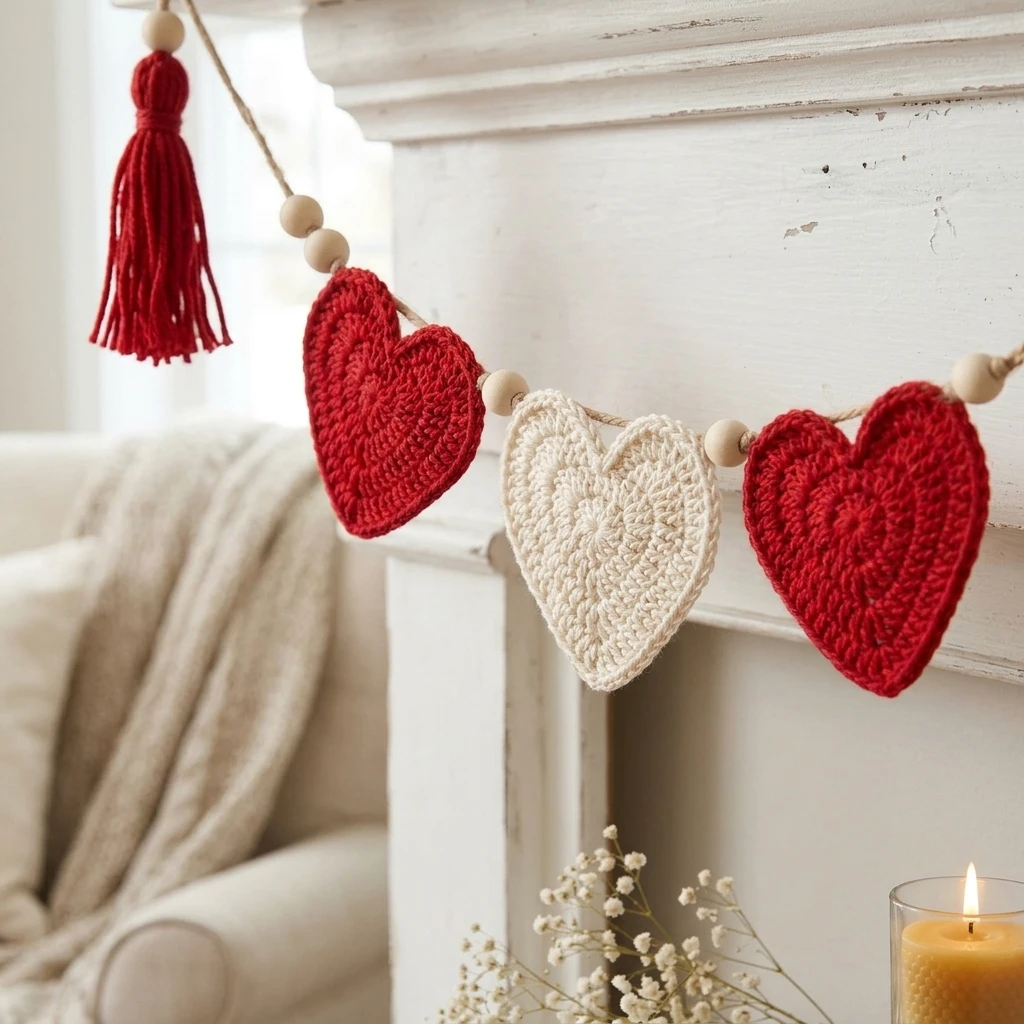
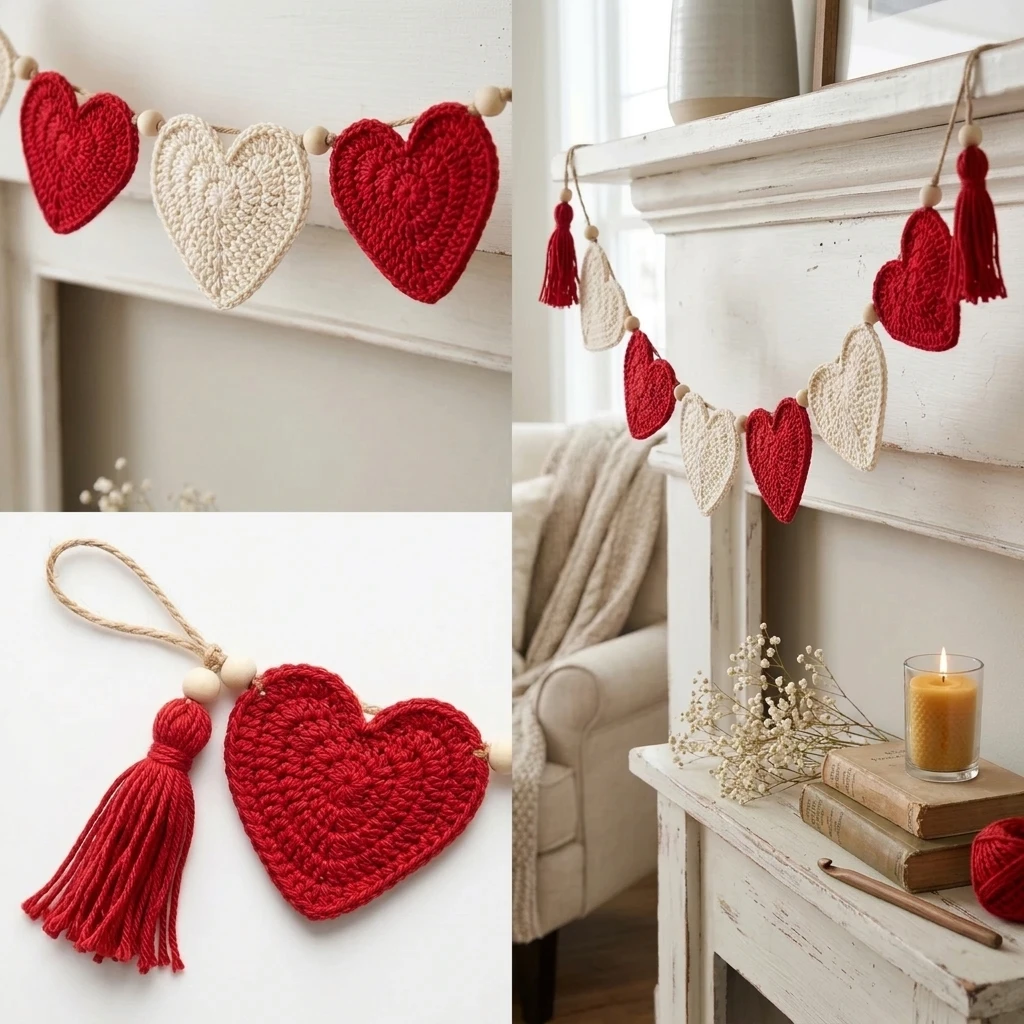
This Free Crochet Valentine Garland is the quintessential piece of handmade decor to bring warmth and romance into your home this season. Designed with a classic aesthetic in mind, these individual heart motifs are worked in the round to create a sturdy, symmetrical shape that resists curling. Whether you are draping it across a fireplace mantel, framing a nursery window, or gifting it to a loved one, the soft texture and vibrant reds and pinks make it an instant eye-catcher. The construction is beginner-friendly, relying on fundamental stitches to achieve a professional, boutique-style finish that looks far more complex than it actually is.
The Design: What Makes This Pattern Different
The visual identity of this garland relies on “structural puffiness.” Unlike thin, floppy crochet hearts, this design utilizes a specific combination of stitch heights—ranging from double crochet to treble crochet—to force the “lobes” of the heart to stand out prominently. The structural decision to work into a magic ring allows for a completely closed center, ensuring that no unsightly gaps distract from the heart’s silhouette. A common mistake to avoid in this project is working your stitches too loosely in the final round; maintain a firm tension to ensure the points of the heart remain sharp and defined rather than rounded.
Project Info at a Glance
| Feature | Details |
|---|---|
| Skill Level | Easy / Advanced Beginner |
| Estimated Time | 15–20 minutes per heart motif |
| Finished Size | Each heart is approximately 3.5 inches wide; garland length is customizable |
| Hook Size | 5.0 mm (H-8) Crochet Hook |
| Yarn Weight | Worsted Weight (Medium #4) |
| Gauge | Not critical, but keep tension consistent for uniform hearts |
| Best For | Mantel decor, classroom parties, or photo backdrops |
Materials and Tools
Yarn
To achieve the look shown in the photos, you will need approximately 15–20 yards of worsted weight yarn per heart. We suggest using a cotton or a high-quality acrylic blend for better stitch definition. For a standard 5-foot garland, one 100g skein is usually sufficient to create 8–10 hearts plus the connecting cord.
Tools
- 5.0 mm (H) crochet hook (or size needed to obtain a firm fabric)
- Tapestry needle for weaving in ends
- Sharp embroidery scissors
- Optional: Steam iron for light blocking
Abbreviations
- ch: chain
- sc: single crochet
- hdc: half double crochet
- dc: double crochet
- tr: treble crochet
- sl st: slip stitch
- st(s): stitch(es)
- MR: magic ring (adjustable ring)
Pattern — Step by Step
The construction of the Free Crochet Valentine Garland involves making a series of independent heart motifs and then joining them together with a simple foundation chain cord. Each heart is worked in just two rounds, starting from the center and expanding outward to create the iconic heart shape.
The Heart Motif (Make as many as desired)
- Round 1: Start with a MR. Ch 3 (counts as first dc). Work the following into the ring: 3 tr, 3 dc, ch 1, 1 tr (this creates the bottom point), ch 1, 3 dc, 3 tr, ch 2. Sl st into the MR. Pull the ring tight to close the center hole. (Stitch count: 16 sts including chains).
- Round 2: Sc into the ch-3 space from the previous round. In the next 3 sts, work [2 hdc] in each st. Sc in the next 3 sts. In the ch-1 space from the previous round, work [1 sc, 1 dc, 1 sc] to emphasize the bottom point. Sc in the next 3 sts. In the next 3 sts, work [2 hdc] in each st. Sc into the final ch-2 space. Sl st to the very first sc of the round to join.
- Finishing the Motif: Fasten off, leaving a 4-inch tail. Use your tapestry needle to weave the tail invisibly into the back of the heart.
Assembly
Once you have completed your desired number of hearts, it is time to turn them into a cohesive garland. You can choose to space them closely for a dense look or further apart for a minimalist aesthetic. Using a contrasting yarn color for the cord can add an extra pop of visual interest.
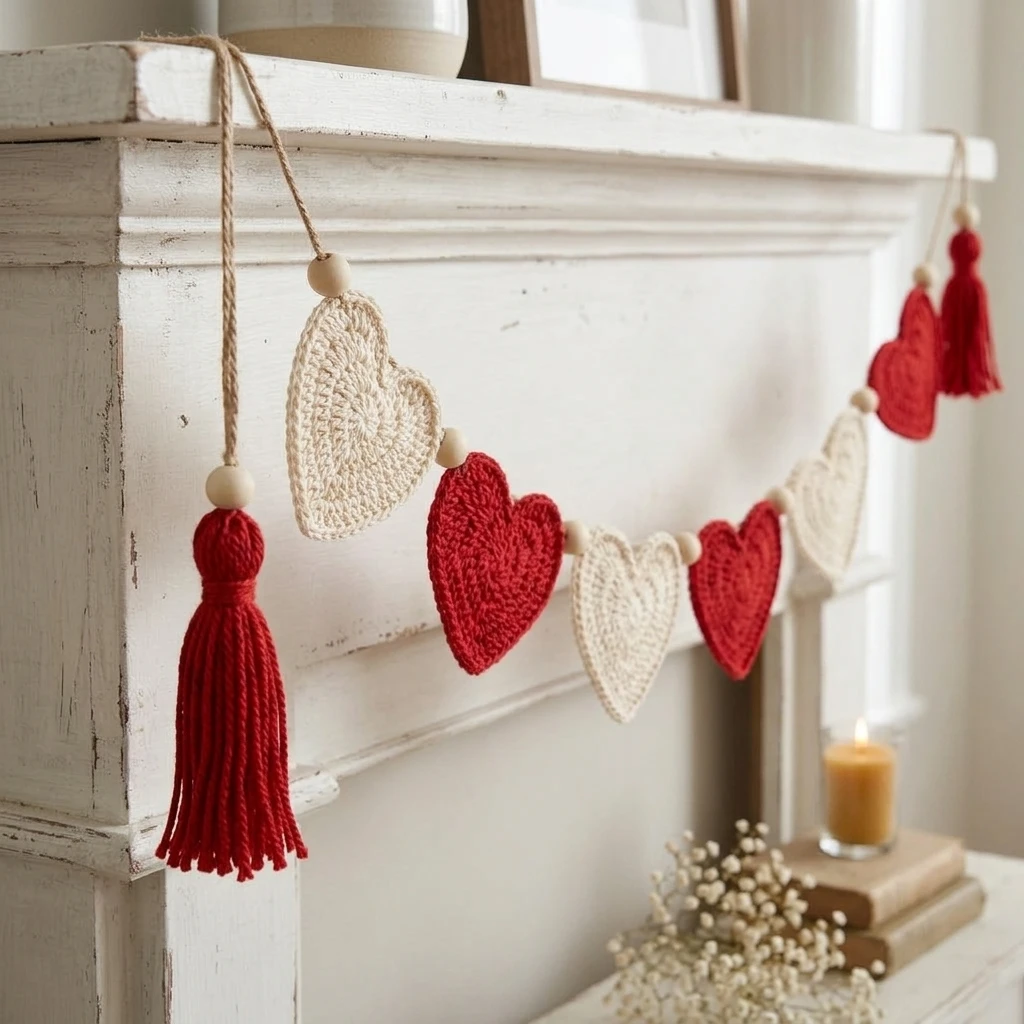
- Create a slip knot and ch 20 (this creates the first hanging loop).
- Pick up your first heart. Insert your hook into the top of the right lobe (the second hdc of the round 2 increases). Work a sl st through the heart and the loop on your hook.
- Ch 10 to 15 (depending on how much space you want between motifs).
- Pick up the second heart and sl st into the top lobe as before.
- Repeat the process until all hearts are attached.
- End the garland by chaining another 20 and fastening off to create the final hanging loop.
7 Technical Tips for a Better Free Crochet Valentine Garland
Creating the perfect garland requires attention to detail. These troubleshooting tips will help you move from a “homemade” look to a “handmade professional” finish.
- Secure the Magic Ring: After pulling the ring tight, use your tapestry needle to knot the tail around the base of the stitches before weaving it in. This prevents the heart’s center from opening up over time.
- Manage Your Tension: If your hearts are “cupping” (curling inward), your Round 2 stitches are likely too tight. Try loosening your grip or moving up half a hook size for that round only.
- Steam Blocking: If your hearts look slightly wonky, pin them to a foam board and hit them with a quick burst of steam. This relaxes the fibers and makes the shapes perfectly flat.
- Yarn Choice Matters: Cotton yarn provides the crispest edges, while acrylic yarn provides a softer, fuzzier look. Choose cotton for a rustic farmhouse vibe.
- Consistency is Key: Count your stitches on every heart. A single missing hdc in Round 2 will make the heart look lopsided.
- Invisible Join: For a truly professional look, use an “invisible join” instead of a slip stitch when finishing Round 2. This eliminates the small bump at the top of the heart.
- Anti-Twist Cord: If your garland cord twists, try working a row of slip stitches back across your foundation chain to give it more weight and stability.
Frequently Asked Questions
Can I use bulky yarn for this pattern?
Yes! Using bulky yarn and a larger hook (6.5mm or 8.0mm) will create oversized hearts, which are perfect for a large wall or an outdoor porch display.
How do I stop the hearts from flipping over on the string?
To keep the hearts facing forward, attach the cord at two points on the top of the heart (both lobes) rather than just one. This stabilizes the motif against the wall.
Do I have to use a magic ring?
If you find the magic ring difficult, you can ch 4 and sl st to the first ch to form a ring, then work Round 1 into that circle. Note that this may leave a small hole in the center.
How can I make the garland longer?
Simply increase the number of chains between each heart. A 20-chain gap creates a very airy, long garland, while a 5-chain gap creates a dense, bunting-style look.
Is this project washable?
If you use cotton or acrylic yarn, the garland is hand-washable. Lay it flat to dry to ensure the hearts maintain their shape.
Conclusion
The Free Crochet Valentine Garland is a delightful and quick project that adds a touch of handmade charm to any space. By mastering the simple shaping techniques in this tutorial, you can create a durable decoration that will last for many seasons to come. Don’t forget to experiment with different shades of pink, red, and cream to match your unique style! If you enjoyed this pattern, save it to your Pinterest crochet board so you can find it next year. What colors are you using for your Valentine’s theme this year?
Save This Crochet Pattern