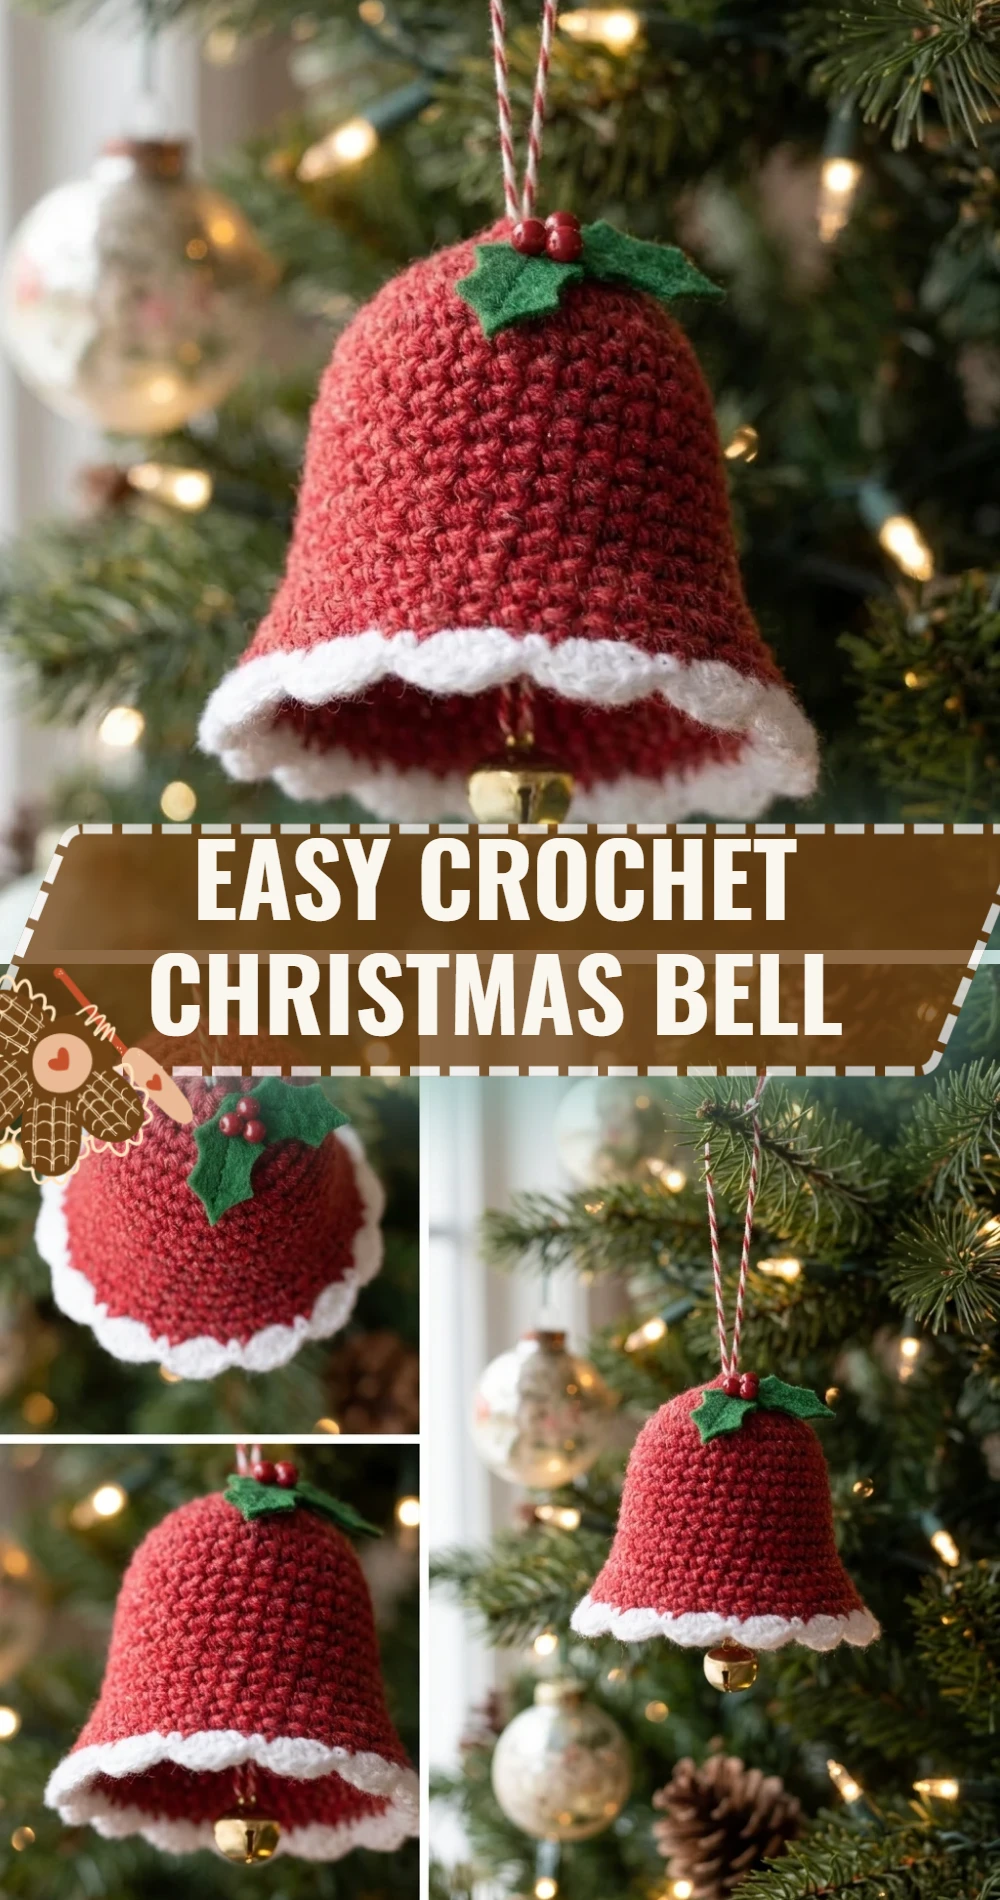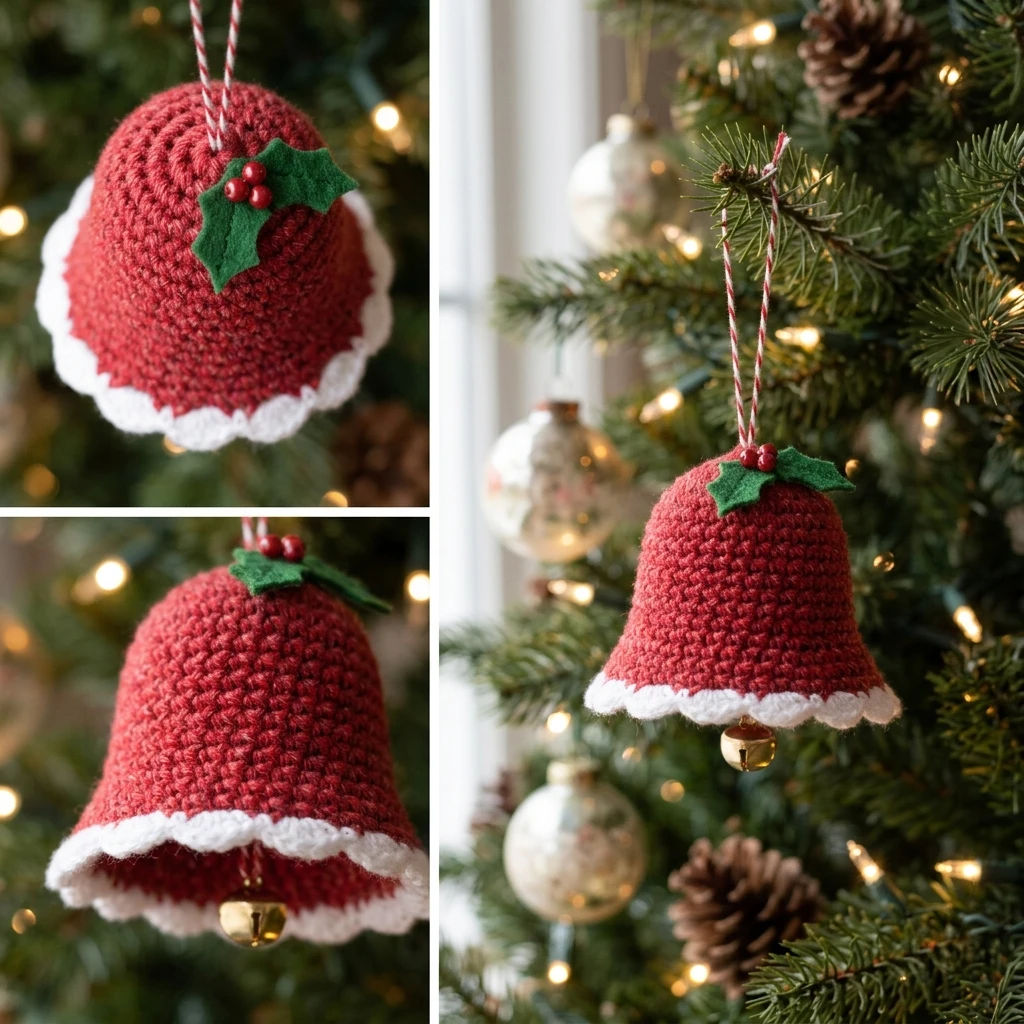
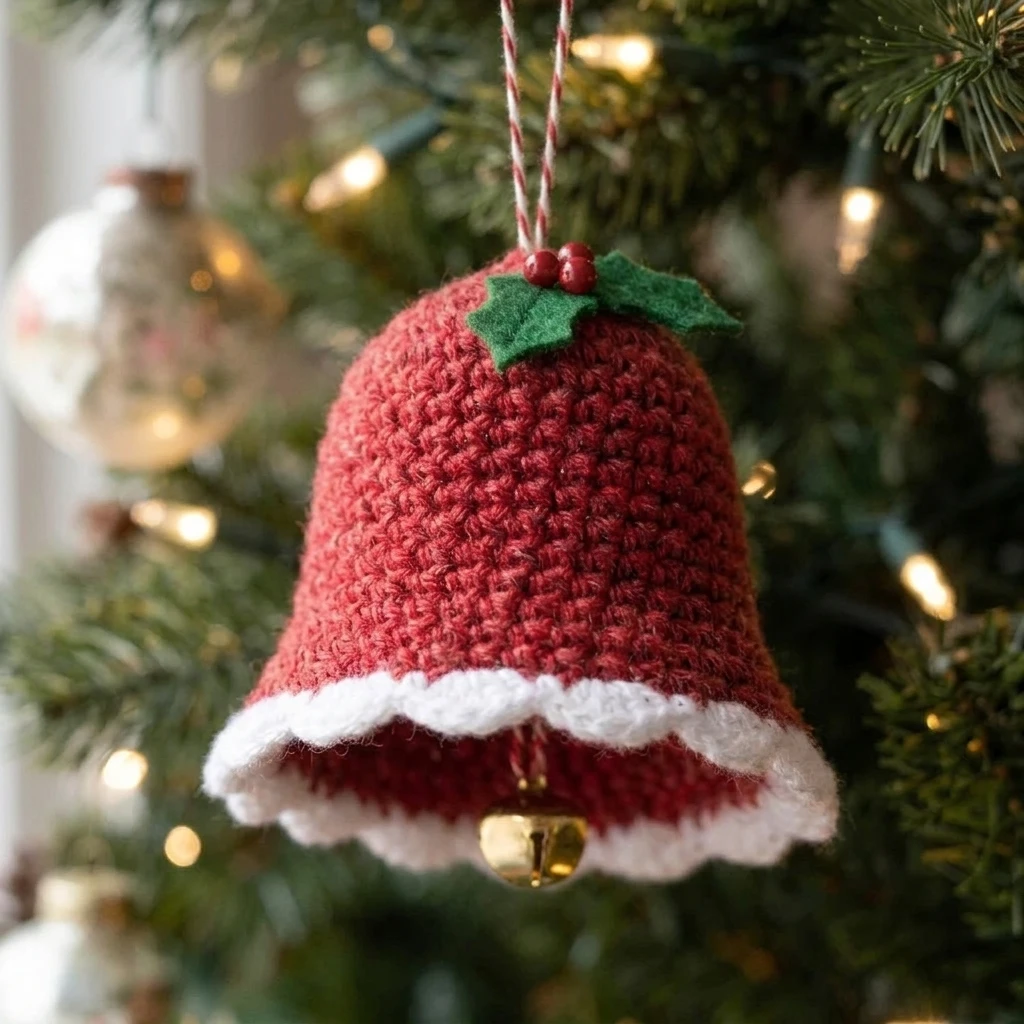
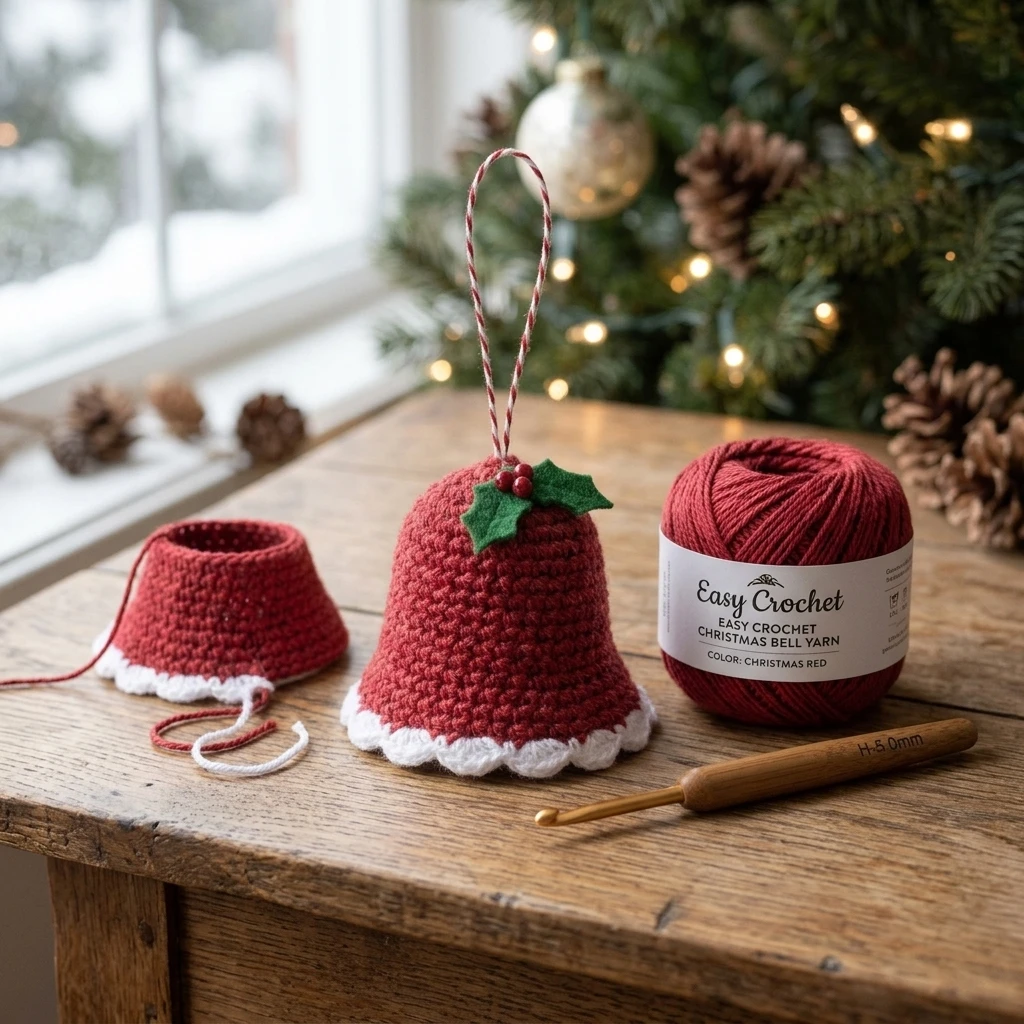
Bring a touch of handmade charm to your holiday decor with this delightful Easy Crochet Christmas Bell. This project features a classic, flared silhouette that mimics traditional metal bells but with the soft, cozy texture of yarn. It is a perfect project for beginners looking to practice working in the round and increasing. Lightweight and customizable, these bells are ideal for tree ornaments, gift toppers, or strung together as a festive mantel garland. The construction is worked top-down in one continuous piece, ensuring a sturdy shape that holds up year after year.
The Design: What Makes This Pattern Different
Unlike many flat crochet ornaments, this design focuses on architectural rigidity without the need for complex internal supports. By utilizing a tighter-than-average tension and a specific increase sequence at the base, we achieve a distinct “flare” that defines the bell shape. We have also designed the top to have a narrow opening specifically to hide the knot of your hanging loop. A common mistake to avoid is using a hook that is too large for your yarn weight; if the stitches are too loose, the bell will sag and lose its iconic bell-like profile.
Project Info at a Glance
| Feature | Details |
|---|---|
| Skill Level | Beginner |
| Estimated Time | 30 – 45 Minutes |
| Finished Size | Approx. 3 inches tall (Suggested) |
| Hook Size | 3.5mm (E) or 4.0mm (G) |
| Yarn Weight | Worsted (Level 4) – Cotton preferred |
| Gauge | Not critical, but stitches should be dense |
| Best For | Tree Ornaments and Holiday Decor |
Materials and Tools
Yarn
For the best results, use a mercerized cotton yarn or a stiff acrylic. Cotton is highly recommended because it holds its shape better than wool or soft blends. You will need approximately 20-30 yards of your primary color (classic gold, silver, or festive red) per bell.
Tools
- Crochet hook (3.5mm or 4.0mm depending on your tension)
- Steel yarn needle for weaving in ends
- Stitch marker (essential for working in continuous rounds)
- Sharp scissors
- Optional: A small craft bell or a 10mm wooden bead for the clapper
Abbreviations
- ch: chain
- sc: single crochet
- inc: increase (2 sc in the same stitch)
- st(s): stitch(es)
- sl st: slip stitch
- Rnd: Round
Pattern — Step by Step
The Crown and Body
The bell begins at the top. We will work in continuous rounds to avoid a visible seam. Do not join at the end of each round unless specified.
- Rnd 1: Start with a magic ring. Work 6 sc into the ring. (6 sts)
- Rnd 2: Work 2 sc in each st around. (12 sts)
- Rnd 3: *1 sc in the next st, inc in the next st; repeat from * around. (18 sts)
- Rnd 4 – 8: 1 sc in each st around. This creates the vertical “cup” of the bell. (18 sts)
The Bell Flare
To create the iconic outward curve, we will increase the stitch count rapidly over the next few rounds.
- Rnd 9: *2 sc in the next st, inc in the next st; repeat from * around. (24 sts)
- Rnd 10: *3 sc in the next st, inc in the next st; repeat from * around. (30 sts)
- Rnd 11: 1 sc in each st around. (30 sts)
- Rnd 12: sl st loosely in each st around to create a finished, reinforced edge. Fasten off and weave in ends.
Assembly
The assembly of the crochet bell involves adding the functional “clapper” inside and the hanging loop at the top. This is where you can customize the sound and look of your ornament.
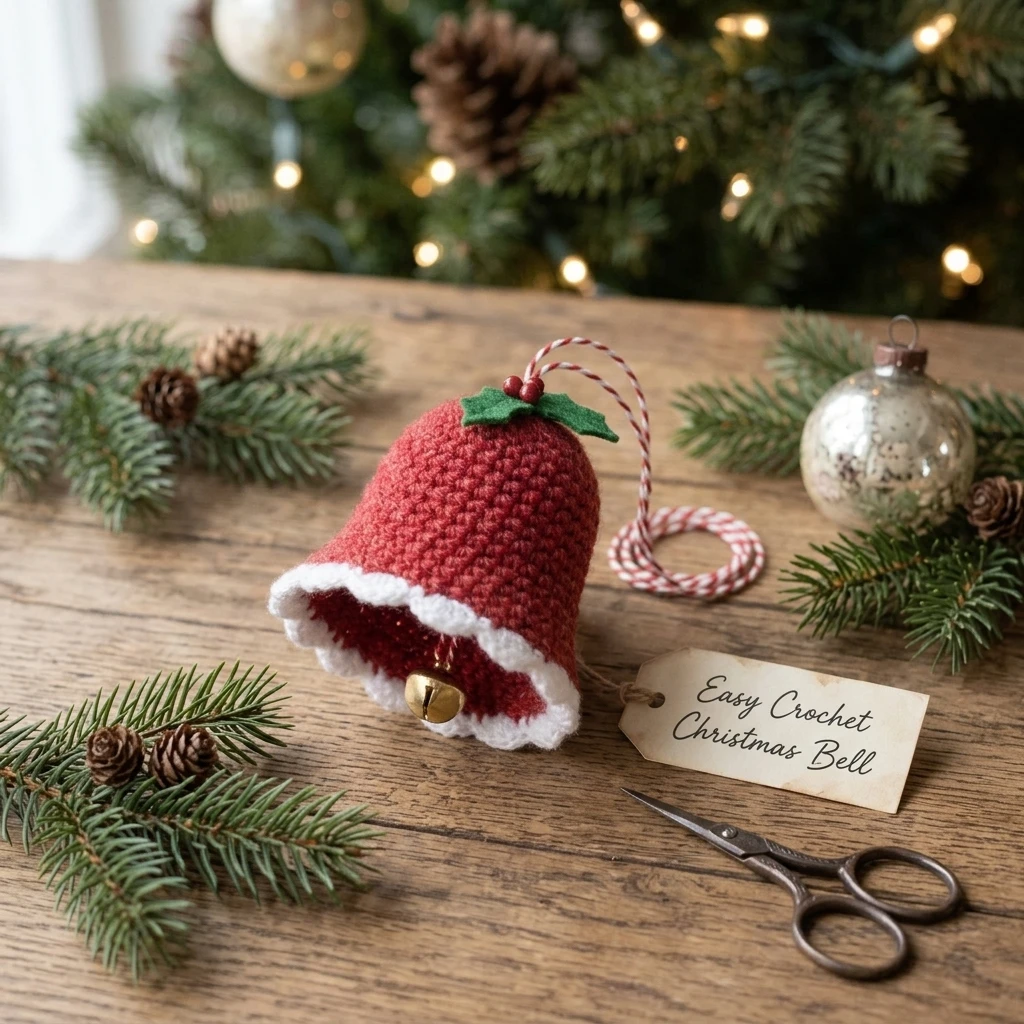
- Cut a 10-inch length of yarn. Tie a small metal craft bell or a heavy bead to the center of the yarn.
- Thread both ends of this yarn through the center of the magic ring from the inside out.
- Adjust the length so the clapper hangs just slightly above or level with the bottom edge of the bell.
- Tie a knot at the very top of the bell to secure the clapper inside and create a loop for hanging on your tree.
- Trim any excess yarn and ensure the knot is tucked slightly into the top hole for a professional finish.
7 Technical Tips for a Better Easy Crochet Christmas Bell
- Tighten Your Magic Ring: Ensure the initial magic ring is pulled as tight as possible to prevent the clapper string from slipping through.
- Consistent Tension: Keep your tension firm. If you crochet loosely, the bell will look more like a hat than a structural ornament.
- Invisible Finish: When fastening off the final round, use an invisible join instead of a slip stitch for a perfectly smooth bottom edge.
- Starching: For a professional “store-bought” feel, dip the finished bell in a mixture of water and white glue or fabric stiffener. Let it dry over a bell-shaped mold.
- Use Stitch Markers: Since this is worked in a spiral, it is very easy to lose your place. Always mark the first stitch of the round.
- Weight Matters: If your bell is too light, it may not hang straight. Using a heavier glass or metal bead for the clapper helps it hang perfectly.
- Colorwork: Try using a metallic thread held together with your yarn to give the bell a subtle holiday shimmer.
Frequently Asked Questions
Can I use a different yarn weight?
Yes, but it will change the size. A bulky yarn will create a jumbo bell, while a crochet thread will make a tiny, delicate lace bell. Adjust your hook size accordingly to maintain a dense fabric.
How do I make the bell taller?
To increase the height, simply add more rounds of “sc in each st” between Round 4 and Round 8 before you begin the flare section.
What if I don’t have a magic ring?
You can chain 2 and work 6 single crochets into the second chain from the hook, though a magic ring provides a much cleaner, tighter center.
Is this bell washable?
If you use acrylic or cotton and do not stiffen it with glue, it is gently hand-washable. However, remove any metal craft bells first to prevent rusting.
How can I add a bow?
You can tie a small ribbon bow around the top hanging loop or sew a decorative bow directly onto the side of the bell crown for extra flair.
Conclusion
This Easy Crochet Christmas Bell is a fast, satisfying project that adds a personalized touch to your holiday celebrations. Whether you make a dozen for your own tree or use them as charming accents on wrapped gifts, they are sure to be cherished. Don’t forget to experiment with different colors and textures to match your holiday theme! Save this pattern to your Crochet Ornaments board on Pinterest!
What color will you choose for your first set of crochet bells—classic gold or a modern winter white?
Save This Crochet Pattern