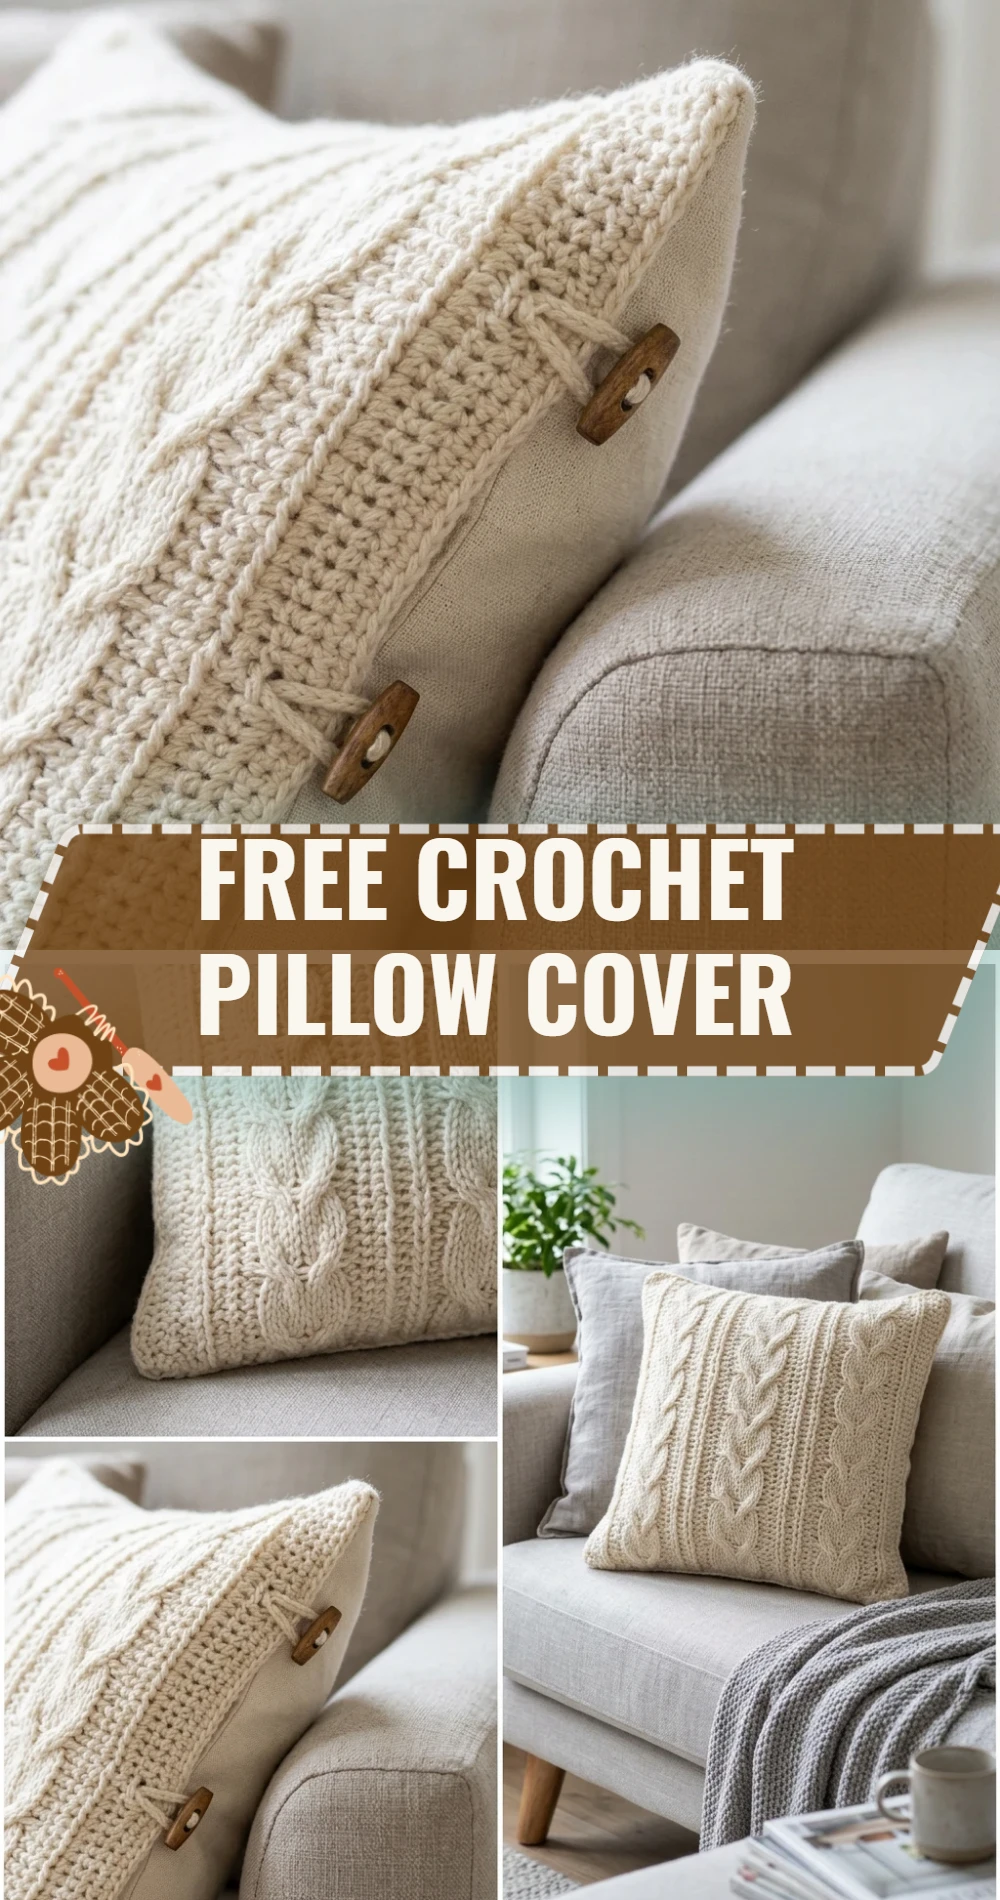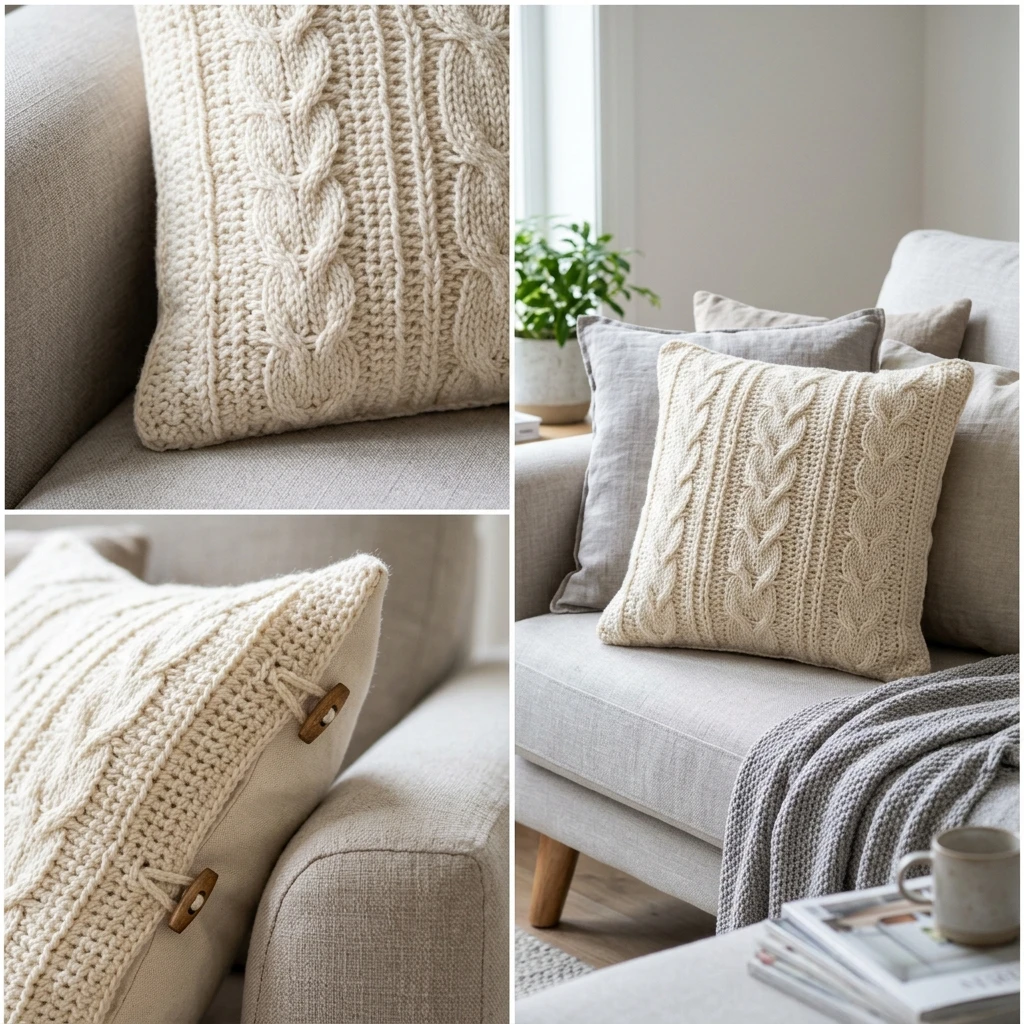
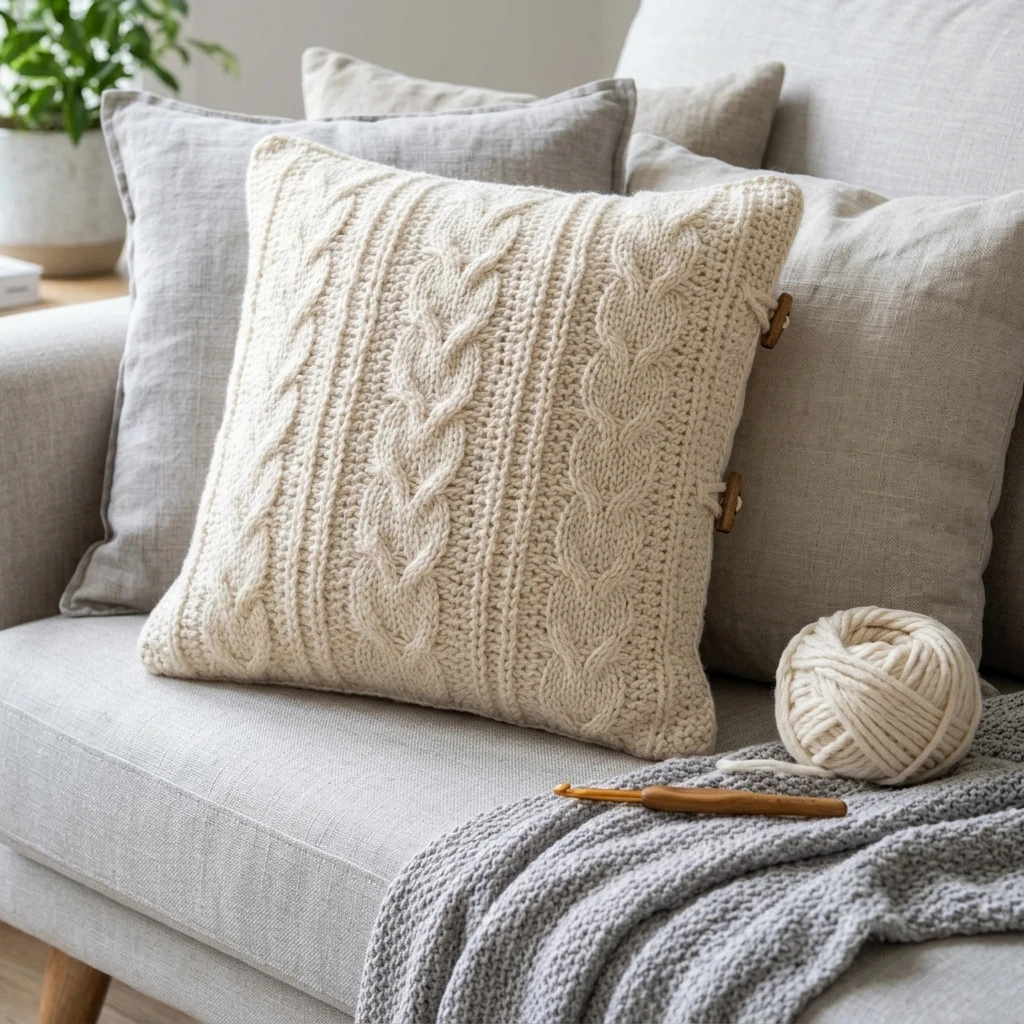
Transform your living space with a touch of handmade luxury. This Free Crochet Pillow Cover brings a sophisticated, textured aesthetic to any sofa or armchair, blending modern minimalism with cozy comfort. Designed with a timeless stitch pattern, this project is perfect for crocheters looking to create a functional piece of home decor that is as durable as it is beautiful. The construction involves two sturdy panels joined together, allowing for easy customization and a professional finish that mimics high-end boutique finds. Whether you are refreshing your own bedroom or crafting a thoughtful housewarming gift, this pattern offers a rhythmic, relaxing crochet experience with a high-impact result.
The Design: What Makes This Pattern Different
The visual identity of this pillow cover centers on the “Crunch Stitch,” a combination of slip stitches and half-double crochets that creates a dense, reversible fabric with a pebbled appearance. Unlike standard single-crochet covers which can appear flat, this design offers significant tactile interest and structural integrity, ensuring the pillow holds its shape over time.
One common mistake to avoid is making the cover the exact dimensions of your pillow form. To achieve a “designer” look that appears plump and high-end, the crochet cover should be roughly 1 inch smaller than the insert. This creates “negative ease,” preventing the fabric from sagging or bunching at the corners.
Project Info at a Glance
| Feature | Details |
|---|---|
| Skill Level | Easy / Advanced Beginner |
| Estimated Time | 4 – 6 Hours |
| Finished Size | Suggested 17″ x 17″ (for an 18″ insert) |
| Hook Size | 5.5 mm (US I/9) |
| Yarn Weight | Worsted (Weight 4) |
| Gauge | 14 sts x 12 rows = 4″ in pattern stitch |
| Best For | Home Decor, Gifting, Stash Busting |
Materials and Tools
Yarn
For this project, a sturdy cotton or a high-quality acrylic blend is recommended to ensure the cover maintains its texture after washing. You will need approximately 550 to 600 yards of worsted weight yarn to complete both the front and back panels for a standard square pillow.
Tools
- 5.5 mm (I/9) crochet hook
- Darning needle for weaving in ends
- Measuring tape
- Scissors
- 18″ x 18″ pillow insert
Abbreviations
- ch: Chain
- st(s): Stitch(es)
- sl st: Slip stitch
- hdc: Half double crochet
- rep: Repeat
- yo: Yarn over
Pattern — Step by Step
Construction Overview
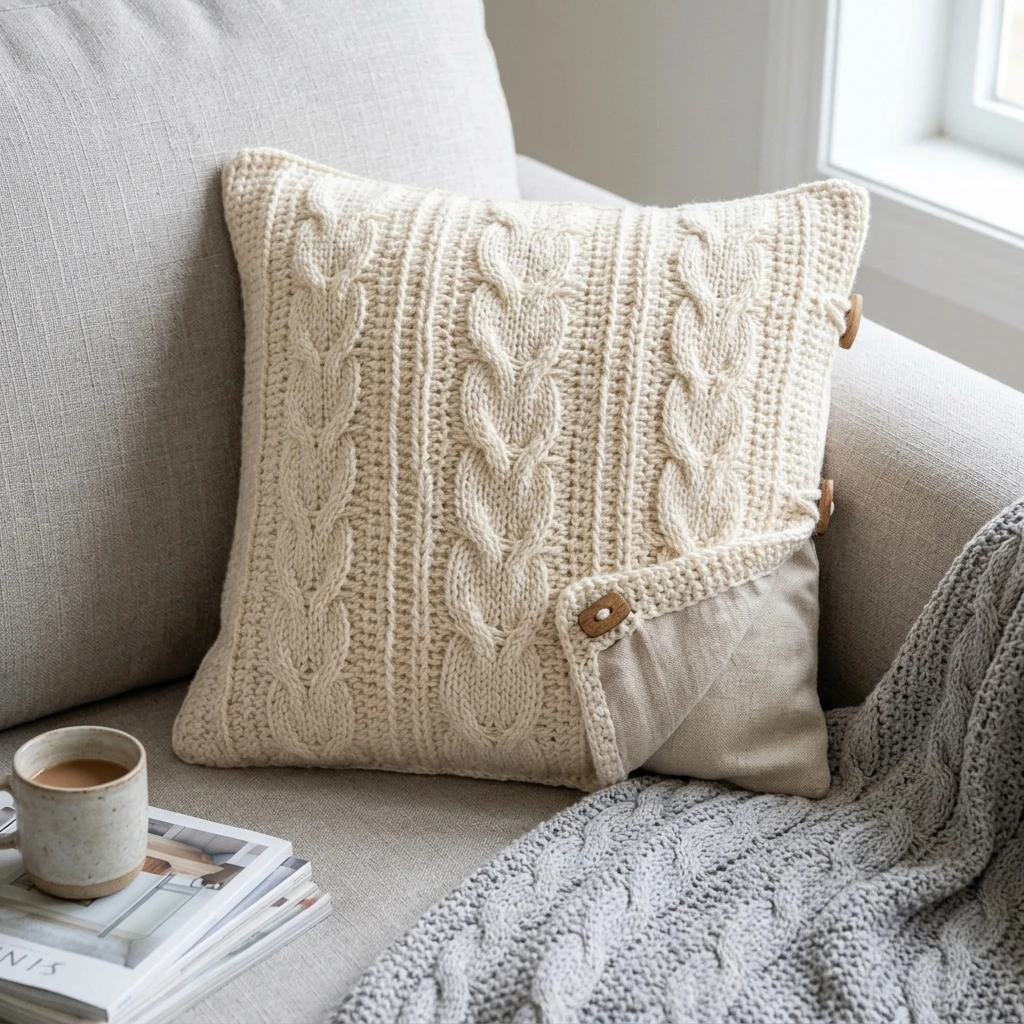
This pillow cover is constructed by crocheting two identical square panels. These panels are then held together and seamed around three sides before the pillow insert is placed inside. The fourth side is then seamed shut or finished with a closure system like buttons or a zipper.
The Panels (Make 2)
- Foundation Row: Ch 61 (or any odd number required to reach approximately 17 inches).
- Row 1: Sl st in the 3rd ch from hook. *Hdc in the next ch, sl st in the next ch. Rep from * across to the end. Turn. (59 sts)
- Row 2: Ch 2 (counts as first hdc). Sl st in the next hdc from the previous row. *Hdc in the next sl st, sl st in the next hdc. Rep from * across, ending with a sl st in the turning chain. Turn.
- Row 3: Ch 2 (counts as first hdc). Sl st in the next hdc. *Hdc in the next sl st, sl st in the next hdc. Rep from * across. Turn.
- Remaining Rows: Repeat Row 3 until the panel measures 17 inches in height, or matches the width of your foundation row to form a perfect square.
- Finishing: Fasten off and weave in all ends securely. Repeat the process for the second panel.
Assembly
Before beginning the assembly, ensure both panels are blocked to the same dimensions. This ensures the edges line up perfectly and the stitches are evenly distributed. You may choose to seam the panels with a tapestry needle or use a crochet join for added decorative flair.
- Place the two panels together with the “right sides” facing each other (if you have a preference).
- Join your yarn in any corner, going through both layers of fabric.
- Seaming: Work a row of single crochet or slip stitches evenly along three sides of the square. Ensure you place 3 stitches in each corner to allow the cover to turn without pulling.
- Turn the cover right-side out through the open fourth side.
- Insert your 18″ pillow form into the cover, pushing the corners of the insert firmly into the corners of the crochet fabric.
- Seal the final side using a “ladder stitch” with a darning needle for an invisible finish, or continue the crochet join if you prefer a visible seam.
7 Technical Tips for a Better Free Crochet Pillow Cover
- Check Your Gauge: Pillow covers are size-sensitive. If your gauge is too loose, the pillow insert will show through the stitches.
- Corner Reinforcement: When seaming, double-stitch the corners. These areas experience the most stress when the insert is stuffed inside.
- Negative Ease is Key: Always aim for the cover to be slightly smaller than the insert. An 18-inch insert in an 18-inch cover often looks baggy.
- Yarn Choice: Use a non-elastic yarn like mercerized cotton for the best stitch definition and to prevent the cover from stretching out over time.
- Invisible Seams: Use the “mattress stitch” for the final side closure if you want the seam to be completely hidden.
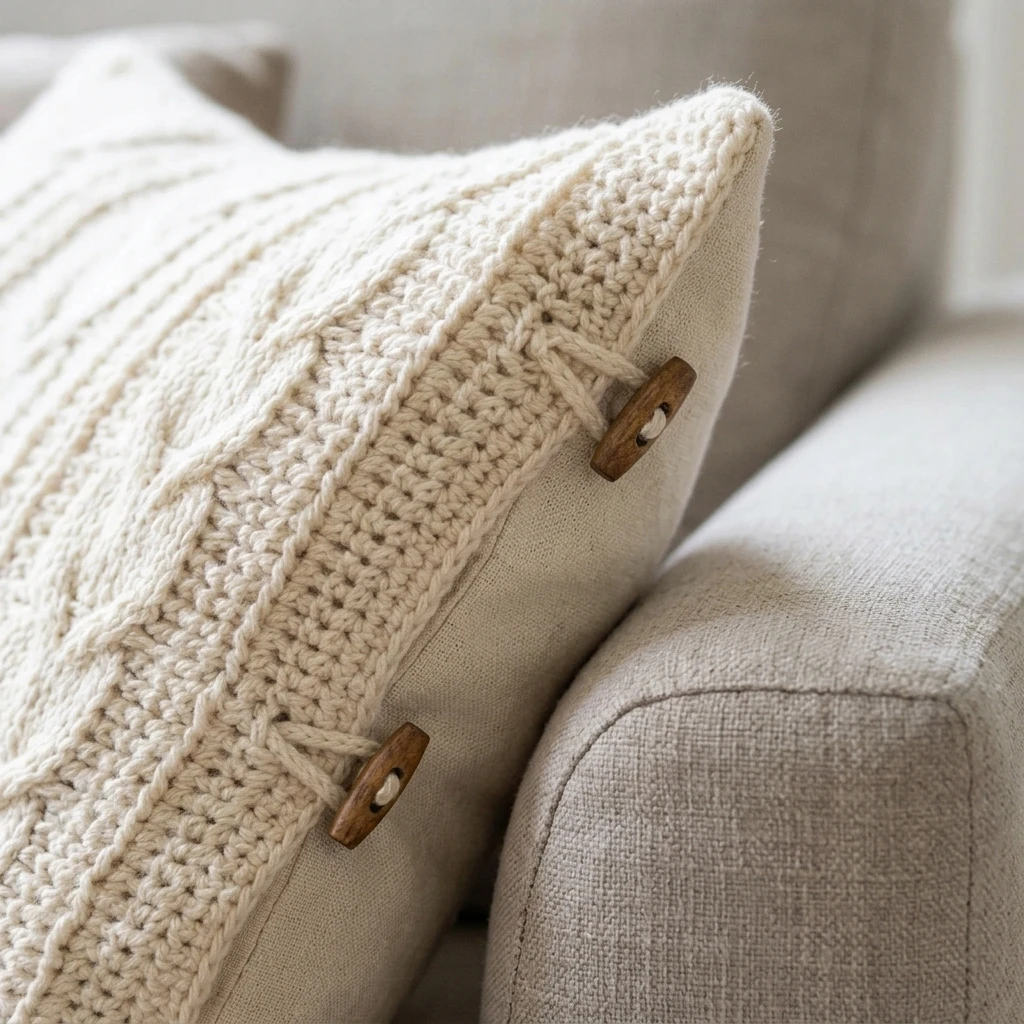
- Button Options: If you want the cover to be removable for frequent washing, crochet the back panel as two overlapping rectangles to create an “envelope” closure.
- Blocking: Don’t skip blocking! Steam blocking your panels before assembly will make the edges much easier to align and join.
Frequently Asked Questions
What is the best yarn for a pillow cover?
Cotton or cotton blends are generally best because they are durable, pill-resistant, and show off stitch definition beautifully. If using acrylic, choose a “low pill” variety to keep the pillow looking new.
Can I make this for a 20-inch pillow?
Yes. Simply increase your starting chain until it measures 19 inches (remembering to use an odd number of chains) and continue the pattern until the height also reaches 19 inches.
How do I wash my crochet pillow cover?
If you used cotton or acrylic, you can usually machine wash on a delicate cycle. However, it is always safest to hand wash and lay flat to dry to maintain the shape and texture of the stitches.
Why are my corners curling?
Curling usually happens due to tight tension on the first or last stitches of a row. Blocking the panels before assembly will typically solve this issue and flatten the edges.
Can I add a zipper?
Absolutely. You can hand-sew a standard fabric zipper to the final open edge of the crochet cover using a sharp needle and matching sewing thread.
Conclusion
Creating a Free Crochet Pillow Cover is a rewarding way to add texture and personality to your home. By mastering the crunch stitch and focusing on proper sizing, you can achieve a professional-quality result that rivals high-end decor. This project is a fantastic way to practice consistency and finishing techniques that will serve you in all your future crochet endeavors. If you enjoyed this tutorial, be sure to save it to your Crochet Home Decor board on Pinterest!
What color would best suit your living room—a neutral cream or a bold pop of color?
Save This Crochet Pattern