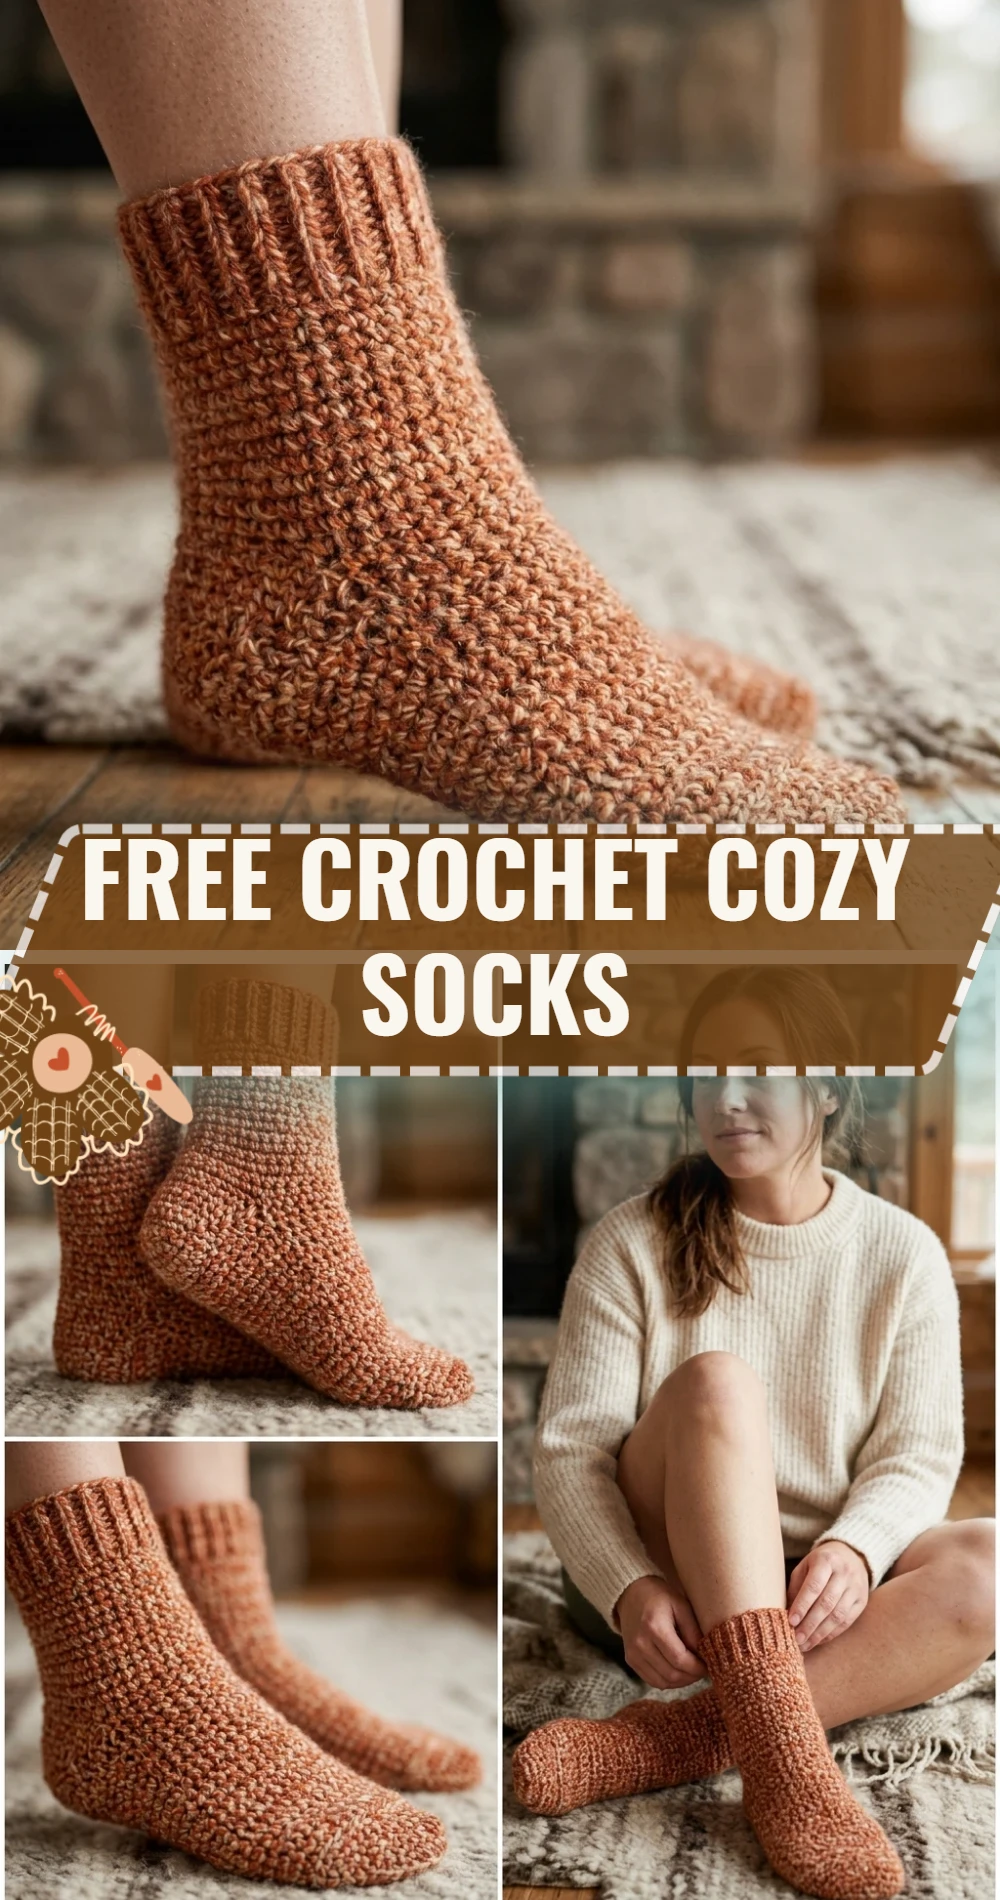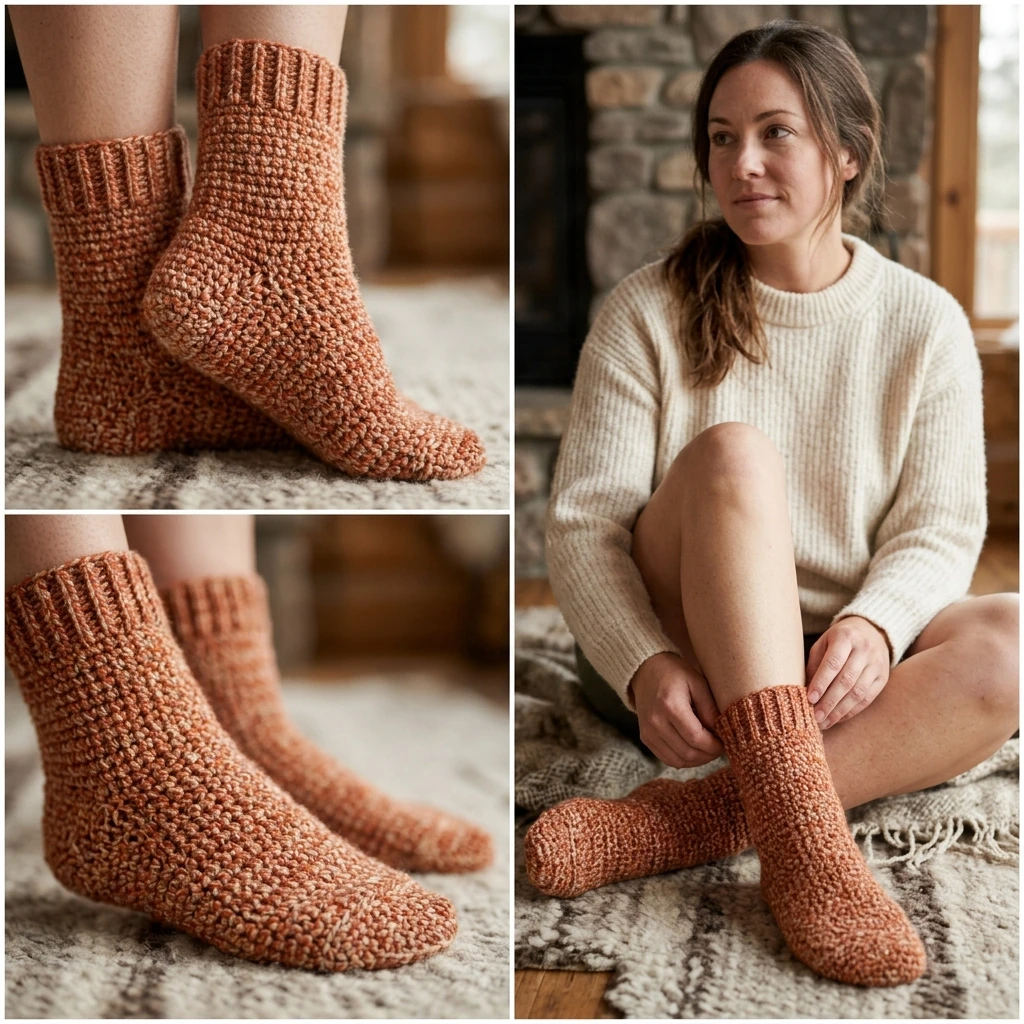
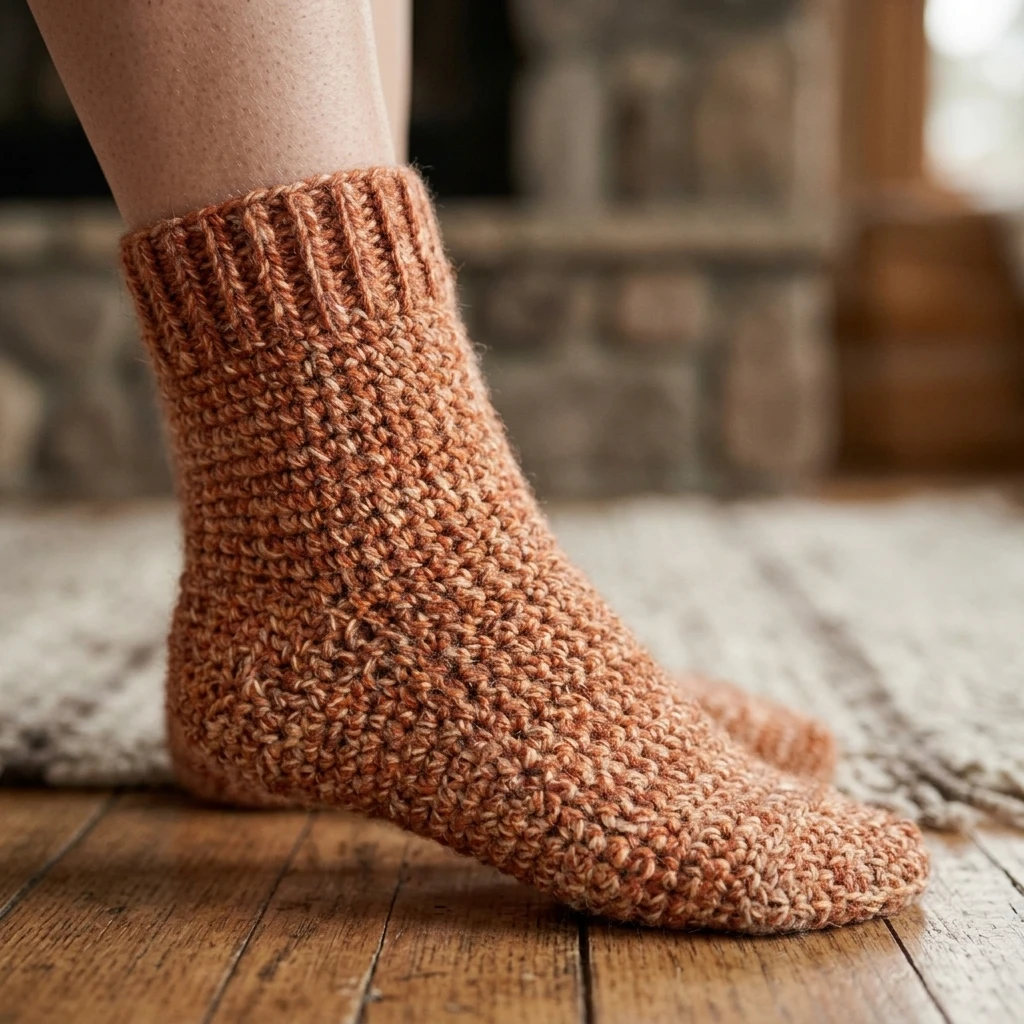
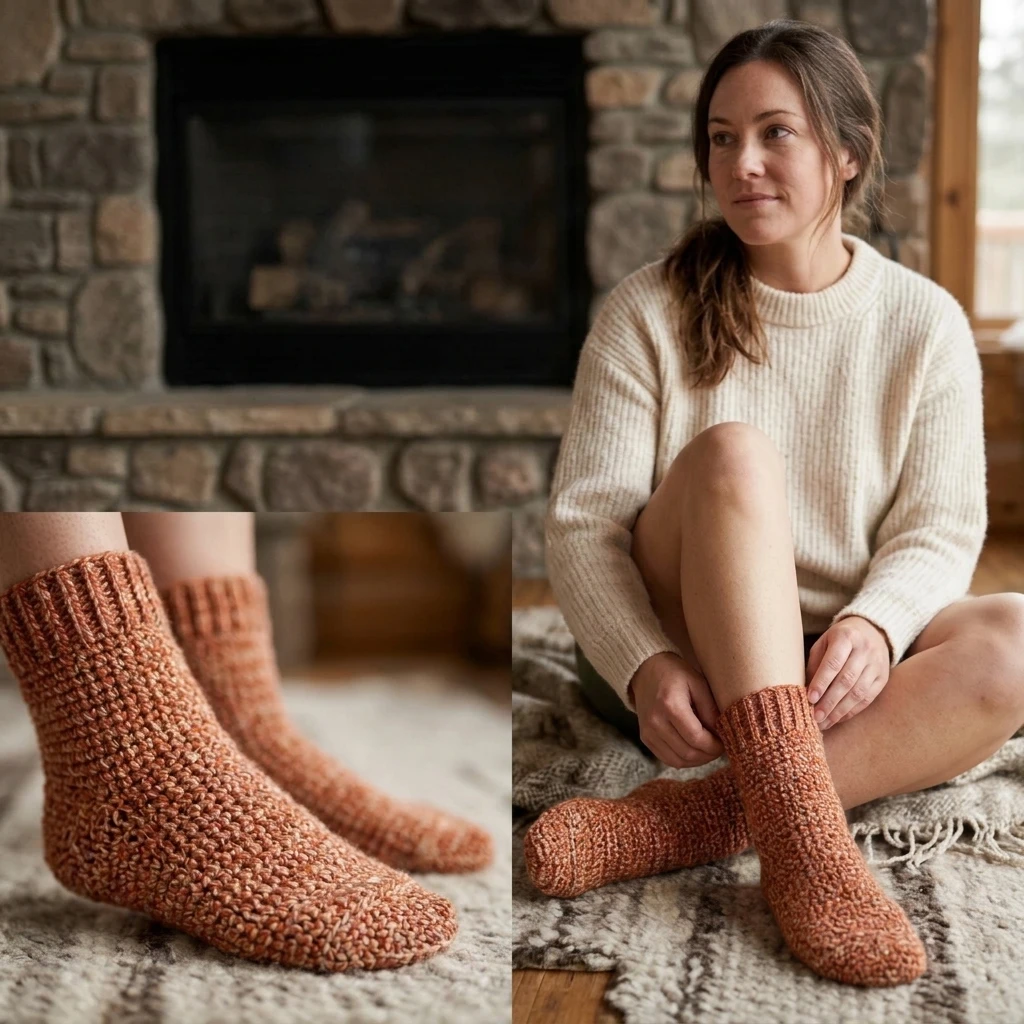
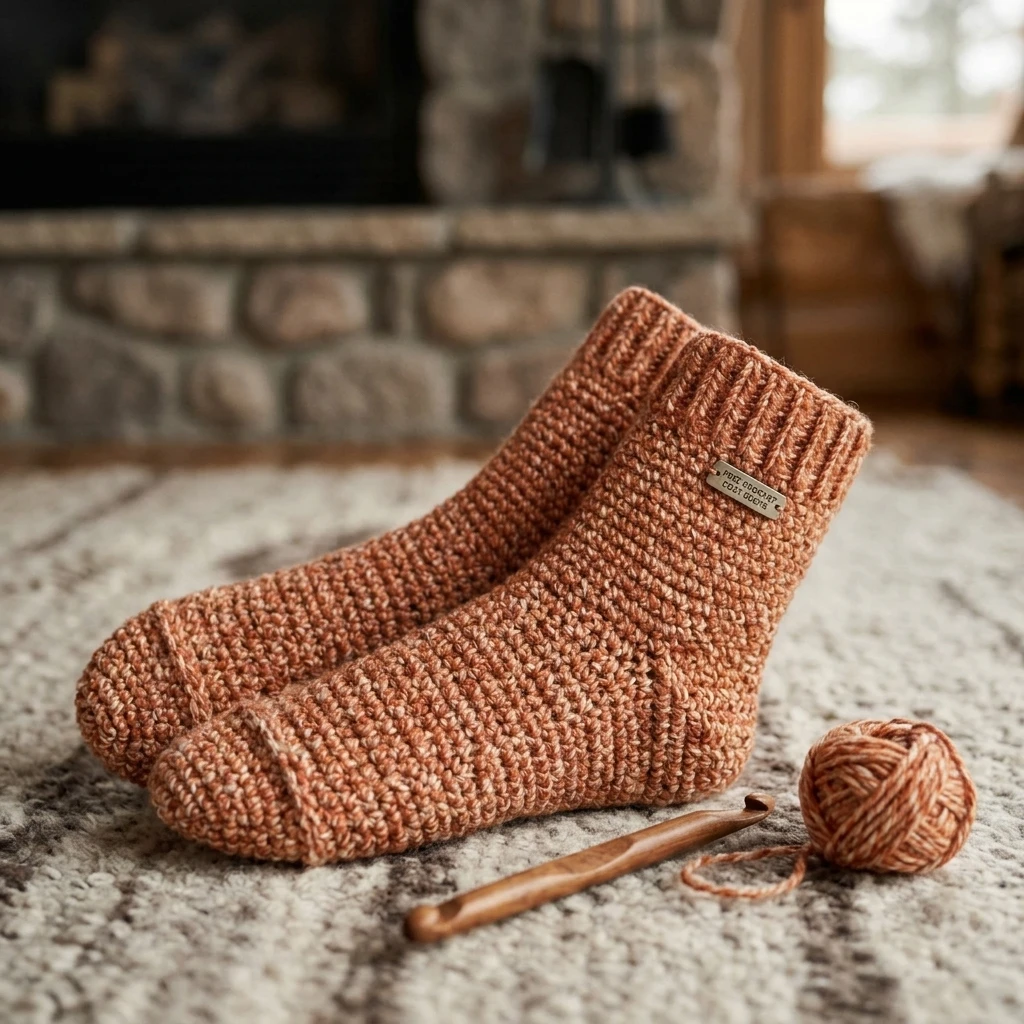
Imagine the ultimate pair of lounge socks: thick, squishy, and incredibly warm against a chilly floor. These Free Crochet Cozy Socks are designed to provide maximum comfort without the complexity of traditional knitting. Using a worsted weight yarn and a clever construction that balances stretch with structure, these socks are perfect for lazy Sunday mornings or as a thoughtful handmade gift for loved ones. The design features a classic ribbed cuff for a secure fit, a sturdy heel flap for longevity, and a tapered toe that follows the natural curve of the foot, making them a must-have accessory for any crochet enthusiast’s wardrobe.
The Design: What Makes This Pattern Different
The architecture of these socks focuses on wearable geometry. Unlike flat-seamed socks which can be bulky and uncomfortable, this pattern utilizes a cuff-down method worked primarily in the round. By using half-double crochet stitches for the main body, we achieve a fabric that is denser and warmer than double crochet but faster to work up than single crochet. A key structural decision is the inclusion of a reinforced heel flap; this ensures that the area under the most friction remains durable over time. One common mistake to avoid is working the foundation chain or the initial cuff rounds too tightly. If the cuff lacks elasticity, the sock will be difficult to pull over the heel, regardless of how perfectly the foot section fits.
Project Info at a Glance
| Feature | Details |
|---|---|
| Skill Level | Intermediate (familiarity with working in the round and decreasing) |
| Estimated Time | 4–6 hours per pair |
| Finished Size | Adult Medium (approx. 9-10 inch foot length) |
| Hook Size | 4.0mm (G/6) or size needed to obtain gauge |
| Yarn Weight | Worsted Weight (Medium #4) |
| Gauge | 16 hdc x 12 rows = 4 inches (photo-inspired) |
| Best For | Lounging, sleepwear, and gifting |
Materials and Tools
Yarn
For this project, you will need approximately 250 to 300 yards of worsted weight yarn. To ensure the socks are truly “cozy,” a wool-blend or a high-quality acrylic with some elasticity is suggested. Estimated quantities are based on an average adult size; larger sizes may require an additional skein.
Tools
- 4.0mm (G) Crochet Hook
- Removable stitch markers (at least 4)
- Tapestry needle for weaving in ends
- Measuring tape
- Scissors
Abbreviations
- ch: chain
- st(s): stitch(es)
- sl st: slip stitch
- sc: single crochet
- hdc: half double crochet
- fpdc: front post double crochet
- bpdc: back post double crochet
- hdc2tog: half double crochet two together (decrease)
- yo: yarn over
Pattern — Step by Step
Cuff and Leg
The sock begins at the top. We create a stretchy ribbed cuff before transitioning into the main leg section.
- Foundation: Ch 36 (or a multiple of 2 to fit around the calf). Join with a sl st to the first ch, being careful not to twist the chain. (36 sts)
- Round 1: Ch 2 (does not count as st), dc in each ch around. Join.
- Rounds 2-6: Ch 2, *fpdc around next st, bpdc around next st; repeat from * around. Join. This creates the ribbing.
- Rounds 7-20: Ch 1, hdc in each st around. Join with a sl st. Continue until the leg reaches your desired height (suggested 5-6 inches).
Heel Flap and Turn
The heel is worked back and forth in rows over only half of the total stitches (18 sts).
- Row 1: Ch 1, sc in the next 18 sts. Turn.
- Row 2-10: Repeat Row 1. (18 sts)
- Heel Turn: Ch 1, sc 10, sc2tog, sc 1, turn (leave remaining sts unworked).
- Next Row: Ch 1, sc 4, sc2tog, sc 1, turn.
- Continue this “short row” process until all heel flap stitches are incorporated and you have a small “cup” shape.
Gusset and Foot
Now we resume working in the round, picking up stitches along the sides of the heel flap to rejoin the leg.
- Set-up Round: Ch 1, sc across the heel turn sts, pick up 10 sc along the side of the flap, hdc across the 18 saved sts from the leg, pick up 10 sc along the other side of the flap. Mark the centers of the sides for decreases.
- Gusset Decrease: Hdc around, performing an hdc2tog at the marked side spots every round until you are back to the original stitch count of 36.
- Foot: Hdc in each st around until the foot length is approximately 2 inches shorter than the total desired length.
The Toe
The toe is shaped using rapid decreases to create a smooth, rounded finish.
- Round 1: *Hdc 4, hdc2tog; repeat from * around.
- Round 2: Hdc in each st around.
- Round 3: *Hdc 3, hdc2tog; repeat from * around.
- Round 4: *Hdc 2, hdc2tog; repeat from * around.
- Round 5: *Hdc 1, hdc2tog; repeat from * around. Fasten off leaving a long tail.
Assembly
Finalizing the socks involves closing the toe and ensuring all transitions are smooth. Because these are worked in one piece, minimal sewing is required.
- Thread the long yarn tail from the toe into a tapestry needle.
- Weave the needle through the front loops of the remaining stitches and pull tight to close the hole (cinch method).
- Turn the sock inside out and secure the yarn with a knot on the interior.
- Weave in all remaining ends from the cuff and the heel transition.
- Repeat the entire process for the second sock, ensuring you match the row counts for a symmetrical pair.
7 Technical Tips for a Better Free Crochet Cozy Socks
- Check Your Gauge: Sock fit is sensitive. If your stitches are too loose, the sock will slide off; if too tight, it won’t stretch over your heel.
- Use Stitch Markers: Always mark the first stitch of your round and the corners of your gusset. It prevents “stitch creep” where the seam begins to slant.
- Avoid Gusset Holes: When picking up stitches along the heel flap, pick up one extra stitch in the “corner” where the flap meets the leg, then decrease it on the next round to close any gaps.
- Mind the Fiber: Look for “Sock Yarn” even in worsted weights. Yarn with 10-25% nylon content provides the necessary snap-back to keep socks from sagging.
- Measure the “Diagonal”: When checking size, measure from the point of the heel to the top of the instep. This is usually the widest part of the foot.
- Invisible Decreases: For the toe section, use invisible hdc decreases to prevent bulky ridges that might rub against your toes inside shoes.
- Steam Block: Lightly steam blocking your finished socks (on sock blockers if available) will even out the stitches and give them a professional, store-bought finish.
Frequently Asked Questions
Can I use 100% cotton yarn for these socks?
Cotton is generally not recommended for socks because it lacks elasticity. Over time, cotton socks will stretch out and lose their shape. A wool or acrylic blend is much better for maintaining fit.
How do I adjust this pattern for a larger foot?
You can increase the initial chain count in multiples of two. For every 2 stitches added to the width, ensure you add roughly 2 rows to the length of the foot before starting the toe decreases.
Are these socks left-foot or right-foot specific?
No, this specific design is symmetrical. You can wear either sock on either foot, which makes them easier to knit and wear.
Why is my heel flap looking very narrow?
The heel flap should cover exactly half of your stitches. If it looks too small, double-check your stitch count. For a 36-stitch sock, the flap must be exactly 18 stitches wide.
What is the best way to prevent the cuff from being too tight?
Use a hook one size larger (4.5mm or 5.0mm) just for the foundation chain and the very first row of dc, then switch back to the 4.0mm hook for the ribbing.
Conclusion
Crafting your own Free Crochet Cozy Socks is a rewarding way to master shaping and construction while creating a functional item for your home. By following the cuff-down method and paying close attention to the heel flap, you’ll produce a durable, professional-looking pair of socks. If you enjoyed this tutorial, be sure to save it to your Crochet Wearables board on Pinterest for later! Have you ever tried an afterthought heel, or do you prefer the classic heel flap method used here?
Save This Crochet Pattern