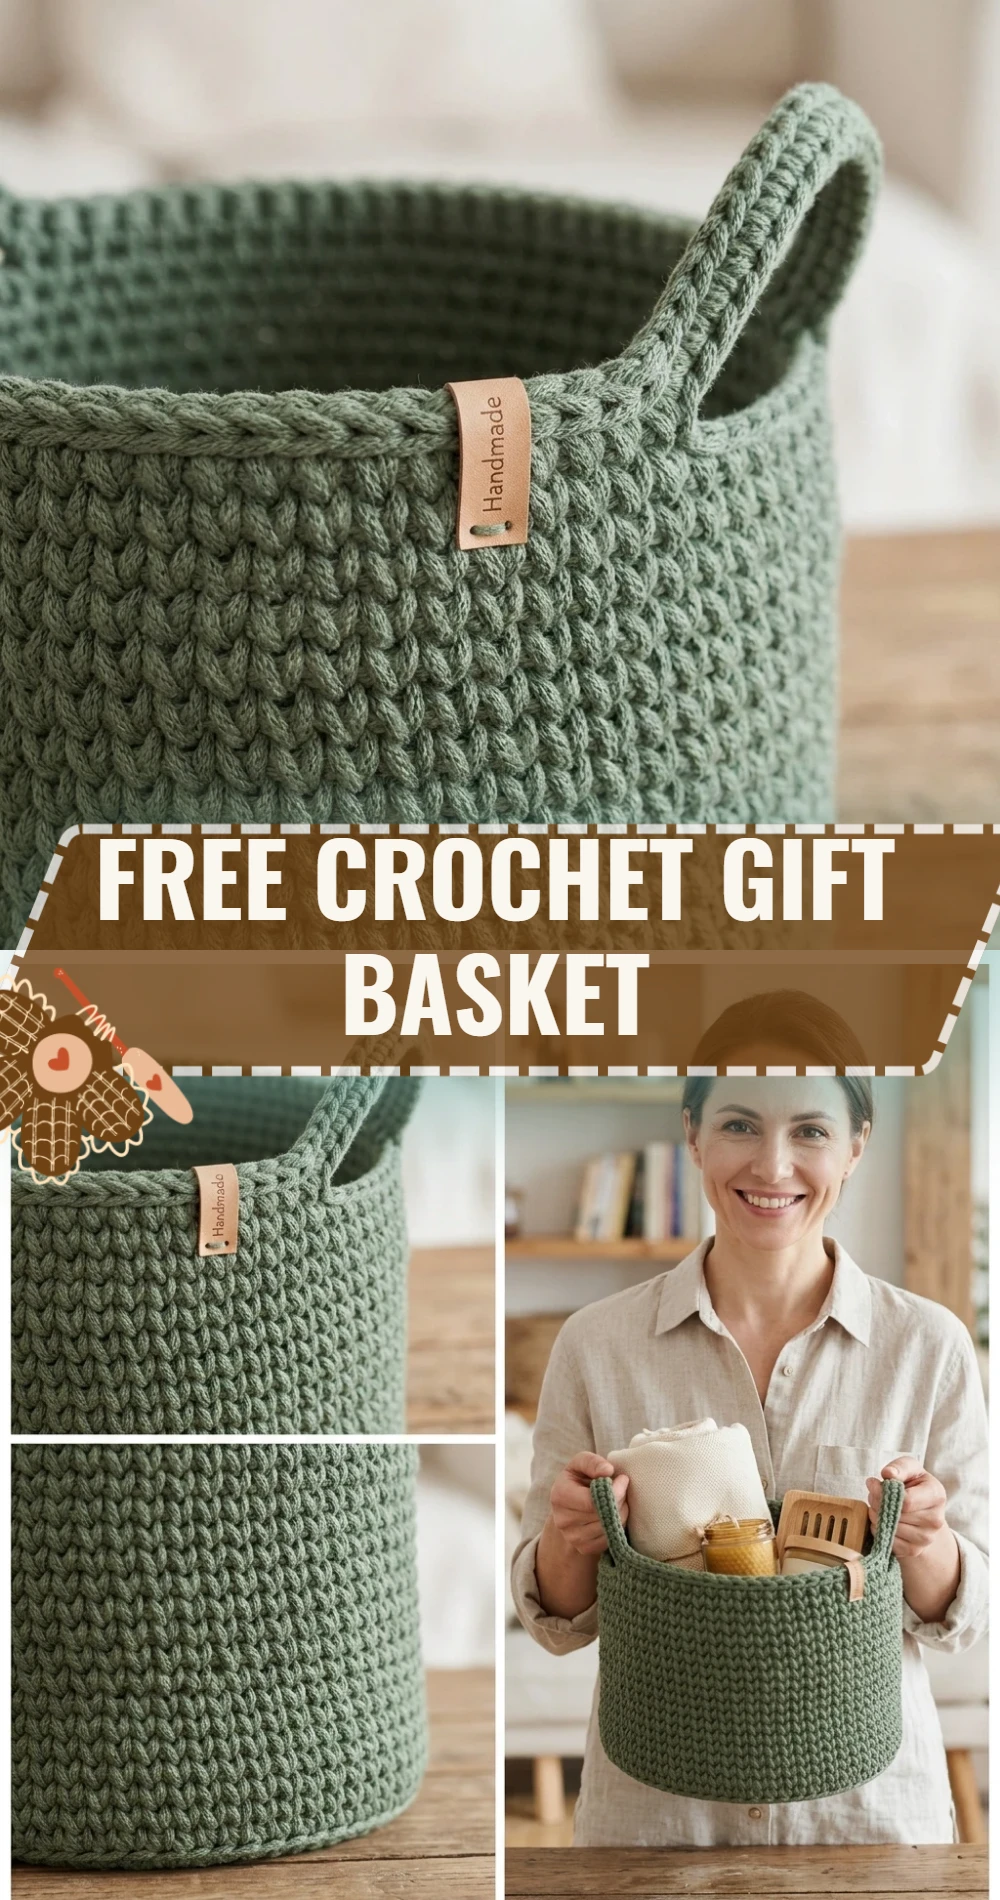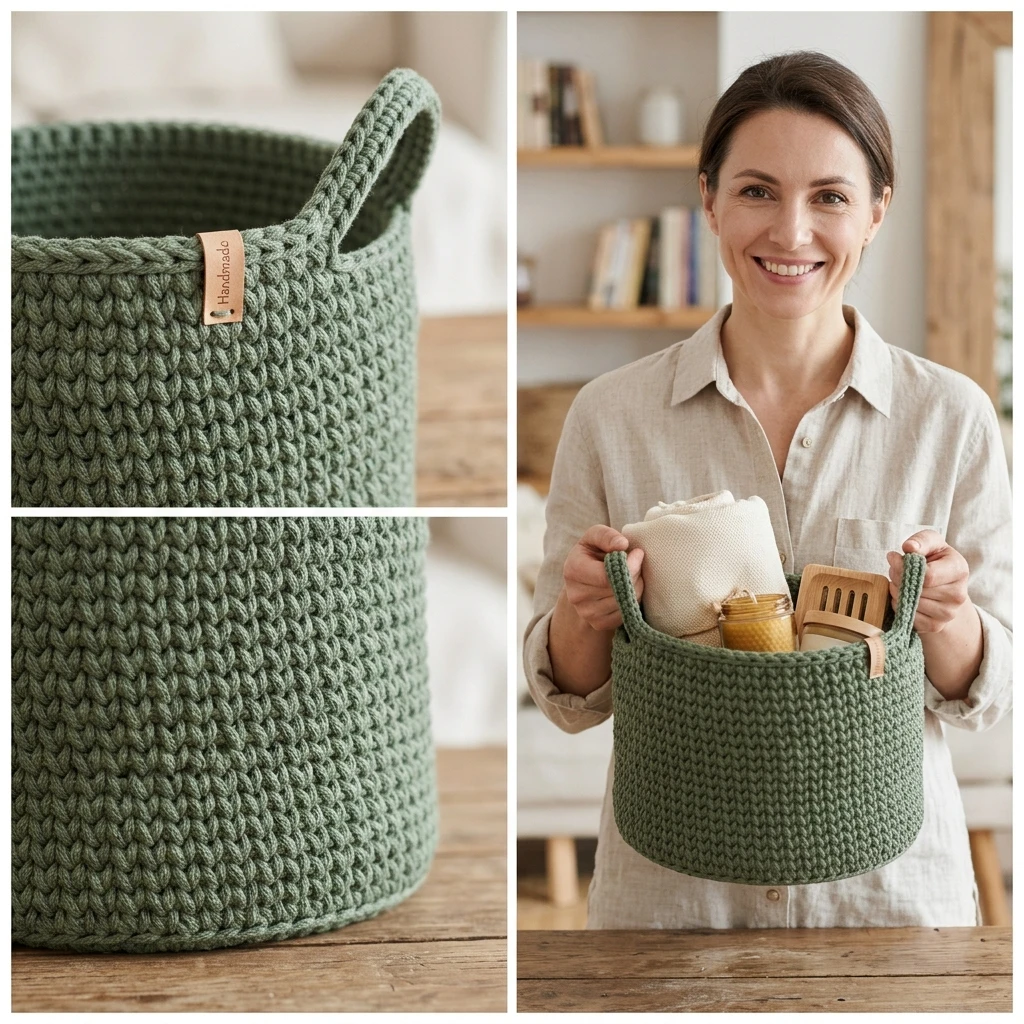
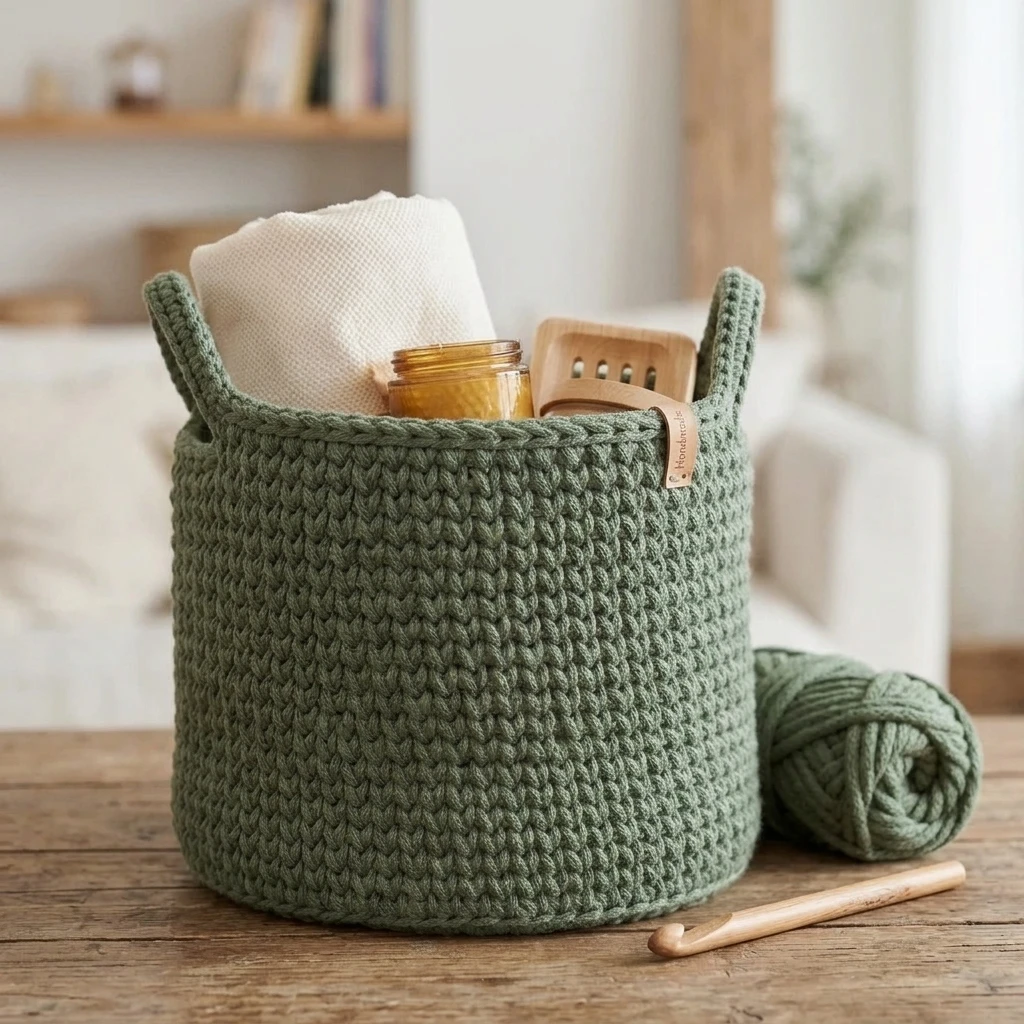
This Free Crochet Gift Basket is the ultimate marriage of utility and handmade charm. Featuring a sturdy, reinforced base and thick, textured walls, this project is designed to hold its shape even when filled with heavier items like spa products, candles, or yarn skeins. The visual identity of this basket is modern and minimalist, relying on dense stitches rather than lacy gaps to ensure a professional, store-bought finish. It is a perfect project for intermediate beginners looking to master working in the round and creating structural integrity in 3D objects.
The Design: What Makes This Pattern Different
The primary design goal for this gift basket was rigidity. Unlike many crochet baskets that sag when empty, this pattern utilizes a slightly smaller hook than the yarn label recommends and incorporates a “waist” round to create a sharp 90-degree angle between the floor and the walls. The stitch pattern chosen is a dense single crochet to minimize gaps. One common mistake makers encounter is working with a tension that is too loose, which results in “floppy” sides. By maintaining a firm tension and using the back-loop-only technique for the transition row, we ensure the basket remains upright and functional for long-term use.
Project Info at a Glance
| Skill Level | Easy / Advanced Beginner |
| Estimated Time | 2–4 Hours |
| Finished Size | Approximately 8″ diameter x 5″ height (Photo-inspired) |
| Hook Size | 6.5 mm (K) or size needed to obtain stiff fabric |
| Yarn Weight | Bulky (Weight 5) or two strands of Worsted (Weight 4) held together |
| Gauge | 11 sc x 12 rows = 4″ (Suggested for stiffness) |
| Best For | Home organization, holiday hampers, and personalized gift sets |
Materials and Tools
Yarn
To achieve the necessary structure, it is recommended to use a cotton or cotton-blend yarn. For this specific size, you will need approximately 150–200 yards of bulky weight yarn. If you prefer using acrylic, choose a stiff, “workhorse” variety rather than a soft, premium drape yarn to ensure the basket walls do not collapse.
Tools
- 6.5 mm crochet hook (or appropriate size for your yarn choice)
- Large-eye tapestry needle for weaving in ends
- Stitch markers (essential for working in continuous rounds)
- Sharp scissors
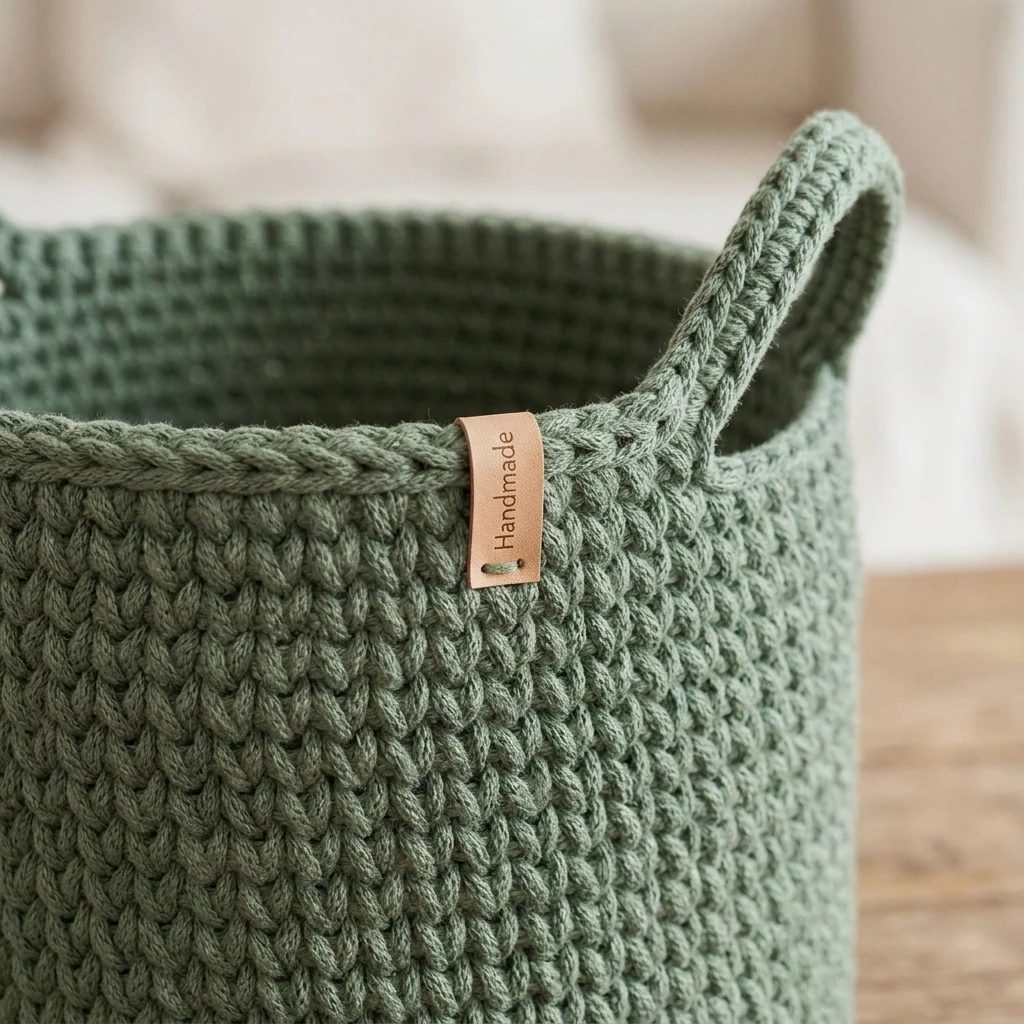
- Optional: Leather handles or ribbon for embellishment
Abbreviations
- ch: Chain
- sc: Single crochet
- inc: Increase (2 sc in the same stitch)
- BLO: Back loop only
- sl st: Slip stitch
- st(s): Stitch(es)
- Rnd: Round
Pattern — Step by Step
The Base (Flat Circle)
The basket begins with a flat circular base worked in continuous rounds. Do not join at the end of each round unless specified; use a stitch marker to track the first stitch of each round.
- Rnd 1: Make a magic ring, 6 sc into ring. (6 sts)
- Rnd 2: 2 sc in each st around. (12 sts)
- Rnd 3: *1 sc, inc in next st; repeat from * around. (18 sts)
- Rnd 4: *2 sc, inc in next st; repeat from * around. (24 sts)
- Rnd 5: *3 sc, inc in next st; repeat from * around. (30 sts)
- Rnd 6: *4 sc, inc in next st; repeat from * around. (36 sts)
- Rnd 7: *5 sc, inc in next st; repeat from * around. (42 sts)
- Rnd 8: *6 sc, inc in next st; repeat from * around. (48 sts)
The Transition (The “Fold” Line)
To create a crisp edge where the base meets the wall, we will change the direction of the work.
- Rnd 9: Sc in the BLO of every stitch around. This creates a ridge that helps the walls stand vertically. (48 sts)
The Sides and Handles
- Rnd 10-18: Sc in both loops of every stitch around. Continue until the basket reaches your desired height (approx. 4.5 inches). (48 sts)
- Rnd 19 (Handle Round): Sc 10, ch 8, skip 6 sts, sc 18, ch 8, skip 6 sts, sc 8. (Stitch counts for chains are estimated for handle size).
- Rnd 20 (Finishing): Sc in each sc and work 10 sc over each ch-8 space to reinforce the handles. Sl st to the first st of the round to finish.
Assembly
Because this basket is worked in one piece, assembly is minimal and focuses primarily on reinforcing the structure and adding final decorative touches.
- Fasten off the yarn, leaving a 6-inch tail for weaving.
- Using the tapestry needle, perform an invisible join to the first stitch of the final round to create a seamless top edge.
- Weave the starting tail into the center of the magic ring and pull tight to ensure no gap remains in the base.
- Weave the final tail securely through the inside of the basket walls to hide the end.
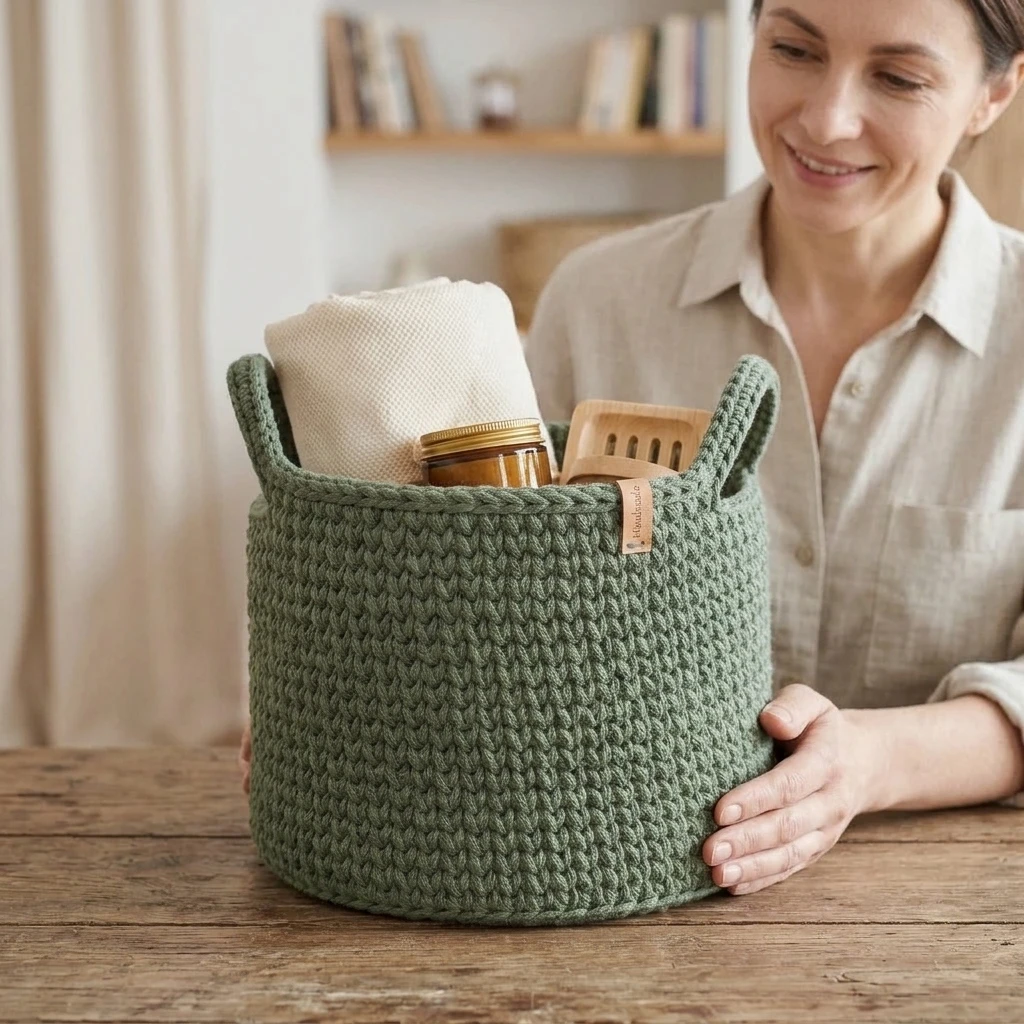
- Steam block the basket by stuffing it with towels and using a steamer to relax the fibers into a perfect cylindrical shape.
7 Technical Tips for a Better Free Crochet Gift Basket
- Check Your Gauge: If the fabric feels limp, drop down a hook size. The stitches should be tight enough that you cannot see light through them.
- Invisible Increases: To avoid a hexagonal shape in your circular base, stagger your increases so they don’t stack directly on top of each other.
- Yarn Choice Matters: T-shirt yarn or bulky cotton cords provide the best structural integrity for larger gift baskets.
- Maintain Consistent Tension: Ensure your tension doesn’t loosen as you work up the walls, or the top of the basket will flare out.
- Seamless Joins: When finishing the top rim, use the “invisible finish” technique rather than a standard slip stitch to prevent a noticeable bump.
- Reinforcing the Base: For an extra-sturdy basket, cut a piece of plastic canvas or heavy cardboard to fit the bottom and place it inside.
- Double Stranding: If you only have worsted weight yarn, hold two strands together and use an 8mm hook for a similar bulky effect and added durability.
Frequently Asked Questions
What is the best yarn for a crochet basket?
Cotton or T-shirt yarn is ideal because it has very little stretch and high “memory,” meaning it will hold the shape you give it. Avoid soft wools or lightweight acrylics unless you plan to use a liner.
How do I stop my basket from sagging?
Sagging is usually caused by loose tension or using a hook that is too large. Working in the Back Loop Only for the transition row and using a “waistcoat stitch” or dense single crochet also adds vertical support.
Can I make this basket larger?
Yes. Continue the increase pattern for the base (e.g., *7 sc, inc; *8 sc, inc) until the circle reaches your desired diameter, then follow the instructions for the transition and sides.
How do I clean my crochet gift basket?
If made from cotton or acrylic, spot cleaning with a damp cloth is best. If a full wash is necessary, hand wash and air dry while stuffed with towels to maintain the shape.
Do I have to use a magic ring?
While a magic ring provides the cleanest center, you can chain 2 and work your first round of 6 sc into the second chain from the hook if you find the magic ring difficult to manage.
Conclusion
Creating a Free Crochet Gift Basket is a rewarding project that combines practical organization with the beauty of handmade fiber art. By focusing on tight tension and structural techniques like BLO transitions, you can create a professional-grade container perfect for any gifting occasion. These baskets are endlessly customizable—simply change the yarn color or add a leather tag to match your decor. Save this pattern to your Crochet Home Decor board on Pinterest so you always have a go-to gift idea ready! What will you be filling your first gift basket with?
Save This Crochet Pattern