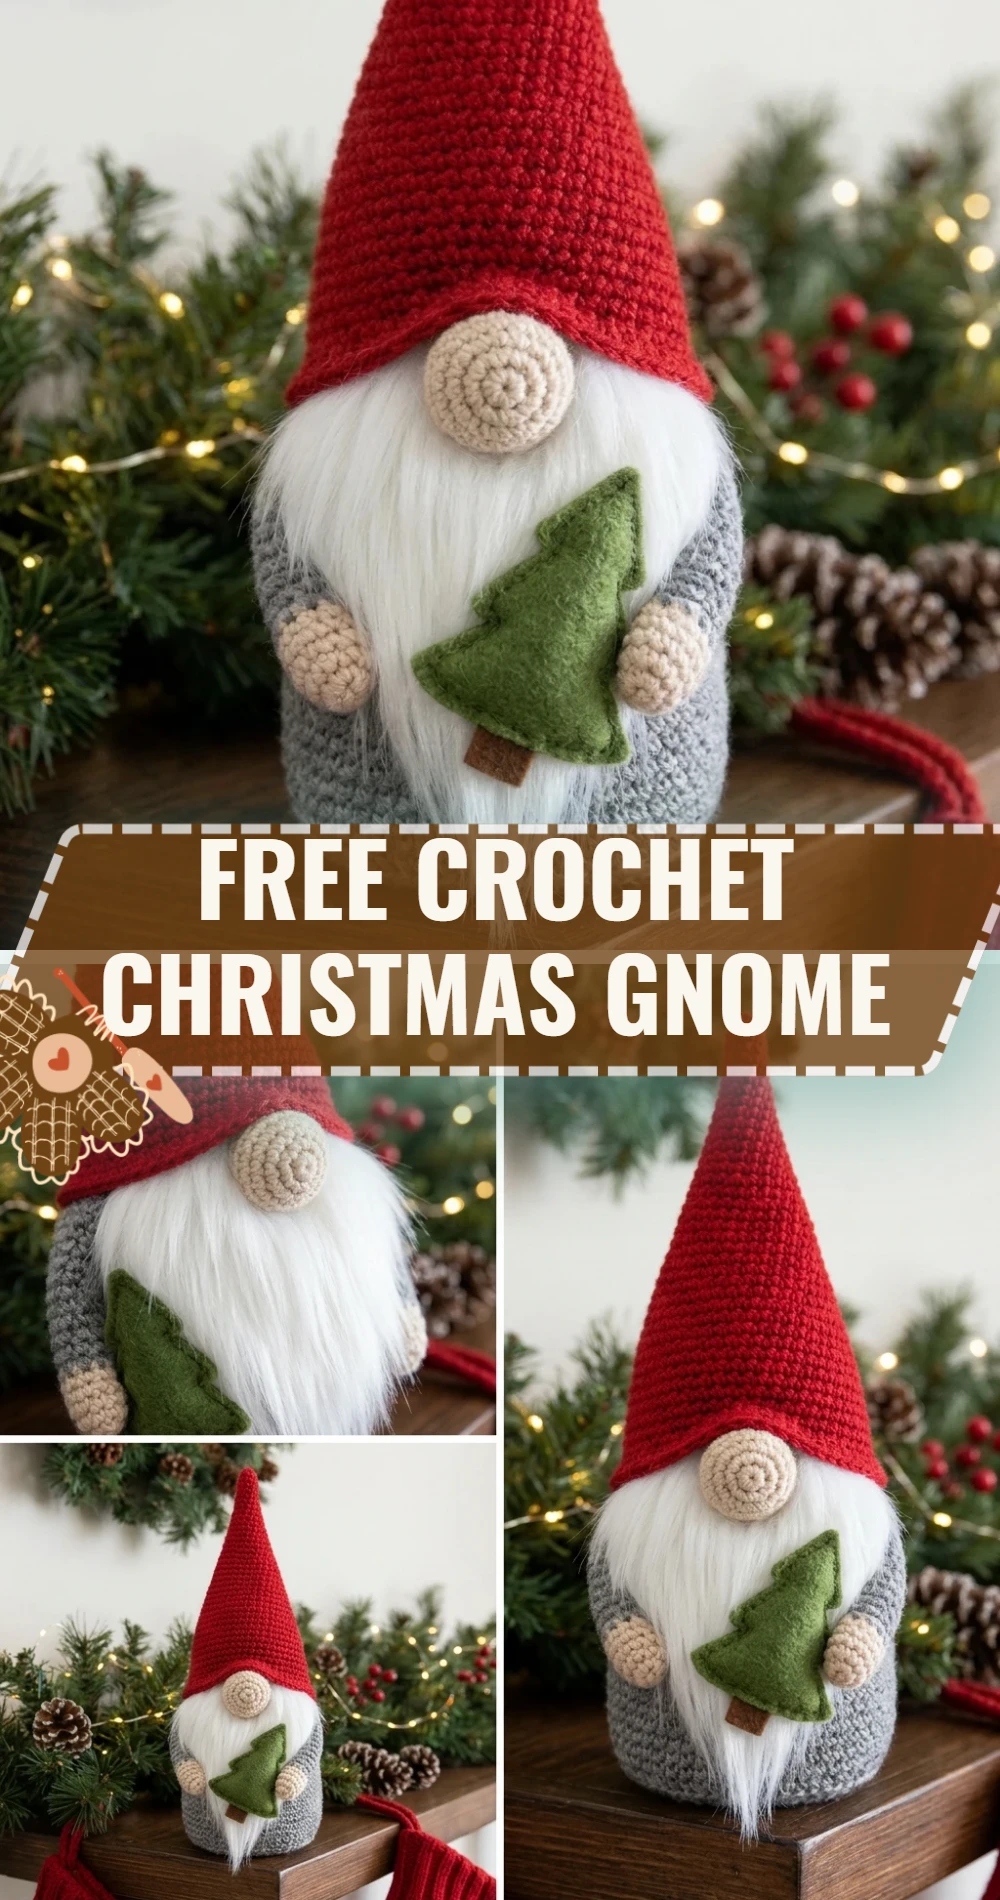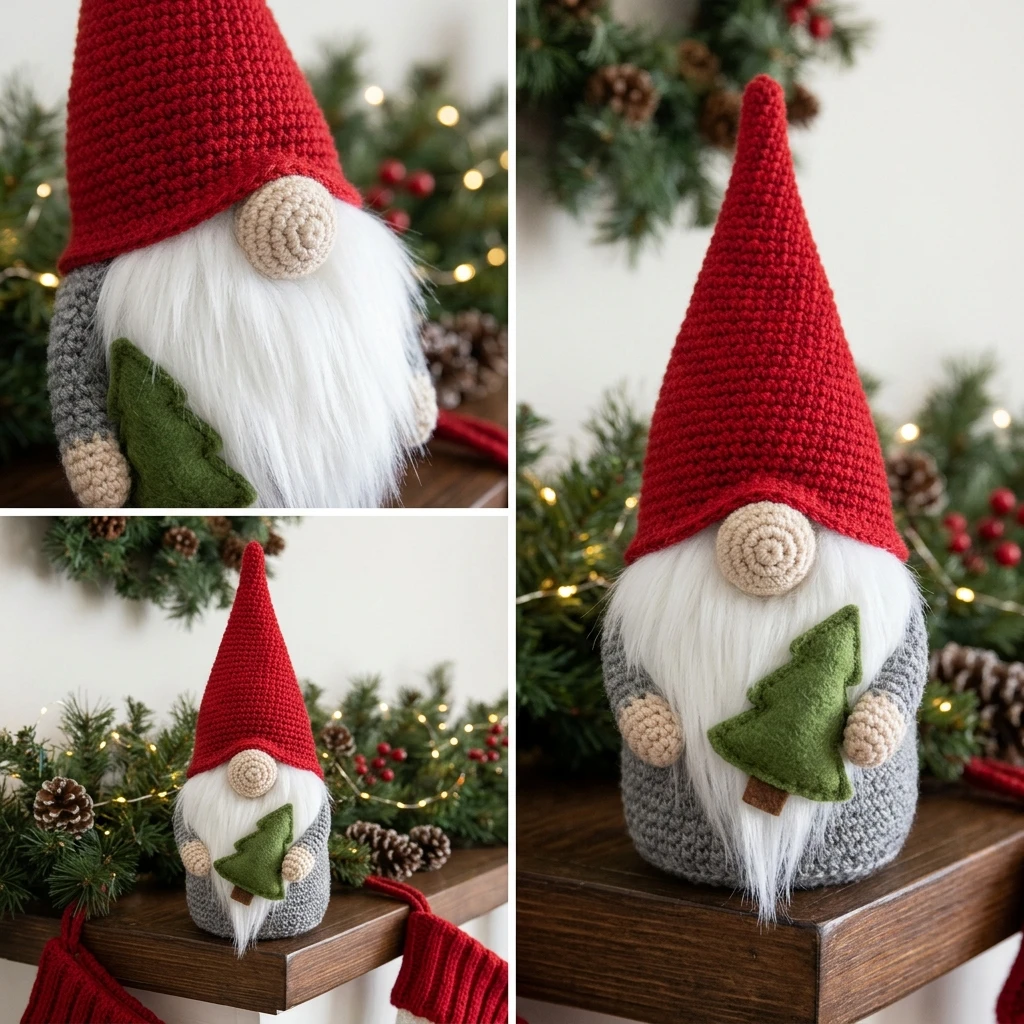
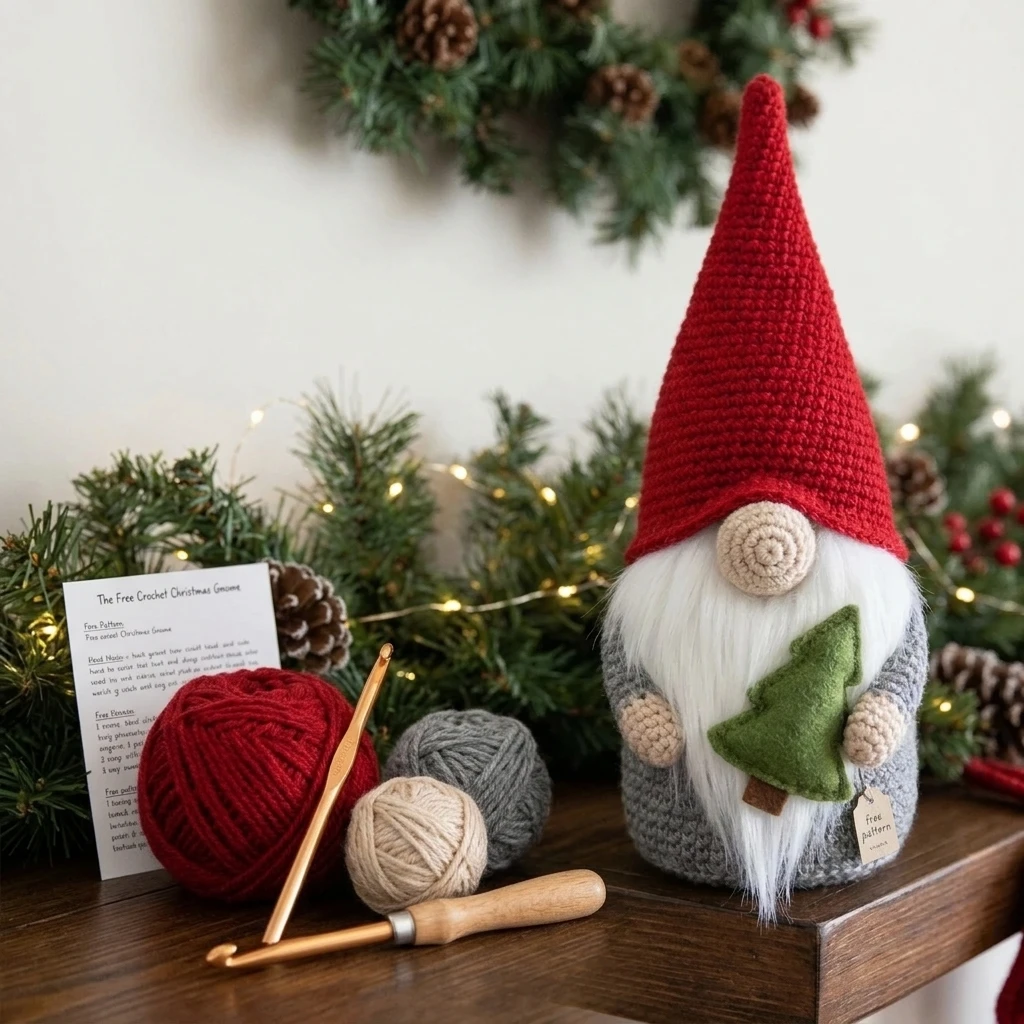
Add a touch of Scandinavian charm to your holiday decor with this delightful Christmas gnome. Featuring an oversized, floppy hat and a plush, voluminous beard, this amigurumi project is perfect for beginners and seasoned crocheters alike. The construction relies on simple geometric shapes—a sturdy cylindrical body and a tapered cone hat—making it a quick afternoon project. Whether perched on a tiered tray, tucked into a stocking, or used as a festive centerpiece, this gnome brings a whimsical, cozy aesthetic to any room.
The Design: What Makes This Pattern Different
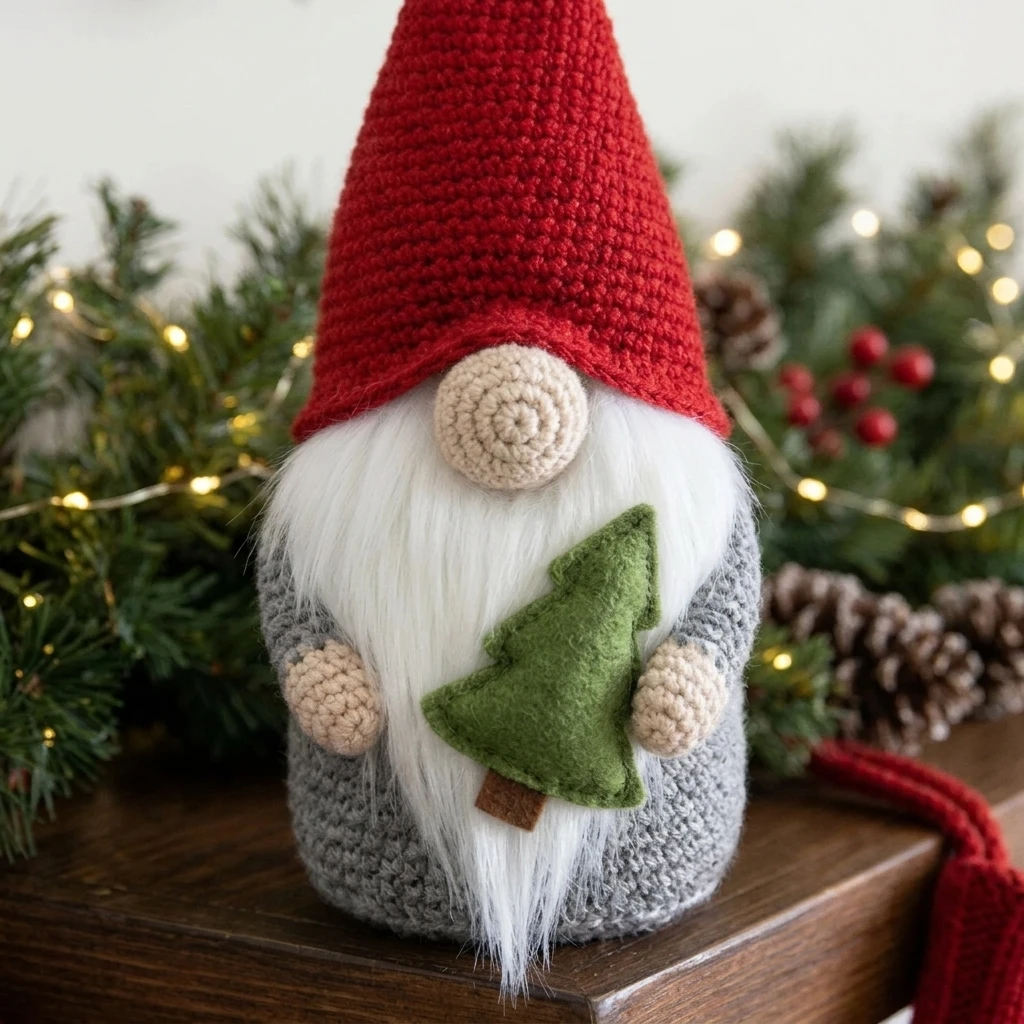
This design prioritizes a stable, self-standing structure without the need for complex internal supports. Unlike many amigurumi patterns that result in rounded bottoms, this gnome uses a flat-base construction technique in the Back Loops Only (BLO) to create a sharp 90-degree angle at the foundation. The visual identity is defined by the “peek-a-boo” nose, where the hat sits low enough to cover the eyes, focusing all the character on the texture of the beard. A common mistake to avoid is overstuffing the very bottom of the gnome; if the base bulges, your gnome will wobble rather than stand tall.
Project Info at a Glance
| Feature | Details |
|---|---|
| Skill Level | Easy / Advanced Beginner |
| Estimated Time | 2–4 Hours |
| Finished Size | Approximately 7 inches tall (suggested) |
| Hook Size | 3.5mm (E-4) |
| Yarn Weight | Worsted (Weight 4) |
| Gauge | 5 sc x 5 rows = 1 inch (photo-inspired) |
| Best For | Holiday Decor, Shelf Sitters, Gifts |
Materials and Tools
Yarn
To achieve the classic holiday look, you will need approximately 50 yards of red for the hat, 40 yards of grey or charcoal for the body, and small scraps of peach or beige for the nose. For the beard, white acrylic yarn is recommended as it brushes out easily for a fluffy texture.
Tools
A 3.5mm crochet hook is ideal to keep the stitches tight so the polyfill doesn’t peek through. You will also need a tapestry needle for weaving in ends, sharp scissors, high-loft polyester fiberfill, and optionally a small circle of cardboard or plastic to reinforce the base.
Abbreviations
- ch: Chain
- sc: Single crochet
- inc: Increase (2 sc in the same stitch)
- dec: Decrease (sc 2 together)
- BLO: Back loops only
- st(s): Stitch(es)
- sl st: Slip stitch
- MR: Magic Ring
Pattern — Step by Step
The Body (Bottom-Up Construction)
The body is worked in continuous rounds. We begin with a flat circle and then transition into the sides to create a stable cylinder.
- Round 1: 6 sc in MR (6).
- Round 2: inc in each st around (12).
- Round 3: [sc 1, inc] repeat around (18).
- Round 4: [sc 2, inc] repeat around (24).
- Round 5: [sc 3, inc] repeat around (30).
- Round 6: [sc 4, inc] repeat around (36).
- Round 7: In BLO, sc in each st around (36). This creates the “edge” of the base.
- Rounds 8-18: sc in each st around (36).
- Round 19: [sc 4, dec] repeat around (30).
- Round 20: [sc 3, dec] repeat around (24). Stuff firmly.
- Round 21: [sc 2, dec] repeat around (18).
- Round 22: [sc 1, dec] repeat around (12). Fasten off, leaving a tail for closing.
The Hat (Tapered Cone)
The hat is worked from the tip down to the base to ensure a sharp point.
- Round 1: 4 sc in MR (4).
- Round 2: [sc 1, inc] repeat around (6).
- Round 3: sc in each st around (6).
- Round 4: [sc 1, inc] repeat around (9).
- Round 5-6: sc in each st around (9).
- Round 7: [sc 2, inc] repeat around (12).
- Round 8-20: Continue increasing by 3 sts every 3rd round until you reach 39 sts, or until the hat fits comfortably over the body.
- Final Round: sl st in each st around for a clean edge. Fasten off.
The Nose
- Round 1: 6 sc in MR (6).
- Round 2: inc in each st around (12).
- Round 3: sc in each st around (12).
- Round 4: dec around (6). Lightly stuff and sew shut.
Assembly
Putting your gnome together requires careful alignment to ensure he has that iconic “no-eyes” look where the hat rests right on the nose.
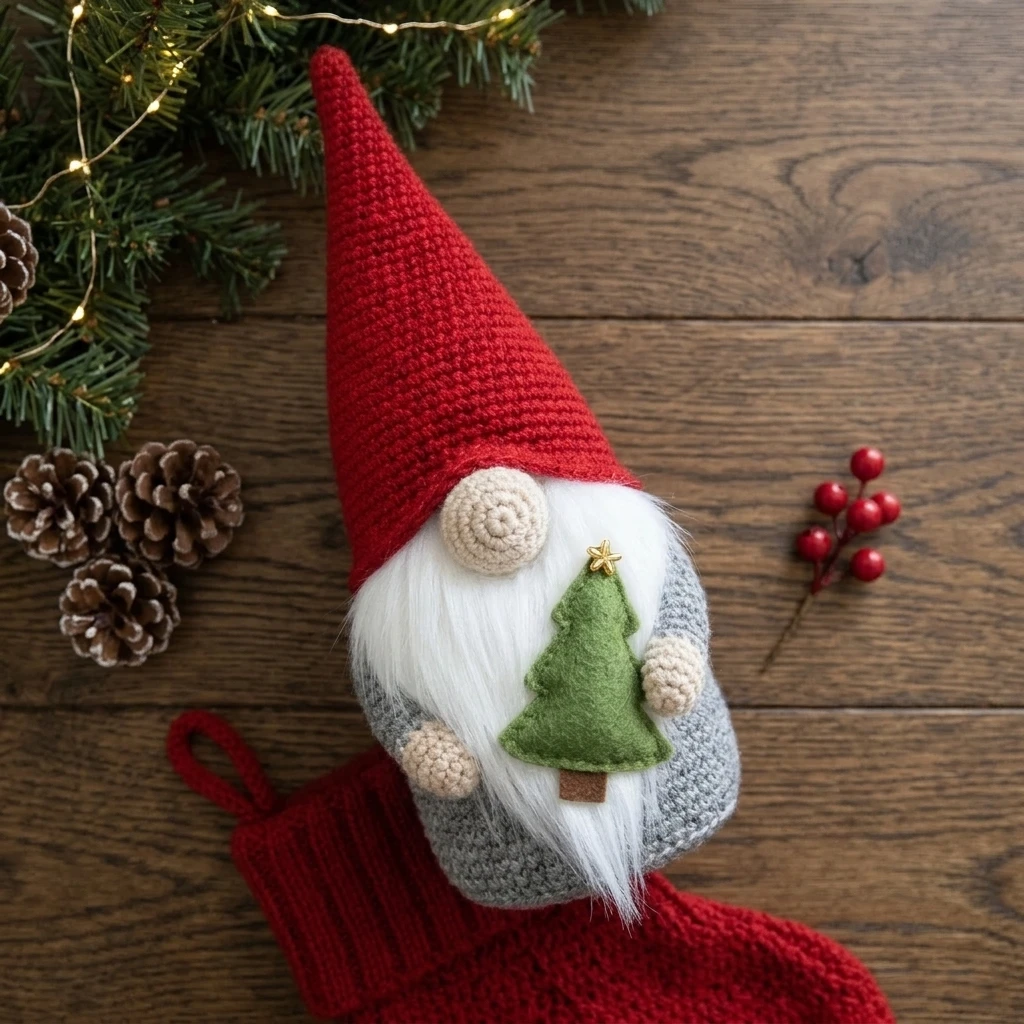
- Attach the Beard: Cut several 4-inch strands of white yarn. Loop them through the stitches on the front of the body around Round 17. Brush them out with a fine-tooth comb to create a fluffy texture.
- Position the Nose: Sew the nose directly above the center of the beard. It should sit partially on top of the beard fringe.
- Place the Hat: Slide the hat over the body. Pull it down so the front edge rests just on top of the nose. Secure with a few hidden stitches around the back and sides.
- Weighting (Optional): If you find the gnome is top-heavy, add a few dried beans or poly-pellets to the bottom of the body before closing.
7 Technical Tips for a Better Free Crochet Christmas Gnome
- Tighten Your Tension: Use a hook size smaller than the yarn label recommends to ensure the stuffing is completely hidden.
- The Cardboard Trick: Trace the base of your gnome onto a piece of plastic or cardboard and insert it before stuffing to keep the bottom perfectly flat.
- Invisible Decreases: Use the invisible decrease method (front loops only) for the body and nose to prevent gaps in the fabric.
- Beard Grooming: After brushing the beard, give it a “haircut” with sharp scissors, trimming it into a V-shape for a professional finish.
- Hat Customization: For a “slouchy” hat, work 5-10 extra rounds of even stitches (no increases) in the middle of the hat pattern.
- Yarn Selection: Choose a wool blend or a stiff acrylic for the hat; very soft yarns may cause the hat to collapse too much.
- Stitch Markers: Since the body and hat are worked in continuous rounds, always use a stitch marker to keep track of the first stitch of every round.
Frequently Asked Questions
What is the best yarn for the gnome’s beard?
Acrylic yarn is the best choice because the fibers fray and fluff up beautifully when brushed with a pet slicker brush or a fine comb. Cotton yarn does not brush out well.
Can I make this gnome larger?
Yes! Simply use a bulkier yarn (like velvet or super bulky) and a larger hook (6.0mm or 8.0mm). The proportions will stay the same, but the finished size will increase significantly.
How do I make the hat stand upright?
If you prefer a stiff, upright hat, you can insert a pipe cleaner or a piece of floral wire into the hat, or simply stuff the tip very lightly with fiberfill.
Is this pattern suitable for children’s toys?
While gnomes are great for kids, ensure the nose is sewn on very securely. If you use pellets for weight, place them in a small fabric pouch inside the gnome for safety.
How do I wash my crochet gnome?
Spot cleaning is recommended. If you must wash it, hand wash in cold water and air dry. Do not brush the beard while wet, as it may lose its fluffiness.
Conclusion
Creating this Christmas gnome is a wonderful way to practice amigurumi basics like shaping and texturing. By combining a simple cylindrical body with a brushed yarn beard, you create a professional-looking decoration that rivals high-end boutique finds. Don’t forget to experiment with different hat colors—forest green or charcoal can offer a more modern farmhouse look! If you enjoyed this tutorial, be sure to save it to your Crochet Holiday Decor board on Pinterest. What color combination will you choose for your gnome’s festive hat?
Save This Crochet Pattern