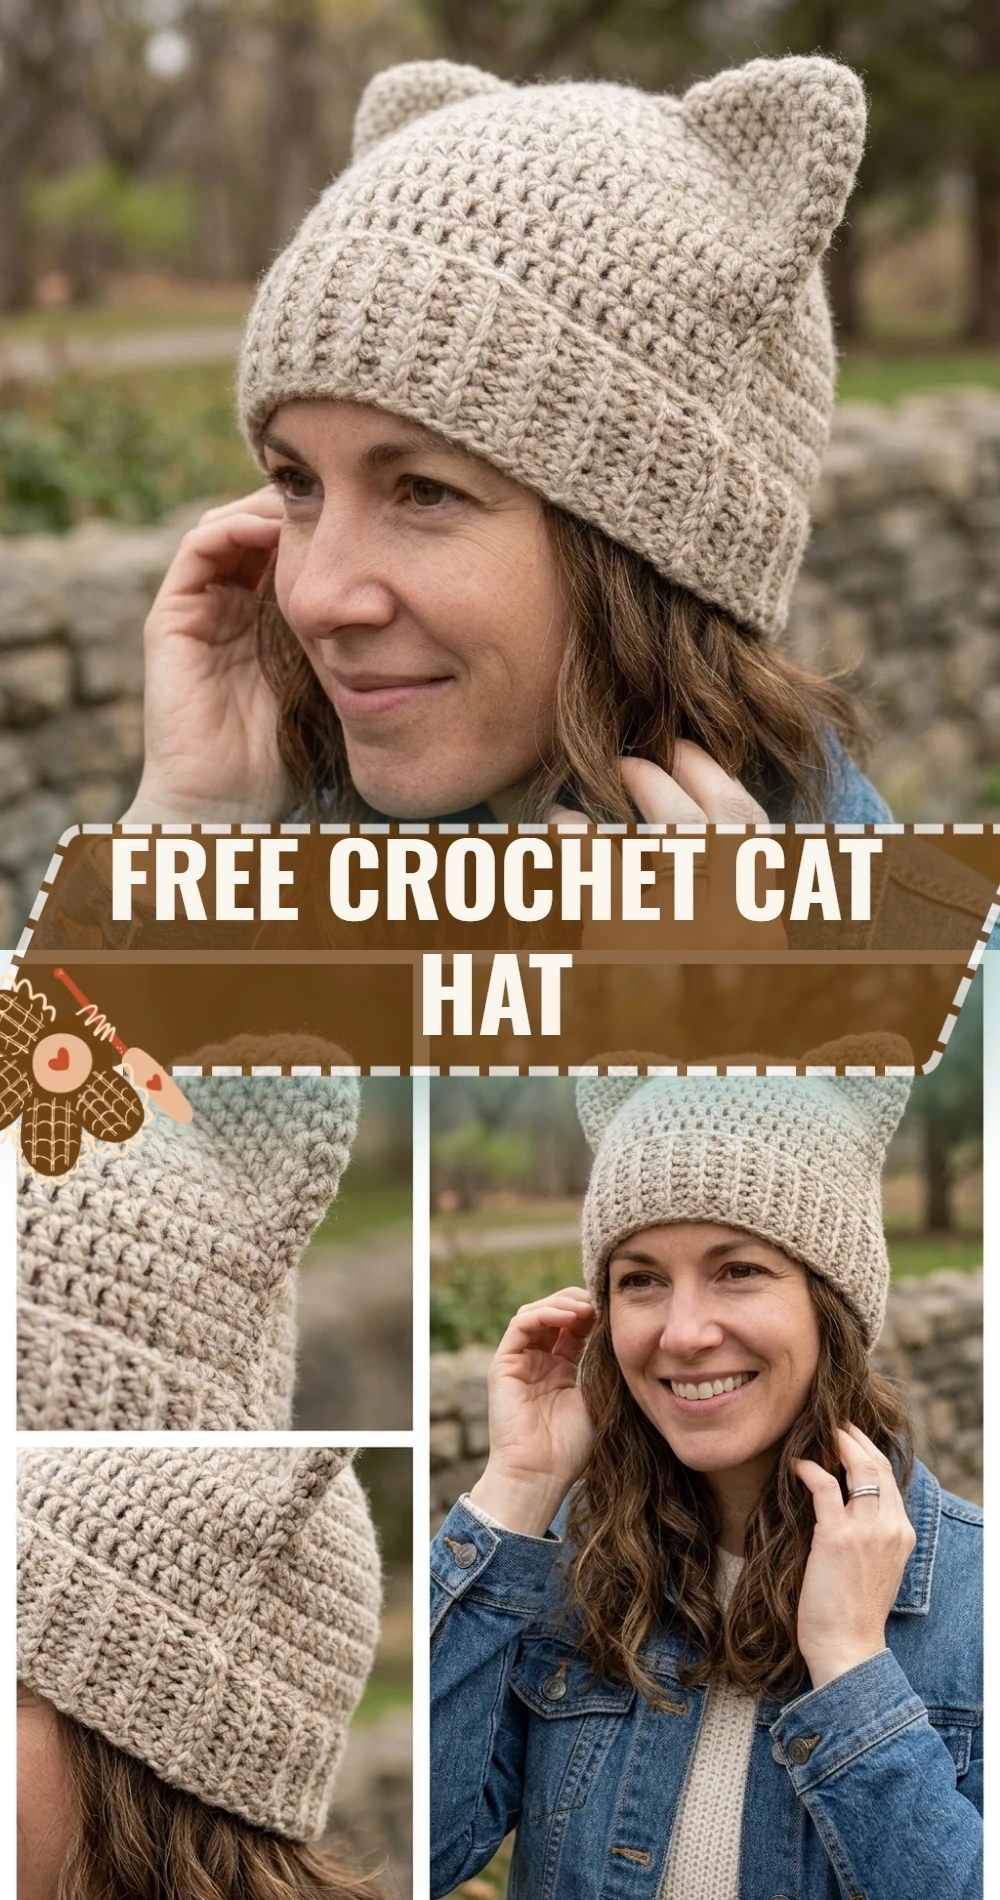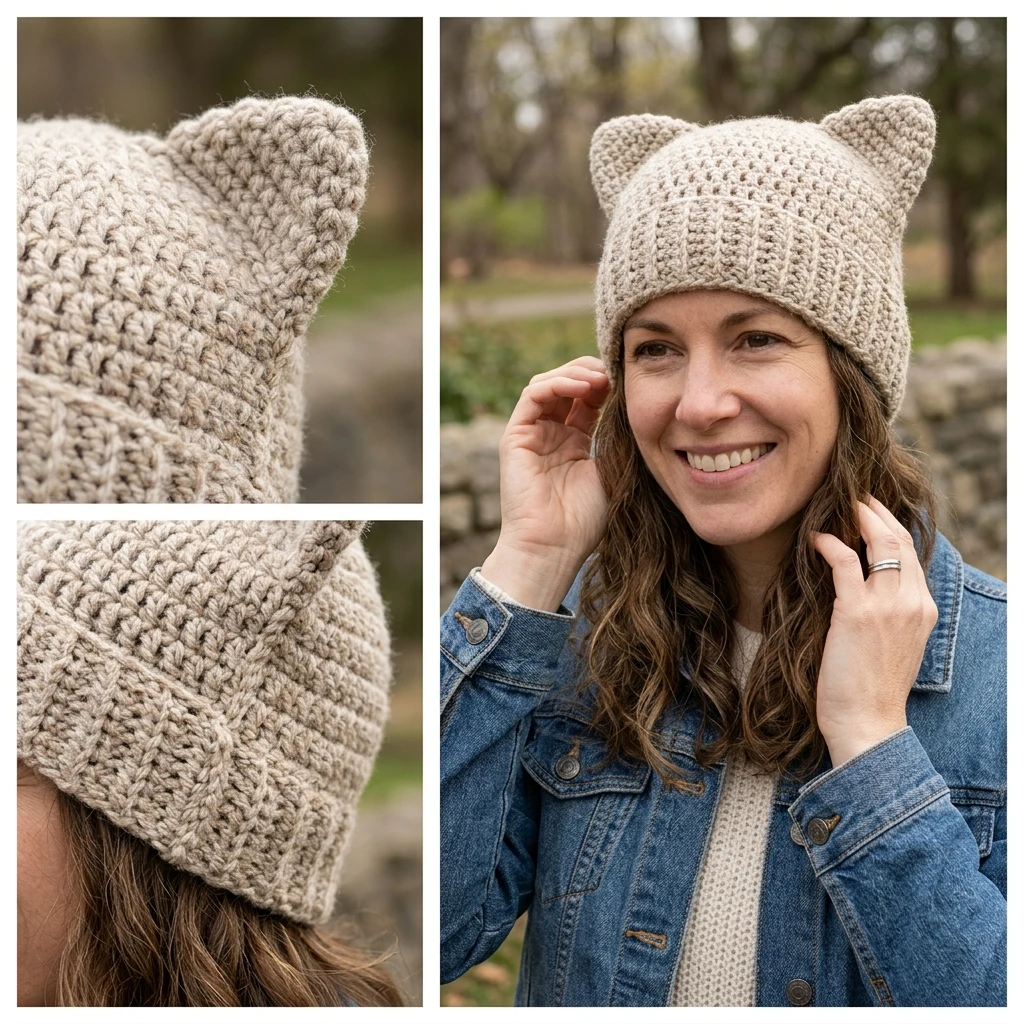
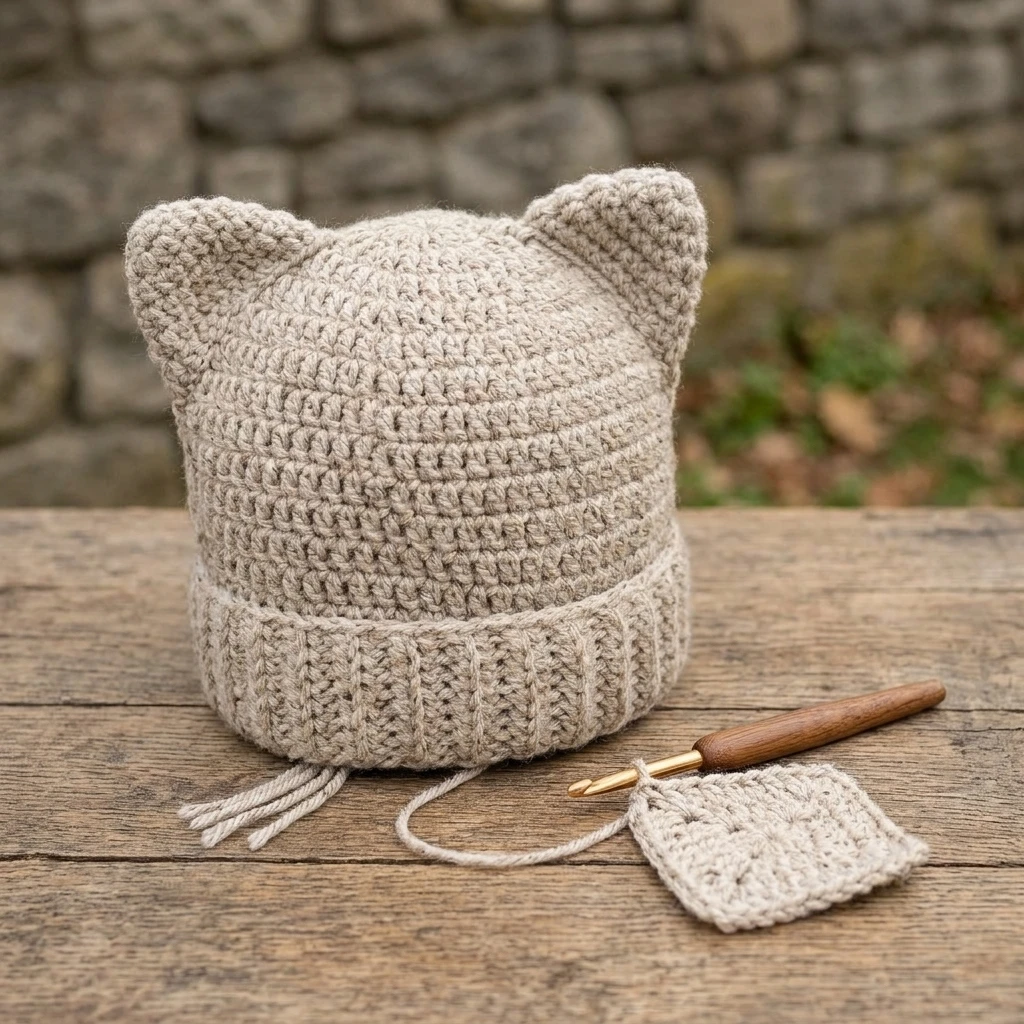
The Free Crochet Cat Hat is a whimsical yet practical accessory that has taken the handmade fashion world by storm. Characterized by its clever rectangular construction, this hat transforms from a simple beanie into a charming feline-inspired silhouette the moment it is placed on the head. Ideal for beginners and seasoned makers alike, the design relies on straight lines and basic stitches, making it a meditative project that produces a trendy, “pussycat” style garment. Whether you are crafting a cozy gift for a teenager or a playful winter staple for yourself, this hat offers a modern, slightly oversized fit that pairs perfectly with casual autumn wardrobes.
The Design: What Makes This Pattern Different
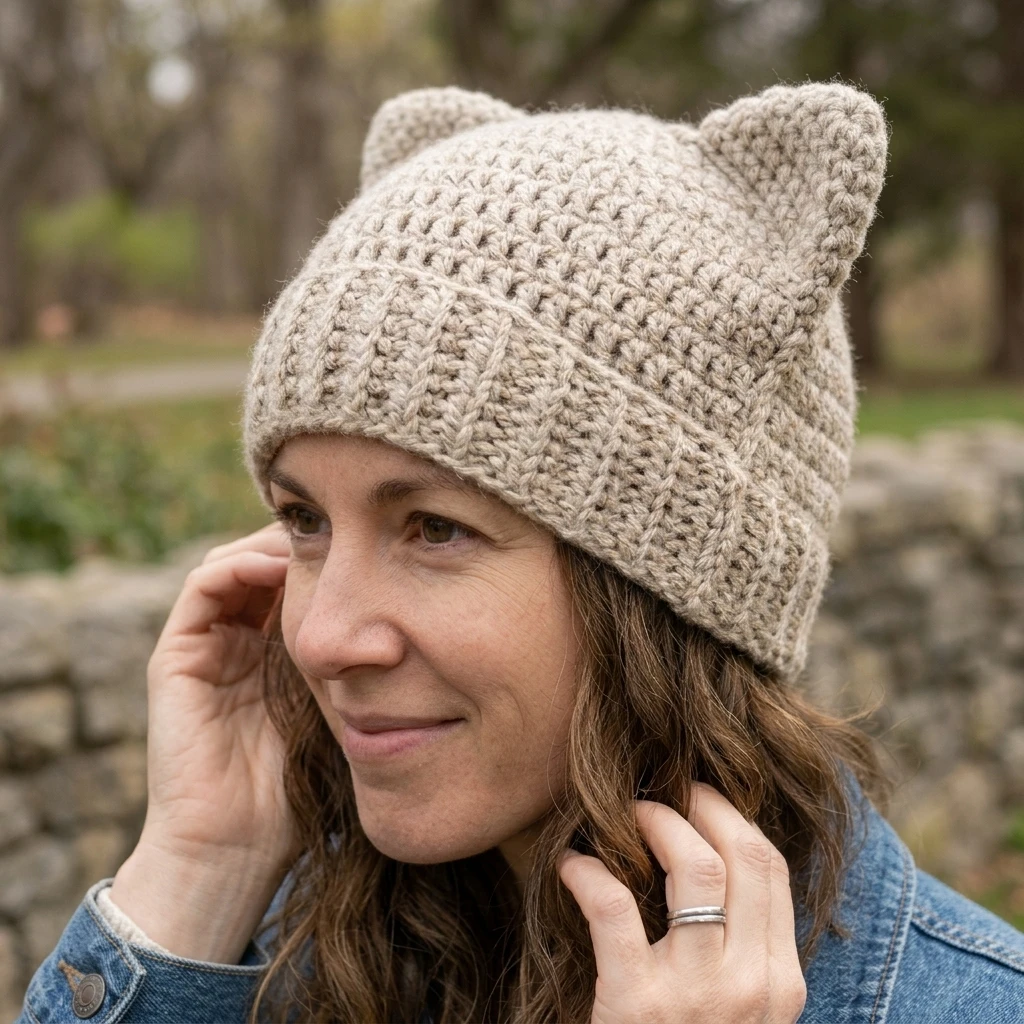
Unlike traditional beanies that require complex crown decreases or working in the round with “magic circles,” this cat hat is worked as a flat, textured rectangle. The magic happens during the seaming process; by sewing the top edge straight across, the corners naturally poke upward into “ears” when the circular shape of the head fills the bottom of the hat. This specific pattern utilizes the half double crochet stitch to create a fabric that is denser than double crochet but more flexible than single crochet, ensuring the ears stand upright without needing additional stiffeners.
A common mistake to avoid with this construction is making the rectangle too tall. If the height of the hat exceeds the distance from the wearer’s forehead to the crown significantly, the “ears” will flop over or sag toward the back of the head. Aim for a snug height to ensure the corners are tensioned properly by the head’s shape.
Project Info at a Glance
| Feature | Details |
|---|---|
| Skill Level | Beginner Friendly |
| Estimated Time | 2 – 4 Hours |
| Finished Size | Adult Small/Medium (approx. 20-21″ circumference) |
| Hook Size | 5.0 mm (US H/8) |
| Yarn Weight | Worsted (Weight 4) |
| Gauge | 14 sts x 10 rows = 4″ in HDC (estimated) |
| Best For | Daily wear, gifts, and beginner practice |
Materials and Tools
Yarn
For this project, you will need approximately 150 to 180 yards of a soft, pliable worsted weight yarn. Acrylic blends are recommended for their durability and “bounce,” which helps the ear shapes retain their structure after washing. If you prefer a more rustic look, a wool-blend yarn will provide excellent warmth and stitch definition.
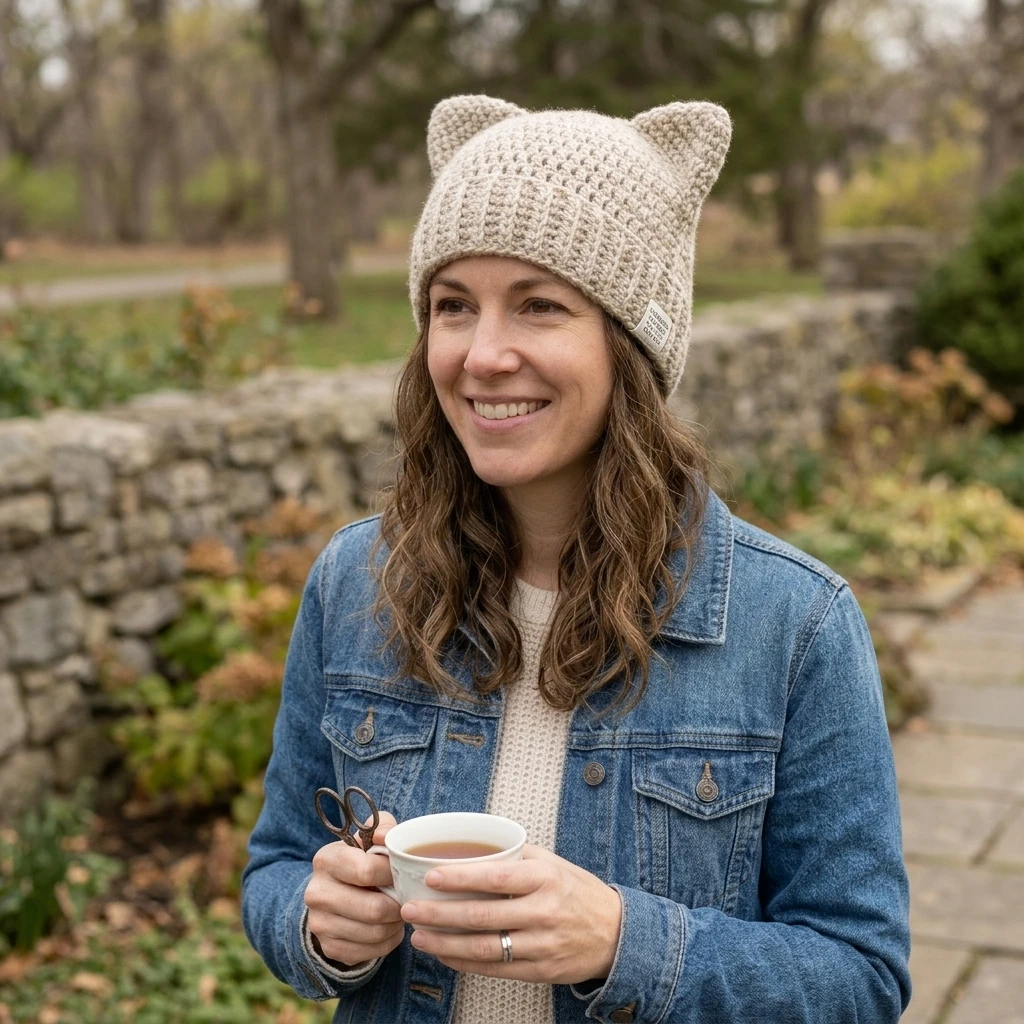
Tools
- 5.0 mm (US H/8) crochet hook
- Tapestry needle for seaming and weaving in ends
- Fabric measuring tape
- Sharp embroidery scissors
Abbreviations
- ch: chain
- st(s): stitch(es)
- hdc: half double crochet
- sl st: slip stitch
- yo: yarn over
Pattern — Step by Step
Construction Strategy
This hat is worked in rows to create a large rectangle. The width of the rectangle corresponds to the circumference of the head, while the height corresponds to the depth of the hat. Once the rectangle is finished, it is folded in half and seamed along the sides and the top to create the signature cat-ear shape.
The Main Panel
- Foundation Row: Ch 36 (or enough to reach approximately 10 inches in length). This will be the height of your hat.
- Row 1: Hdc in the 3rd ch from the hook. Hdc in each ch across. Turn. (34 hdc)
- Row 2: Ch 2 (does not count as a stitch). Hdc in each st across. Turn.
- Rows 3-45 (or until desired width): Repeat Row 2 until your piece measures approximately 19-20 inches wide when slightly stretched.
- Finishing the Panel: Fasten off, leaving a very long tail (approx. 30 inches) for seaming.
Assembly
Proper assembly is crucial to ensure the ears sit symmetrically. We will be using the mattress stitch or a simple whip stitch to join the edges for a clean finish.
- Fold the rectangle in half so the short ends meet. The “right sides” should be facing each other.
- Thread your tapestry needle with the long yarn tail.
- Seam the side edge together from the bottom (the opening) toward the top corner.
- Without cutting the yarn, continue seaming across the top edge of the hat. Ensure you are catching both loops of the stitches to create a sturdy bond.
- Seam down the remaining side edge to the bottom.
- Turn the hat right side out. The top corners will naturally form points.
- Weave in all remaining loose ends securely on the inside of the hat.
7 Technical Tips for a Better Free Crochet Cat Hat
- Check Your Tension: If your stitches are too loose, the ears will droop. Maintain a firm, even tension throughout the hdc rows.
- The Stretch Factor: Crochet fabric stretches. Aim for a width that is 1-2 inches smaller than the actual head circumference for a “negative ease” fit that stays in place.
- Clean Side Edges: To keep your edges straight, ensure you are not accidentally adding or skipping stitches at the start of your hdc rows.
- Invisible Seams: Use the mattress stitch for the side seams if you want them to be nearly invisible on the right side.
- Yarn Choice Matters: Avoid very heavy “roving” style yarns that lack structure, as the weight may pull the ears flat.
- Reinforce the Corners: When seaming the top corners, add one extra stitch at the very tip to ensure the “ear” point is sharp and durable.
- Steam Blocking: Lightly steam the finished hat (without touching the iron to the yarn) to settle the stitches and define the rectangular shape.
Frequently Asked Questions
Can I make this hat for a child?
Yes! Simply reduce the initial chain count to about 8 inches and work fewer rows until the width matches the child’s head circumference minus one inch.
What if I want more defined ears?
You can pinch the top corners and add a small internal stitch about an inch down from the point to “set” the ear shape permanently.
Can I use a different stitch?
Certainly. Single crochet will make a stiffer, warmer hat, while double crochet will be more breathable and drape more loosely.
My ears are floppy, how do I fix it?
This usually happens if the hat is too tall. You can fold up the bottom edge to create a brim, which pulls the top of the hat tighter against the crown, forcing the ears to stand up.
How do I wash this hat?
If using acrylic or cotton, hand wash in cool water and lay flat to dry to maintain the rectangular dimensions.
Conclusion
The Free Crochet Cat Hat is a delightful project that proves you don’t need complex shaping to create a high-impact accessory. By mastering the simple rectangle-to-hat construction, you can whip up these stylish beanies in a single evening. Don’t forget to save this pattern to your “Beginner Crochet” board on Pinterest so you can find it for your next gift-giving occasion! Have you tried making a hat using this flat-panel method before, or is this your first time experimenting with ear shaping?
Save This Crochet Pattern