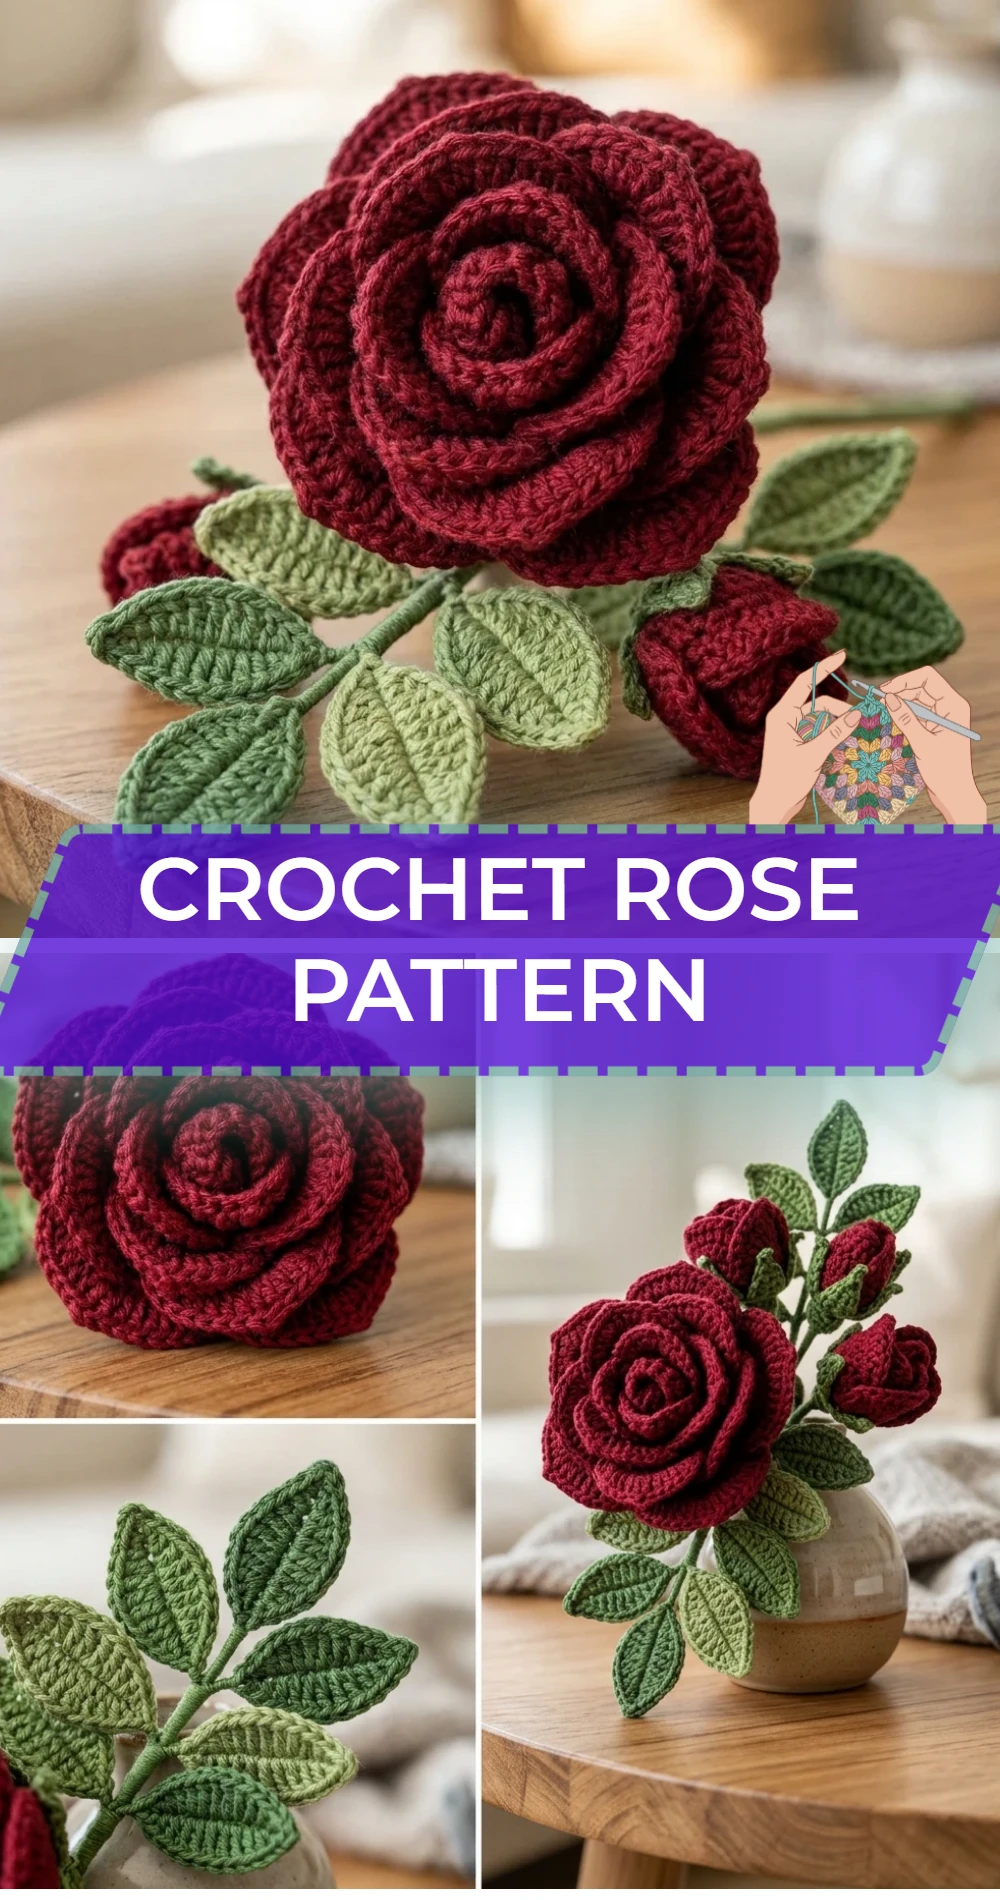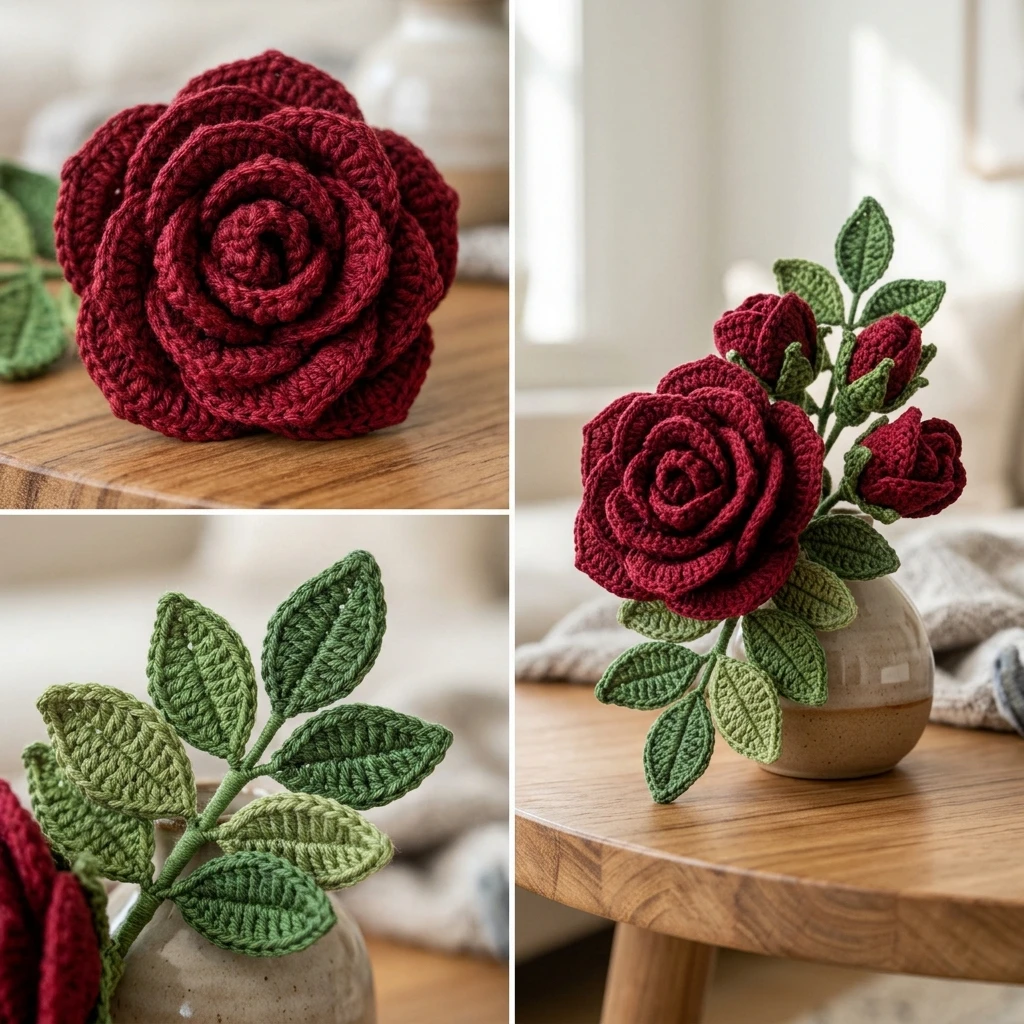
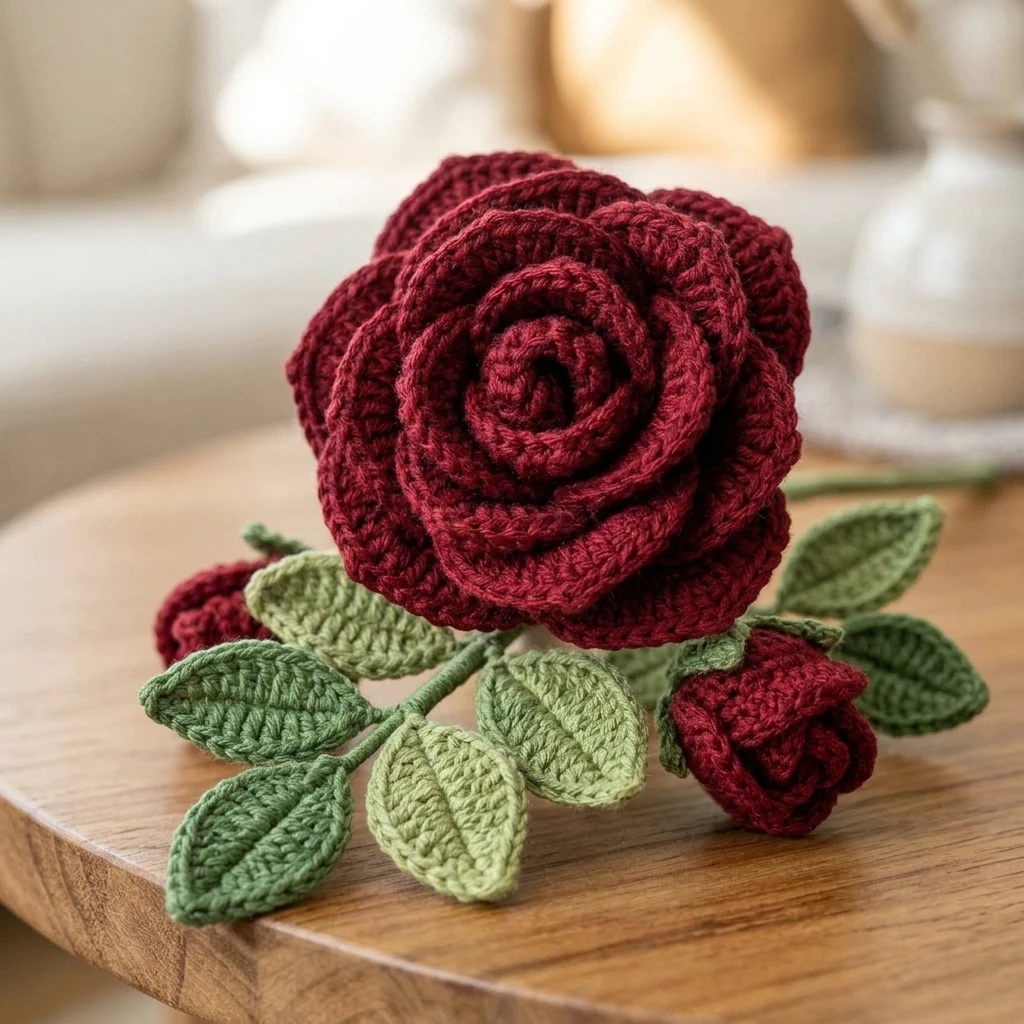
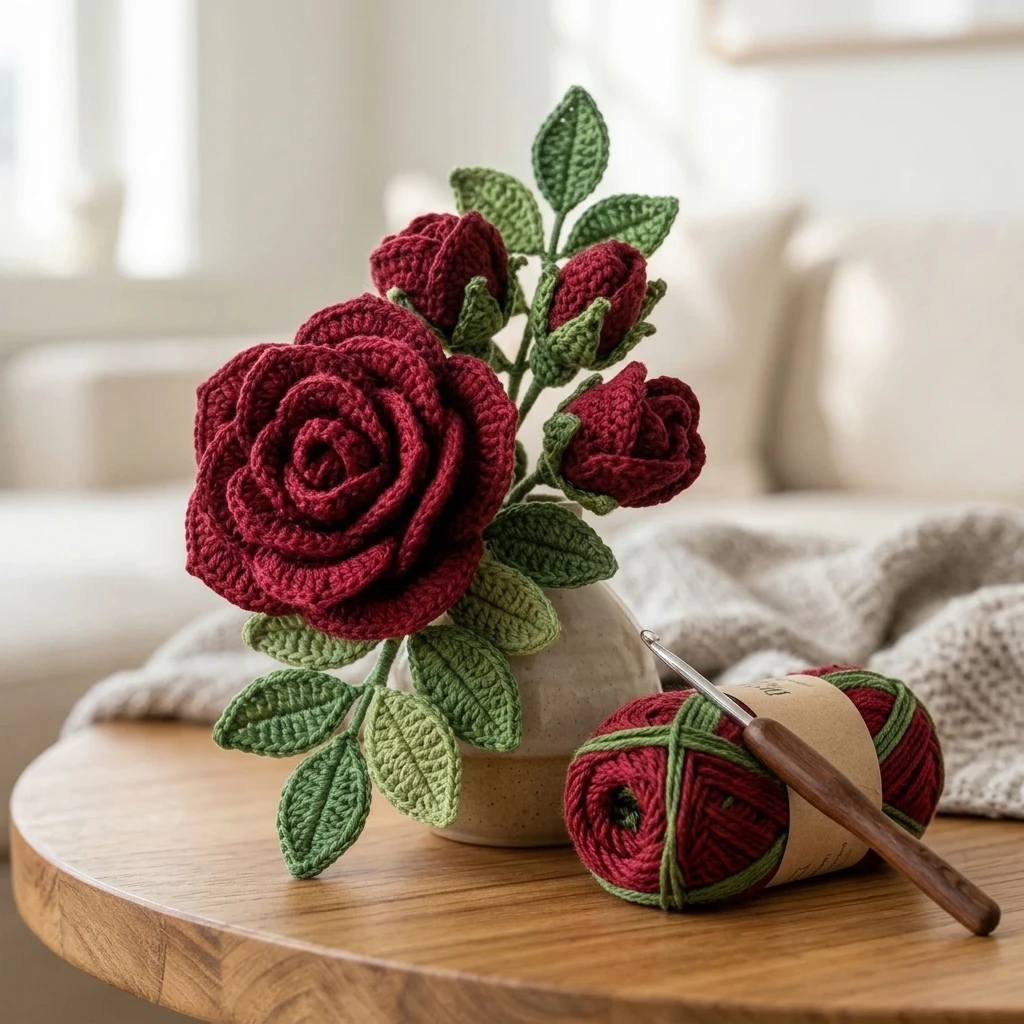
Capturing the timeless elegance of a blooming garden, this crochet rose pattern offers a sophisticated way to create everlasting floral arrangements. Featuring a layered, spiral construction that mimics the natural density of a real blossom, this project transitions from tight inner buds to wide, sweeping outer petals. This rose is perfectly suited for intermediate beginners looking to practice height variation in stitches. The finished flower serves as a stunning centerpiece for home décor, a romantic embellishment for hats and bags, or the primary component of a bespoke bridal bouquet.
The Design: What Makes This Pattern Different
Unlike traditional individual-petal patterns that require tedious sewing, this design utilizes a single-strip construction method. The structural secret lies in the graduated stitch heights—moving from double crochet to triple crochet—which allows the petals to naturally fan out as the strip is rolled. We have specifically designed the base row to be flexible, ensuring the center of the rose remains snug while the outer layers maintain a realistic “bloom” effect. A common mistake to avoid is working the foundation chain too tightly; a tight foundation will cause the rose to cup inward rather than laying flat in a beautiful spiral. Using a hook one size larger for the initial chain is a professional trick to ensure the base remains pliable.
Project Info at a Glance
| Skill Level | Intermediate Beginner |
| Estimated Time | 45 – 60 Minutes |
| Finished Size | Approximately 3.5 inches in diameter (estimated) |
| Hook Size | 4.0mm (G/6) |
| Yarn Weight | Medium / Worsted (Weight 4) |
| Gauge | Not critical; tighter tension yields a sturdier bloom |
| Best For | Floral bouquets, brooches, and home décor accents |
Materials and Tools
Yarn
For a realistic finish and excellent stitch definition, a mercerized cotton yarn is suggested. You will need approximately 45 to 55 yards of yarn per rose. Cotton or a high-quality cotton blend is preferred over acrylic as it holds the petal shape more effectively without sagging over time.
Tools
- 4.0mm crochet hook (or size needed to achieve a firm fabric)
- Large-eye tapestry needle for assembly
- Sharp embroidery scissors
- Optional: Floral wire (22 gauge) and floral tape for stemming
- Optional: Hot glue gun for quick securing (sewing is recommended for longevity)
Abbreviations
- ch: chain
- sc: single crochet
- hdc: half double crochet
- dc: double crochet
- tr: treble (triple) crochet
- sl st: slip stitch
- st(s): stitch(es)
- sp: space
Pattern — Step by Step
Foundation and Base Row
The rose is constructed as a long, scalloped ribbon that is subsequently rolled into shape. The base row creates a series of “V” stitches that act as the anchors for your petals.
- Foundation: Ch 56 (or any multiple of 3 plus 2).
- Row 1: Sc in 2nd ch from hook and in each ch across. Turn. [55 sc]
- Row 2: Ch 4 (counts as dc + ch 1), dc in the same first st. *Skip 2 sts, (dc, ch 2, dc) in next st. Repeat from * across until 3 sts remain. Skip 2 sts, (dc, ch 1, dc) in the last st. Turn. [This creates the “V” shells for the petals].
Petal Construction
In this row, we will vary the stitch counts to create smaller petals at one end (the center of the rose) and larger petals at the other (the outer bloom).
- Row 3 (Small Petals): Ch 1, skip first dc. In the first ch-1 sp, work (sc, 4 dc, sc). *Sl st in the sp between the next two V-stitches. In the next ch-2 sp, work (sc, 5 dc, sc). Repeat from * 4 more times (5 small petals total).
- Medium Petals: *Sl st in the sp between V-stitches. In the next ch-2 sp, work (hdc, 6 dc, hdc). Repeat from * 5 more times (6 medium petals total).
- Large Petals: *Sl st in the sp between V-stitches. In the next ch-2 sp, work (sc, 2 dc, 4 tr, 2 dc, sc). Repeat from * across remaining V-shells.
- Finishing the Row: Sl st into the final st of Row 2. Fasten off, leaving a very long tail (at least 18 inches) for sewing.
Assembly
Assembling the rose requires patience to ensure the petals sit in a natural, staggered formation. It is helpful to lay the strip flat on a table before you begin rolling to visualize the gradient.
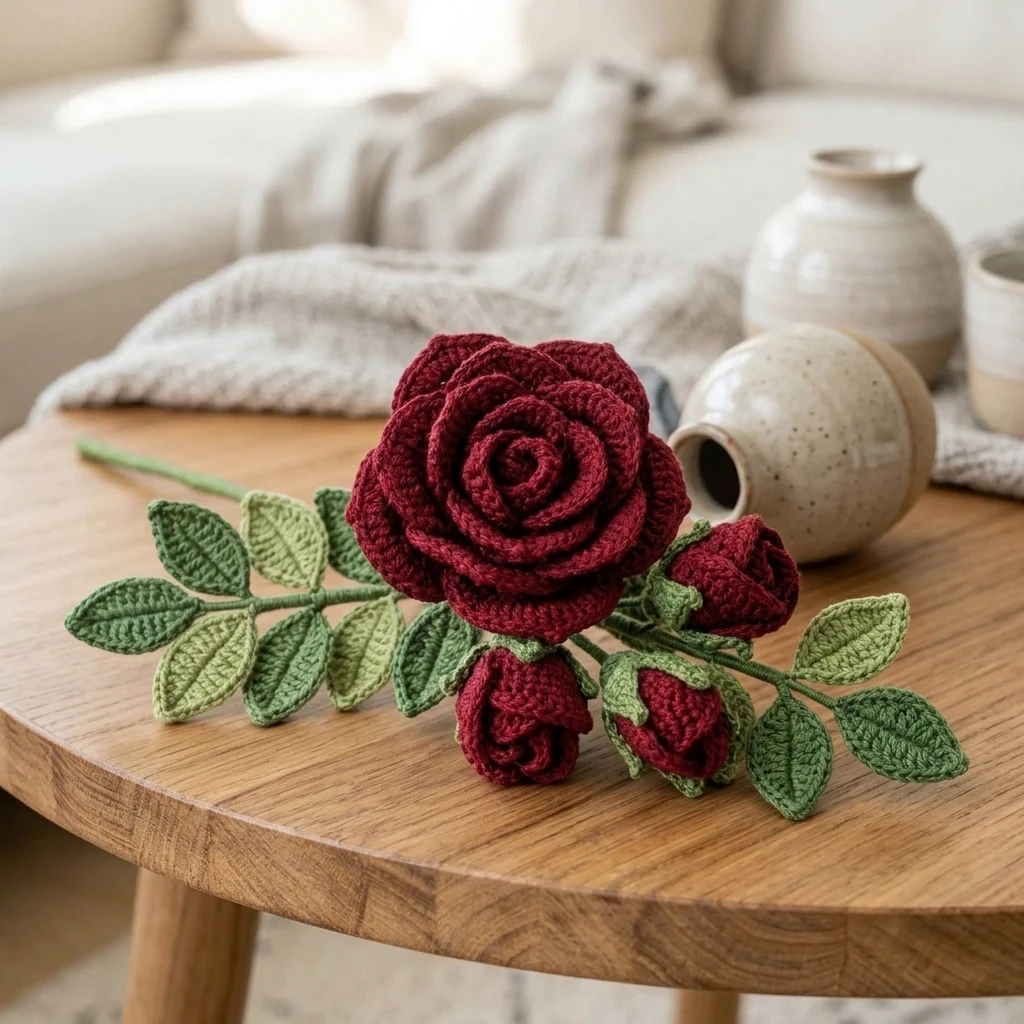
- Starting with the end containing the smallest petals, begin rolling the strip inward tightly to form the “heart” or bud of the rose.
- Continue rolling the strip around the center, keeping the bottom edges (Row 1) perfectly aligned. As you move toward the larger petals, begin rolling slightly looser to allow the petals to flare outward.
- Thread the long yarn tail onto a tapestry needle. Turn the rose upside down.
- Insert the needle through all layers of the foundation row at the base. Sew back and forth across the diameter of the base several times in a star pattern, ensuring you catch the edge of every layer.
- If adding a stem, insert the floral wire through the center of the base before completely closing the stitches, then wrap the yarn tail around the wire and the base several times to secure.
- Flip the rose over and use your fingers to gently pull and “open” the petals into your desired shape.
7 Technical Tips for a Better Crochet Rose Pattern
- Vary Your Tension: Keep your tension tight on the first few petals (the center) and gradually loosen it as you work toward the treble crochet petals for a more organic look.
- Choose Matte Fibers: For a vintage or realistic look, avoid shiny acrylics. Pima cotton provides a soft, matte finish that mimics real rose petals.
- Invisible Fastening: When finishing the final petal, use an invisible join to prevent a bulky “bump” on the outer edge of your rose.
- Steam Blocking: Before assembly, lightly steam block the scalloped strip. This prevents the petals from curling inward too aggressively and makes the rolling process much smoother.
- Stagger the Petals: When rolling, ensure the “gaps” between petals in one layer are covered by the center of a petal in the next layer. This avoids a “staircase” look.
- Wire Support: If the rose is top-heavy, crochet a small green circle (sepals) and slide it up the stem to the base of the rose to provide extra structural support.
- Color Gradients: Try using a variegated yarn or changing colors every 5 petals to simulate the natural ombre effect found in hybrid tea roses.
Frequently Asked Questions
Can I make a larger rose?
Yes. Simply increase your foundation chain in multiples of 3. To maintain the proportions, add more “Large Petal” repeats at the end of Row 3.
What is the best way to attach these to a garment?
It is best to sew the rose onto the garment using the long tail from assembly. Avoid glue for wearables, as it can make the fabric stiff and may fail during washing.
My rose looks like a cone rather than a flat flower. What happened?
This usually happens if you are rolling the base too tightly or if your foundation row is misaligned. Ensure the bottom edges of Row 1 stay flush with each other as you spiral.
Can I use fuzzy yarn like mohair?
While possible, mohair hides the beautiful stitch definition of the petals. Stick to smoother yarns for this specific pattern to highlight the scalloped edges.
How do I wash a crochet rose?
Hand wash in cold water with mild detergent. Reshape the petals while damp and allow to air dry completely. Do not wring or twist the flower.
Conclusion
Creating a crochet rose is a rewarding way to bring a touch of nature’s beauty into your craft room. By mastering the transition of stitch heights and the art of the spiral roll, you can produce blossoms that look almost real enough to smell. Whether you are creating a single stem or an entire bouquet, these roses offer a durable and heartfelt alternative to fresh flowers. Don’t forget to save this tutorial to your Crochet Flowers board on Pinterest! Have you ever tried using floral wire in your crochet projects, or do you prefer free-standing blooms?
Save This Crochet Pattern