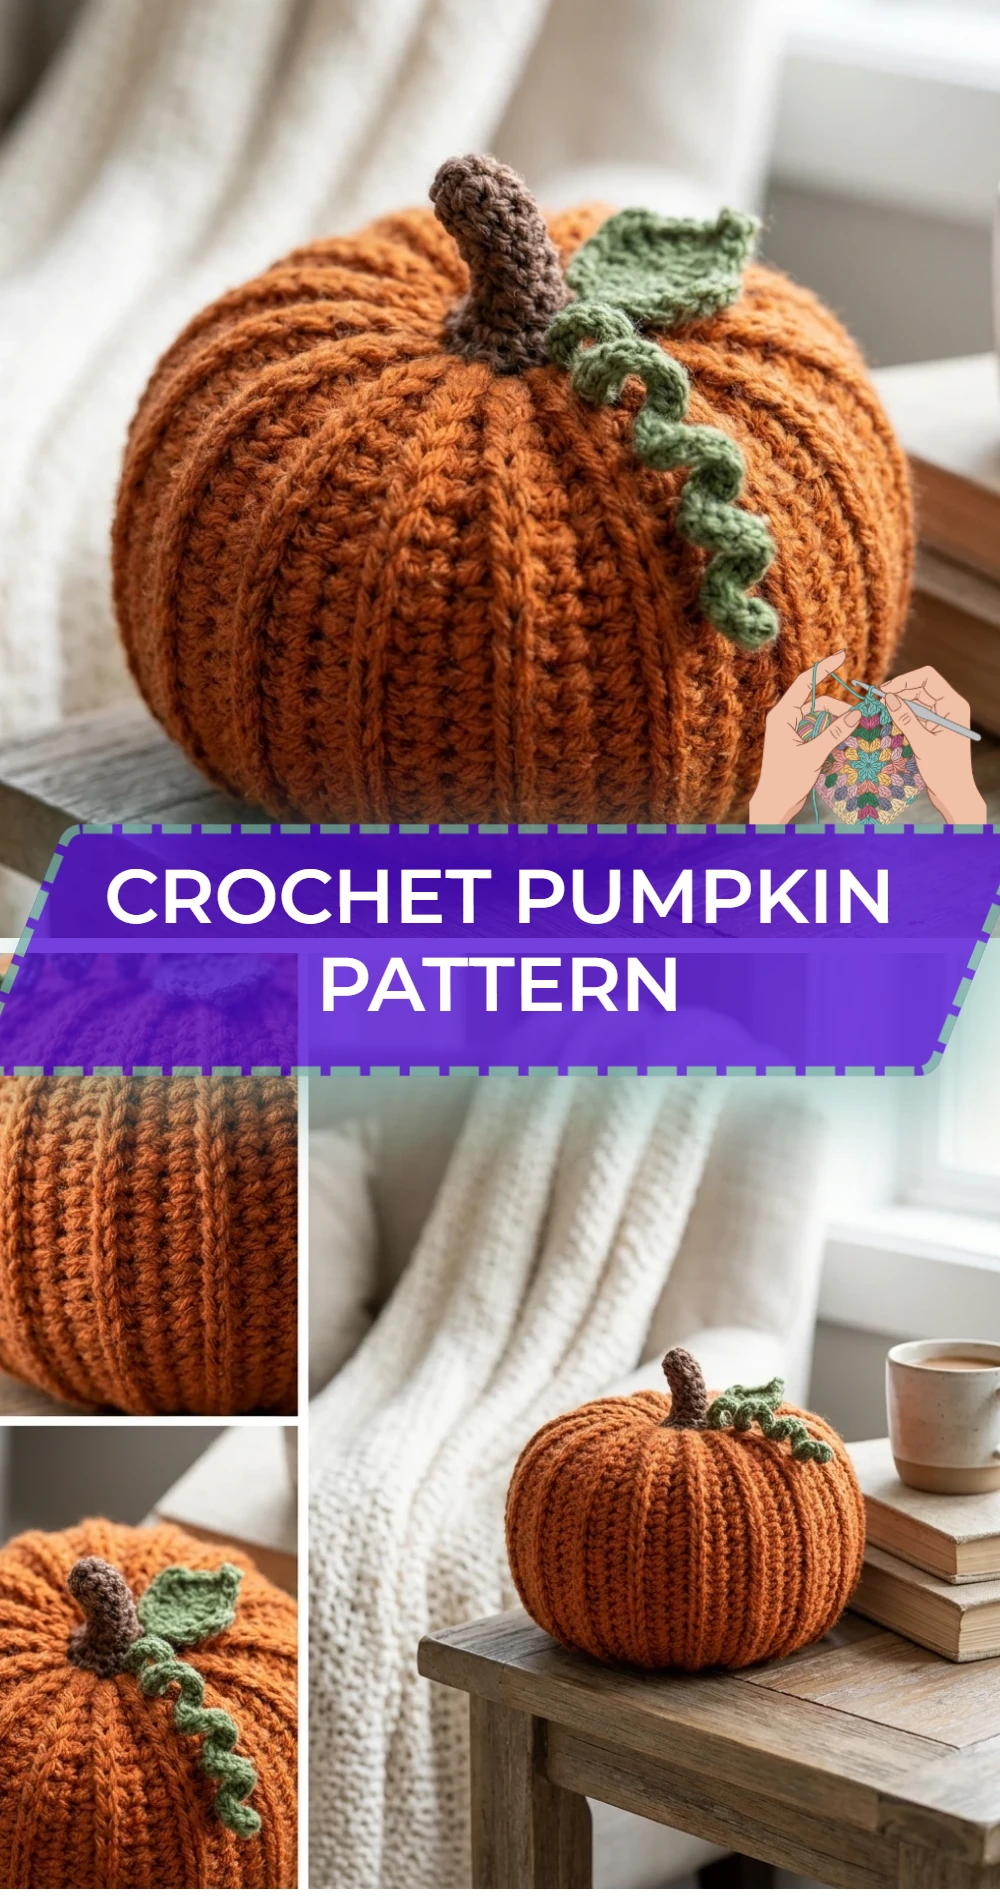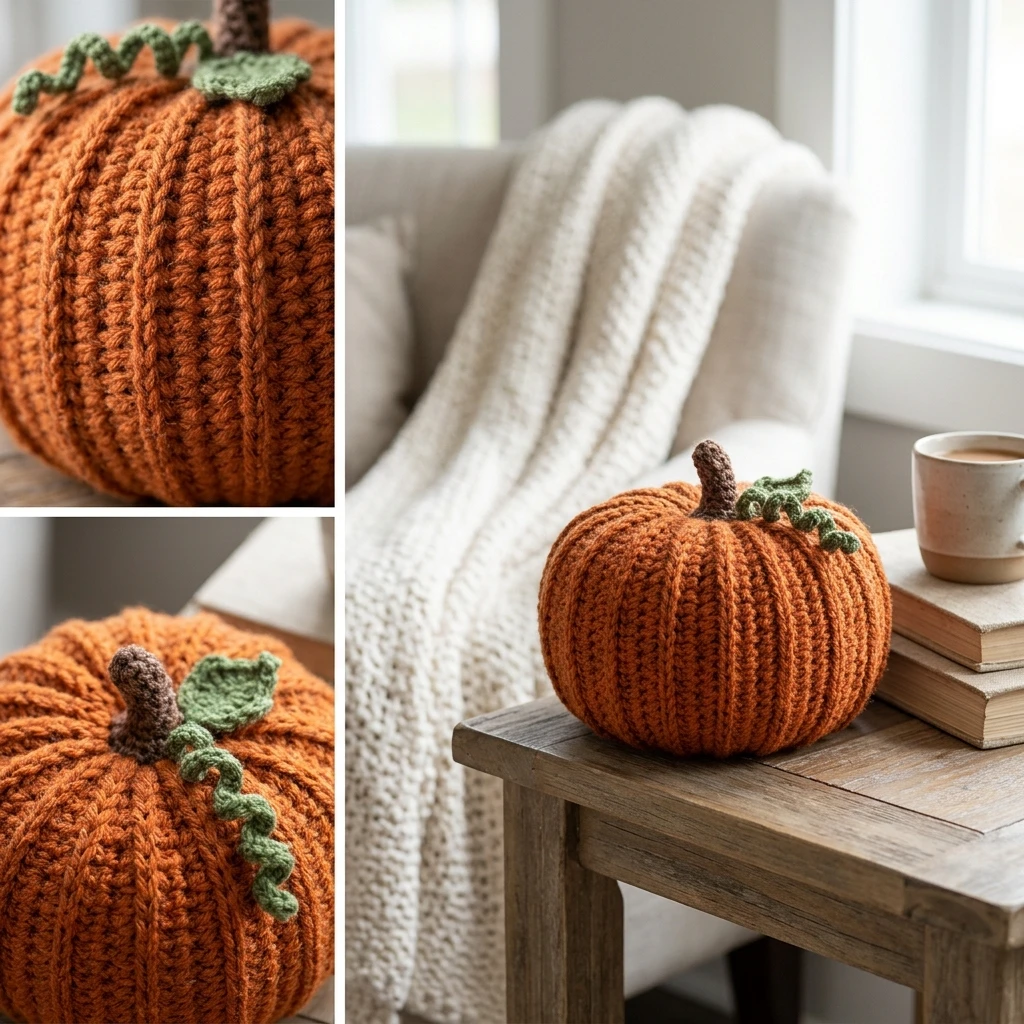
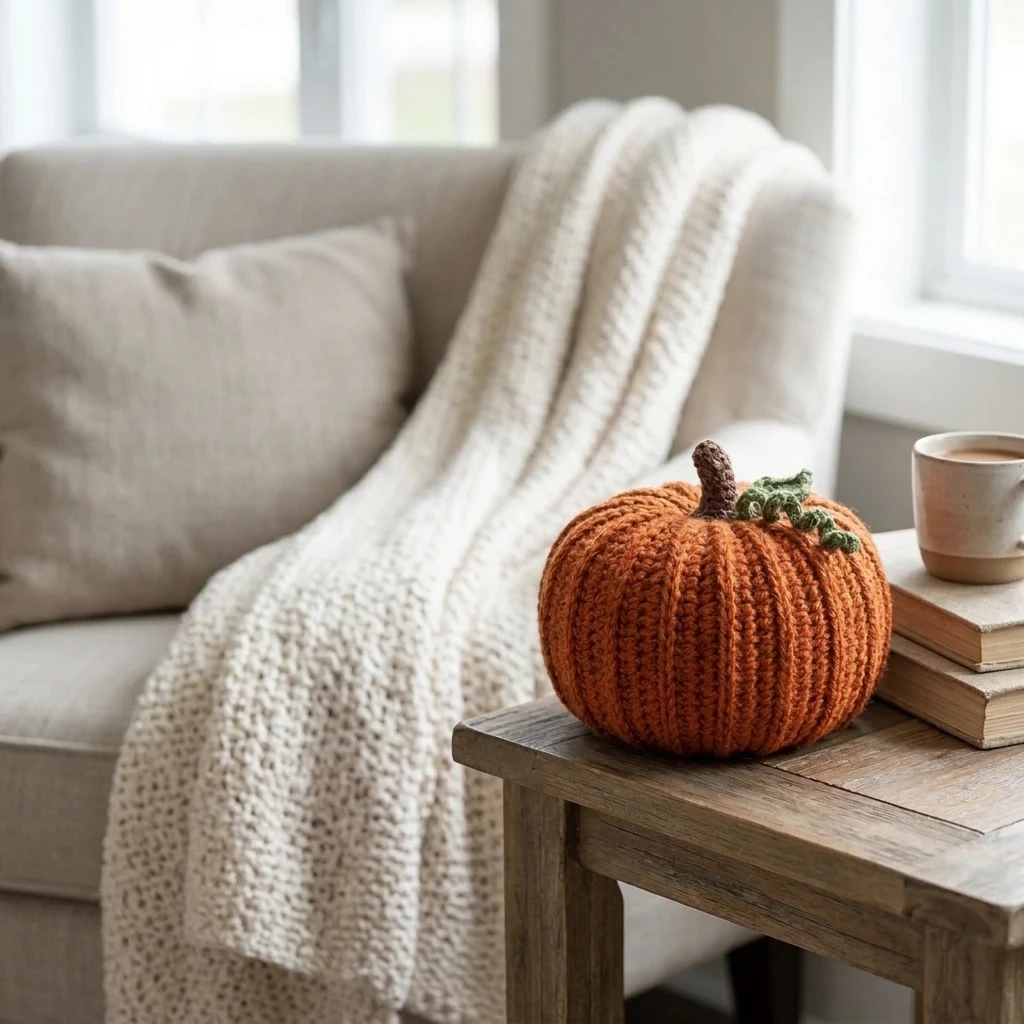
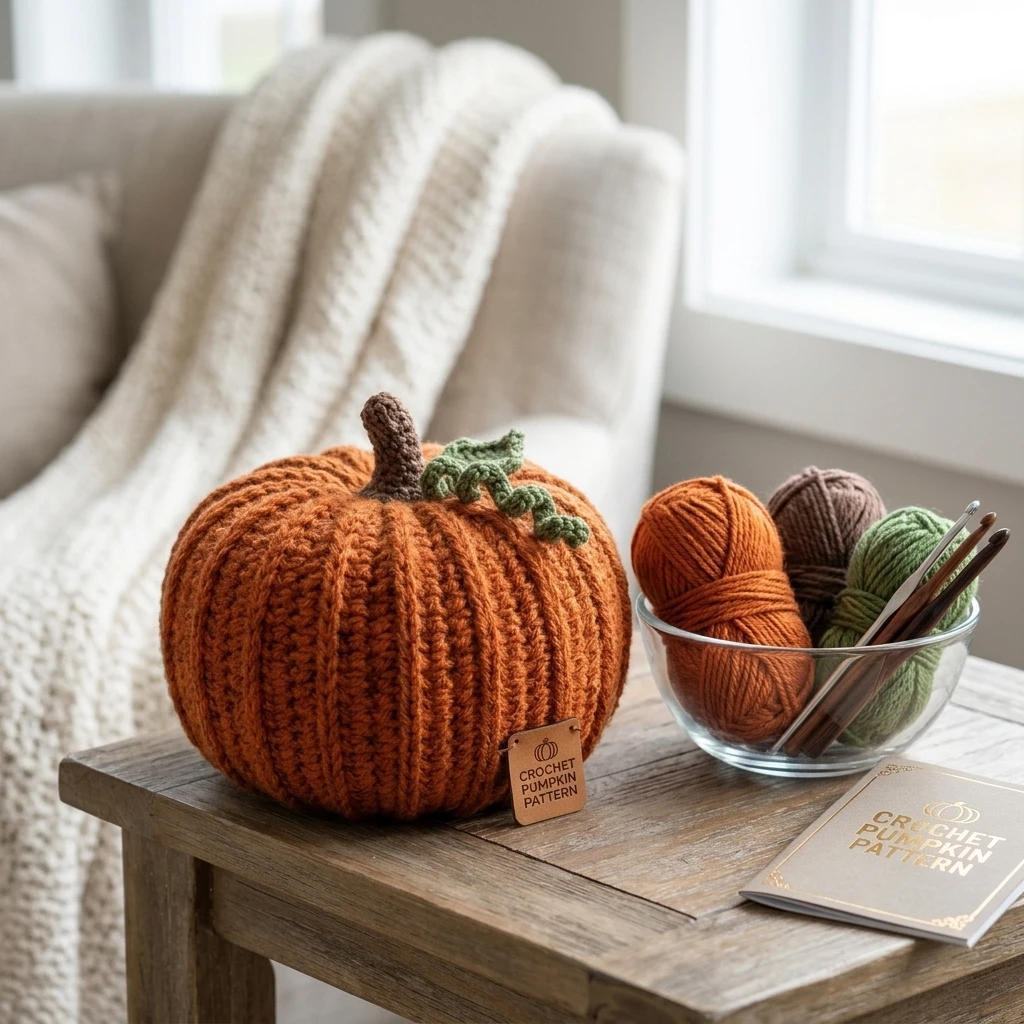
Embrace the cozy spirit of autumn with a classic Crochet Pumpkin Pattern that brings a touch of handmade warmth to any room. This project creates a plush, textured pumpkin characterized by deep, rustic ridges and a charmingly organic shape. Ideal for tiered trays, mantel displays, or as a thoughtful housewarming gift, this pattern utilizes a clever flat-construction technique. By working a simple rectangle in ribbed stitches and cinching the ends, even a beginner can achieve a sophisticated, store-quality look without complex shaping or increases.
The Design: What Makes This Pattern Different
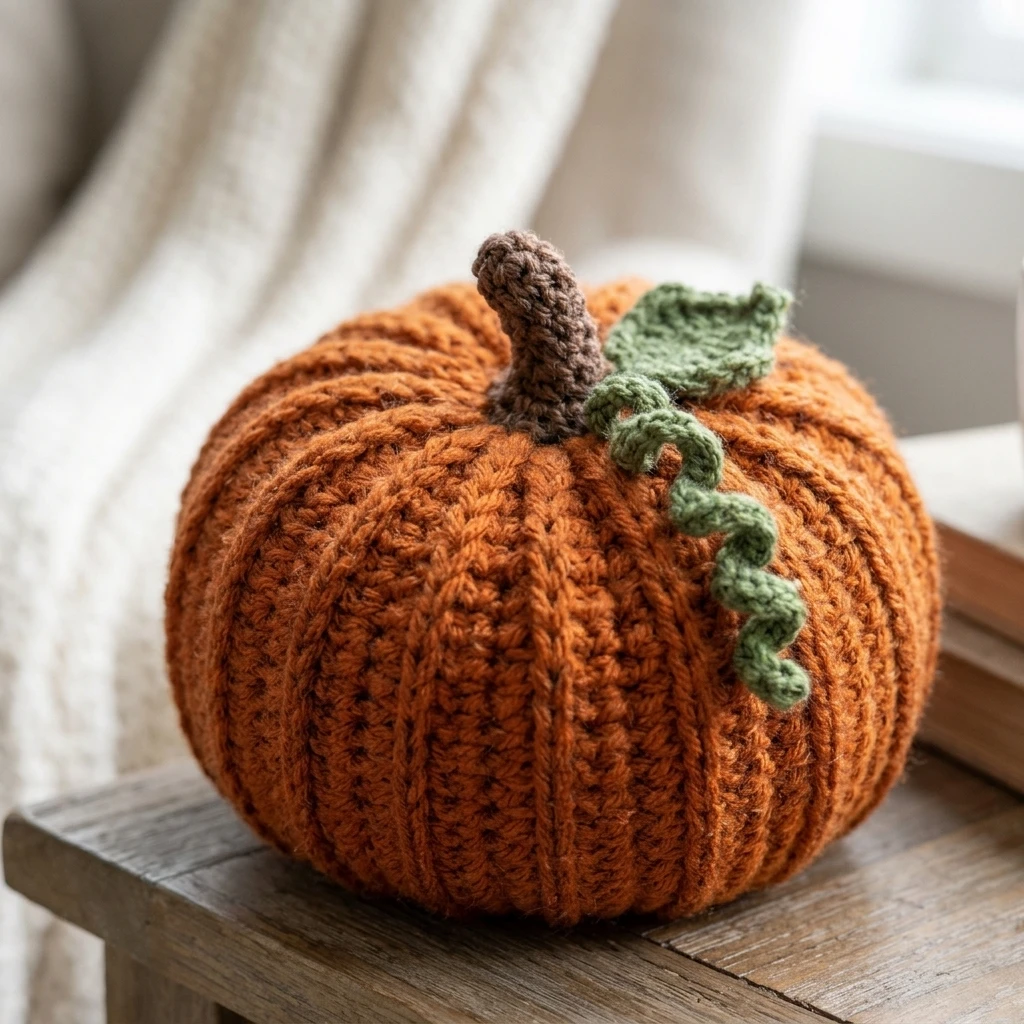
The visual appeal of this crochet pumpkin lies in its deep vertical ribbing, which mimics the natural segments of a real gourd. Unlike traditional amigurumi that is worked in continuous rounds of single crochet, this design is worked flat using the Back Loop Only (BLO) technique. This structural decision ensures that the ridges are prominent and flexible, allowing the pumpkin to expand beautifully when stuffed. A common mistake to avoid with this construction is working your turning chains too tightly; tight edges can make it difficult to cinch the top and bottom of the pumpkin smoothly, resulting in a “pointy” top rather than a rounded, professional finish.
Project Info at a Glance
| Feature | Details |
|---|---|
| Skill Level | Easy / Advanced Beginner |
| Estimated Time | 1.5 – 2 Hours |
| Finished Size | Approx. 5.5 inches wide by 4 inches tall (Suggested) |
| Hook Size | 5.0 mm (H-8) |
| Yarn Weight | Medium / Worsted (Weight 4) |
| Gauge | Photo-inspired: 16 sts x 14 rows = 4″ in BLO SC |
| Best For | Fall Home Decor & Centerpieces |
Materials and Tools
Yarn
To achieve the rustic aesthetic shown in the tutorial, choose a matte acrylic or wool-blend yarn in an autumnal palette. For a medium-sized pumpkin, you will need an estimated 80–100 yards of the primary color (such as burnt orange, cream, or sage green). A small scrap of contrasting brown or cinnamon yarn (approx. 5-10 yards) is needed for the stem. Using a yarn with a slight halo or heathered texture can add to the organic feel of the finished piece.
Tools
In addition to your crochet hook, you will need a few essentials to finish the project. A blunt-tipped tapestry needle is vital for seaming and cinching the heavy yarn. You will also need sharp fabric scissors and a high-quality polyester fiberfill. Some makers prefer using a cinnamon stick or a small piece of driftwood as an alternative stem, which can be secured with a hot glue gun or sewn into place.
Abbreviations
- ch: Chain
- st(s): Stitch(es)
- sc: Single Crochet
- blo: Back Loop Only
- sl st: Slip Stitch
- yo: Yarn Over
Pattern — Step by Step
Body Construction
The pumpkin body is worked as a flat rectangle. The height of your starting chain determines the height of the pumpkin, while the number of rows determines the circumference. This method allows for easy customization if you wish to make taller or wider pumpkins.
- Foundation Row: Ch 26.
- Row 1: Sc in the 2nd ch from the hook and in each ch across. (25 sts). Ch 1, turn.
- Row 2: Sc in the BLO of the first st and each st across to the end. (25 sts). Ch 1, turn.
- Rows 3 – 50: Repeat Row 2 until the piece measures approximately 11–12 inches in length (or roughly double the width). Do not fasten off after the final row.
The Stem
The stem is worked in a tight spiral to ensure it stands upright without additional support.
- Round 1: Create a magic ring, work 6 sc into the ring. (6 sts)
- Round 2: Working in continuous rounds, sc in each st around. (6 sts)
- Rounds 3 – 5: Repeat Round 2. Sl st to the next st to finish and fasten off, leaving a long tail for sewing.
Assembly
Transforming your flat crochet rectangle into a three-dimensional pumpkin requires a specific seaming and cinching process. Ensure your tapestry needle is threaded with a long strand of the body yarn for durability during the cinching steps.
- Vertical Seam: Fold the rectangle so the short ends meet. Sl st the two edges together through both thicknesses to create a tube. Fasten off, leaving a very long tail (approx. 20 inches).
- Cinching the Bottom: Thread the long tail onto your tapestry needle. Weave the needle in and out of the row ends along the bottom edge of the tube. Pull the yarn tightly to close the hole completely. Secure with a knot.
- Stuffing: Turn the pumpkin right side out so the seam is on the inside. Fill the pumpkin generously with polyester fiberfill. Do not overstuff to the point where the stitches stretch apart, but ensure it is firm enough to hold its shape.
- Cinching the Top: Using a new strand of yarn, repeat the weaving process around the top edge. Pull tightly to close, but leave a small gap if you plan to insert a wooden stem. Secure the yarn.
- Adding Details: Thread a long piece of yarn through the center of the pumpkin from top to bottom and back again. Pull slightly to create a “squashed” look, which gives the pumpkin its realistic squat shape.
- Attaching the Stem: Center the crochet stem over the top hole and sew it securely to the body using the yarn tail.
7 Technical Tips for a Better Crochet Pumpkin Pattern
- Consistent Tension: Keep your tension moderate. If your stitches are too loose, the stuffing will peek through the ridges; if they are too tight, the pumpkin will be difficult to shape.
- Choosing the “Right” Side: Because this pattern uses BLO, both sides are textured. Decide which side you prefer before seaming, as one side usually displays the ridges more prominently.
- Invisible Seaming: When joining the rectangle into a tube, use a mattress stitch instead of a slip stitch join if you want the seam to be completely undetectable within the ribbing.
- Strategic Stuffing: Tease your fiberfill apart before inserting it. This prevents lumps and ensures the pumpkin has a smooth, rounded surface.
- Yarn Selection: Cotton yarn creates very defined ridges but lacks the “squish” of acrylic or wool. Use a wool blend for a softer, more traditional look.
- Varying Sizes: To create a set, simply change your starting chain and row count. A taller chain makes a taller pumpkin, while more rows make a fatter pumpkin.
- Weighting the Base: For a more stable decor piece, place a small bag of poly-pellets or clean dried beans at the bottom before stuffing with fiberfill.
Frequently Asked Questions
Can I use a different weight of yarn for this pattern?
Yes! You can use bulky yarn for a large floor-style pumpkin or embroidery floss for a tiny keychain version. Just remember to adjust your hook size accordingly so the fabric remains dense enough to hold stuffing.
How do I stop the stuffing from showing through the stitches?
If you see white fiberfill, your hook is likely too large for your yarn. Try dropping down half a millimeter in hook size, or use a stuffing color that matches your yarn.
What is the best way to clean my crochet pumpkins?
Since these are decorative items, spot cleaning with a damp cloth is best. If they are made of acrylic and must be washed, place them in a mesh laundry bag on a delicate cycle and air dry completely.
How can I make the ridges look even deeper?
To emphasize the ridges, use a slightly smaller hook than recommended for your yarn. This pulls the BLO stitches tighter, making the unworked loops stand out further.
Can I use a real pumpkin stem?
Absolutely. Many designers prefer to use dried stems from real pumpkins. Simply clean them thoroughly, let them dry, and attach them to your crochet project with a bit of hot glue.
Conclusion
This Crochet Pumpkin Pattern is a rewarding project that combines simple techniques to create a sophisticated piece of seasonal decor. By mastering the BLO ribbing and the cinching assembly method, you can produce an endless variety of pumpkins in different sizes and colors. Don’t forget to pin this tutorial to your autumn crochet board for later! Which color palette are you planning to use for your pumpkin patch this year: traditional oranges or modern neutrals?
Save This Crochet Pattern