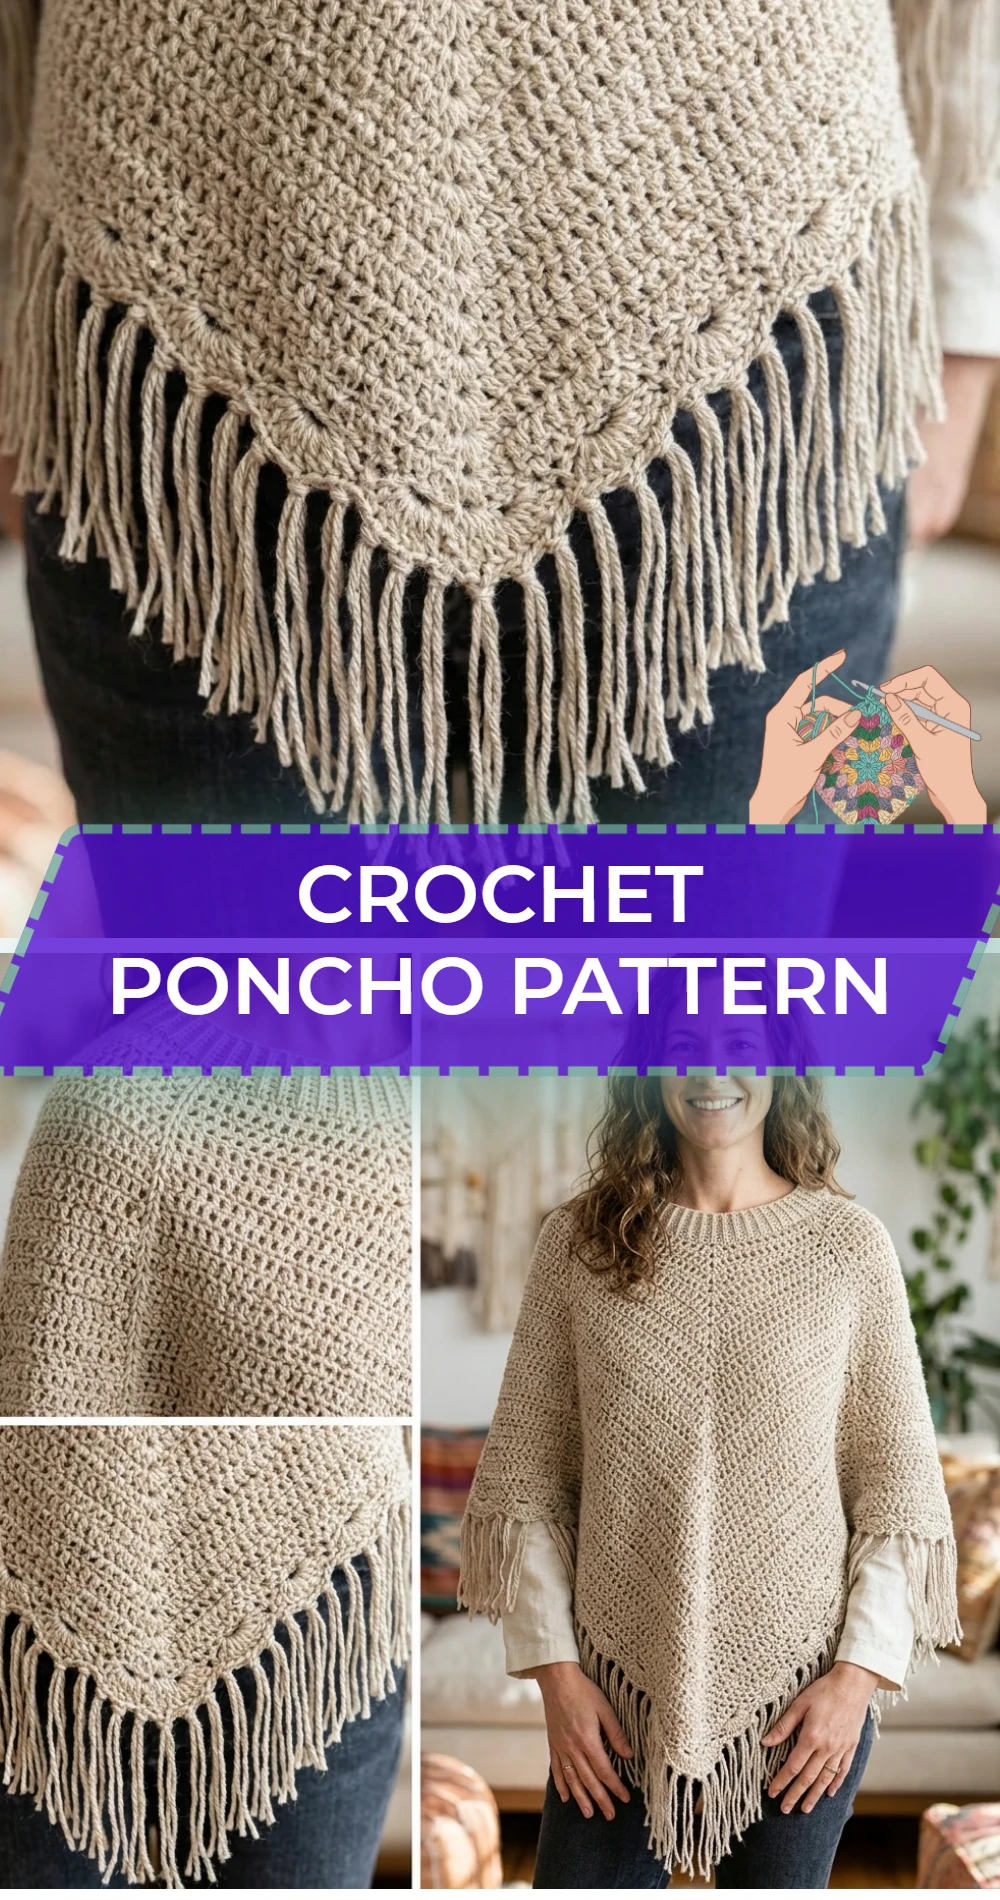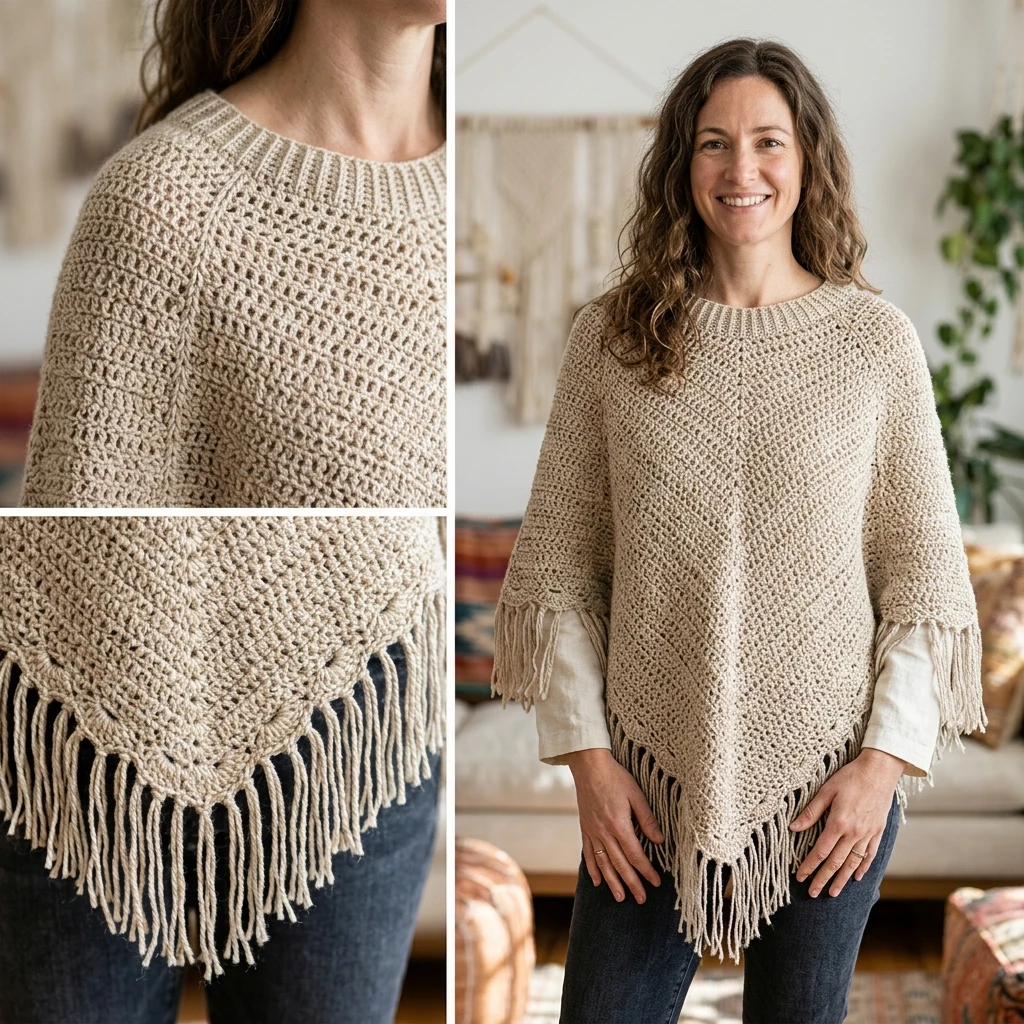
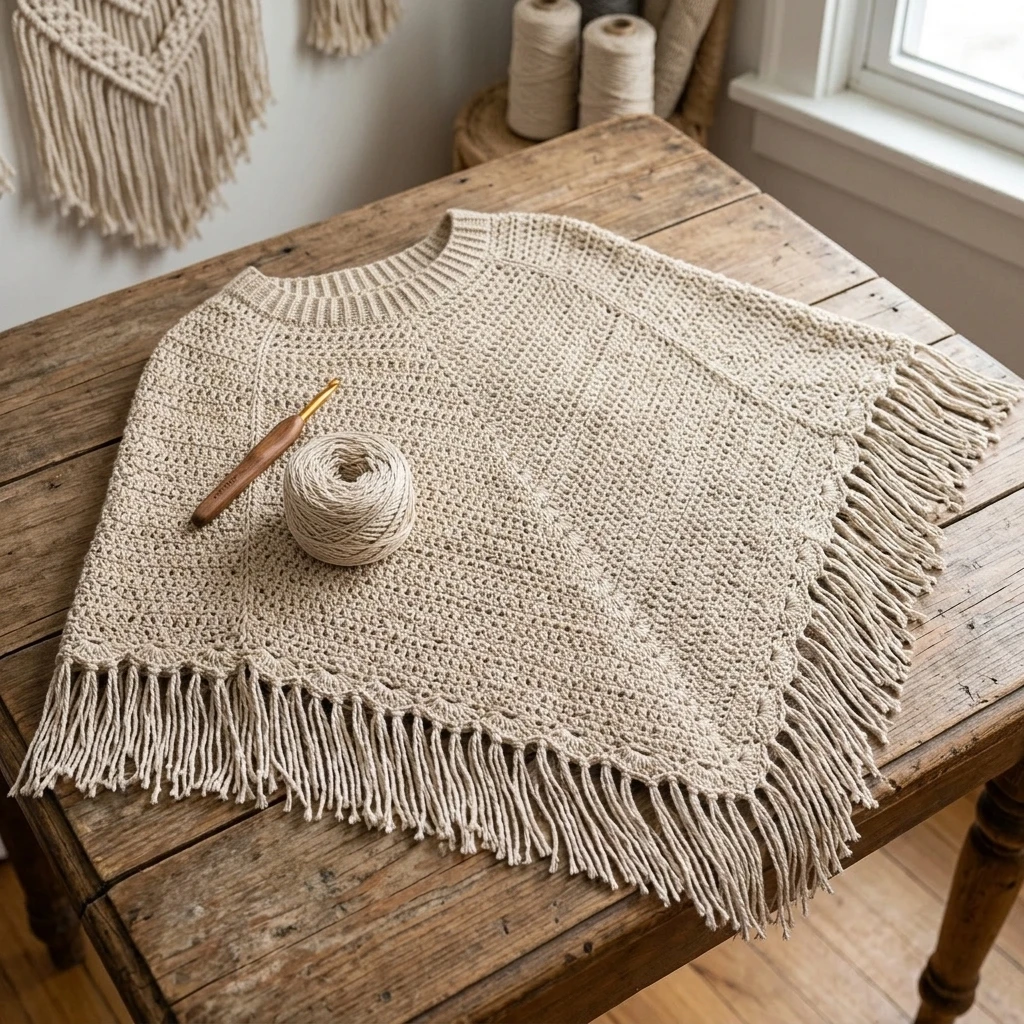
The crochet poncho is a timeless wardrobe staple that bridges the gap between cozy comfort and chic layering. This particular design focuses on a flowing silhouette that suits various body types, offering a graceful drape that moves with the wearer. Constructed using two identical rectangles, this project is perfect for crocheters who want to create a high-impact wearable without the complexity of traditional shaping or increases. Whether styled over a turtleneck for autumn walks or thrown over a light dress for a breezy evening, this poncho provides an effortless aesthetic that feels both modern and artisanal.
The Design: What Makes This Pattern Different
While many poncho patterns rely on a single large square with a hole in the center, this design utilizes the classic “two-rectangle” method. This approach ensures a superior drape along the shoulders and prevents the “tenting” effect that can occur with less structured garments. By adjusting the proportions of the rectangles, you can easily customize the length to be either a cropped capelet or a full-length wrap. A common mistake to avoid in this construction is ignoring the tension of your starting chain; if the chain is too tight, one side of your rectangle will pull and curve, leading to an asymmetrical neckline that won’t sit flat against the body.
Project Info at a Glance
| Feature | Details |
|---|---|
| Skill Level | Easy / Advanced Beginner |
| Estimated Time | 12–18 Hours |
| Finished Size | Standard Adult (Customizable) |
| Hook Size | 6.0 mm (J-10) |
| Yarn Weight | Worsted Weight (#4) |
| Gauge | 14 sts x 8 rows = 4″ in double crochet |
| Best For | Layering, Seasonal Transitions |
Materials and Tools
Yarn
For this project, an estimated 1,200 to 1,500 yards of worsted weight yarn is suggested. This quantity is based on a standard adult size; if you intend to add fringe or a turtleneck collar, consider an additional 200 yards. A yarn with a blend of wool and acrylic is recommended to maintain both warmth and structural integrity over time.
Tools
- 6.0 mm crochet hook (or size needed to obtain gauge)
- Large-eye yarn needle for seaming and weaving in ends
- Measuring tape
- Stitch markers
- Scissors
Abbreviations
- ch: chain
- st(s): stitch(es)
- sc: single crochet
- dc: double crochet
- sl st: slip stitch
- rep: repeat
- sk: skip
Pattern — Step by Step
Construction Strategy
This poncho is built by creating two identical rectangular panels. Once both panels are completed and blocked, they are joined in an “L-shape” configuration to create the neck opening and the body of the garment. This photo-inspired pattern uses a simple repeating stitch pattern to highlight the texture of the yarn.
Rectangle Panels (Make 2)
- Foundation: Ch 52 (or any even number needed to reach approximately 15–18 inches in width).
- Row 1: Dc in the 4th ch from hook (the skipped chains count as the first dc). Dc in each ch across. Turn. (50 sts)
- Row 2: Ch 3 (counts as dc). Sk the first st. Dc in the next st and each st across. Turn.
- Rows 3-60: Rep Row 2 until the rectangle measures approximately 30–32 inches in length. This length should be roughly double the width of the panel.
- Finishing: Fasten off, leaving a long tail (approx. 20 inches) for seaming.
Optional Border
Once the rectangles are finished, you may choose to work a single crochet border around all four sides of each panel to provide a cleaner edge for seaming. Simply work 1 sc in each st and 2 sc in the side of each dc row.
Assembly
The magic of this crochet poncho pattern lies in the assembly. Laying the pieces correctly is vital for the drape. You will be joining the short end of one rectangle to the long side of the other, creating a right-angled seam.
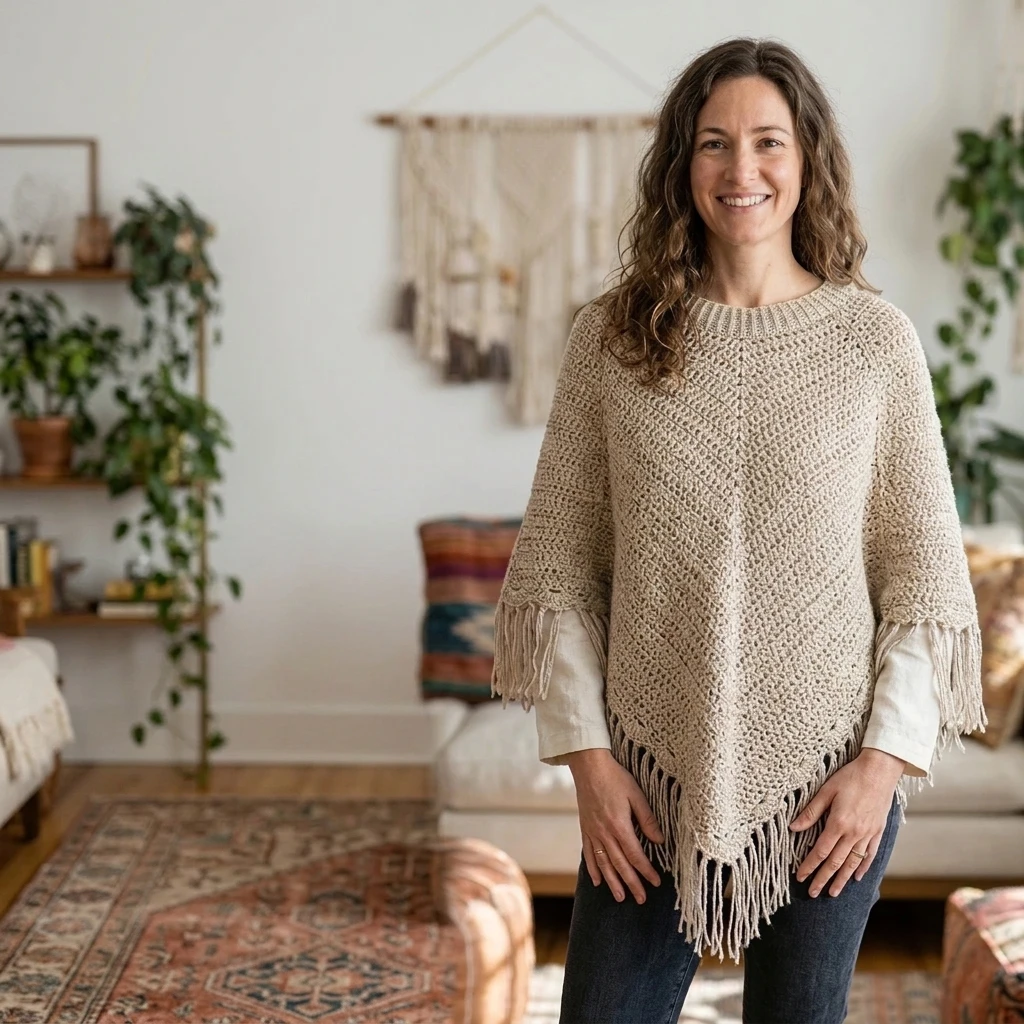
- Lay Rectangle A horizontally on a flat surface.
- Lay Rectangle B vertically, aligning the short end of Rectangle B with the top edge of the long side of Rectangle A.
- Using a yarn needle and the mattress stitch, sew this seam together securely.
- Fold the piece so that the remaining short end of Rectangle A meets the long side of Rectangle B.
- Sew this second seam. This will create a hole in the center for the head.
- Ensure all knots are hidden on the “wrong side” of the fabric.
7 Technical Tips for a Better Crochet Poncho Pattern
- Check Your Gauge: Since this is a wearable, a gauge that is too tight will result in a stiff poncho that lacks the necessary movement.
- The Foundation Chain: Use a hook one size larger (6.5mm) for your starting chain to ensure the edge remains elastic.
- Blocking is Essential: Wet block your rectangles before assembly. This relaxes the fibers and ensures your rectangles are perfectly straight.
- Invisible Seaming: The mattress stitch is highly recommended for the assembly phase as it creates a nearly invisible join that can withstand the weight of the garment.
- Yarn Choice Matters: Avoid 100% cotton for this specific construction, as it may stretch vertically over time and lose its shape.
- Weight Management: If the poncho feels heavy at the neck, add a simple single-crochet round around the neckline to stabilize it.
- Symmetry Check: Frequently measure both rectangles against each other while working to ensure they are identical in row count, not just inches.
Frequently Asked Questions
Can I use a different yarn weight?
Yes, but you will need to adjust your starting chain and row count. A lighter yarn (DK) will require more stitches and will produce a more delicate, lacy garment.
How do I make the poncho larger?
To increase the size, increase the width of your rectangles by adding more stitches to your foundation chain, and increase the length proportionally.
What is the best way to add fringe?
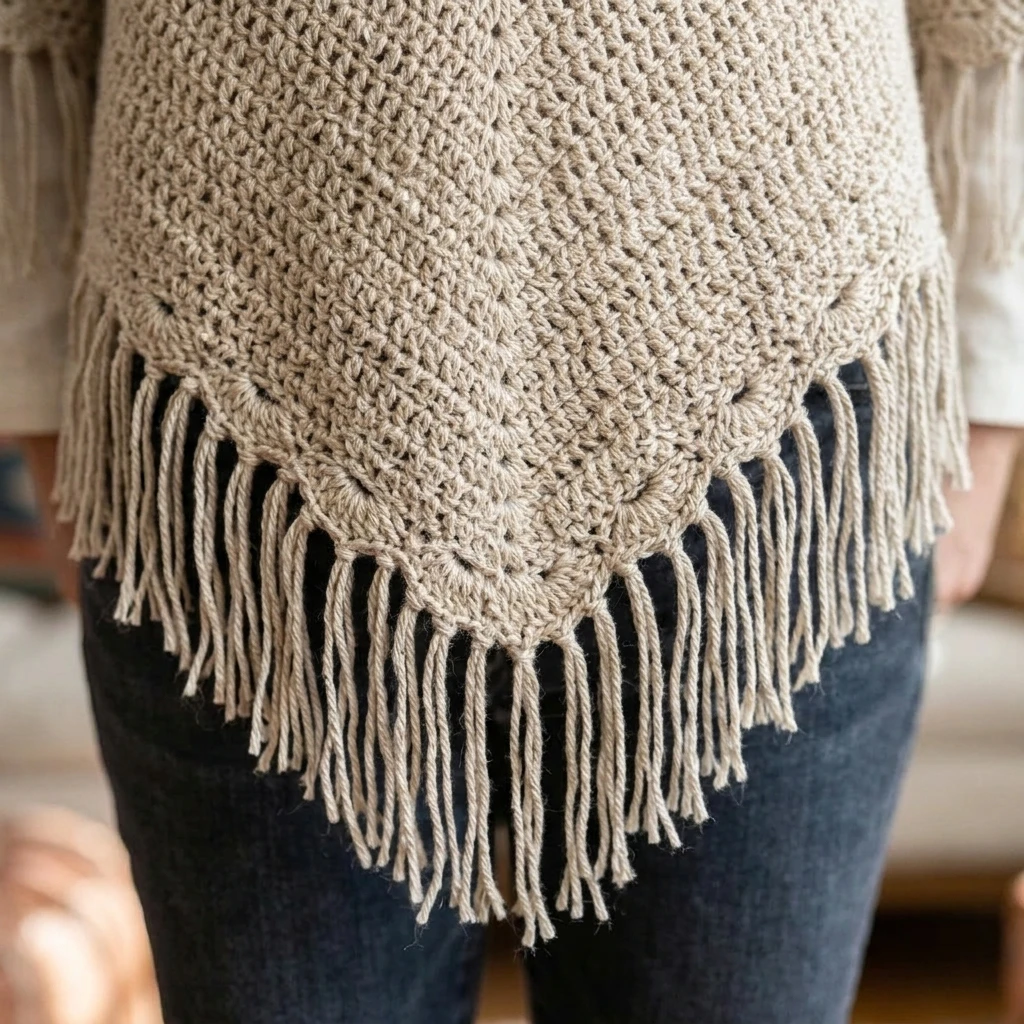
Cut lengths of yarn double the desired fringe length, fold them in half, and use your crochet hook to pull the loop through the bottom edge of the poncho, then pull the ends through the loop.
Do I have to use double crochet?
While this pattern uses dc for speed and drape, you can use any stitch you like, such as the moss stitch or half-double crochet, as long as you maintain consistent rectangle dimensions.
Is this pattern suitable for beginners?
Absolutely. Because there is no increasing or decreasing, it is an ideal first garment project for anyone who can work basic rows.
Conclusion
Creating a crochet poncho is a rewarding way to build your handmade wardrobe with a piece that is as functional as it is fashionable. By focusing on the “two-rectangle” construction, you ensure a project that is low-stress but high-reward. Remember to block your pieces for the best finish and choose a yarn that makes you feel cozy. If you enjoyed this tutorial, pin it to your “Crochet Wearables” board on Pinterest for later! What color yarn are you planning to use for your first poncho?
Save This Crochet Pattern