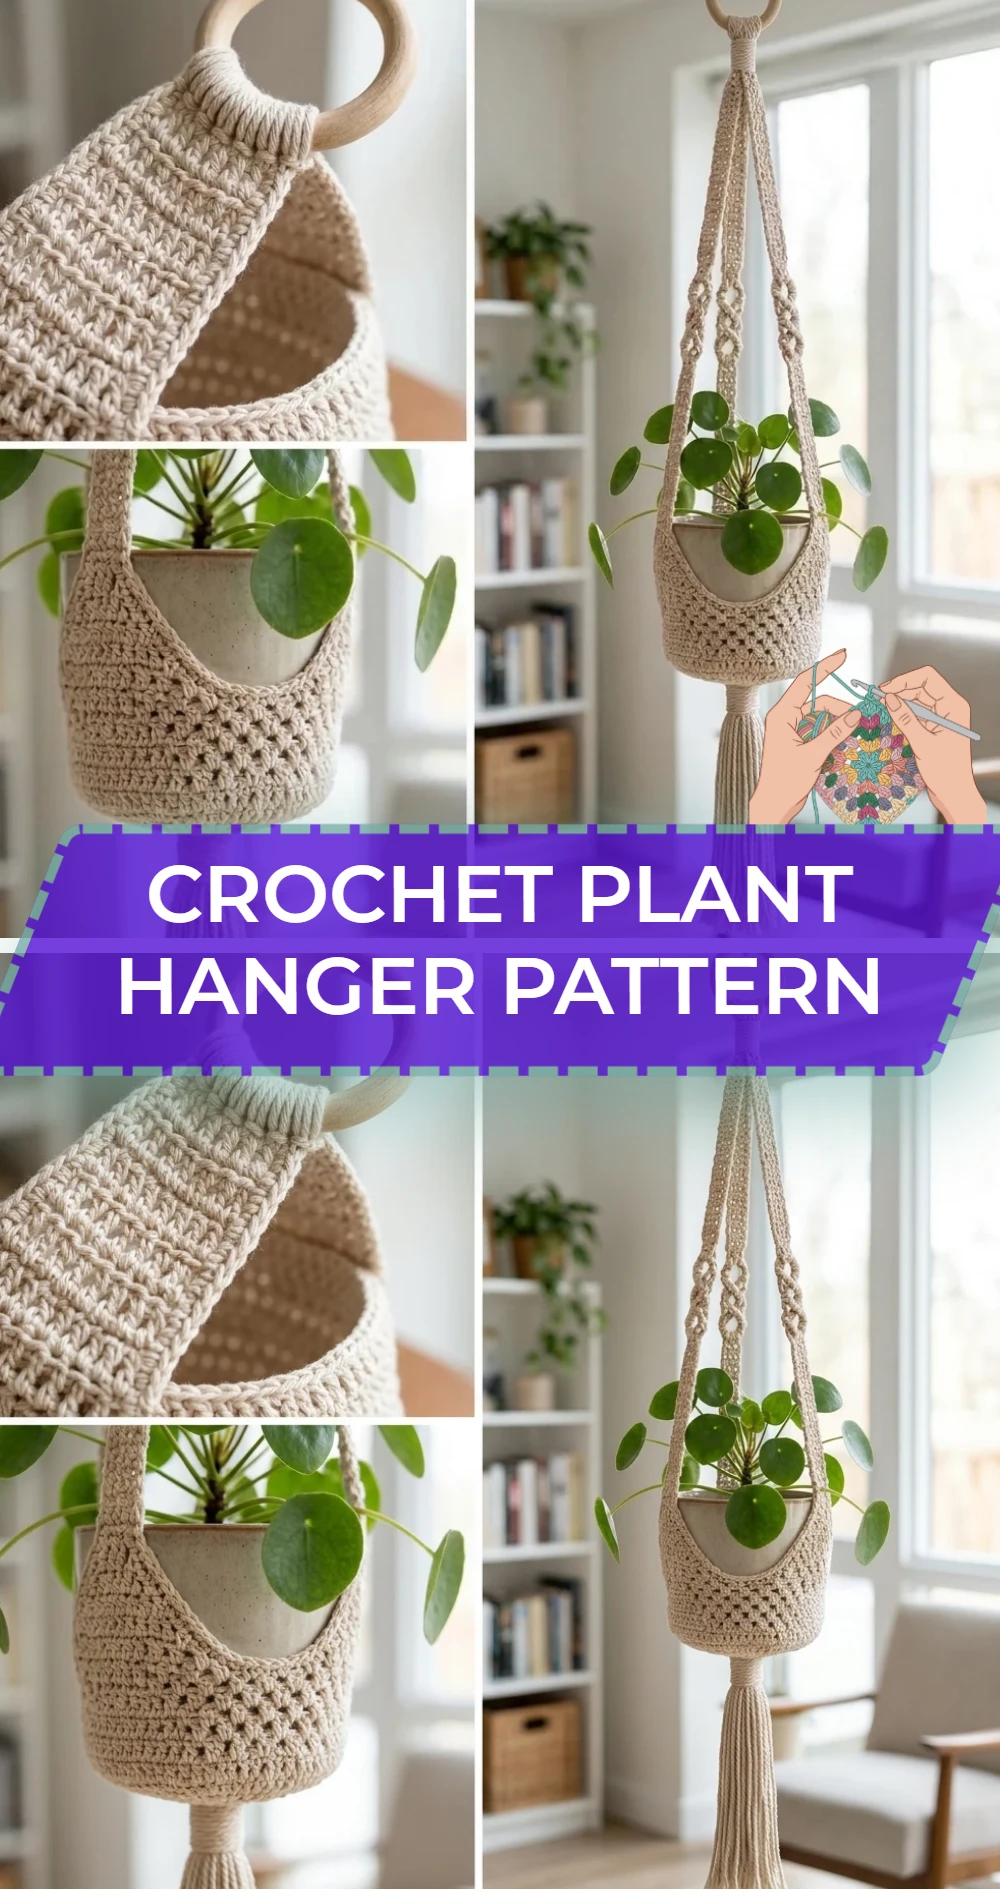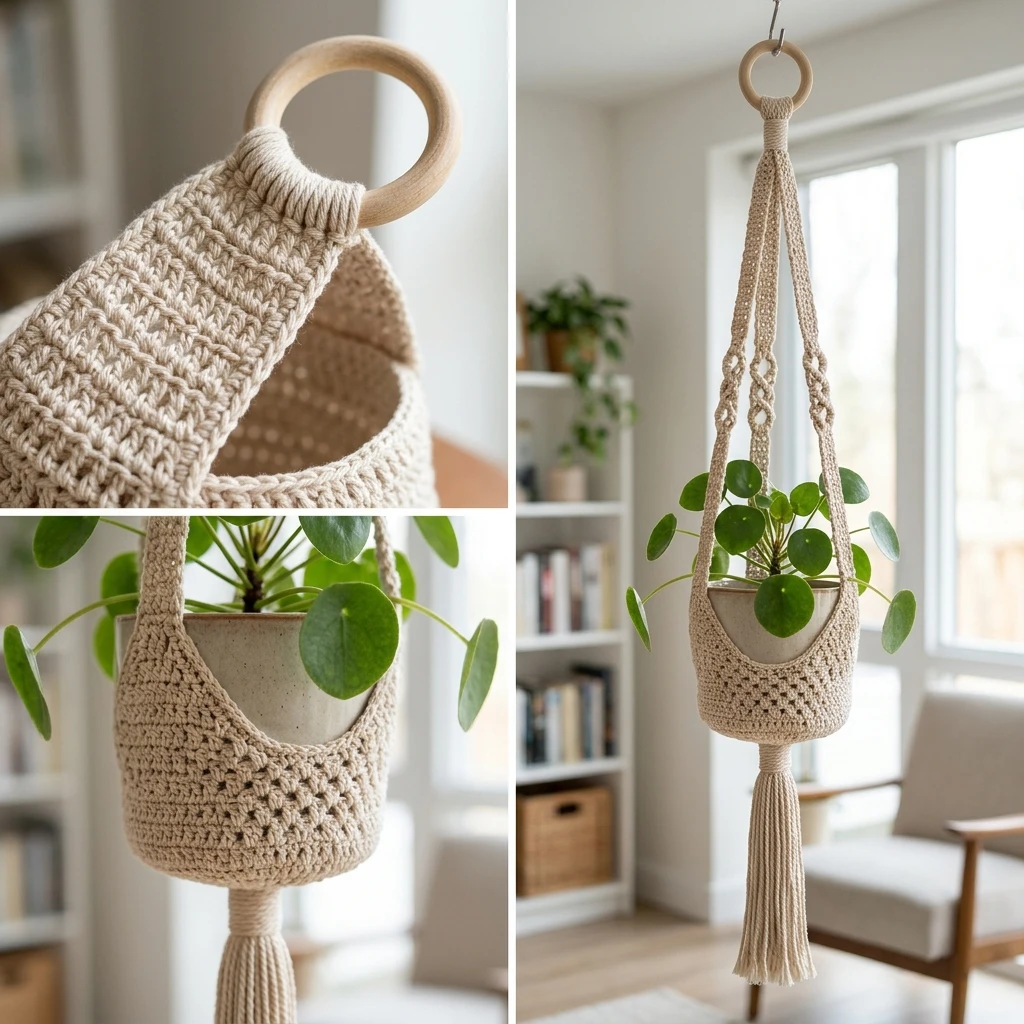
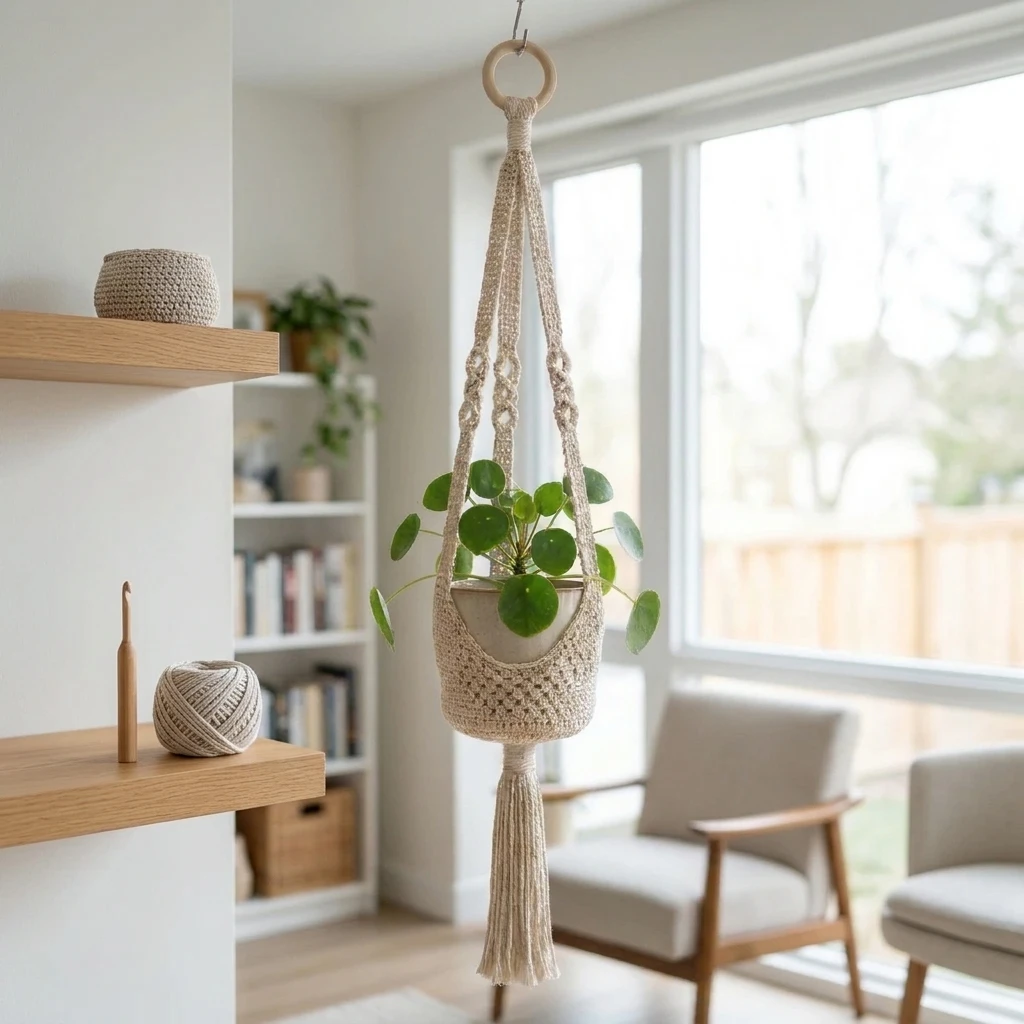
Transform your indoor garden into a lush, vertical sanctuary with this elegant Crochet Plant Hanger. Featuring a sturdy, solid-stitched base and a delicate, breathable open-mesh body, this design balances the rustic charm of traditional macramé with the refined, tactile texture of crochet. It is perfectly suited for modern minimalist decors or bohemian-inspired spaces, providing a secure and stylish home for your favorite trailing ivy, succulents, or ferns. The construction uses a seamless round-based technique, ensuring that your pottery sits level and secure while hanging.
The Design: What Makes This Pattern Different
This crochet plant hanger is engineered for durability and structural integrity, specifically addressing the common issue of “pot sag” found in many lightweight patterns. Unlike designs that rely solely on thin chains, this pattern utilizes a reinforced circular base worked in tight double crochet stitches to provide a flat, stable platform for the vessel. The transition from the base to the walls uses a geometric mesh that expands naturally to accommodate various pot shapes, from tapered terracotta to round ceramic bowls.
One common mistake to avoid when creating functional home decor is selecting a fiber with too much elasticity. Avoid high-percentage acrylic or wool yarns, as the weight of a watered plant will cause the hanger to stretch excessively over time. Opting for a 100% mercerized cotton or a sturdy hemp cord ensures the hanger retains its original length and tension even under the weight of heavier soil.
Project Info at a Glance
| Feature | Details |
|---|---|
| Skill Level | Beginner / Easy |
| Estimated Time | 1.5 – 2 Hours |
| Finished Size | Fits 4-6″ diameter pots (approx. 20″ long without plant) |
| Hook Size | 4.0mm (G/6) or 5.0mm (H/8) |
| Yarn Weight | Medium / Worsted (Weight 4) |
| Gauge | 16 dc x 9 rows = 4″ (Estimated) |
| Best For | Indoor plants, porch decor, and housewarming gifts |
Materials and Tools
Yarn
For this project, cotton is the gold standard. It offers the structural rigidity needed to hold weight without sagging. You will need approximately 80 to 100 yards of worsted-weight cotton yarn. If you are using a lighter DK weight yarn, consider holding two strands together to increase the load-bearing capacity of the straps.
Tools
- Crochet Hook: 4.0mm or 5.0mm, depending on your personal tension.
- Wooden or Metal Ring: A 1.5-inch or 2-inch ring for the top hanging element.
- Measuring Tape: To ensure all four hanging straps are equal in length.
- Stitch Markers: Essential for tracking the start of rounds in the mesh section.
- Tapestry Needle: For weaving in ends securely.
- Scissors: For clean finishing.
Abbreviations
- ch: chain
- dc: double crochet
- sc: single crochet
- sl st: slip stitch
- st(s): stitch(es)
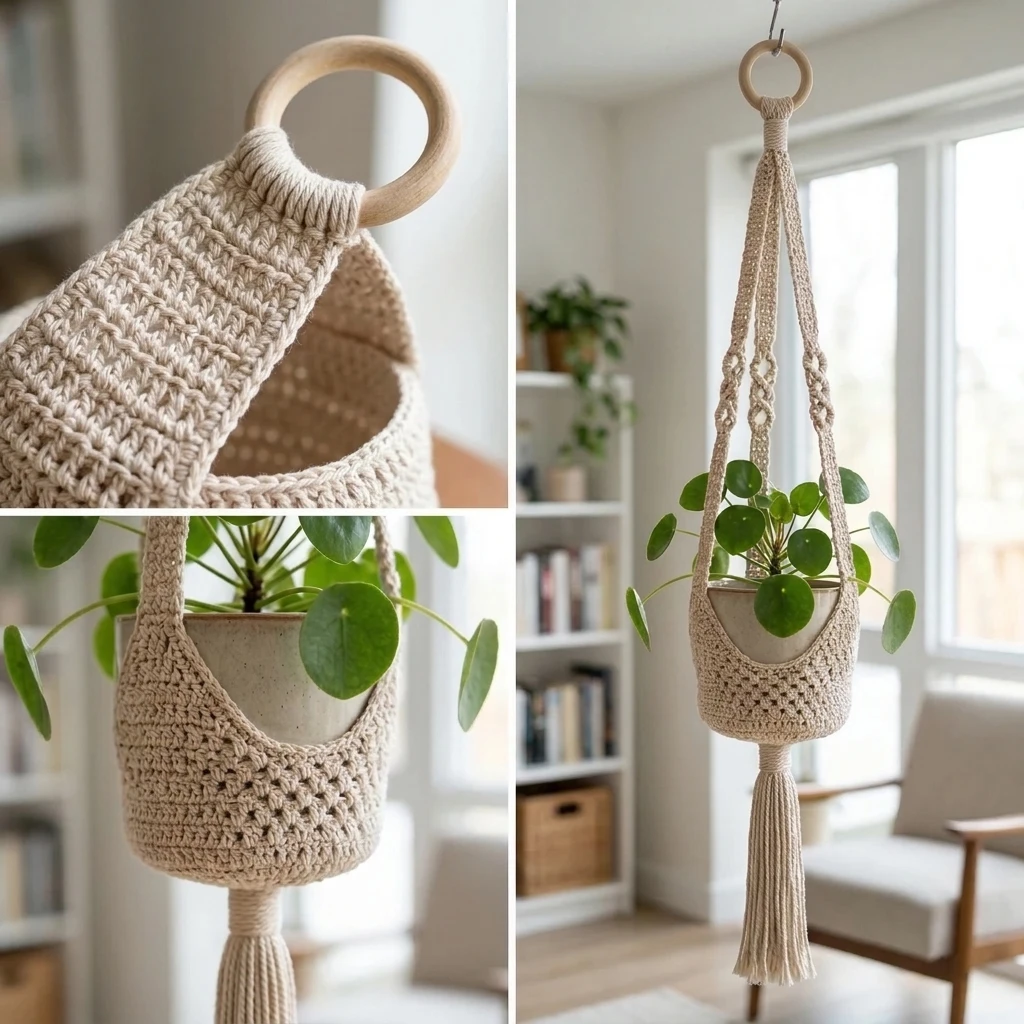
- MR: magic ring (or ch 4 and sl st to first ch to form a ring)
- inc: increase (two stitches in the same stitch)
- sk: skip
- sp: space
Pattern — Step by Step
The Stable Base
The base is worked in the round to create a solid disc. This ensures the plant pot has a flat surface to rest upon, preventing it from tilting.
- Round 1: Make a MR, ch 2 (does not count as st), work 12 dc into the ring. Sl st to the first dc to join. (12 sts)
- Round 2: Ch 2, 2 dc in each st around. Sl st to join. (24 sts)
- Round 3: Ch 2, *1 dc in next st, 2 dc in following st; repeat from * around. Sl st to join. (36 sts)
- Round 4: Ch 1, sc in each st around to create a firm edge. Do not fasten off. (36 sts)
The Mesh Walls
We will now transition to an open mesh. This allows the pattern to stretch horizontally to grip the pot tightly.
- Round 5: Ch 5 (counts as 1 sc and ch-4 sp), sk 2 sts, *sc in next st, ch 4, sk 2 sts; repeat from * around. Sl st into the first ch of the starting ch-5.
- Round 6-10: Sl st into the first ch-4 sp. Ch 5 (counts as sc + ch 4), sc in next ch-4 sp. Continue working ch-4 loops into the center of the previous round’s loops.
- Round 11: (Adjustment Round) If your pot is taller, add 2-3 more rounds of mesh. If using a standard 4-inch pot, stop at Round 10.
The Hanging Straps
The straps are worked directly onto the final round of the mesh to ensure they cannot be pulled out or detached easily.
- Identify four equidistant points around the final mesh round.
- At the first point, join yarn and ch 60 (or desired length). Sc into the wooden ring, then sc back down the chain to the base for added strength. Sl st to join to the mesh.
- Repeat for the remaining three points, ensuring each chain is exactly the same length.
Assembly
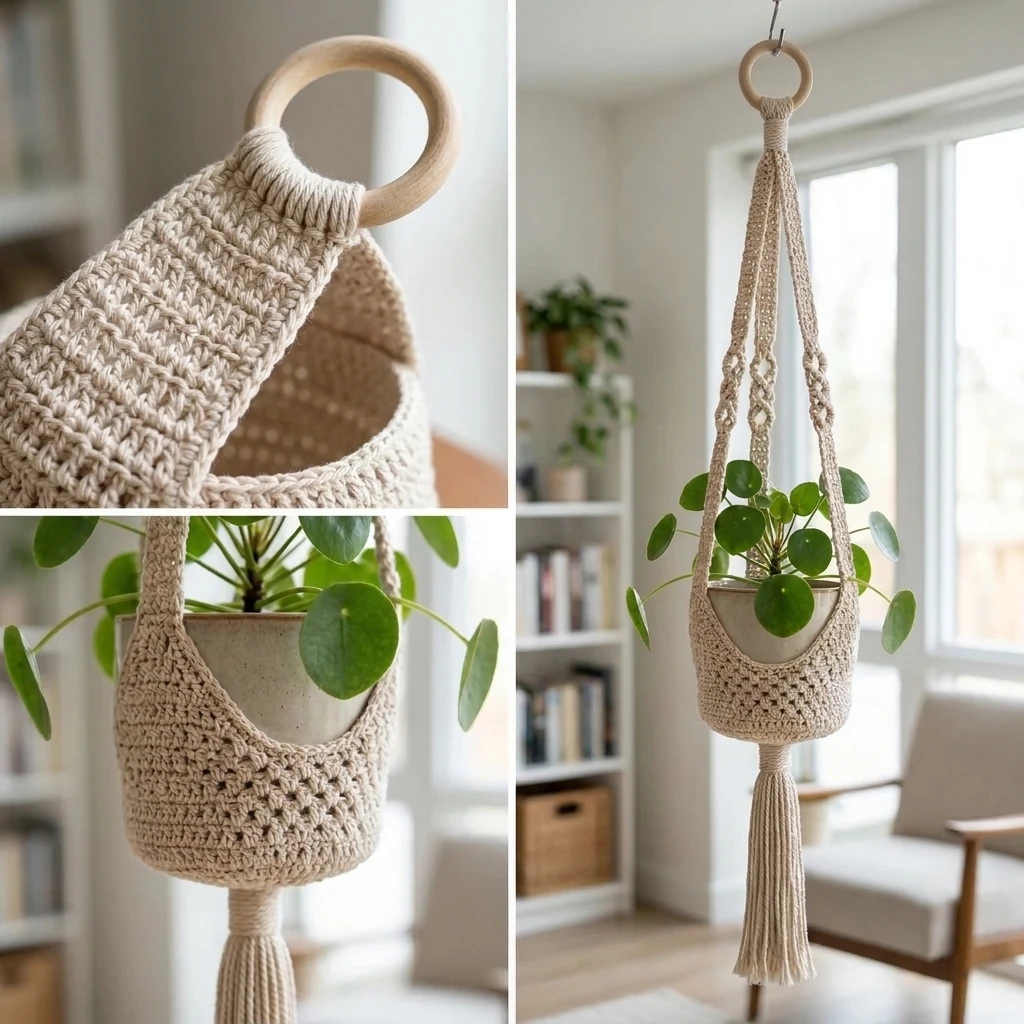
The assembly of a crochet plant hanger is integrated into the final steps of the pattern, but final reinforcements are necessary to ensure the weight of the plant is distributed evenly across all four arms.
- Lay the hanger flat on a table to ensure no straps are twisted.
- Bring all four strap ends to the wooden or metal ring.
- If you did not crochet directly onto the ring during the strap phase, use a tapestry needle and a double-strand of yarn to whip-stitch the ends of the straps to the ring.
- Wrap the yarn tightly around the base of the ring (a “gathering knot” style) to gather all four straps together for about 1 inch. This adds a professional, macramé-style finish.
- Turn the hanger inside out and weave in the starting tail from the magic ring extremely securely, as this point bears the initial weight of the pot.
7 Technical Tips for a Better Crochet Plant Hanger Pattern
- Use a Smaller Hook: If you are a loose crocheter, drop down a hook size for the base. A tighter tension prevents the center of the base from bowing outward under pressure.
- Fiber Selection: Mercerized cotton is preferred because the mercerization process removes the “fuzz” and strengthens the yarn, making it more resistant to mildew if it gets damp during watering.
- Test with the Pot: Insert your empty pot into the mesh after Round 8. The mesh should be slightly snug; if it’s too loose, the pot may slip through the holes.
- Strap Symmetry: Count your chains for every strap. Even a difference of two stitches can cause the plant to hang at a noticeable tilt.
- Reinforce the Ring: When joining to the wooden ring, work a series of 5-10 sc stitches around the ring itself rather than just one. This creates a broader anchor point.
- The Weight Factor: For very heavy ceramic pots, consider replacing the chain straps with a “Thermal Stitch” or a “Linked Double Crochet” to minimize vertical stretch.
- Blocking: Lightly steam-block the mesh (without touching the iron to the yarn) to open up the diamond shapes before inserting the plant for the first time.
Frequently Asked Questions
What is the best yarn for a plant hanger?
100% cotton or a cotton/linen blend is best. Avoid wool, alpaca, or standard acrylic, as these fibers will stretch significantly when the plant is watered and becomes heavy.
Can I use this for outdoor plants?
Yes, but keep in mind that natural cotton may degrade or develop mildew if it stays wet for long periods. For permanent outdoor use, consider a synthetic “outdoor-rated” cord or polypropylene yarn.
How do I wash my crochet plant hanger?
Remove the plant and hand wash the hanger in cool water with a mild detergent. Lay it flat to dry. Do not hang it to dry while wet, as the weight of the water will stretch the damp fibers.
My pot is very narrow at the bottom and wide at the top. Will this fit?
Yes! The mesh construction is naturally elastic. It will expand to fit the wider top of the pot while the solid base keeps the narrow bottom centered.
How do I make the hanger longer?
To increase the hanging height, simply increase the number of chains in the strap section. For every 10 extra chains, you will add approximately 2-3 inches of length depending on your tension.
Conclusion
Creating your own crochet plant hanger is a rewarding way to personalize your living space while practicing essential shaping and mesh techniques. By focusing on a sturdy base and non-stretch cotton fibers, you ensure a functional piece of decor that will last for years. If you enjoyed this tutorial, be sure to save it to your Crochet Home Decor board on Pinterest so you can find it for your next garden update!
What kind of plant are you planning to display in your new handmade hanger?
Save This Crochet Pattern