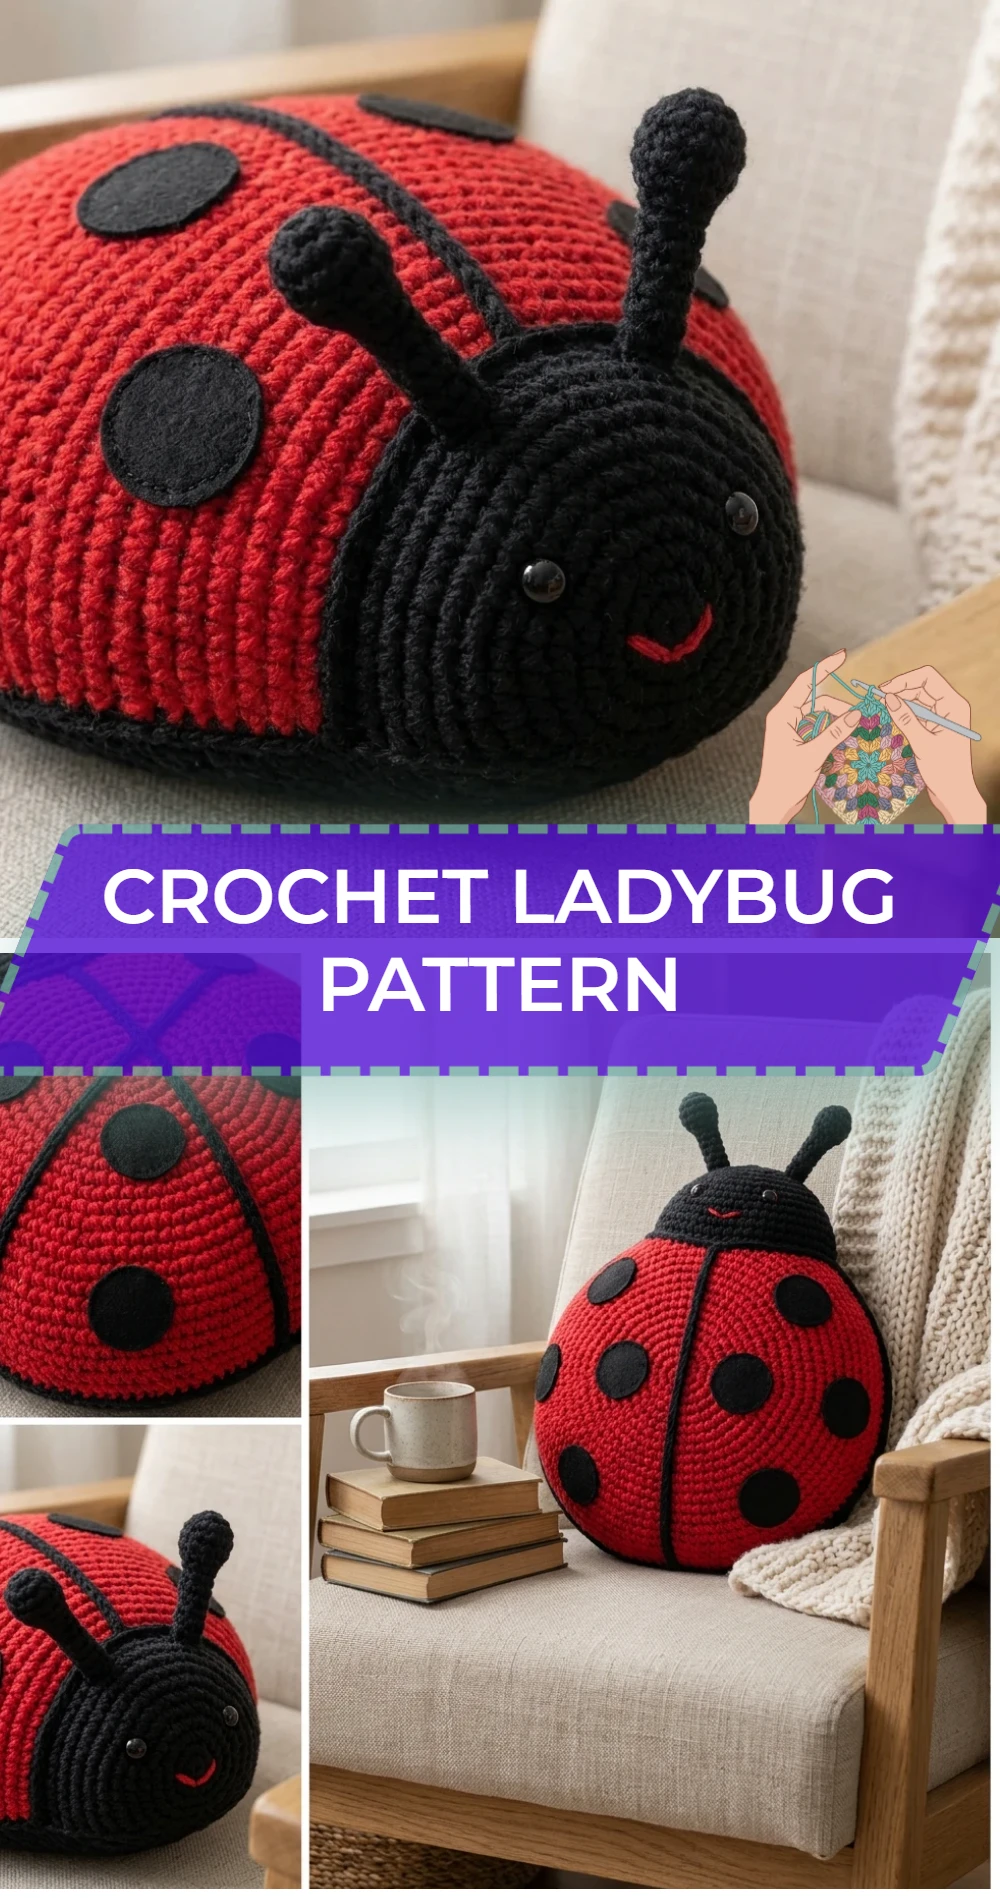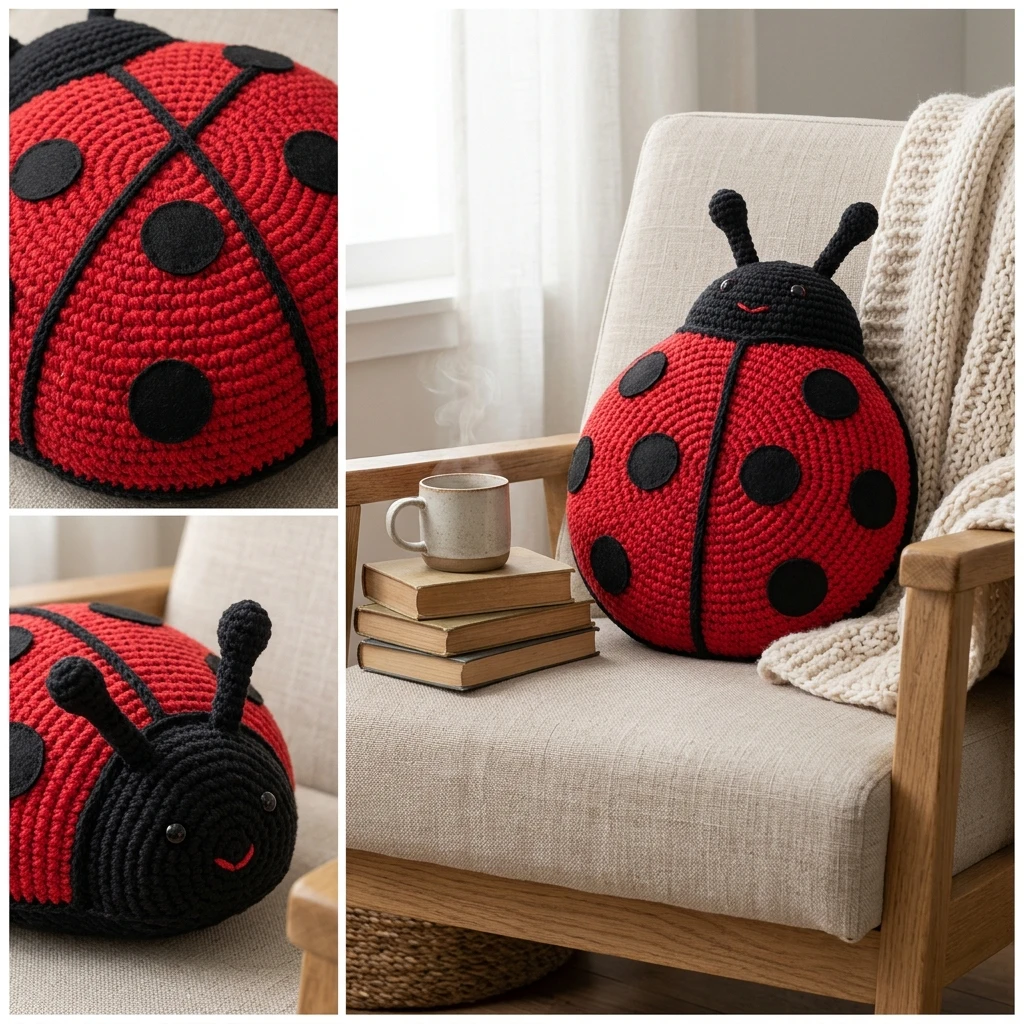
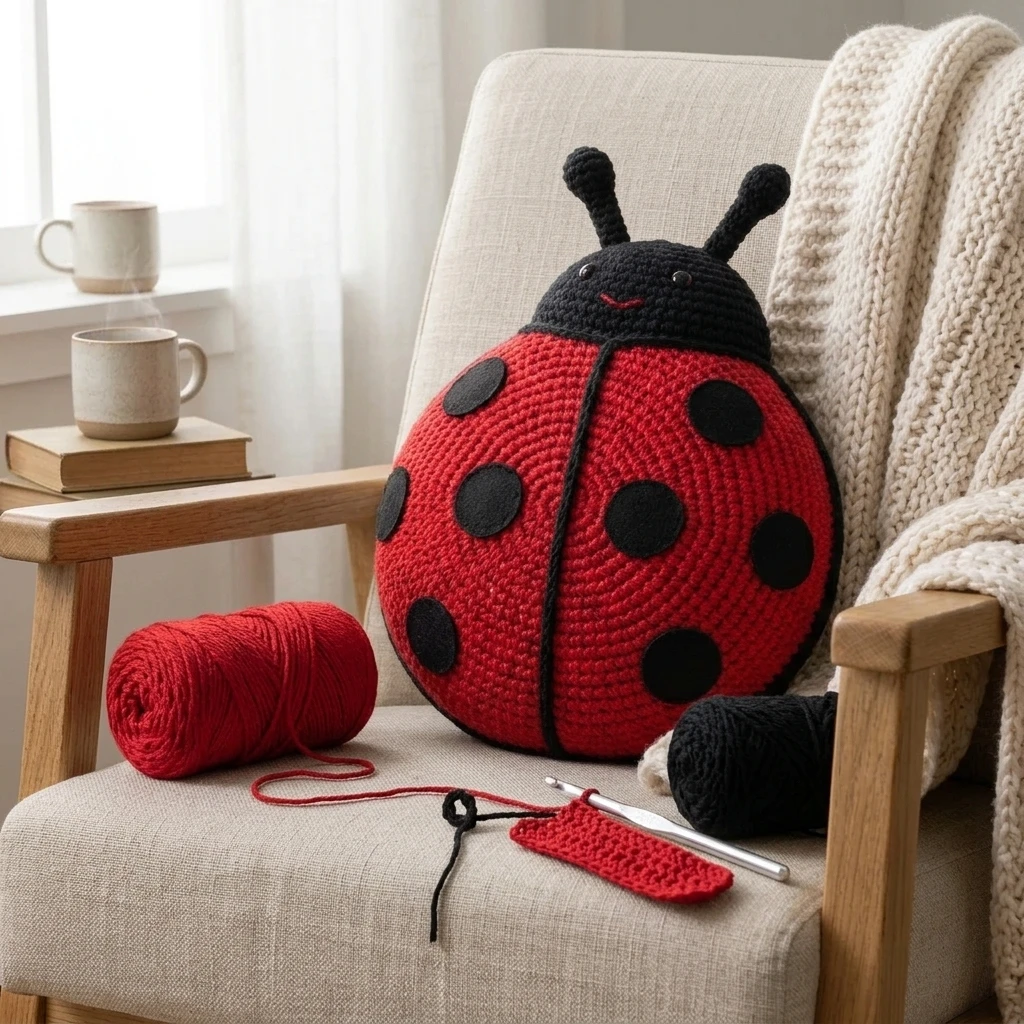
These tiny, spotted beetles are iconic symbols of luck and garden beauty, and our Crochet Ladybug Pattern brings that charm into your home in plush form. This amigurumi-style project creates a plump, rounded ladybug that fits perfectly in the palm of your hand, making it a delightful gift for children, a cheerful desk companion, or a vibrant addition to a spring-themed nursery. The design relies on simple geometric shapes—a spherical body and a hemispherical head—that are worked in continuous rounds. Whether you are creating a classic red-and-black ladybug or experimenting with pastel colors, this project is a wonderful way to practice color changes and basic structural shaping.
The Design: What Makes This Pattern Different
This design prioritizes a clean, minimalist aesthetic that focuses on high-contrast colors and symmetry. Unlike many flat appliqués, this 3D pattern uses a specific “flat-bottom” technique for the body to ensure the ladybug sits upright without rolling. We achieve this by slightly modifying the decrease rounds to pull the fabric inward more sharply at the base. One common mistake to avoid with this pattern is uneven spot placement; because the body is spherical, even a one-stitch deviation in embroidery or attachment can make the ladybug appear lopsided. We suggest using stitch markers or pins to map out your spot placement before final attachment to ensure a professional, symmetrical finish.
Project Info at a Glance
| Feature | Details |
|---|---|
| Skill Level | Easy / Advanced Beginner |
| Estimated Time | 2 – 3 Hours |
| Finished Size | Approximately 3.5 inches long (Photo-inspired) |
| Hook Size | 3.5mm (E/4) |
| Yarn Weight | Worsted (Medium / Weight 4) |
| Gauge | 5 sc x 5 rows = 1 inch (Suggested) |
| Best For | Nursery decor, keychains, or lucky desk mascots |
Materials and Tools
Yarn
To achieve the look of the project, we suggest using a sturdy cotton or acrylic blend yarn that provides good stitch definition. Estimated quantities are based on a standard 3.5-inch toy:
- Red: Approximately 40-50 yards for the main body.
- Black: Approximately 20-30 yards for the head, spots, and central wing line.
- White: Small scrap (less than 2 yards) for eye details if not using safety eyes.
Tools
- 3.5mm Crochet Hook
- Polyester fiberfill stuffing
- 9mm Safety eyes (1 pair)
- Yarn needle and sharp scissors
- Stitch markers
Abbreviations
- ch: Chain
- sc: Single crochet
- inc: Increase (2 sc in the same stitch)
- dec: Invisible decrease (sc 2 together using front loops)
- st(s): Stitch(es)
- sl st: Slip stitch
- MR: Magic Ring
Pattern — Step by Step
The Main Body (Red)
The body is worked from the top down in continuous rounds. Do not join at the end of each round unless specified.
- Round 1: 6 sc in MR. (6)
- Round 2: inc in each st around. (12)
- Round 3: [sc, inc] repeat 6 times. (18)
- Round 4: [2 sc, inc] repeat 6 times. (24)
- Round 5: [3 sc, inc] repeat 6 times. (30)
- Round 6: [4 sc, inc] repeat 6 times. (36)
- Rounds 7-12: sc in each st around. (36)
- Round 13: [4 sc, dec] repeat 6 times. (30)
- Round 14: [3 sc, dec] repeat 6 times. (24)
- Round 15: [2 sc, dec] repeat 6 times. (18)
- Stuff the body firmly with fiberfill.
- Round 16: [sc, dec] repeat 6 times. (12)
- Round 17: dec around until closed. Fasten off and weave in ends.
The Head (Black)
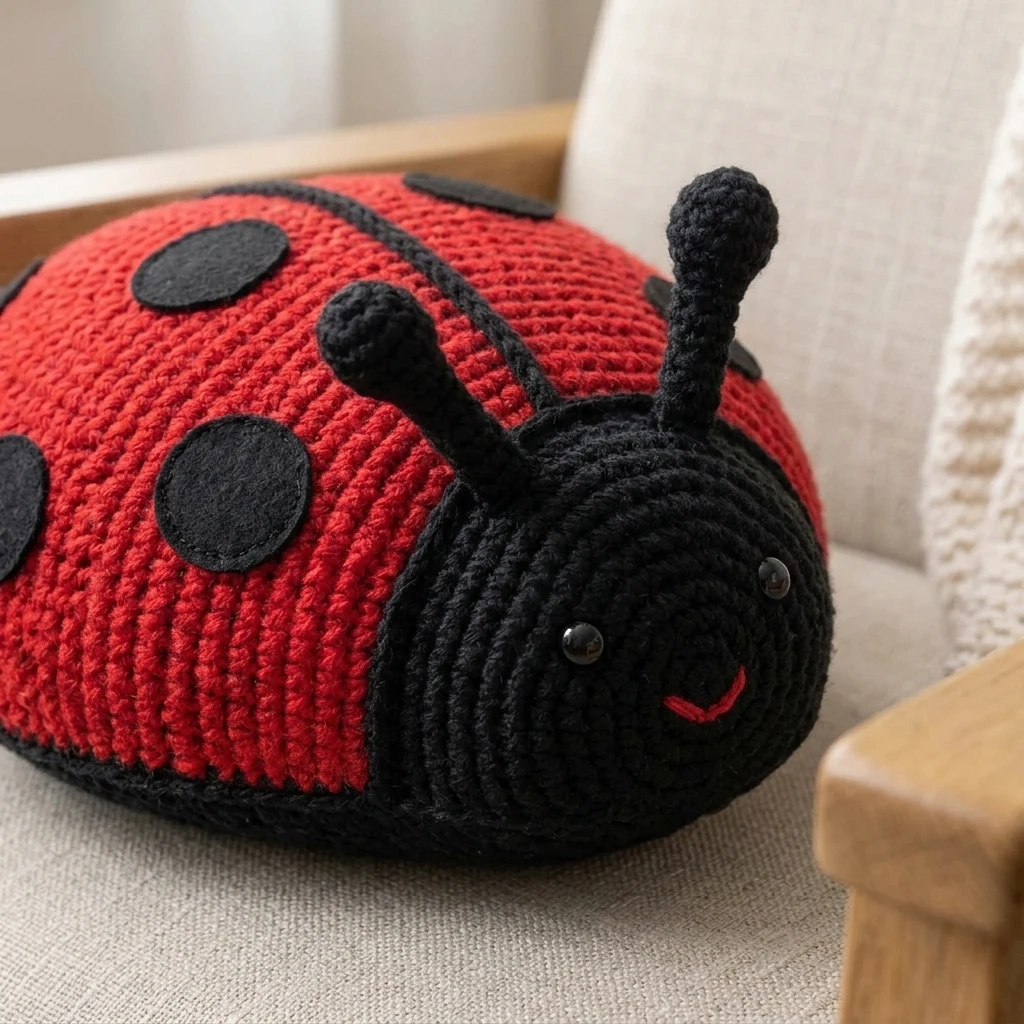
The head is a smaller hemisphere attached to the side of the body.
- Round 1: 6 sc in MR. (6)
- Round 2: inc in each st around. (12)
- Round 3: [sc, inc] repeat 6 times. (18)
- Round 4: [2 sc, inc] repeat 6 times. (24)
- Rounds 5-7: sc in each st around. (24)
- Fasten off, leaving a long tail (approx. 12 inches) for sewing. Insert safety eyes between Rounds 3 and 4, spaced about 4 stitches apart.
The Spots (Make 4-6 in Black)
- Round 1: 5 sc in MR. sl st to the first sc to close. Fasten off leaving a tail for sewing.
Assembly
Before beginning assembly, ensure all your pieces are stuffed properly. The head should be stuffed lightly just before it is completely sewn to the body to maintain its shape without bulging the seam.
- Position the head against the side of the red body, covering Rounds 6 through 11. Sew the head firmly into place using the long tail and a whip stitch.
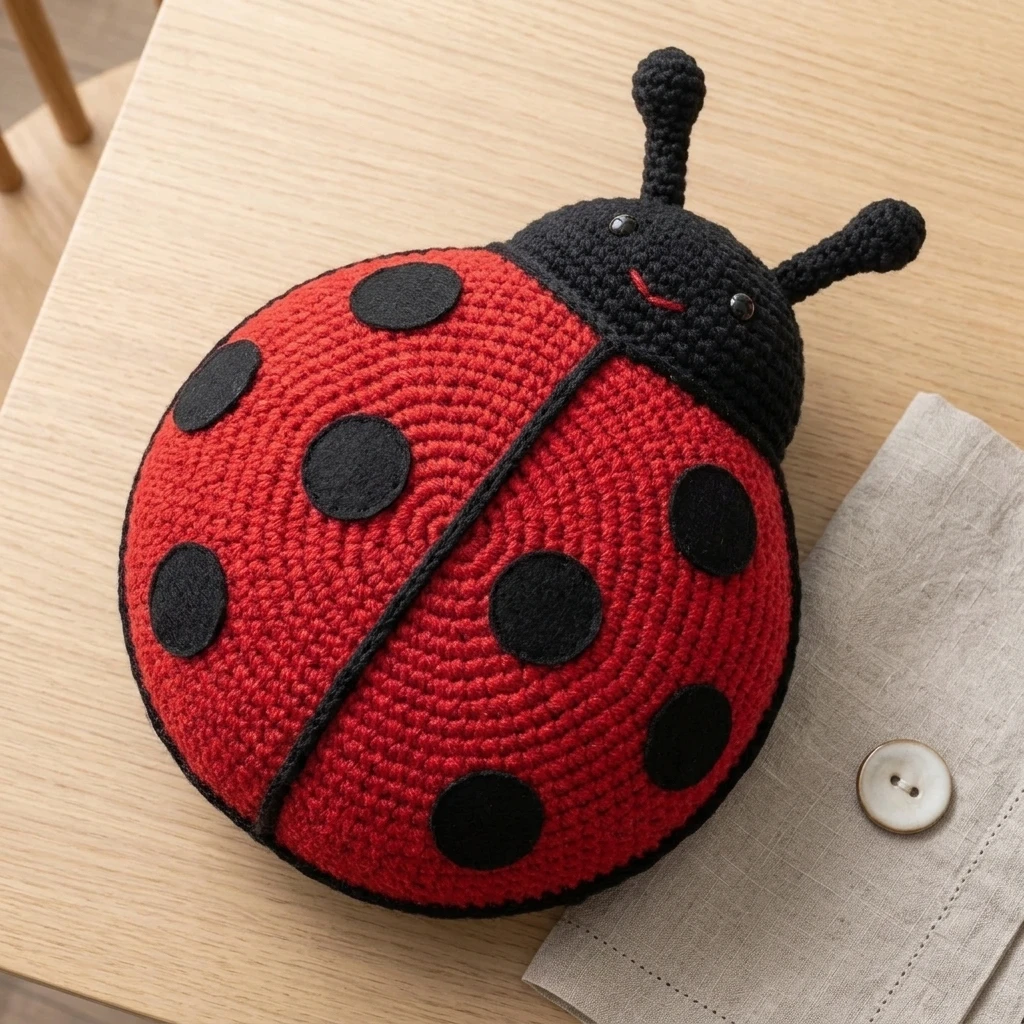
- Thread your yarn needle with a long strand of black yarn. Insert it at the base of the head and pull it directly over the center-top of the red body down to the back center. This creates the “wing” separation line. Repeat twice for a bolder line.
- Arrange the black spots symmetrically on either side of the wing line. Pin them in place first to check balance.
- Sew each spot to the body using the yarn tails.
- (Optional) Add two small antennas by chaining 5 in black, then sl st back down the chain and sewing them to the top of the head.
7 Technical Tips for a Better Crochet Ladybug Pattern
- Use the Invisible Decrease: To prevent gaps where the stuffing might show through, always use the invisible decrease method (working in front loops only) for amigurumi.
- Master Black Yarn Visibility: When working the head and spots, work under a bright lamp or use a light-colored hook to better see your stitches in black yarn.
- Consistent Tension: Keep your tension tight. If you notice large holes between stitches, move down a hook size (e.g., to 3.0mm) to keep the fabric dense.
- Flat Base Trick: If your ladybug is too round to sit flat, gently press the bottom against a hard surface while the stuffing is still settling to “form” a flatter base.
- Embroidered Eyes: If making this for a child under three, skip the plastic safety eyes and embroider two small “V” shapes or French knots with white or black yarn instead.
- Yarn Tail Management: Instead of weaving in every spot tail separately, pull them through to the bottom of the body, tie them together in pairs, and tuck the knots inside the stuffing.
- The Wing Line: Ensure your central black line is not too tight, or it will “cut” into the red body like a string on a balloon. It should lay flat against the surface.
Frequently Asked Questions
What is the best yarn for this project?
A mercerized cotton yarn is excellent for amigurumi because it doesn’t pill and provides a very clean, defined stitch. However, a standard acrylic worsted weight yarn is more budget-friendly and gives the ladybug a softer, fuzzier feel.
Can I make a giant version of this ladybug?
Yes! Simply swap the yarn for a bulky or “chenille” style blanket yarn and use a larger hook (6mm or 8mm). You do not need to change the pattern; the larger yarn and hook will naturally scale the project up to a jumbo size.
How do I stop the stuffing from poking through?
Aside from using a smaller hook, make sure you don’t overstuff. Stuffing should support the shape, not stretch the stitches. If you can see the white fiberfill, you may need to reduce the amount of stuffing or tighten your tension.
Do I have to crochet the spots?
No, you can also use black felt circles and glue them on with fabric glue or sew them on. This is a great time-saver if you are making a large number of ladybugs for a party or event.
How do I make the ladybug look more realistic?
To add realism, you can use a thinner black thread to embroider very small legs (three on each side) tucked just under the body, and make the antennae slightly longer with a small bead or knot at the end.
Conclusion
Creating this Crochet Ladybug Pattern is a rewarding way to bring a touch of nature indoors. From the bold red body to the delicate wing line and spots, every detail adds to its whimsical personality. This project is not just a lesson in amigurumi basics, but also a fun exploration of color and form. If you enjoyed this tutorial, be sure to save it to your “Amigurumi Ideas” board on Pinterest so you can find it later! What color will you choose for your next ladybug—traditional red or a bright garden yellow?
Save This Crochet Pattern