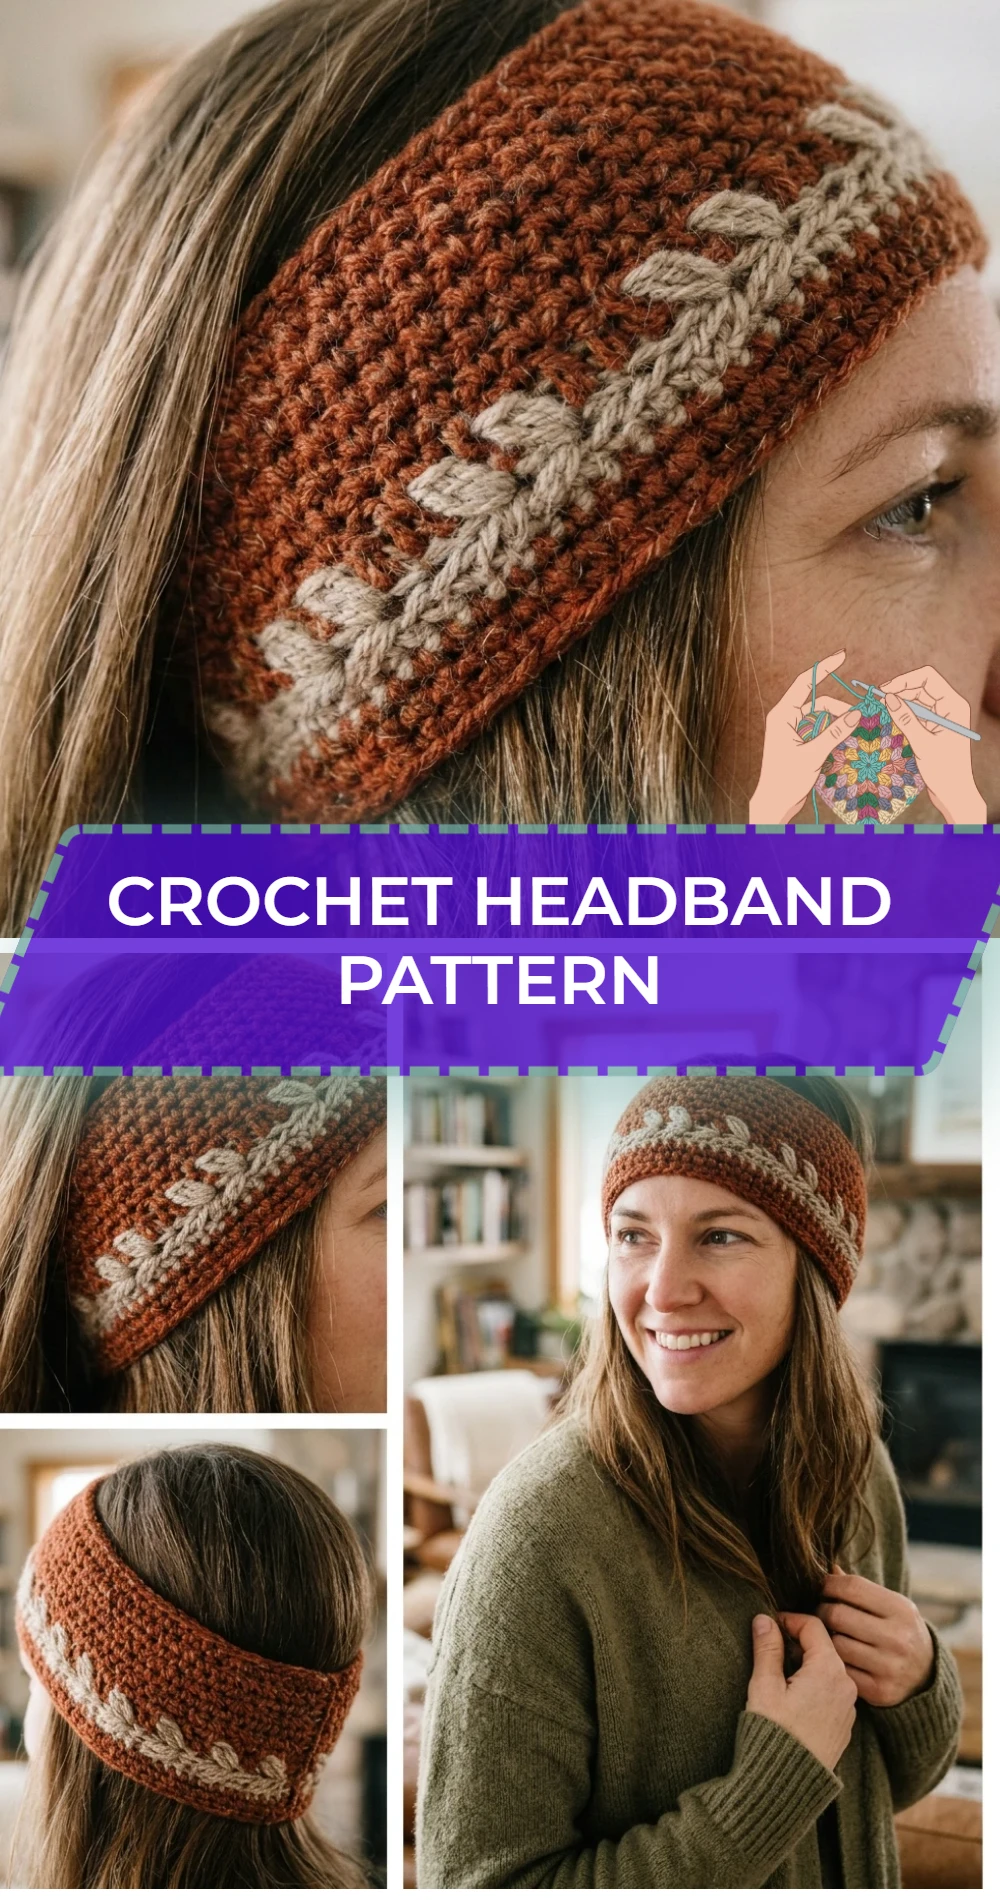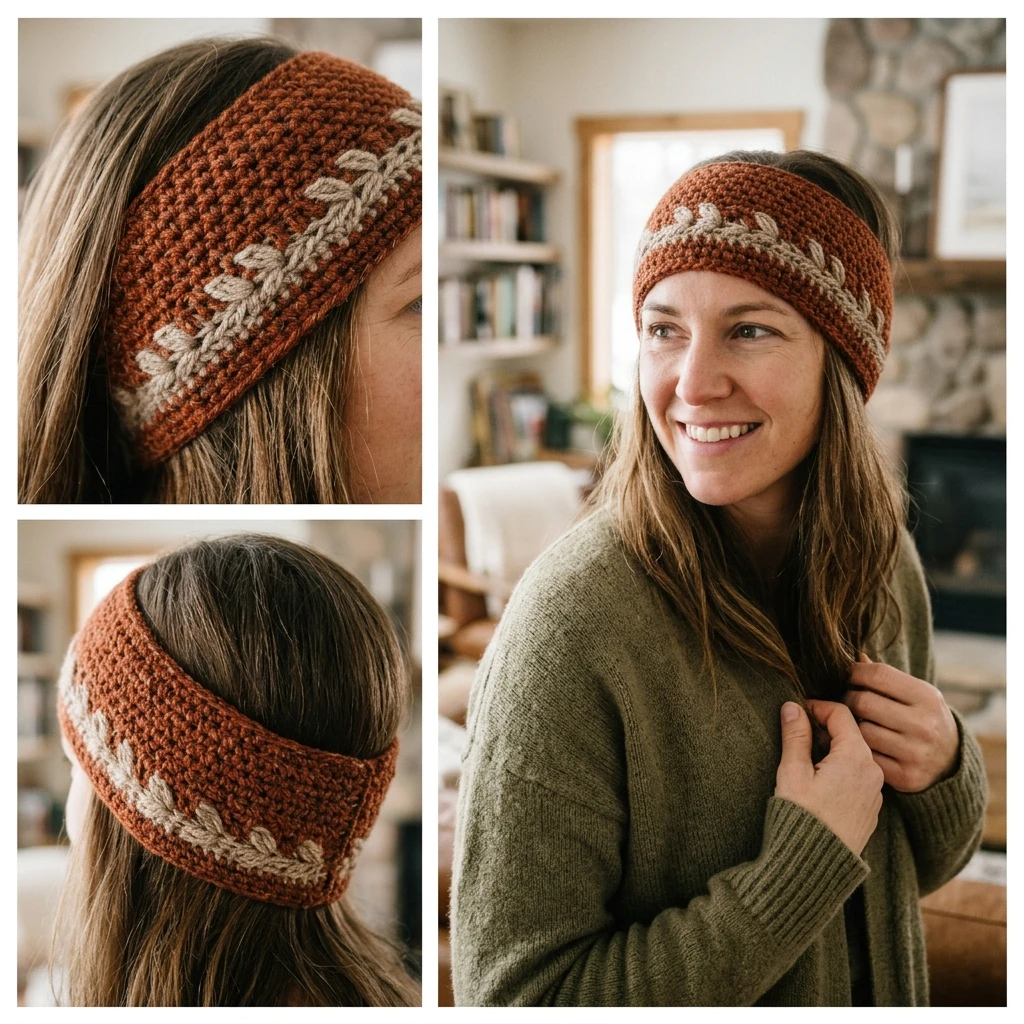
This elegant crochet headband serves as the perfect bridge between functionality and high-street style. Designed to provide warmth without the bulk of a full winter hat, it features a sophisticated ribbed texture that mimics the look of professional knitwear. The construction is surprisingly straightforward, worked flat in rows and then manipulated into a stylish twist that adds a designer touch to the finished wearable. Whether you are aiming for a bohemian accessory or a cozy ear warmer for brisk morning walks, this project offers a quick, satisfying win for crocheters of all levels.
The Design: What Makes This Pattern Different
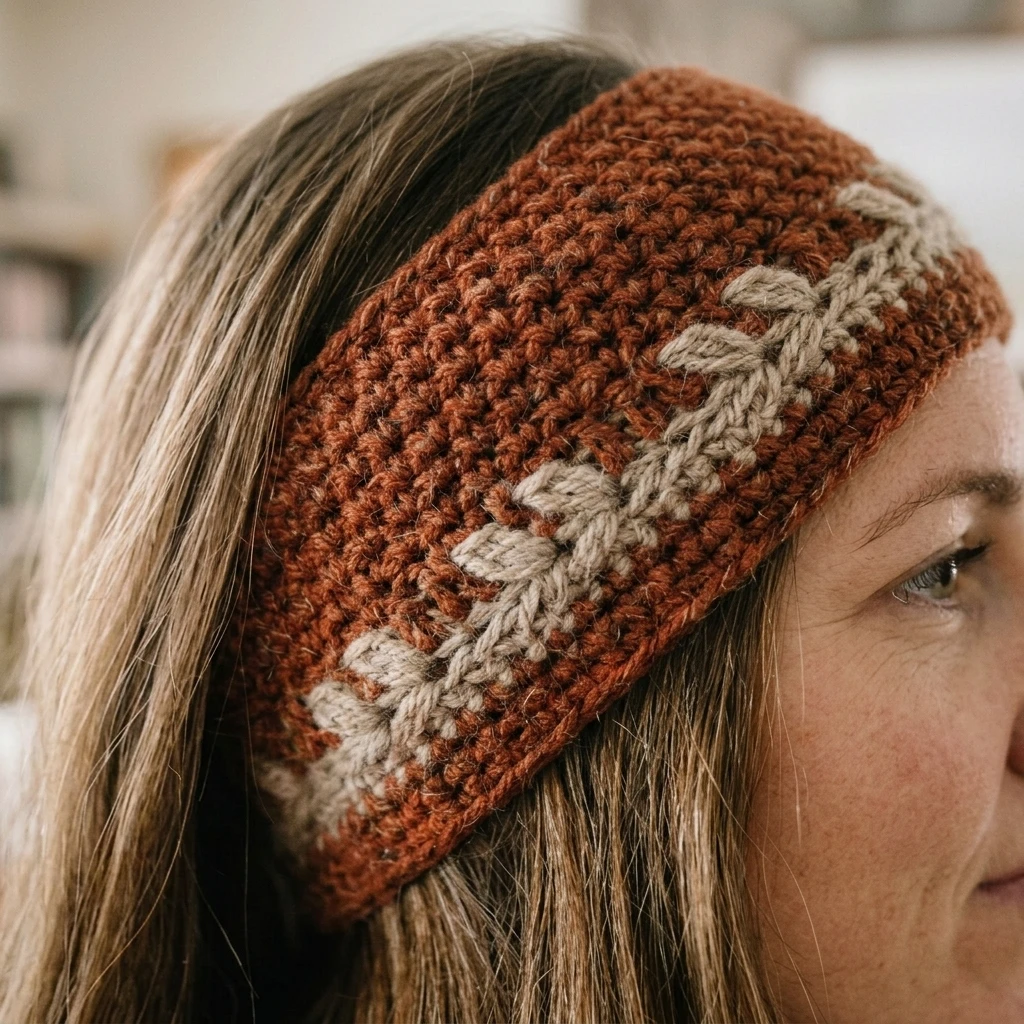
The primary design goal for this crochet headband was to maximize elasticity and comfort. Unlike many crochet accessories that can feel stiff or “boardy,” this pattern utilizes Back Loop Only (BLO) stitching to create a deep ribbing. This allows the headband to stretch comfortably around various head sizes while maintaining its shape over time. We have opted for a specific width that covers the ears fully, providing genuine protection against the wind rather than serving as a purely decorative thin band.
One common mistake to avoid with this design is working your foundation chain too tightly. Since the headband is worked lengthwise or widthwise depending on the desired stretch direction, a tight foundation chain can cause the finished piece to curve or “rainbow,” preventing it from laying flat against the forehead. Always aim for a loose, relaxed chain or use a hook one size larger for the starting row.
Project Info at a Glance
| Feature | Details |
|---|---|
| Skill Level | Beginner / Easy |
| Estimated Time | 1.5 – 2 Hours |
| Finished Size | Adult (Approx. 4″ wide x 19″ circumference, un-stretched) |
| Hook Size | 5.0 mm (H/8) |
| Yarn Weight | Worsted (Medium / Weight 4) |
| Gauge | Suggested: 16 sts x 10 rows = 4″ in ribbing pattern |
| Best For | Quick gifts, market prep, or outdoor activity gear |
Materials and Tools
Yarn
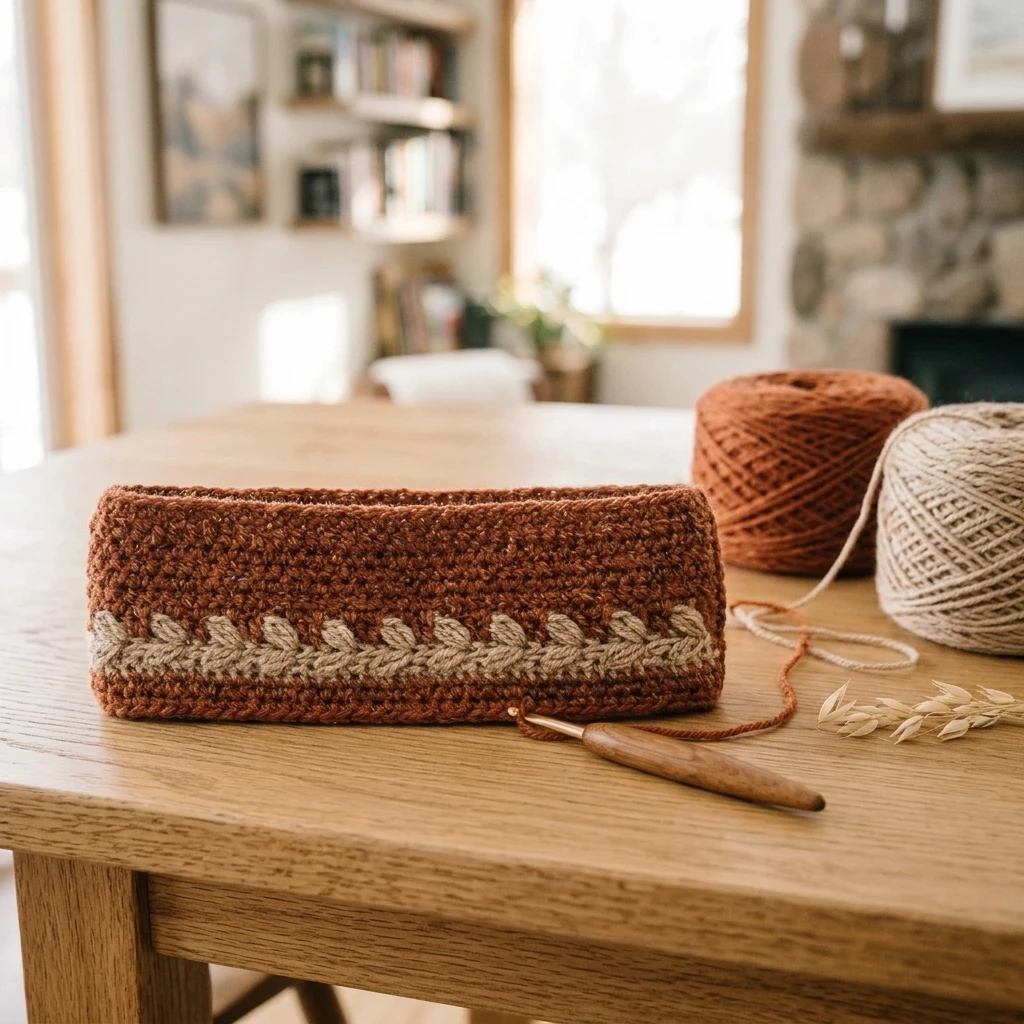
To achieve the best results for this crochet headband pattern, use approximately 80 to 100 yards of a high-quality worsted weight yarn. An acrylic-wool blend is highly recommended as it offers the warmth of natural fibers with the bounce and durability of synthetic ones. Suggested quantities are photo-inspired estimates based on a standard adult fit.
Tools
You will need a 5.0 mm (H/8) crochet hook, which provides enough tension to keep the stitches dense but enough flexibility for the ribbing to move. Additionally, keep a tapestry needle nearby for seaming and weaving in ends, along with a sharp pair of scissors and a soft measuring tape to check the length as you work.
Abbreviations
- ch: chain
- st(s): stitch(es)
- hdc: half double crochet
- blo: back loop only
- sl st: slip stitch
- yo: yarn over
Pattern — Step by Step
Foundational Construction
This headband is worked flat in rows to create a rectangular strip. The length of the strip will determine the circumference of the headband, while the number of stitches in your foundation chain determines the width (the height of the band on your forehead). We use half double crochet in the back loops only to create a stretchy, accordion-like fabric.
Row-by-Row Instructions
- Foundation: Ch 18 (or until you reach approximately 4.5 inches for a wide band).
- Row 1: Hdc in 2nd ch from hook and in each ch across. Turn. (17 hdc)
- Row 2: Ch 1 (does not count as a stitch). Hdc in the BLO of the first stitch and each stitch across to the end. Turn. (17 hdc)
- Row 3 – End: Repeat Row 2 until the piece measures approximately 19 inches long (for a standard adult head), or about 1-2 inches shorter than your actual head circumference to allow for stretch.
Finishing the Fabric
Once you reach your desired length, do not fasten off immediately. Measure your strip one last time while laying it flat on a table. If the ribbing looks very “open,” you may need to add two more rows. Once satisfied, ch 1 and fasten off, leaving a long tail (approx. 12-15 inches) for the assembly process.
Assembly
The magic of this crochet headband pattern lies in how it is folded. Instead of a simple flat seam, we use a “sandwich” fold to create a professional-looking front twist that conceals the seam entirely.

- Lay your rectangular strip flat with the “right” side facing up.
- Fold both ends of the strip toward the center, then pinch each end into a “U” shape or a “C” shape.
- Interlock the two folded ends together. This means you will have four layers of fabric stacked: Layer A (front of end 1), Layer B (front of end 2), Layer C (back of end 1), Layer D (back of end 2).
- Using your tapestry needle and the long yarn tail, sew through all four layers of fabric carefully. Ensure you catch every layer in every stitch to prevent holes.
- Fasten off and weave in the tail securely.
- Turn the headband right-side out to reveal the twisted front detail.
7 Technical Tips for a Better Crochet Headband Pattern
- Check Your Stretch: Different yarn brands have different “memory.” Always stretch your strip against your head before finishing to ensure it won’t slide down your face.
- The First and Last Stitch: It is easy to lose stitches at the end of the row in BLO. Use stitch markers in the first and last stitch of every row if you find your edges are becoming uneven.
- Yarn Selection: Avoid 100% cotton for this specific pattern. Cotton lacks the elasticity required for a “one size fits most” headband and may become saggy after one wear.
- Consistent Tension: If you notice your headband is wider at one end than the other, your tension is likely loosening as you relax into the rhythm. Try to keep your “yarn over” height consistent.
- Seaming Strength: When sewing the four-layer twist, use a mattress stitch or a simple whip stitch, but pull tight enough that the layers become one solid unit.
- Hidden Ends: Weave your ends into the thickest part of the ribbing on the inside of the headband to ensure they are invisible and won’t poke out during wear.
- Blocking: If your ribbing looks slightly uneven, a light steam blocking (without touching the iron to the yarn) can help settle the stitches and define the texture.
Frequently Asked Questions
Can I make this headband for a child?
Yes. Simply reduce the foundation chain to about 12-14 stitches and work fewer rows. A child’s headband should usually be about 17 inches long before seaming.
What if I don’t want the twist?
You can simply sew the two short ends together flat using a slip stitch join or a whip stitch for a classic, circular ear warmer look.
My headband is too wide; how do I fix it?
The width is determined by your starting chain. If 18 stitches feels too bulky, unravel and start with 12 or 14 stitches instead.
How do I wash my finished headband?
Check your yarn label first. Most worsted acrylics are machine washable, but for best results, hand wash in cool water and lay flat to dry to preserve the ribbing’s elasticity.
Why is the BLO (Back Loop Only) important?
Working in the back loop only is what creates the horizontal ridges. These ridges act like a spring, allowing the fabric to expand and contract for a snug fit.
Conclusion
This crochet headband pattern is a versatile addition to any maker’s library, combining textural depth with a trendy twisted silhouette. By mastering the BLO technique and the sandwich-fold assembly, you can create professional-grade accessories in under two hours. Don’t forget to pin this tutorial to your Crochet Accessories board for your next quick-gift emergency! What color yarn will you choose for your first twisted headband?
Save This Crochet Pattern