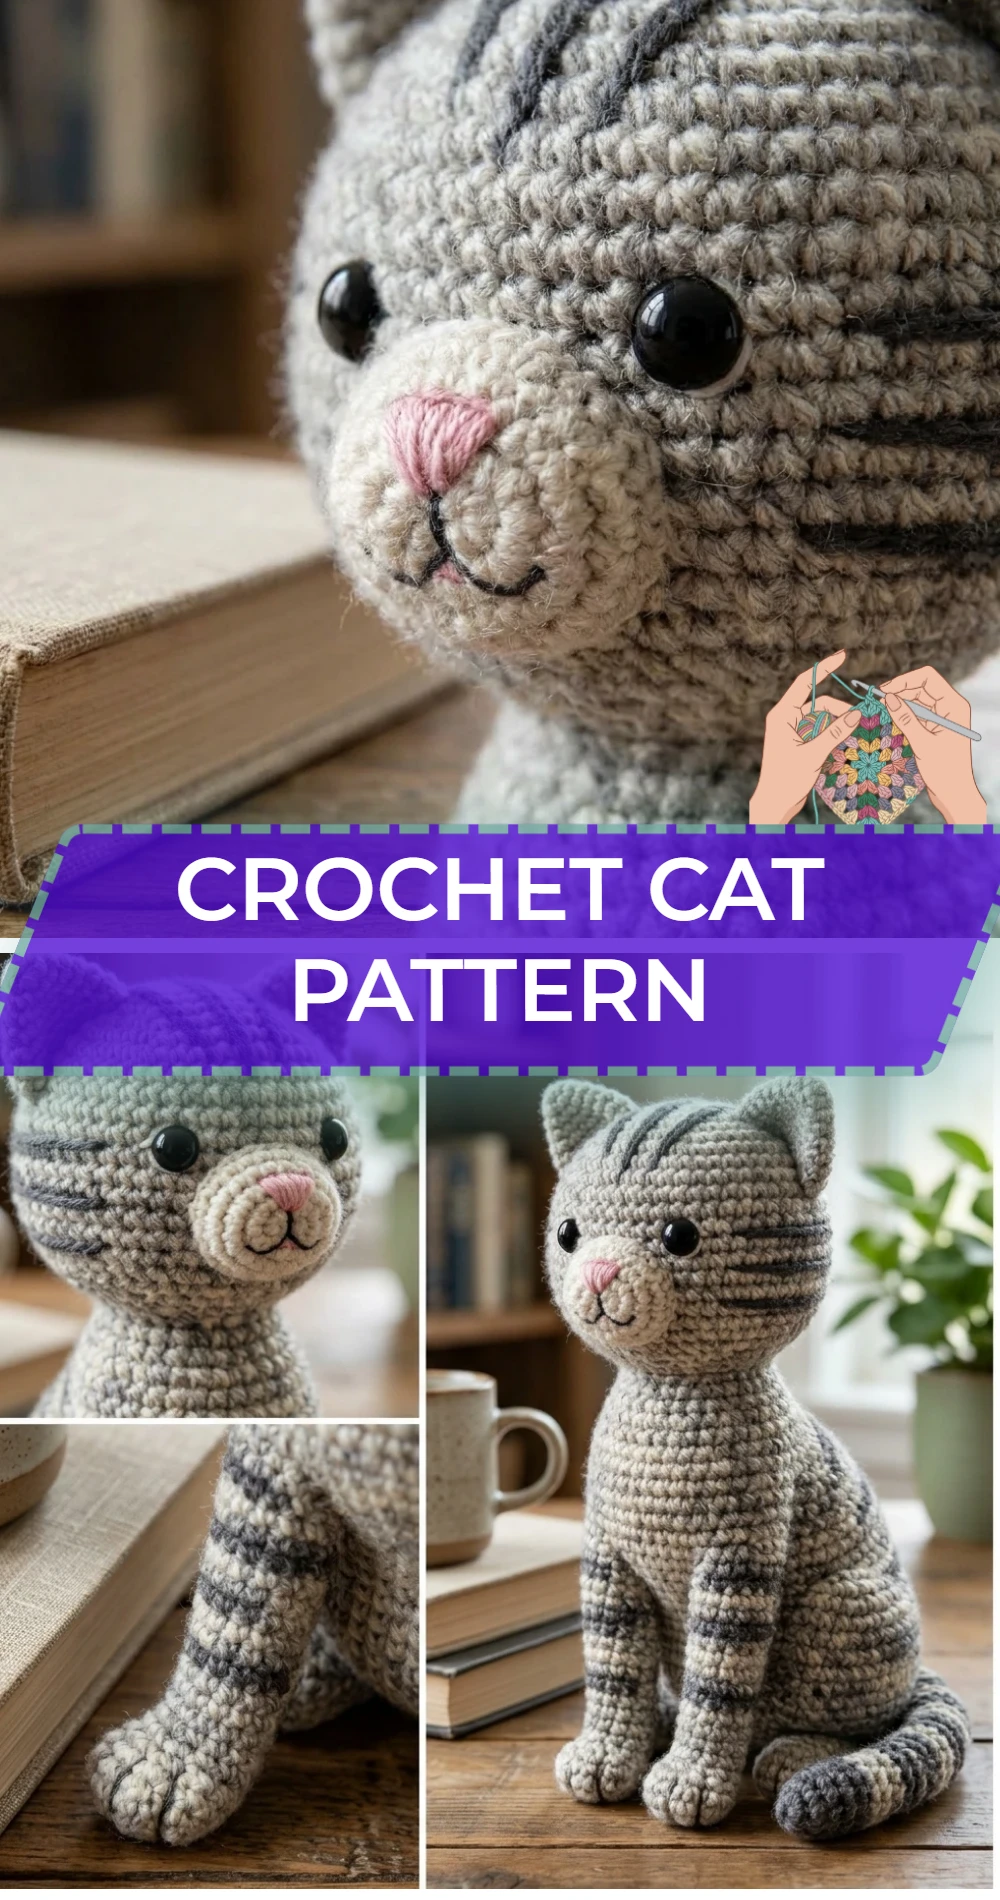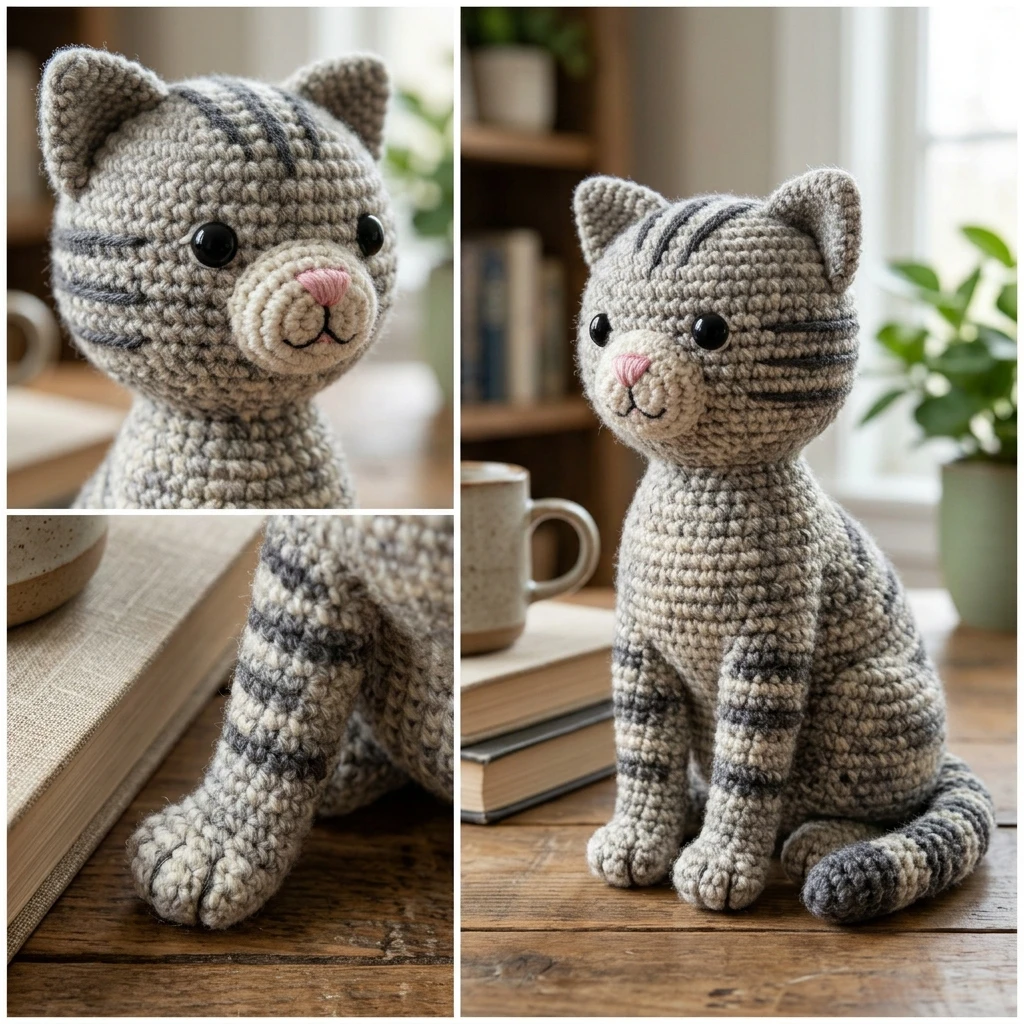
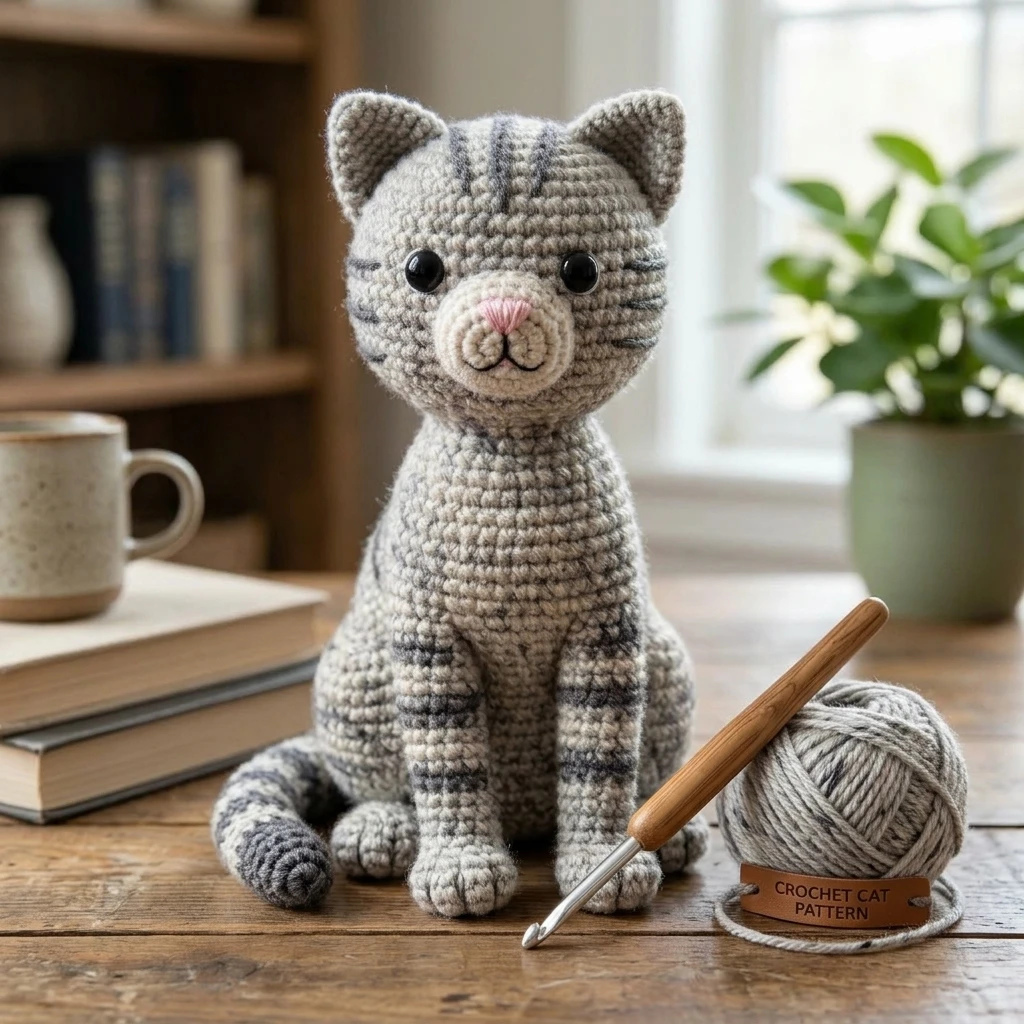
Bringing a handmade feline to life is a delightful project that combines the precision of amigurumi with the charm of a personalized companion. This Crochet Cat Pattern creates a sleek, sitting kitty with a curved tail and expressive ears, making it an ideal gift for cat lovers or a whimsical addition to a nursery bookshelf. Constructed primarily in the round using single crochet stitches, the design focuses on clean lines and a sturdy structure that allows the cat to sit upright without additional support. Whether you choose a classic calico colorway or a modern minimalist grey, the finished project radiates personality through its carefully sculpted head and soft, rounded body.
The Design: What Makes This Pattern Different
This design prioritizes a seamless aesthetic by utilizing invisible decreases and a specific shaping technique for the neck that prevents the “bobblehead” effect common in amigurumi. Structurally, the body is worked from the bottom up to create a weighted base, ensuring the cat remains stable when displayed. One common mistake to avoid is stuffing the piece too lightly; to maintain the defined silhouette of the hips and shoulders, the stuffing must be firm enough to stretch the stitches slightly without creating gaps. By focusing on tight tension and symmetrical limb placement, this pattern elevates the standard plushie into a professional-looking soft sculpture.
Project Info at a Glance
| Feature | Details |
|---|---|
| Skill Level | Intermediate |
| Estimated Time | 4 – 6 Hours |
| Finished Size | Approximately 7 inches tall (seated) |
| Hook Size | 3.25 mm (D/3) |
| Yarn Weight | Medium / Worsted (Weight 4) |
| Gauge | 6 sc x 6 rows = 1 inch (tight tension is essential) |
| Best For | Home decor, children’s toys, and personalized gifts |
Materials and Tools
Yarn
For this project, you will need approximately 120 yards of worsted weight acrylic or cotton yarn. Acrylic is suggested for a softer feel, while cotton provides superior stitch definition. If you prefer a “fluffy” look, a light mohair blend held double with your main yarn can create a realistic fur texture.
Tools
A 3.25 mm crochet hook is recommended to ensure the stitches are tight enough to contain the fiberfill. You will also need a tapestry needle for assembly, sharp scissors, two 10mm safety eyes, and a small amount of pink embroidery floss for the nose and mouth details. High-quality polyester fiberfill is required for the internal structure.
Abbreviations
- ch: Chain
- sc: Single crochet
- inc: Increase (2 sc in the next stitch)
- dec: Invisible decrease (sc 2 stitches together using front loops only)
- st(s): Stitch(es)
- mr: Magic Ring
- sl st: Slip stitch
- Rnd: Round
Pattern — Step by Step
The Head
The head is worked as a sphere with slight elongation at the muzzle. Use a marker to track the start of each round.
- Rnd 1: 6 sc in MR (6)
- Rnd 2: Inc in each st around (12)
- Rnd 3: *1 sc, inc* repeat around (18)
- Rnd 4: *2 sc, inc* repeat around (24)
- Rnd 5: *3 sc, inc* repeat around (30)
- Rnd 6-12: Sc in each st around (30)
- Rnd 13: *3 sc, dec* repeat around (24)
- Rnd 14: *2 sc, dec* repeat around (18). Install safety eyes between rounds 9 and 10, approximately 5 stitches apart. Stuff firmly.
- Rnd 15: *1 sc, dec* repeat around (12)
- Rnd 16: Dec around (6). Fasten off and weave in ends.
The Body
The body begins at the base to provide a wide area for the cat to sit.
- Rnd 1: 6 sc in MR (6)
- Rnd 2: Inc in each st around (12)
- Rnd 3: *1 sc, inc* repeat around (18)
- Rnd 4: *2 sc, inc* repeat around (24)
- Rnd 5: *3 sc, inc* repeat around (30)
- Rnd 6: *4 sc, inc* repeat around (36)
- Rnd 7-10: Sc in each st around (36)
- Rnd 11: *4 sc, dec* repeat around (30)
- Rnd 12-14: Sc in each st around (30)
- Rnd 15: *3 sc, dec* repeat around (24)
- Rnd 16-17: Sc in each st around (24)
- Rnd 18: *2 sc, dec* repeat around (18). Stuff the body firmly, adding more weight toward the bottom.
- Rnd 19: Sc in each st around (18). Fasten off, leaving a long tail for sewing.
The Ears (Make 2)
- Rnd 1: 4 sc in MR (4)
- Rnd 2: *1 sc, inc* repeat twice (6)
- Rnd 3: *2 sc, inc* repeat twice (8)
- Rnd 4: *3 sc, inc* repeat twice (10). Fasten off, leaving tail. Do not stuff.
The Tail
- Rnd 1: 6 sc in MR (6)
- Rnd 2-20: Sc in each st around (6). Fasten off, leaving tail. Optional: insert a pipe cleaner for poseability.
Assembly
Correct alignment during assembly is what gives your crochet cat its charm. Use glass-head pins to hold pieces in place before making the first stitch to ensure everything is symmetrical.
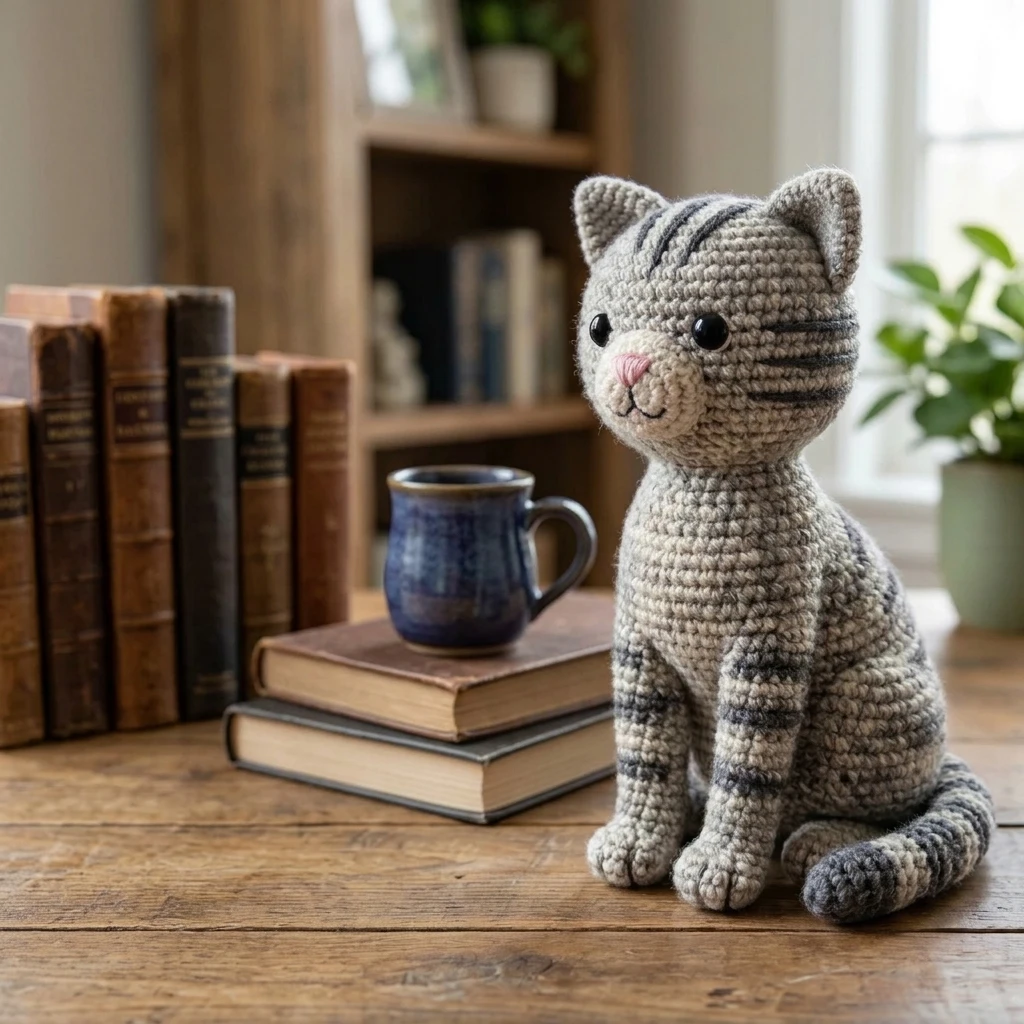
- Sew the open end of the body to the bottom of the head (centered on Rnd 16 of the head). Ensure the head is facing forward.
- Flatten the ears and sew them to the top of the head between rounds 3 and 7.
- Attach the tail to the back of the body at approximately Rnd 5, so it can curl around the side of the cat.
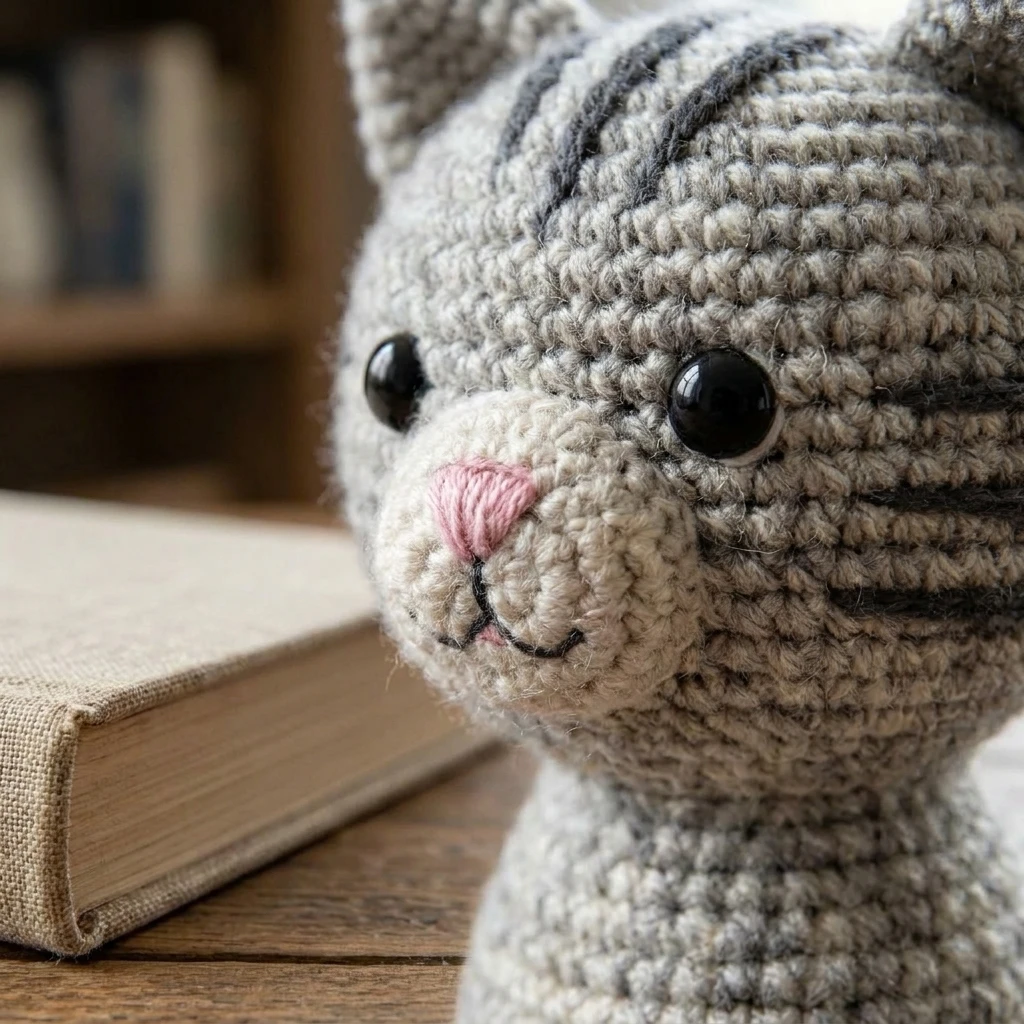
- Using pink embroidery floss, stitch a small “V” shape for the nose directly between the eyes, and a small “W” shape below it for the mouth.
- Optional: Add whiskers by threading clear nylon thread or thin black yarn through the muzzle and knotting it securely.
7 Technical Tips for a Better Crochet Cat Pattern
- Master the Invisible Decrease: In amigurumi, standard decreases leave small gaps. Using the front-loop-only (FLO) method keeps the fabric dense and prevents stuffing from peeking through.
- Check Your Tension: If you see holes between your stitches, your hook is too large or your tension is too loose. Drop down a half millimeter in hook size for a cleaner look.
- Weighted Bases: For a more stable sitting cat, add a small pouch of clean pebbles or plastic pellets at the bottom of the body before stuffing.
- Symmetric Eye Placement: Count your stitches twice before securing the safety eye backings. Once those washers are on, they are very difficult to remove without damaging the yarn.
- Seamless Color Changes: If making a striped cat, change colors in the last pull-through of the stitch before the new color starts for a clean transition.
- Stuffing Technique: Use small tufts of fiberfill rather than large clumps to avoid a “lumpy” texture. Use a chopstick to push stuffing into the tips of the ears or tail.
- Yarn Choice: For a realistic look, use a natural wool yarn and then gently brush the finished cat with a wire pet brush to “fluff” the fibers.
Frequently Asked Questions
Can I use safety eyes for a baby toy?
While safety eyes are standard for amigurumi, they can pose a choking hazard for children under three. For baby-safe toys, it is best to embroider the eyes using black yarn or embroidery floss.
What yarn is best for a realistic-looking cat?
Alpaca or wool blends are excellent because they have a natural halo. You can also use “fuzzier” yarns like chenille or velvet, though they make it much harder to see your stitches during the process.
Why does my cat’s head keep tilting?
This usually happens because the neck area isn’t stuffed firmly enough or the head isn’t sewn to the body with enough stitches. Ensure you sew all the way around the 18 stitches of the neck opening for maximum stability.
How do I make a larger version of this cat?
The easiest way to scale up the pattern is to use a thicker yarn (like bulky or super bulky) and a correspondingly larger hook. The stitch counts remain the same, but the finished size will increase significantly.
Can I wash my crochet cat?
If you used acrylic or cotton yarn, you can spot clean it with a damp cloth. For a deep clean, place it in a mesh laundry bag on a delicate cold cycle, but air dry only to prevent the stuffing from clumping.
Conclusion
Creating this crochet cat is a rewarding experience that allows for endless customization, from fur patterns to facial expressions. By following these structured steps and focusing on tight tension and firm stuffing, you will produce a high-quality amigurumi that stands the test of time. Don’t forget to experiment with different yarn textures to give your kitty a unique look! If you enjoyed this tutorial, be sure to save it to your Crochet Projects board on Pinterest. What color will your new crochet companion be?
Save This Crochet Pattern