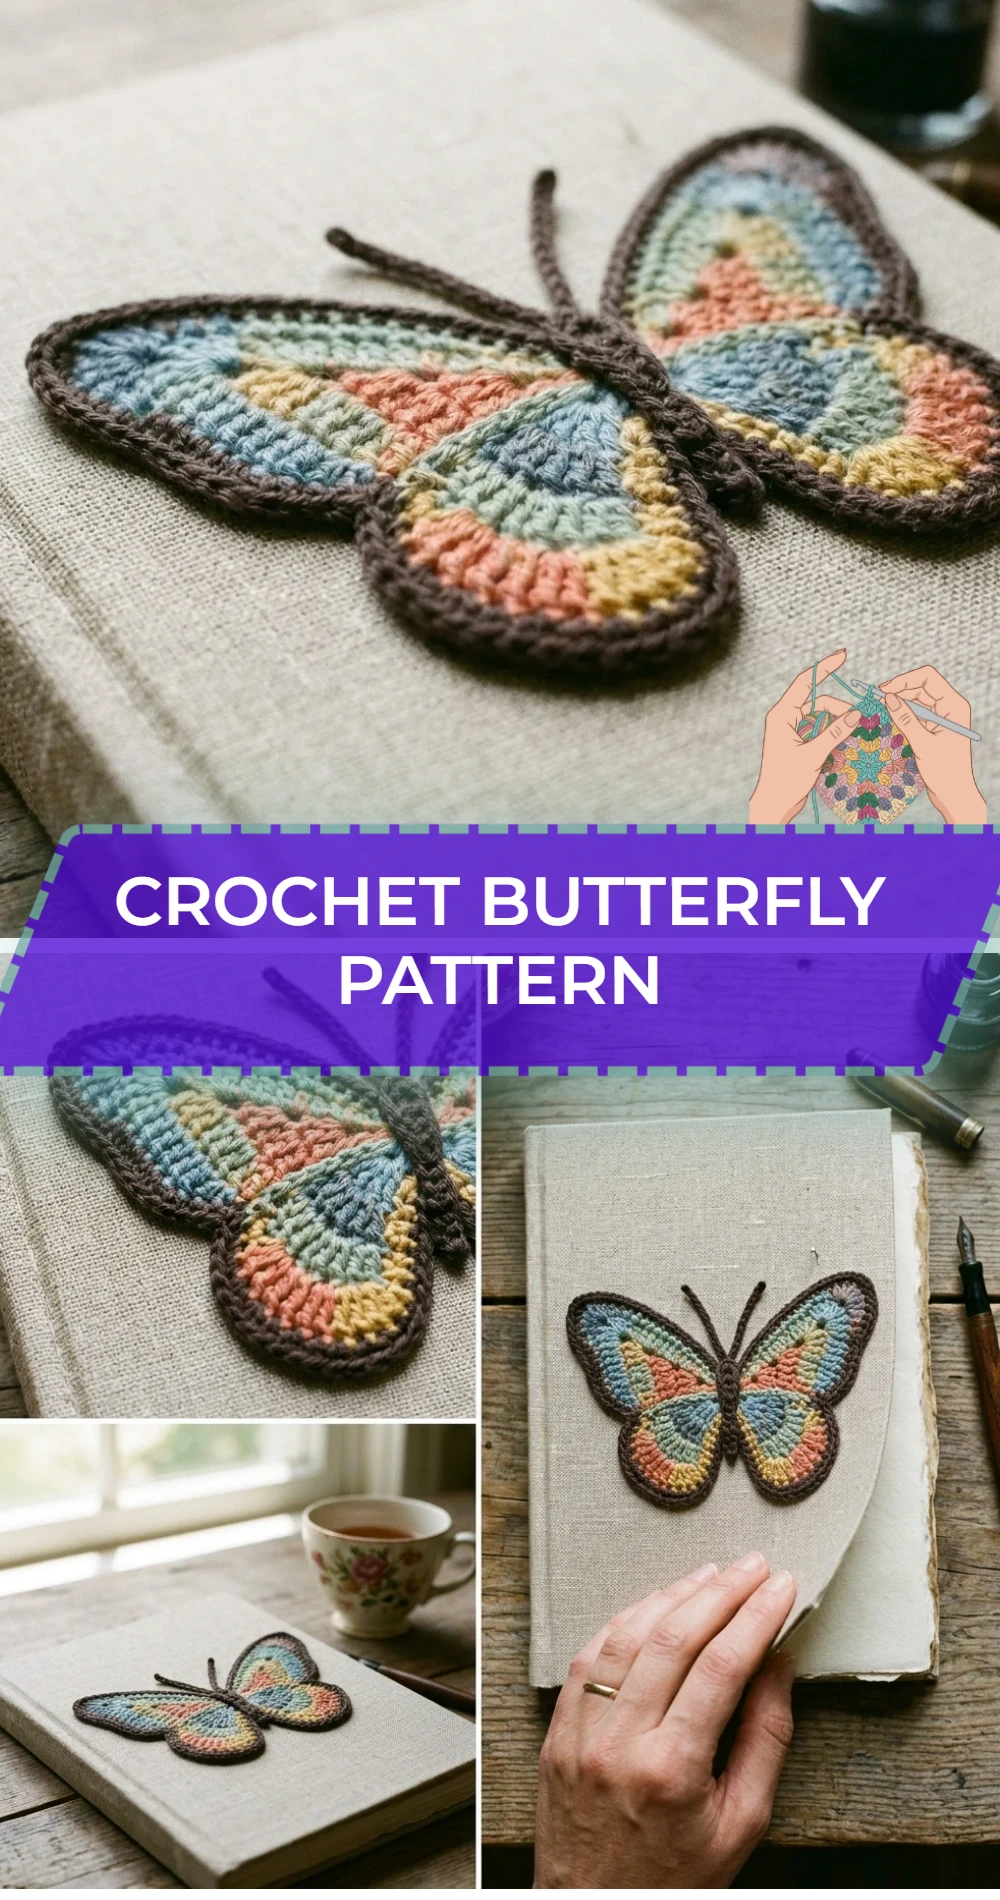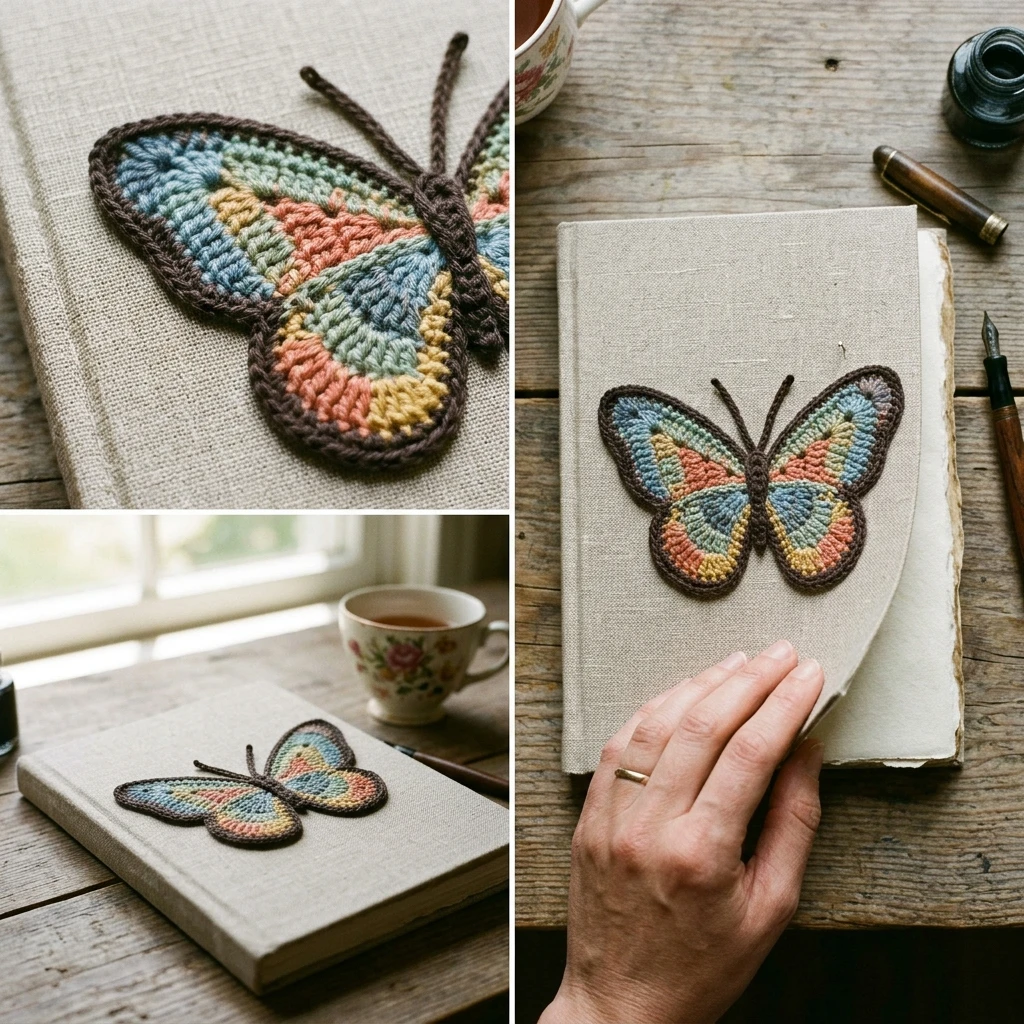
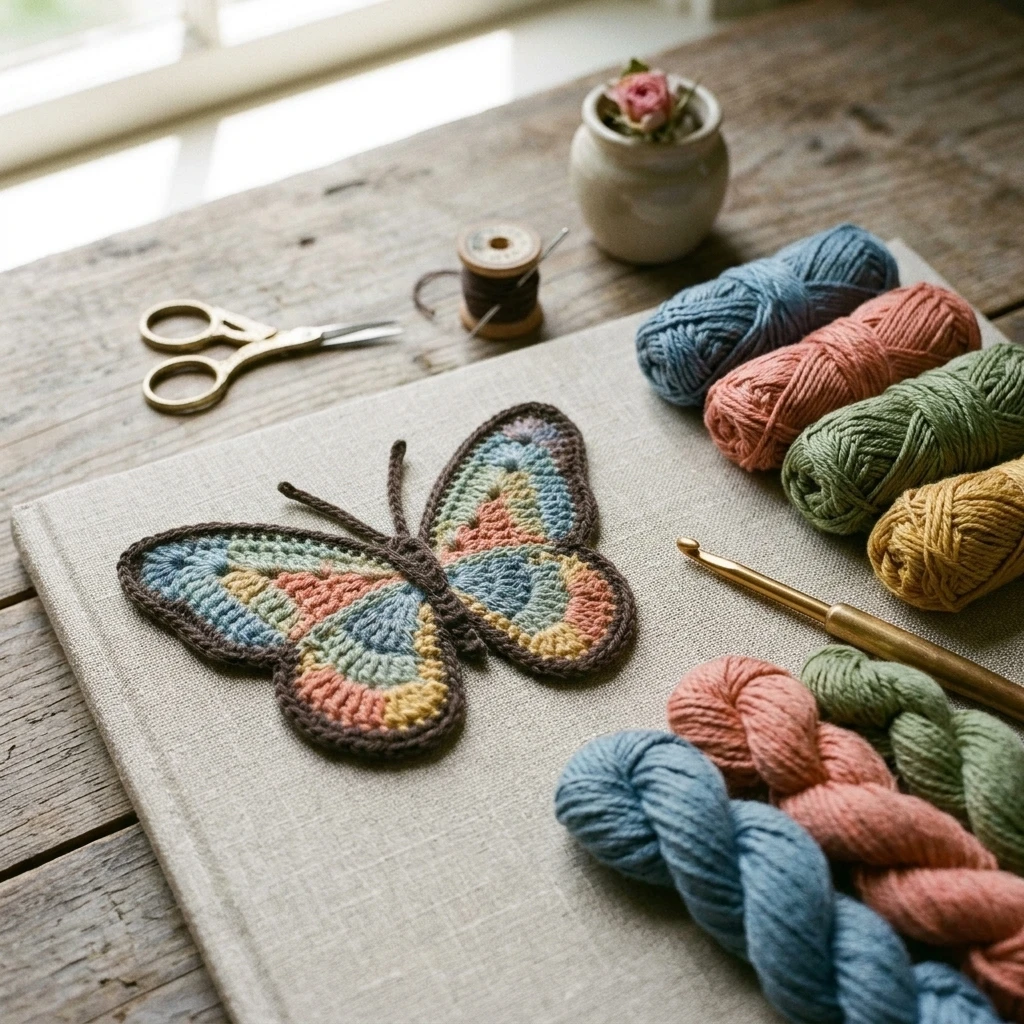
Transform a handful of yarn scraps into a fluttering work of art with this delicate Crochet Butterfly Pattern. These whimsical creations feature symmetrical, layered wings and a slender body, making them the perfect embellishment for sun hats, baby blankets, or even framed wall art. Designed with a focus on graceful curves and structural integrity, this butterfly relies on a clever “circle-to-wing” construction method that ensures both sides are perfectly balanced without the need for complex sewing. Whether you choose vibrant tropical hues or soft pastels, the finished project offers a lightweight, airy texture that captures the ephemeral beauty of nature.
The Design: What Makes This Pattern Different
This specific butterfly design utilizes a continuous round technique that eliminates the frustration of mismatched wings. Instead of crocheting four separate pieces, we build a textured floral-like medallion that is eventually folded and secured to create a three-dimensional silhouette. This ensures that the stitch height and tension remain consistent across the entire wingspan. A common mistake many makers encounter is working the chain spaces too loosely, which can cause the wings to droop; this pattern counters that by using dense shell stitches to provide internal “boning” for the structure.
Project Info at a Glance
| Feature | Details |
|---|---|
| Skill Level | Easy / Advanced Beginner |
| Estimated Time | 30–45 Minutes |
| Finished Size | Approx. 3.5″ wide (Photo-inspired) |
| Hook Size | 3.25mm (D) or 3.5mm (E) |
| Yarn Weight | Weight 3 (DK) or Weight 4 (Worsted) Cotton |
| Gauge | Not critical; maintain tight stitches for stability |
| Best For | Appliques, hair clips, and bunting |
Materials and Tools
Yarn
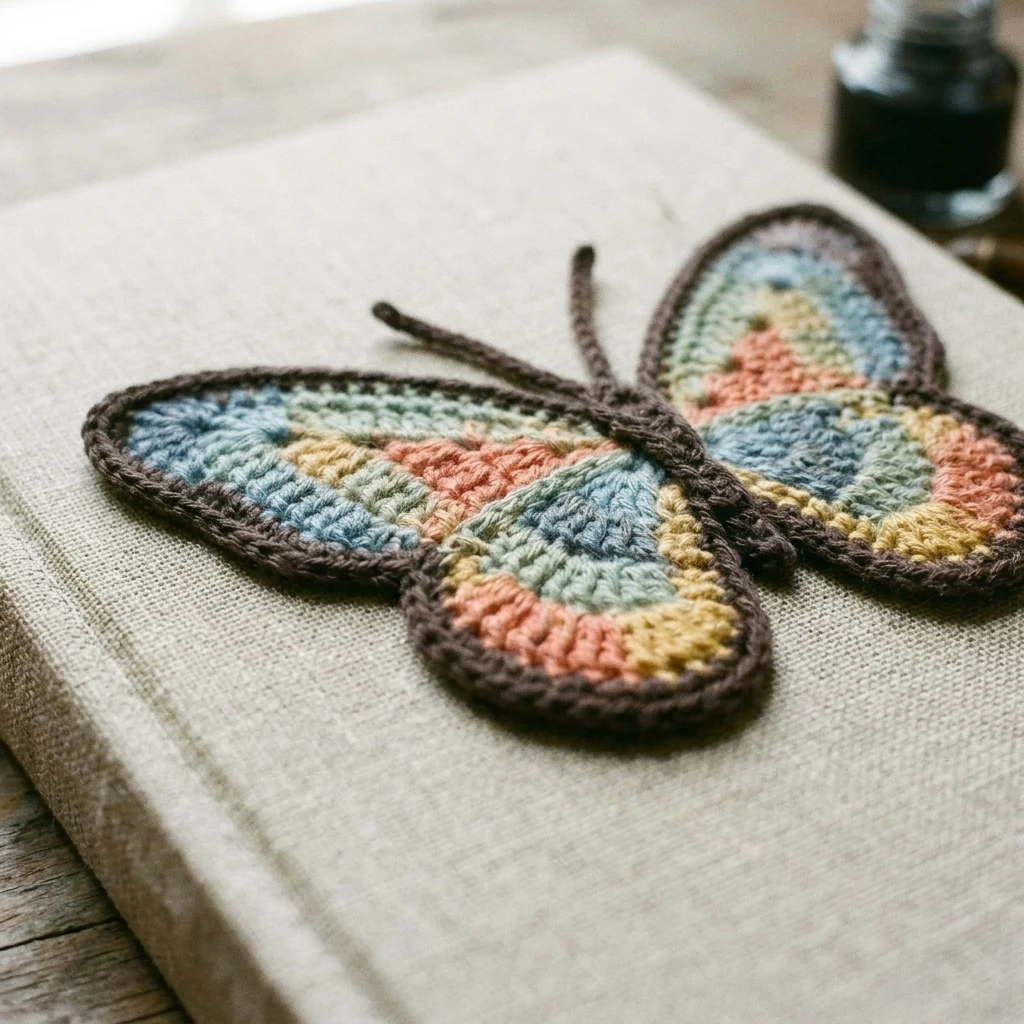
For a crisp, defined shape, a mercerized cotton yarn is highly suggested. You will need approximately 15–20 yards of a primary color for the wings and 5 yards of a contrasting color for the body and antennae. Cotton blends or bamboo yarns also work well for a softer, more organic drape.
Tools
A crochet hook slightly smaller than what is recommended on the yarn label will help keep the stitches stiff. You will also need a sharp tapestry needle for weaving in ends and a pair of embroidery scissors. Small stitch markers may be helpful for tracking the start of the shell rounds.
Abbreviations
- ch: Chain
- sc: Single Crochet
- dc: Double Crochet
- tr: Treble Crochet
- sl st: Slip Stitch
- mr: Magic Ring
- sp: Space
- st(s): Stitch(es)
Pattern — Step by Step
The Central Medallion
The butterfly begins as an eight-pointed circular motif. Each point of the motif will eventually form a section of the upper or lower wings.
- Round 1: Start with a MR. Ch 3 (counts as first dc), work 23 dc into the ring. Join with sl st to top of ch-3. (24 dc)
- Round 2: Ch 1, sc in same st. *Ch 5, skip 2 sts, sc in next st. Repeat from * 7 more times. On the last repeat, ch 2 and dc into the first sc to join (this positions your hook at the top of the loop). (8 loops)
- Round 3 (Shell Round): In the first ch-5 sp, work (sc, hdc, 2 dc, 3 tr, 2 dc, hdc, sc). Repeat this sequence in each of the remaining 7 loops. Sl st to the first sc to join. Fasten off and weave in ends. (8 petals completed)
The Antennae and Body
The body is created using a long chain that wraps around the folded wings to pull the “butterfly” into its final shape.
- Ch 15. Leave a long tail at both ends.
- Starting in the second ch from hook, sl st in each ch across.
- Tie a small overhand knot at each end of the chain to represent the knobs of the antennae.
Assembly
The transition from a flat circle to a winged insect is achieved through strategic folding. Ensure your right side (the pretty side of the stitches) is facing outward during this process.
- Fold the circular medallion in half so that the petals line up in pairs (four on top, four on bottom).
- Take your crocheted body strip and wrap it around the center of the folded piece, right between the middle sets of petals.
- Tie the body strip tightly at the top of the butterfly’s head using the long yarn tails.
- Bring the two ends of the body strip upward to form the antennae. Secure with a double knot.
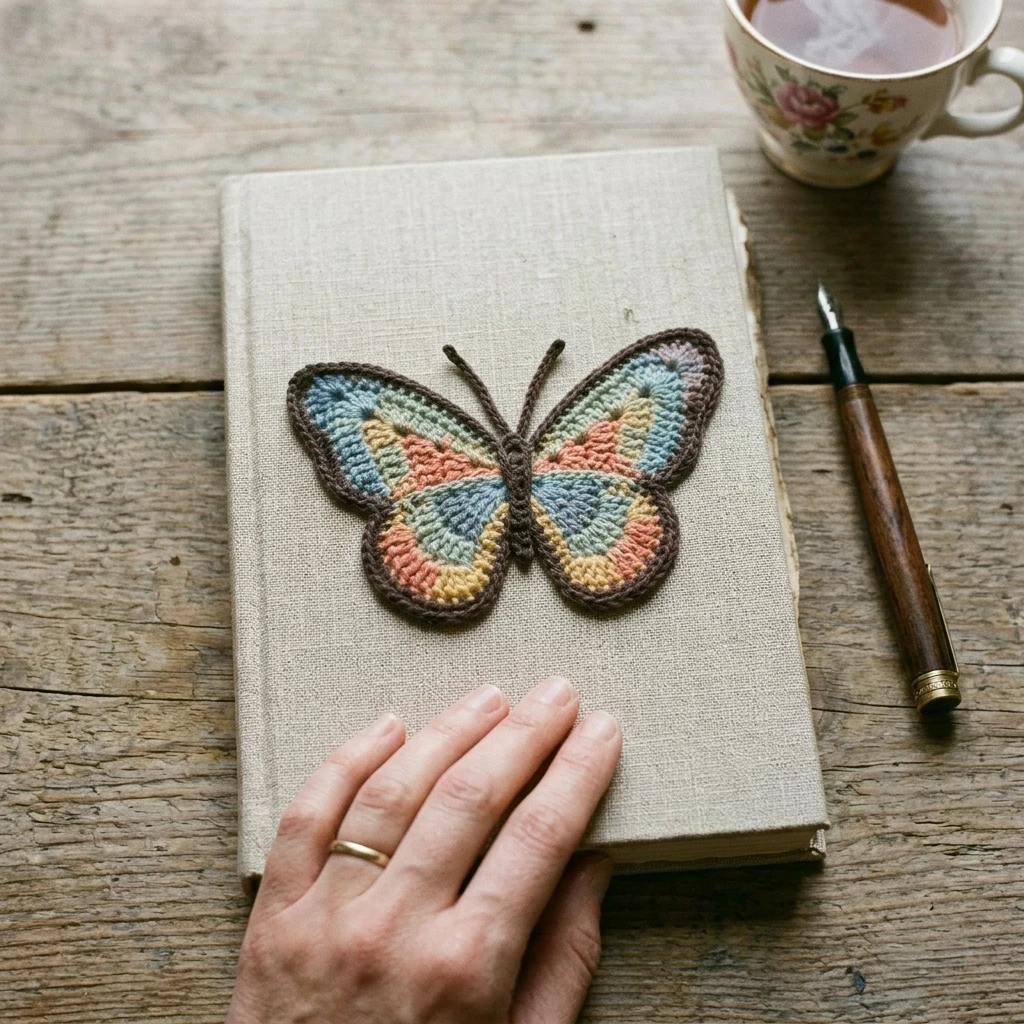
- Fan out the wings to check for symmetry. The top two petals on each side should be slightly higher than the bottom two.
7 Technical Tips for a Better Crochet Butterfly Pattern
- Tension Management: Keep your slip stitches loose when creating the body, but keep your shell stitches tight to prevent the wings from curling inward.
- Magic Ring Security: Since the body will be cinched tightly, double-knot your magic ring tail before weaving it in to prevent the center from popping open.
- Blocking is Key: Spritz your finished butterfly with water and pin the wings flat. This “sets” the fibers and makes the shell stitches look professional.
- Color Transitions: For a “Monarch” look, change to black yarn for the final round of the medallion to give the wings a bold outline.
- Stiffening the Wings: If using the butterfly as a standalone ornament, dip it in a mix of water and PVA glue to give it a permanent, rigid shape.
- Symmetry Check: Always count your treble crochets in Round 3. An extra stitch on one “petal” will make the butterfly look lopsided once folded.
- Hidden Ends: Run your yarn tails through the center of the body strip rather than the wings to keep the delicate lace portions clean.
Frequently Asked Questions
Can I use acrylic yarn for this pattern?
Yes, but be aware that acrylic is more “springy” and may lose its shape over time. Cotton is preferred for items that need to stay flat.
How do I make a larger butterfly?
To scale the pattern up, use a bulky weight yarn and a 5.0mm or 6.0mm hook. The construction steps remain exactly the same.
Do I have to use a magic ring?
If you find the magic ring difficult, you can ch 4 and join with a sl st to form a ring, then work your Round 1 stitches into that ring.
Can these be washed?
If you use cotton yarn, they are machine washable. However, laying them flat to dry is essential to maintain the wing shape.
How do I attach these to clothing?
The best method is to sew them down using a needle and matching thread at four points: the top of each upper wing and the bottom of the body.
Conclusion
This Crochet Butterfly Pattern is a delightful way to practice your shell stitches while creating a versatile accessory. By mastering the fold-and-wrap technique, you can produce dozens of these beauties in no time. If you enjoyed this tutorial, be sure to save it to your “Crochet Appliques” board on Pinterest so you can find it for your next spring project. What color combination are you planning to use for your first butterfly?
Save This Crochet Pattern