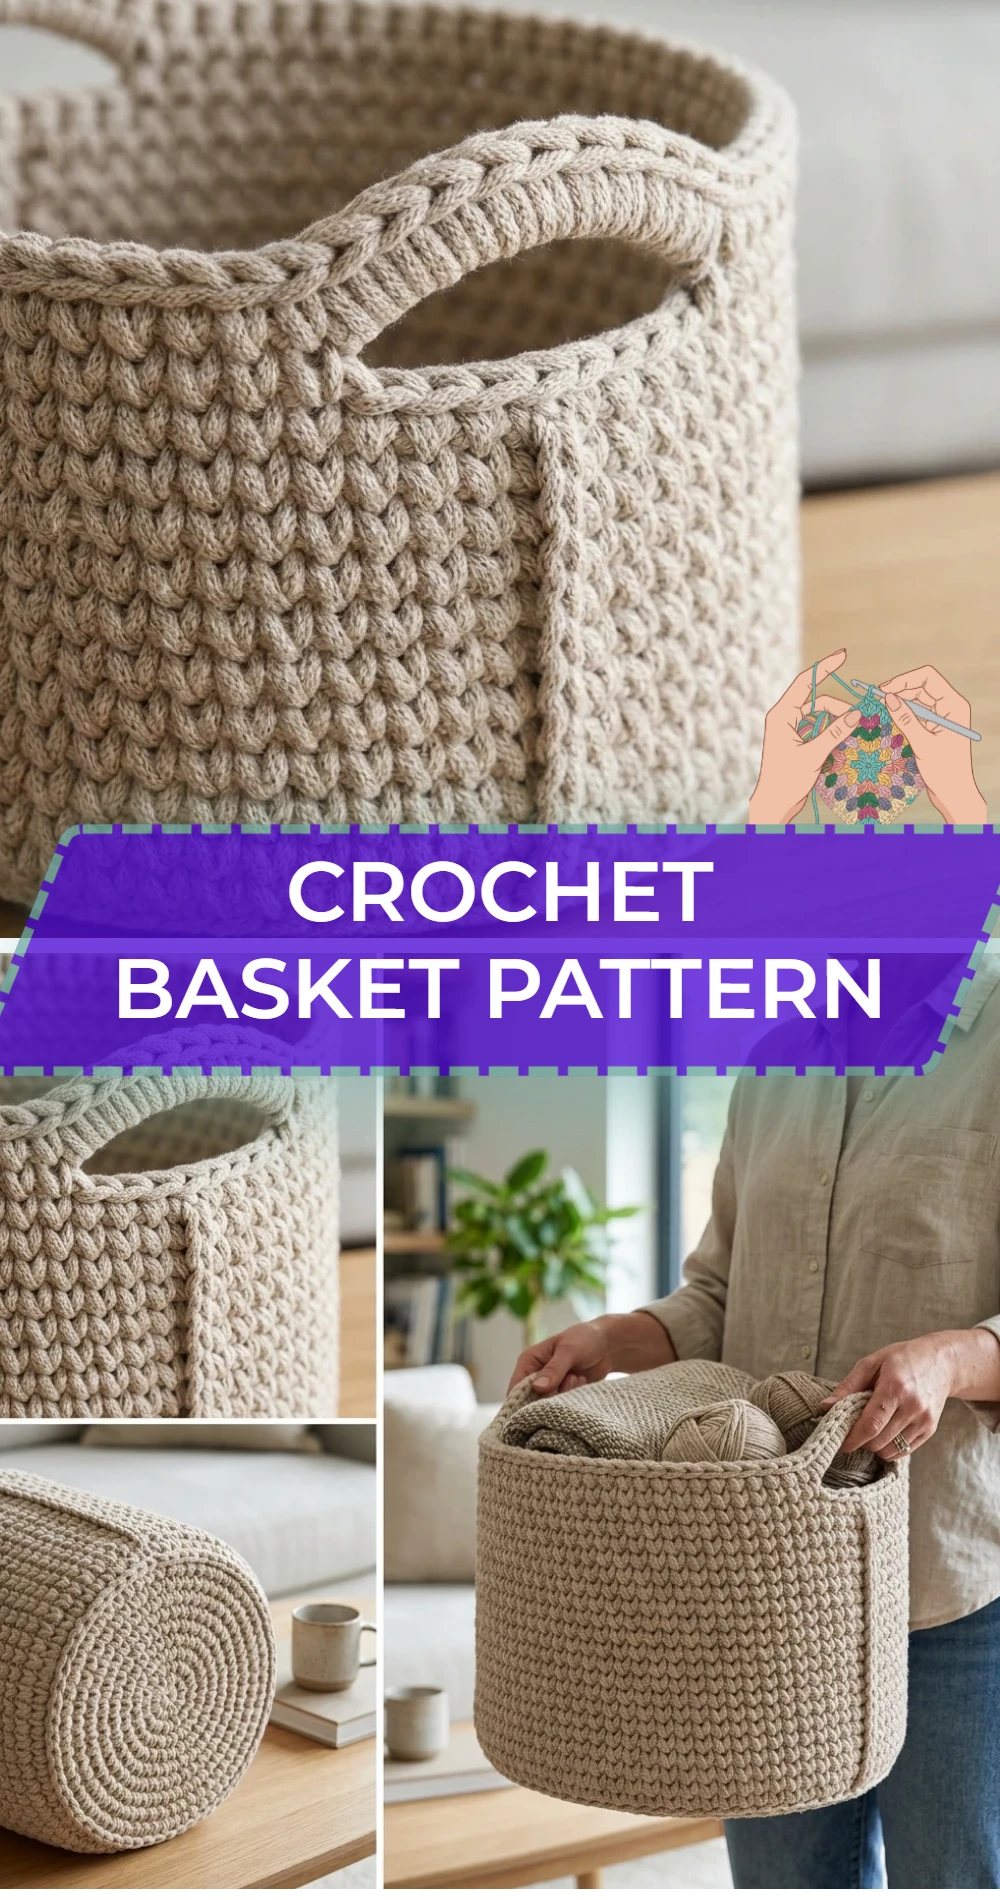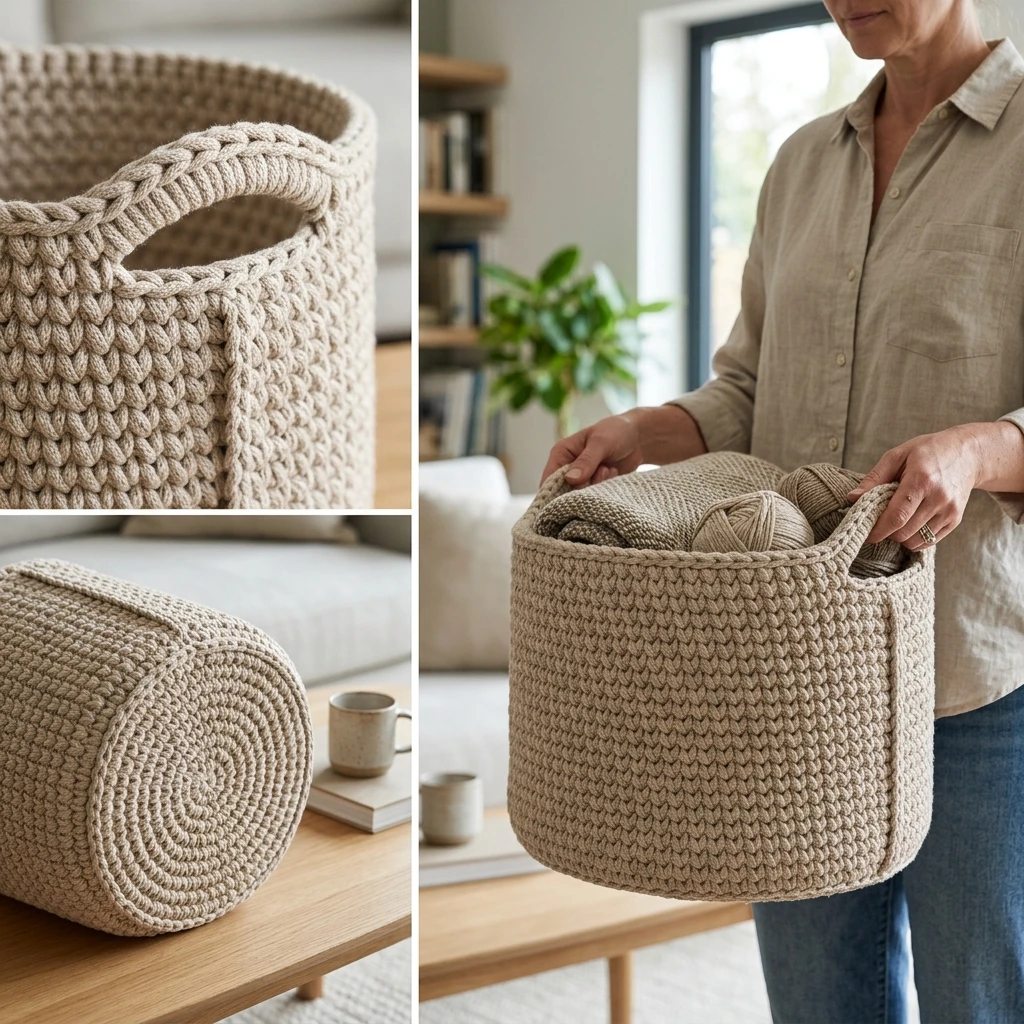
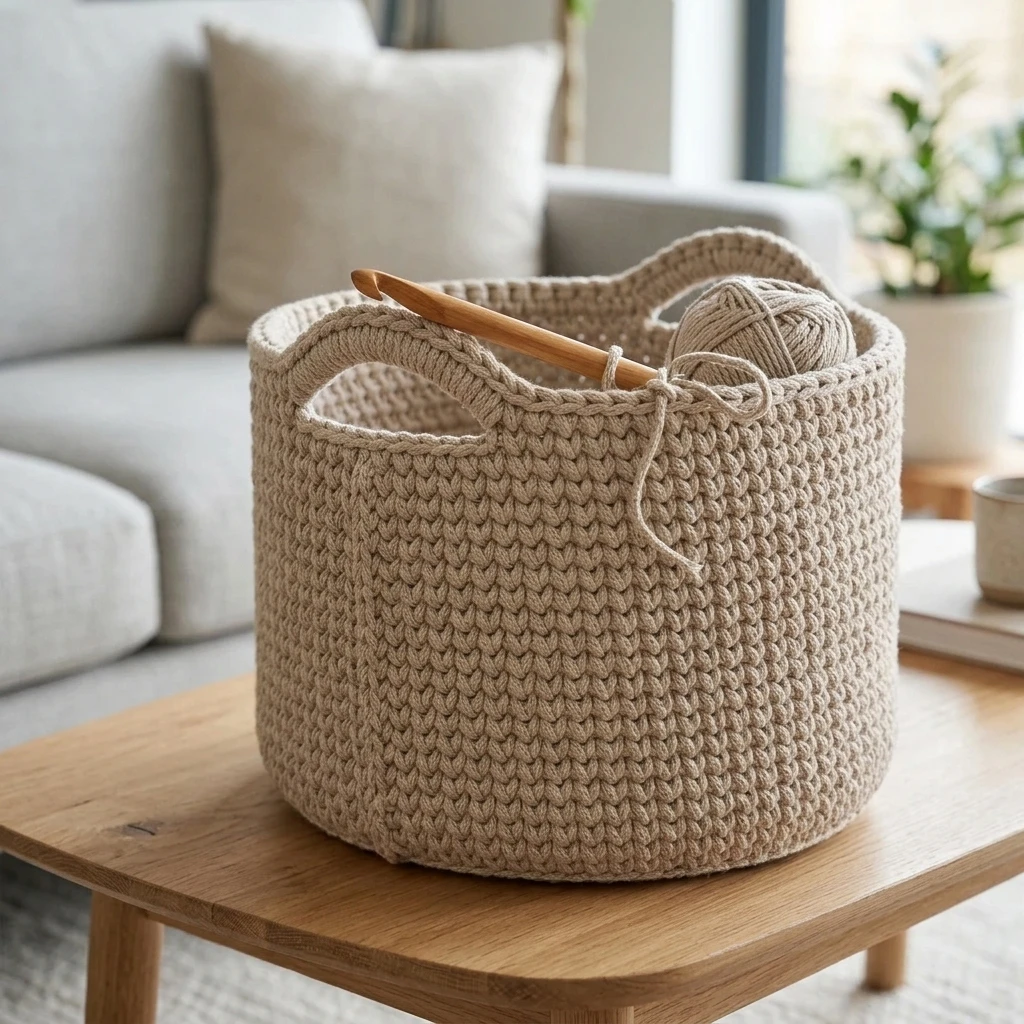
This crochet basket pattern creates a sturdy, functional piece of home decor that blends modern minimalism with handmade warmth. Featuring dense, compact stitching and a reinforced base, the finished project stands upright on its own, making it perfect for organizing yarn stashes, nursery essentials, or entryway clutter. Designed for versatility, this construction relies on a seamless circular base and high-walled sides that can be folded over for a cuffed look or left tall for maximum storage capacity. Whether you are using rugged cotton cord or soft t-shirt yarn, this basket offers a satisfyingly quick project that brings tactile texture to any room.
The Design: What Makes This Pattern Different
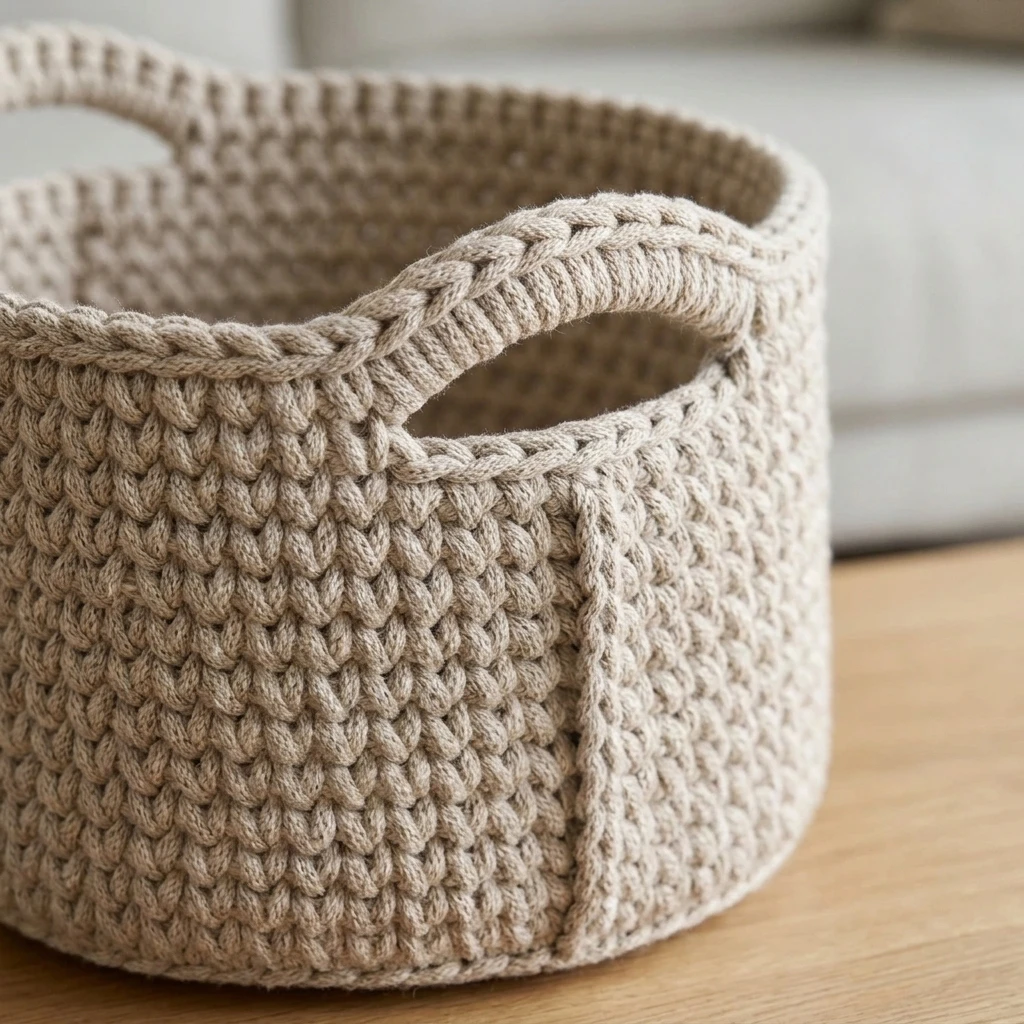
Unlike many decorative crochet items that lose their shape when empty, this design prioritizes structural integrity through “tight-tension” architecture. By utilizing a smaller hook than typically recommended for bulky yarn, the fibers are compressed into a rigid fabric that mimics the stability of a woven basket. The transition from the flat base to the vertical walls is achieved through a specific stitch placement that creates a sharp, clean corner, preventing the “bowl” effect where sides flare outward.
One common mistake to avoid in basket-making is maintaining standard “loose” tension. If your stitches feel flexible or airy, the basket walls will eventually collapse under their own weight. To ensure success, focus on keeping your yarn taut and choosing a yarn with very little elasticity, such as recycled cotton or jute.
Project Info at a Glance
| Feature | Details |
|---|---|
| Skill Level | Advanced Beginner |
| Estimated Time | 3–5 Hours |
| Finished Size | Approx. 8″ diameter x 7″ height (Adjustable) |
| Hook Size | 6.5mm (K) or 8mm (L) depending on yarn weight |
| Yarn Weight | Super Bulky (Level 6) or T-shirt Yarn |
| Gauge | 9 sts x 10 rows = 4″ in Single Crochet (Suggested) |
| Best For | Home Organization & Gift Hampers |
Materials and Tools
Yarn
For this project, you will need approximately 150–200 yards of a stiff, bulky yarn. T-shirt yarn (recycled cotton jersey) is the preferred choice for maximum height and rigidity. Alternatively, you can use two strands of worsted weight cotton held together to achieve the necessary thickness and durability.
Tools
A high-quality ergonomic crochet hook is recommended, as working with thick yarn and tight tension can be taxing on the hands. You will also need a large-eye tapestry needle for weaving in bulky ends, sharp scissors, and a stitch marker to track the beginning of your rounds, as this pattern is worked in a continuous spiral.
Abbreviations
- ch: chain
- sc: single crochet
- st(s): stitch(es)
- sl st: slip stitch
- inc: increase (2 sc in the same stitch)
- BLO: back loop only
- MR: magic ring
- rnd: round
Pattern — Step by Step
The Circular Base
The base is worked in a standard flat circle. Use a stitch marker in the first stitch of every round to ensure your count remains accurate.
- Rnd 1: Create a MR, work 6 sc into the ring. (6 sts)
- Rnd 2: Inc in every st around. (12 sts)
- Rnd 3: *1 sc, inc* repeat around. (18 sts)
- Rnd 4: *2 sc, inc* repeat around. (24 sts)
- Rnd 5: *3 sc, inc* repeat around. (30 sts)
- Rnd 6: *4 sc, inc* repeat around. (36 sts)
- Rnd 7: *5 sc, inc* repeat around. (42 sts)
- Rnd 8: *6 sc, inc* repeat around. (48 sts)
The Transition Round
This round creates the “lip” that allows the walls to stand vertically rather than continuing the flat circle.
- Rnd 9: Sc in the BLO of every st around. Do not increase. (48 sts)
Building the Walls
Continue working in a spiral without increasing. This builds the height of the basket.
- Rnd 10–22 (or desired height): Sc in both loops of every st around. (48 sts)
- Final Rnd: Sl st in each st around to create a reinforced top edge. Fasten off.
Assembly
Because this basket is worked in one continuous piece from the center out, traditional “sewing” of panels is not required. The assembly focuses on structural finishing and hardware additions if desired.
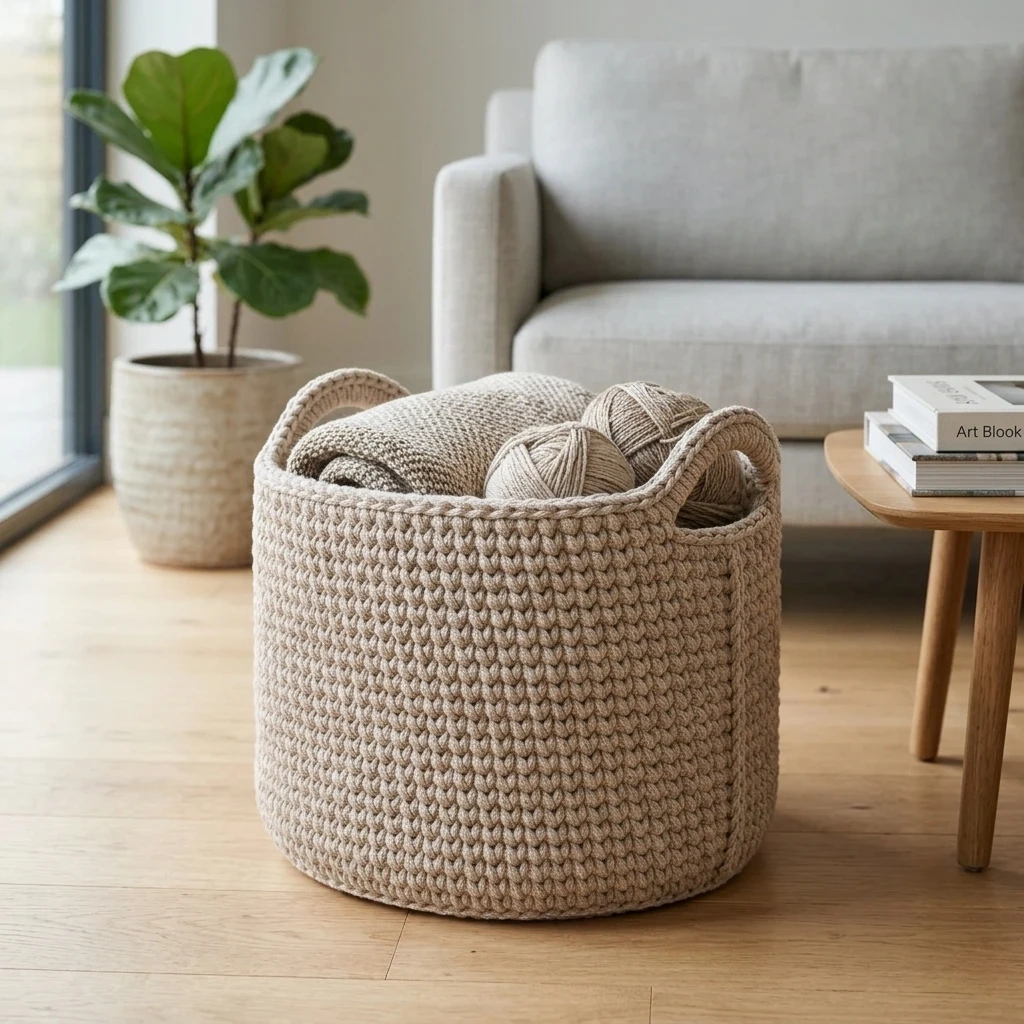
- Weave in Ends: Use your tapestry needle to thread the starting tail through the center of the magic ring and pull tight to close the hole completely. Secure with a knot on the interior.
- Hide the Finish: Use an invisible join technique for the final slip stitch to create a seamless upper rim.
- Shaping: Steam the basket walls lightly with an iron (if yarn content allows) to remove any creases from storage and to “set” the cylindrical shape.
- Optional Handles: If adding leather handles, punch holes in the leather and use a scrap of yarn or embroidery floss to sew them to the top two rounds of the basket.
7 Technical Tips for a Better Crochet Basket Pattern
- Downsize Your Hook: If your basket feels flimsy, drop down one full hook size. This forces the stitches closer together, creating a “fabric” rather than a mesh.
- Try the Waistcoat Stitch: For ultimate stiffness, replace the standard sc with the waistcoat stitch (center single crochet). It creates a look similar to knit stockinette and is incredibly thick.
- Invisible Increases: To avoid a “hexagon” shape in your base, stagger your increases so they don’t stack directly on top of the increases from the previous round.
- Manage Yarn Tension: Hold the yarn further back in your hand to increase drag. Consistent, tight tension is the secret to professional-looking basket walls.
- Check Your Base Flatness: If the base curls into a bowl before you reach the transition round, you are likely crocheting too tightly or missed an increase round. It must lay perfectly flat on a table.
- Use a “Jogless” Join: If you prefer working in joined rounds rather than a spiral, use an invisible join to prevent a diagonal seam from forming on the side of the basket.
- Reinforce the Rim: Adding a round of reverse single crochet (crab stitch) or a simple slip stitch round at the very top prevents the opening from stretching out over time.
Frequently Asked Questions
What is the best yarn for a crochet basket?
T-shirt yarn, cotton rope, or multiple strands of bulky cotton are best. Avoid 100% acrylic or wool yarns unless they are felted, as they tend to be too soft to stand upright.
How do I make the basket bigger?
Continue the increase pattern for the base (e.g., *7 sc, inc*, then *8 sc, inc*) until the circle reaches your desired diameter. Then, proceed to the “Transition Round” and “Walls” instructions as written.
Can I wash my crochet basket?
This depends on the fiber. T-shirt yarn and cotton can usually be spot-cleaned or hand-washed. Always air dry your basket over a round object (like a pot or bucket) to help it maintain its shape while drying.
Why are my basket walls flaring outward?
Flaring usually happens if your tension loosened as you moved from the base to the walls, or if you accidentally added increases. Ensure your stitch count remains the same for every round of the walls.
How do I make the handles out of yarn?
In the second-to-last round, ch 10 (or your preferred length), skip 8 stitches, and continue sc in the next stitch. In the final round, sc into the chain space to reinforce the handle.
Conclusion
Creating your own crochet basket is a rewarding way to combine utility with handmade style. By mastering the flat circle base and the vertical transition, you can customize this pattern to fit any space in your home, from tiny jewelry dishes to large toy bins. If you enjoyed this tutorial, be sure to save it to your Crochet Projects board on Pinterest so you can find it for your next organizing spree. What will you be storing in your new handmade basket?
Save This Crochet Pattern