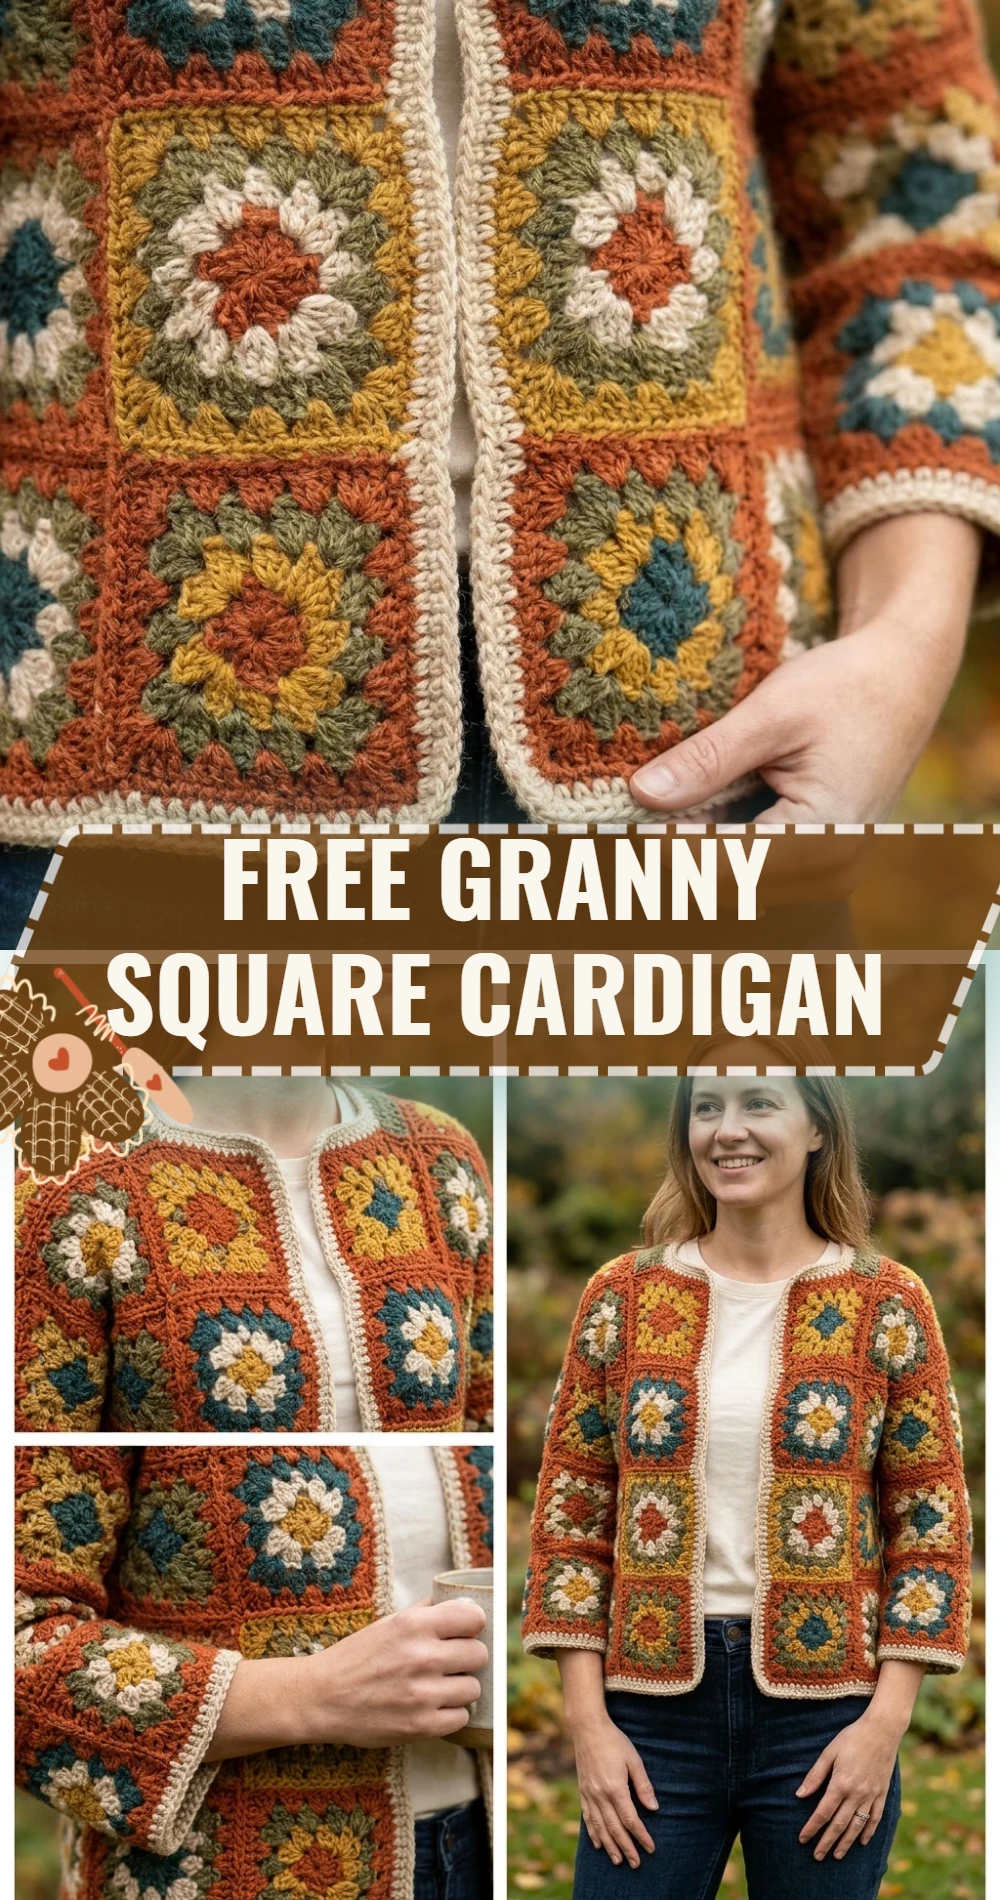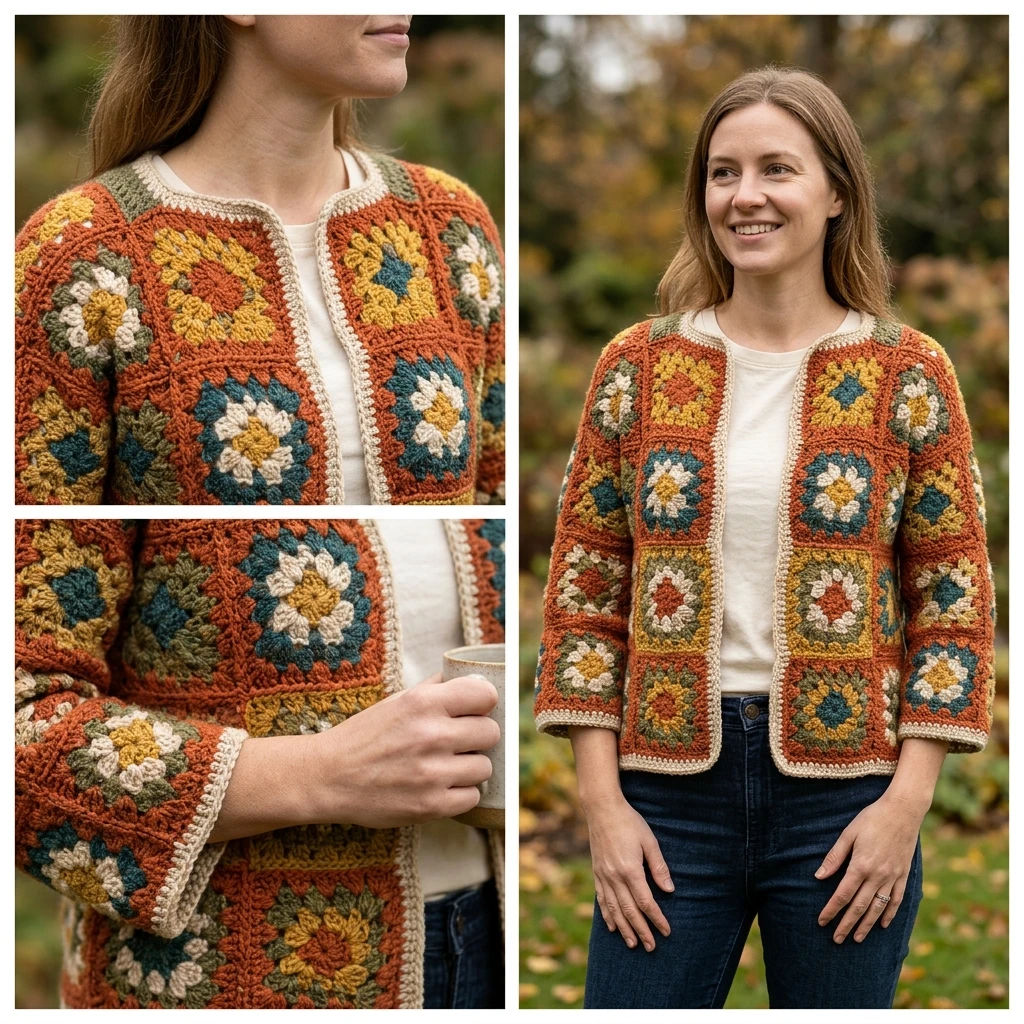
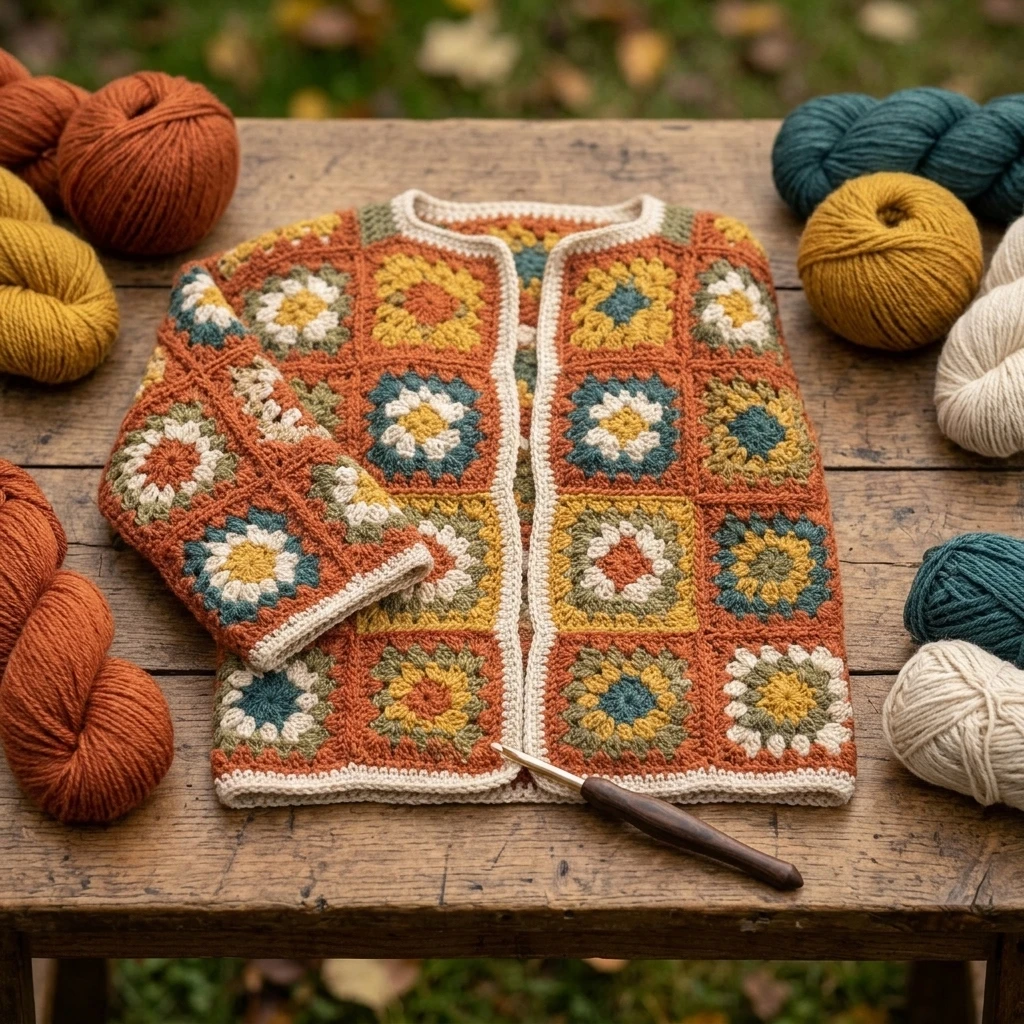
The Free Granny Square Cardigan is a vibrant celebration of boho-chic style and vintage craftsmanship. This wearable masterpiece transforms the humble crochet square into a sophisticated, draped garment that fits seamlessly into a modern wardrobe. Characterized by its relaxed silhouette and customizable color palette, this cardigan is perfect for layering during transitional seasons or cozying up on a breezy summer evening. The construction is refreshingly logical: individual motifs are crocheted and then joined to form the back, front panels, and sleeves, making it an ideal project for those who enjoy the portability of “on-the-go” crochet.
The Design: What Makes This Pattern Different
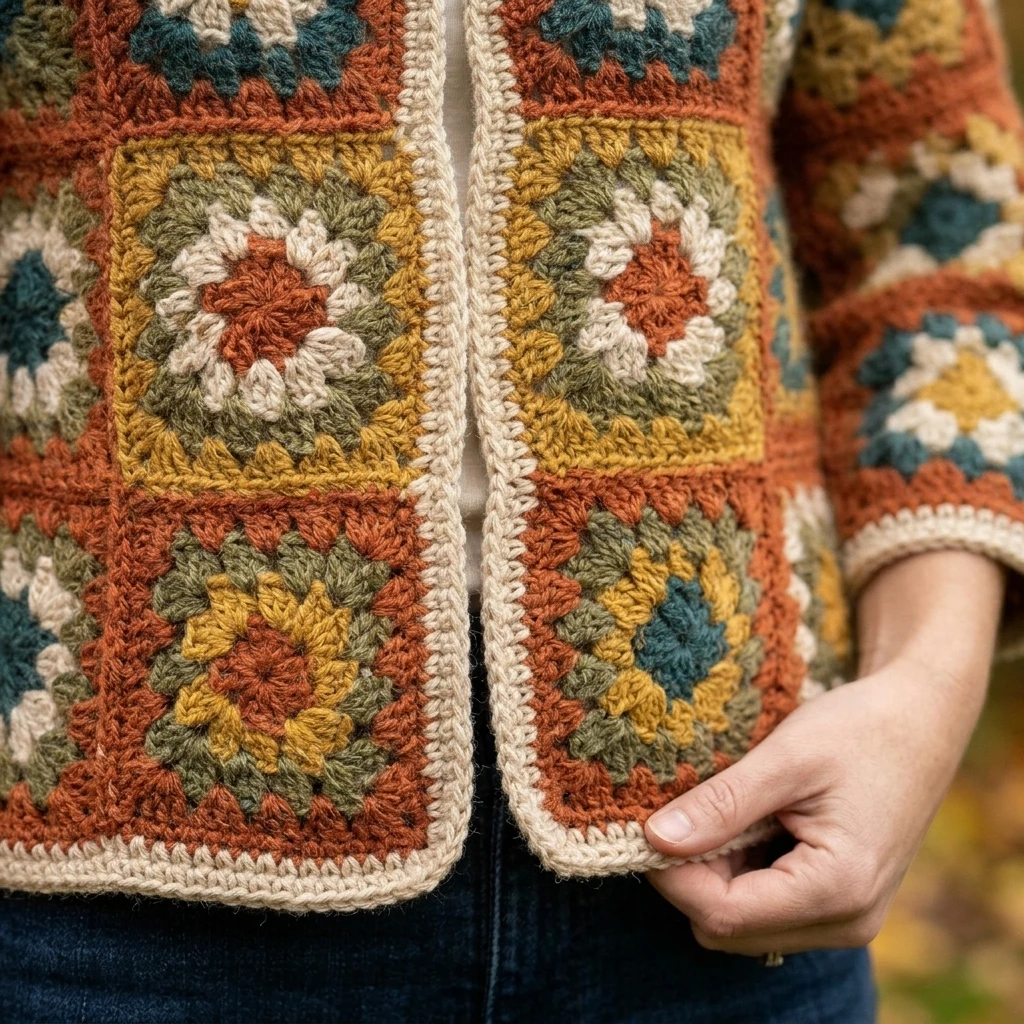
Structurally, this cardigan focuses on a “box-style” silhouette that prioritizes comfort and ease of movement. Unlike traditional sweaters that require complex increasing and decreasing, this design utilizes the geometric nature of the granny square to create natural armholes and a flattering open front. The visual identity relies on the interplay between the colorful centers of the squares and a consistent joining color, which provides a cohesive look even if using scrap yarn. One common mistake to avoid is neglecting the “join-as-you-go” tension; if your joins are tighter than your squares, the cardigan will pucker at the seams. Always ensure your joining stitches match the gauge of your main motifs to maintain a fluid drape.
Project Info at a Glance
| Feature | Details |
|---|---|
| Skill Level | Intermediate (due to assembly) |
| Estimated Time | 20–30 Hours |
| Finished Size | S/M (L/XL instructions suggested) |
| Hook Size | 5.0 mm (H-8) US |
| Yarn Weight | Worsted (Weight 4) |
| Gauge | 1 square = 4.75 inches |
| Best For | Layering, Boho Style, Stash Busting |
Materials and Tools
Yarn
For this project, a high-quality acrylic or wool-blend worsted weight yarn is suggested to ensure the cardigan holds its shape without being overly heavy. You will need approximately 1,200 to 1,500 yards for a standard S/M size. If you are opting for a multi-colored look, choose 5–7 different colors for the interior rounds and 3–4 skeins of a solid neutral color (like cream, charcoal, or black) for the final rounds and assembly.
Tools
- 5.0 mm (H-8) crochet hook (or size needed to obtain gauge).
- Large-eye tapestry needle for weaving in ends and seaming.
- Sharp scissors.
- Stitch markers to help with panel alignment.
- Measuring tape.
Abbreviations
- ch: Chain
- st(s): Stitch(es)
- sl st: Slip stitch
- sc: Single crochet
- dc: Double crochet
- sp: Space
- ch-sp: Chain space
- cl: Cluster (3 dc in the same space)
Pattern — Step by Step
The Traditional Motif (Make 40-50 Squares)
The foundation of this cardigan is a classic 5-round granny square. You will need roughly 16 squares for the back, 8 squares for each front panel, and 4-6 squares for each sleeve, depending on your desired length.
- Round 1: Magic ring, ch 3 (counts as dc), 2 dc into ring. *Ch 2, 3 dc into ring; repeat from * twice more. Ch 2, join with sl st to top of ch 3. (4 clusters)
- Round 2: Sl st to the first ch-2 corner space. Ch 3, 2 dc, ch 2, 3 dc into the same corner space. *Ch 1, [3 dc, ch 2, 3 dc] in next corner space; repeat from * twice more. Ch 1, join with sl st.
- Round 3: Sl st to the next ch-2 corner space. Ch 3, 2 dc, ch 2, 3 dc into the same corner. *Ch 1, 3 dc in next ch-1 sp, ch 1, [3 dc, ch 2, 3 dc] in corner; repeat from * twice more. Ch 1, 3 dc in last ch-1 sp, ch 1, join with sl st.
- Round 4 & 5: Continue the established pattern, placing a [3 dc, ch 2, 3 dc] in each corner and 3 dc (a cluster) in each ch-1 side space, with a ch-1 between all clusters. Fasten off and weave in ends.
The Ribbed Border (Optional)
To give the cuffs and bottom hem a professional finish, you can add a simple hdc-blo (half double crochet in back loops only) ribbing. This is worked directly onto the edges after the cardigan is assembled.
Assembly
Before you begin joining, it is highly recommended to block all your squares. This ensures they are perfectly square and identical in size, which makes the seaming process significantly smoother and prevents the final garment from warping.
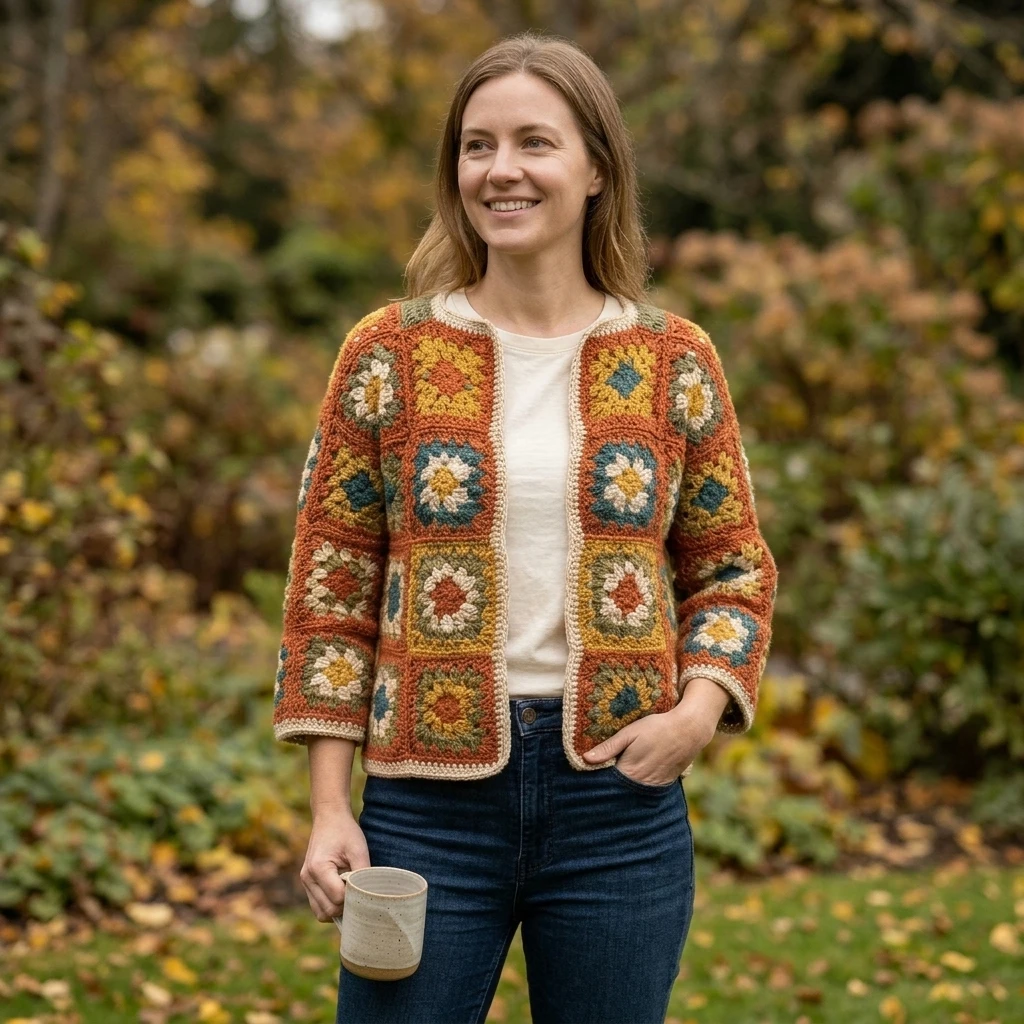
- Layout: Arrange your squares on a flat surface. Create a 4×4 grid for the back panel. Create two 2×4 grids for the front panels. Lay out your sleeve squares in a 2×4 or 3×3 grid based on your arm length.
- Horizontal Seaming: Using a mattress stitch or a flat slip stitch join, connect the squares into horizontal rows for each panel.
- Vertical Seaming: Join the horizontal rows together to finish the back and front panels.
- Shoulder Joins: Align the front panels with the back panel. Join across the top of the shoulders, leaving the center open for the neck.
- Attaching Sleeves: Center the sleeve panels over the shoulder seam and join.
- Side and Sleeve Seams: Fold the cardigan inside out. Sew from the bottom hem up to the underarm, and then continue down the sleeve to the cuff.
7 Technical Tips for a Better Free Granny Square Cardigan
- Check Your Gauge Mid-Project: Measure your first five squares. If they vary by more than 1/4 inch, your final cardigan will be lopsided.
- The “Invisible” Join: Use a tapestry needle for the mattress stitch if you want a completely flat, invisible seam that allows the motifs to touch edge-to-edge.
- Reinforce the Underarms: When seaming the side and sleeve, add a few extra stitches at the underarm junction to prevent holes from forming under stress.
- Weave as You Go: With 40+ squares, weaving in ends at the end is daunting. Secure your tails every time you finish a square.
- Color Planning: To avoid a “cluttered” look, use one consistent yarn color for the final round of every square. This acts as a frame for the colors inside.
- Sizing Adjustments: To make the cardigan larger, add a 6th round to each square or add a wide border of dc rows to the front panels before joining.
- Weight Management: If using cotton yarn, be aware the cardigan will stretch downward. Use a slightly smaller hook to keep the stitches tight and structural.
Frequently Asked Questions
Can I use different weights of yarn for the squares?
It is best to stay within the same weight category. Mixing a thin DK yarn with a thick Worsted yarn will cause the squares to be different sizes, making assembly nearly impossible without significant modifications.
Is blocking really necessary for a cardigan?
Yes. Because a cardigan is a structured garment, blocking the squares ensures that the seams are straight and the hem doesn’t curl. It transforms a “homemade” looking item into a professional piece.
How do I make the sleeves more tapered?
To taper the sleeves, you can use a smaller hook for the squares closest to the wrist, or reduce the number of clusters in the final joining round of the cuff-side squares.
What is the best method for joining squares?
The mattress stitch is best for a flat finish, while a “tight” sc join on the right side provides a decorative, raised ridge that adds a modern texture to the cardigan.
How do I wash my granny square cardigan?
Always follow the yarn label’s instructions. Generally, hand-wash in cool water with a mild detergent and lay flat to dry to prevent the garment from stretching out of shape.
Conclusion
Creating a Free Granny Square Cardigan is a rewarding journey that blends repetitive, meditative crochet with the excitement of garment construction. By focusing on consistent gauge and careful assembly, you can create a high-quality wearable that stands the test of time. Don’t forget to experiment with color to make this pattern truly your own! If you enjoyed this tutorial, be sure to save this project to your Crochet Wearables board on Pinterest. What color palette are you planning to use for your first square—monochrome neutrals or a bright rainbow mix?
Save This Crochet Pattern