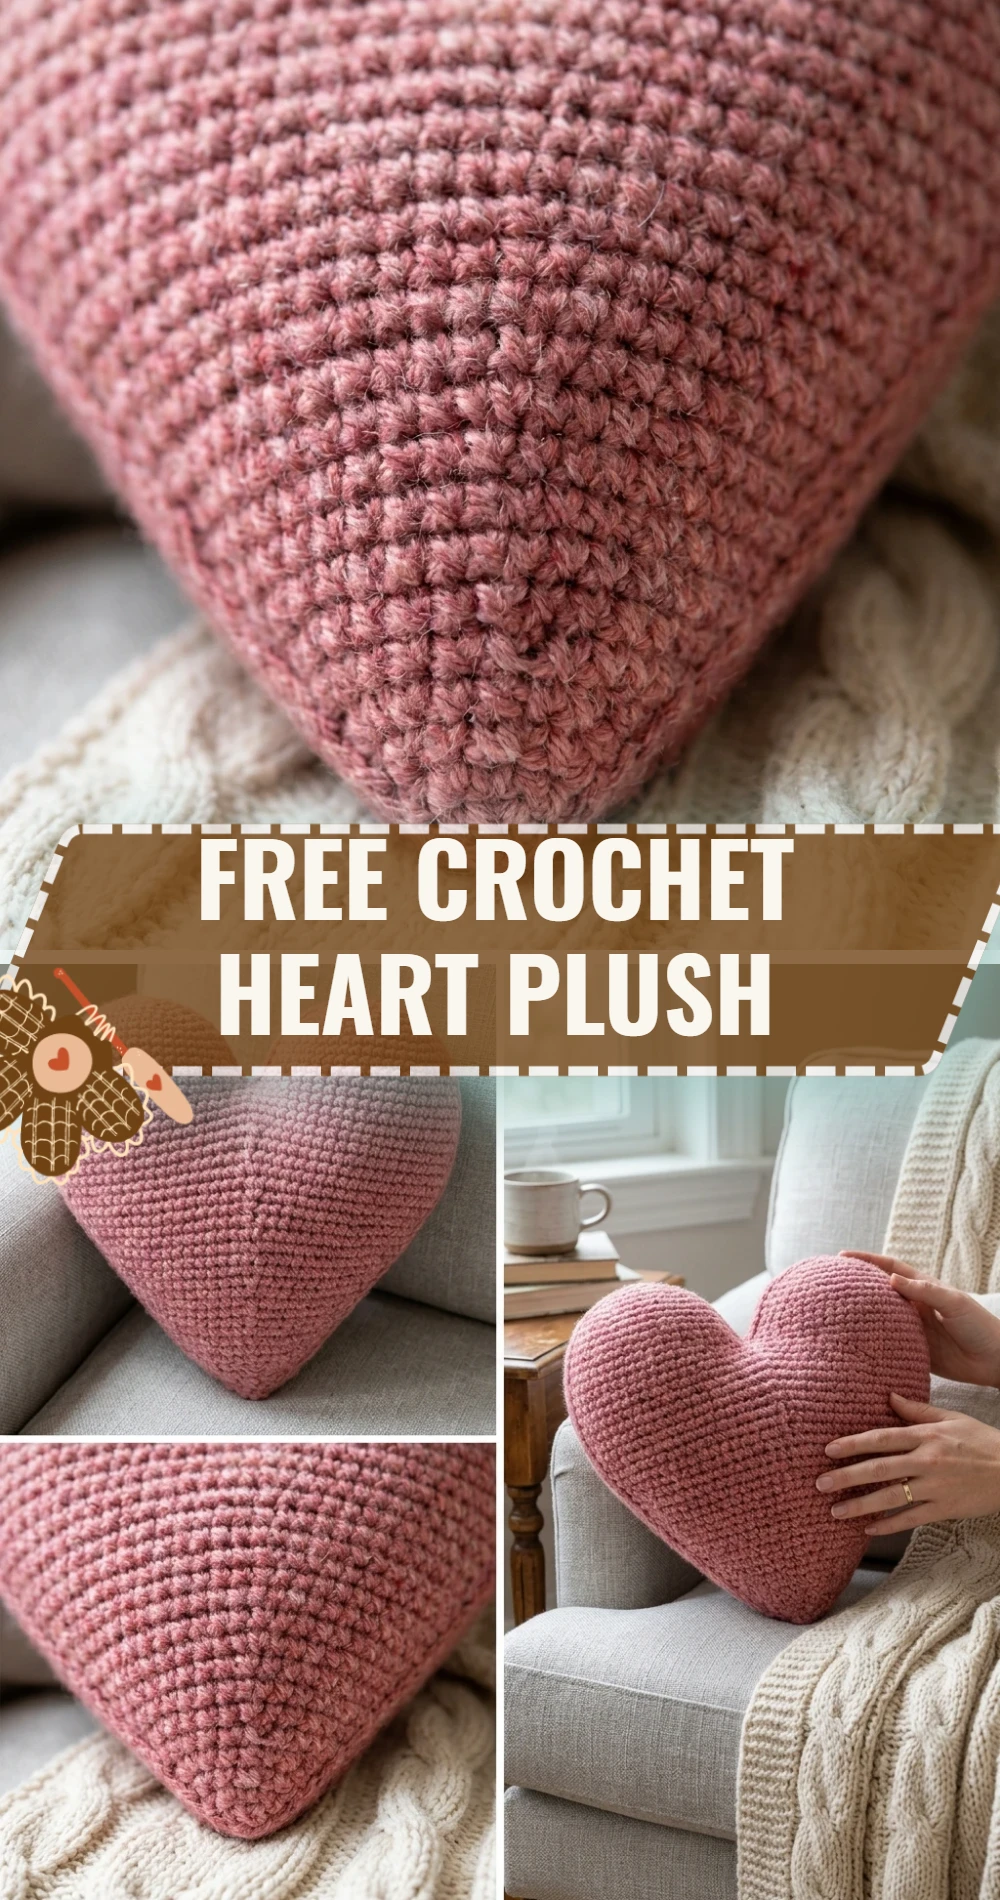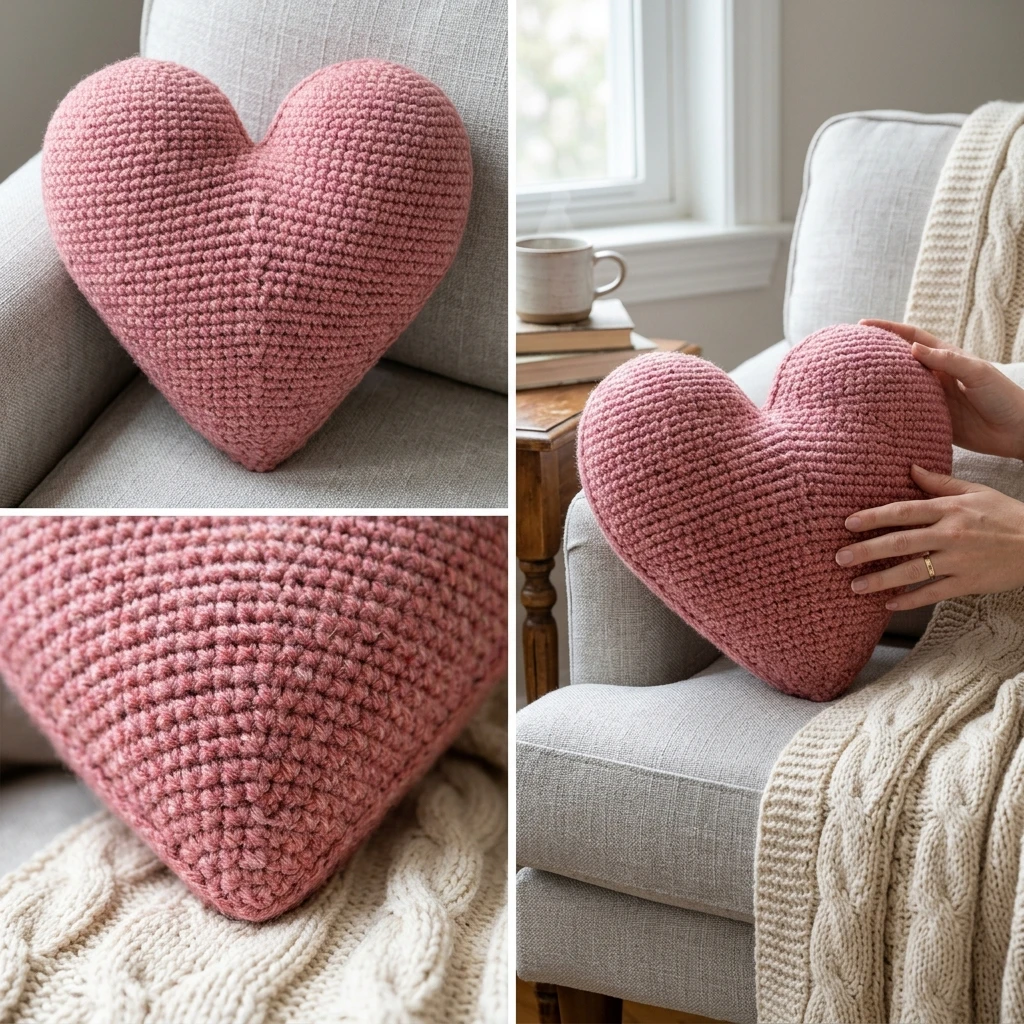
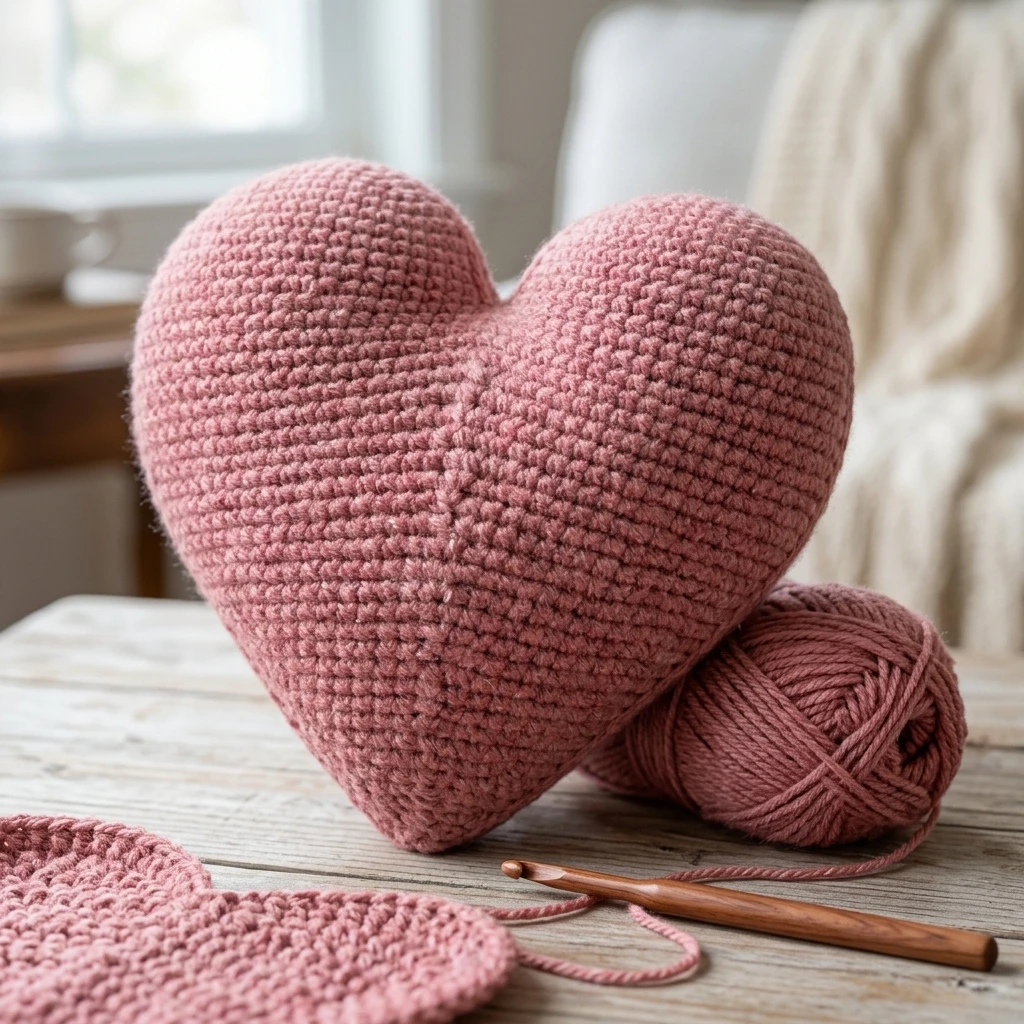
This charming crochet heart plush is the ultimate expression of handmade affection, blending a classic romantic silhouette with a modern, squishy texture. Whether worked up in traditional crimson velvet or a soft pastel cotton, the finished project serves as a perfect palm-sized gift, a decorative bowl filler, or a comforting tactile toy. The construction utilizes a clever “top-down” approach where two circular humps are crocheted independently and then joined seamlessly to form the widening shoulders of the heart, before tapering down to a clean, sharp point.
The Design: What Makes This Pattern Different
Unlike flat, two-dimensional heart patterns that require seaming two separate panels together, this design is worked entirely in the round (amigurumi style). This creates a plump, 3D volume that looks professional from every angle. The structural secret lies in the transition between the two humps; rather than sewing them together later, we join them with a single crochet stitch to maintain a continuous spiral. One common mistake to avoid is failing to secure the small gap that often forms at the “V” where the two humps meet. We address this by leaving a long tail from the first hump to bridge that gap internally, ensuring no polyester stuffing peeks through.
Project Info at a Glance
| Feature | Details |
|---|---|
| Skill Level | Easy / Advanced Beginner |
| Estimated Time | 45 – 90 minutes |
| Finished Size | Approx. 4″ wide x 3.5″ tall (varies by yarn) |
| Hook Size | 3.5mm (E) or 4.0mm (G) |
| Yarn Weight | Worsted (Level 4) or Bulky Chenille |
| Gauge | Tight enough to prevent stuffing from showing |
| Best For | Valentine’s Day, Keychains, Nursery Decor |
Materials and Tools
Yarn
For a standard plush, you will need approximately 60–80 yards of medium-weight worsted yarn. If you prefer a “jumbo” look, a super bulky velvet or chenille yarn works beautifully but will require a larger hook. Cotton yarn is suggested for hearts intended as stress balls, while acrylic or polyester blends offer the best squish factor for decor.
Tools
- Crochet hook appropriate for your chosen yarn (typically one size smaller than the ball band recommends to keep stitches tight).
- Polyester fiberfill stuffing.
- Stitch markers (essential for working in continuous rounds).
- Tapestry needle for weaving ends and closing the tip.
- Sharp scissors.
Abbreviations
This pattern uses standard US crochet terminology:
- MR: Magic Ring (or Magic Circle)
- ch: Chain
- sc: Single Crochet
- inc: Increase (2 sc in the same stitch)
- dec: Invisible Decrease (sc 2 together using front loops only)
- st(s): Stitch(es)
- sl st: Slip Stitch
Pattern — Step by Step
The Humps (Make 2)
The heart begins with two identical domes. You will finish the first one completely and set it aside, then work the second one and continue straight into the joining round.
- Round 1: 6 sc in MR. (6)
- Round 2: inc in each st around. (12)
- Round 3: [sc, inc] 6 times. (18)
- Round 4-5: sc in each st around. (18)
For the first hump, fasten off with a sl st and leave a 6-inch tail. For the second hump, do NOT fasten off. Proceed to the joining section.
Joining the Humps
To join, insert your hook into any stitch of the first hump and work a single crochet. This counts as the first stitch of the new round. You will now work around both humps in a large circle.
- Round 6: sc in all 18 sts of the first hump, then sc in all 18 sts of the second hump. (36)
- Round 7: sc in each st around. (36)
The Body and Taper
Now we begin the gradual decreases to create the iconic heart point.
- Round 8: [sc 4, dec] 6 times. (30)
- Round 9: sc in each st around. (30)
- Round 10: [sc 3, dec] 6 times. (24)
- Round 11: sc in each st around. (24)
- Round 12: [sc 2, dec] 6 times. (18)
- Round 13: sc in each st around. (18) Start stuffing firmly at this point.
- Round 14: [sc 1, dec] 6 times. (12)
- Round 15: sc in each st around. (12)
- Round 16: dec 6 times. (6)
Assembly
The assembly of the heart plush is minimal since the piece is worked in one unit, but the finishing touches are what provide that professional, symmetrical look.
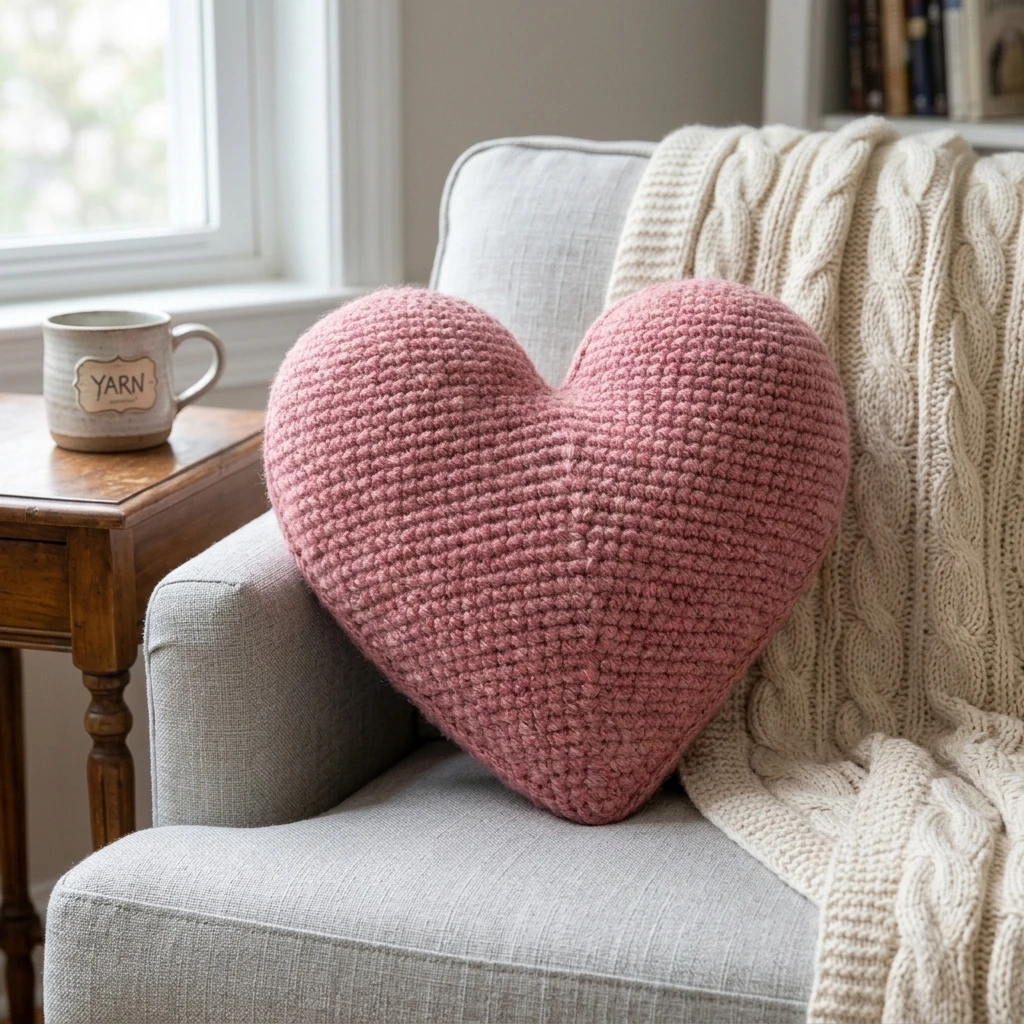
- Thread the yarn tail from the first hump onto a tapestry needle and sew the small gap between the two humps closed. Knot it securely on the inside.
- Continue stuffing the heart through the small hole at the bottom. Use the end of your crochet hook to push stuffing into the tips of the “shoulders” to keep them rounded.
- Fasten off the main yarn, leaving a tail for closing.
- Using your tapestry needle, weave the tail through the front loops of the remaining 6 stitches and pull tight like a drawstring to close the point.
- Weave the end into the body of the heart to hide it.
7 Technical Tips for a Better Free Crochet Heart Plush
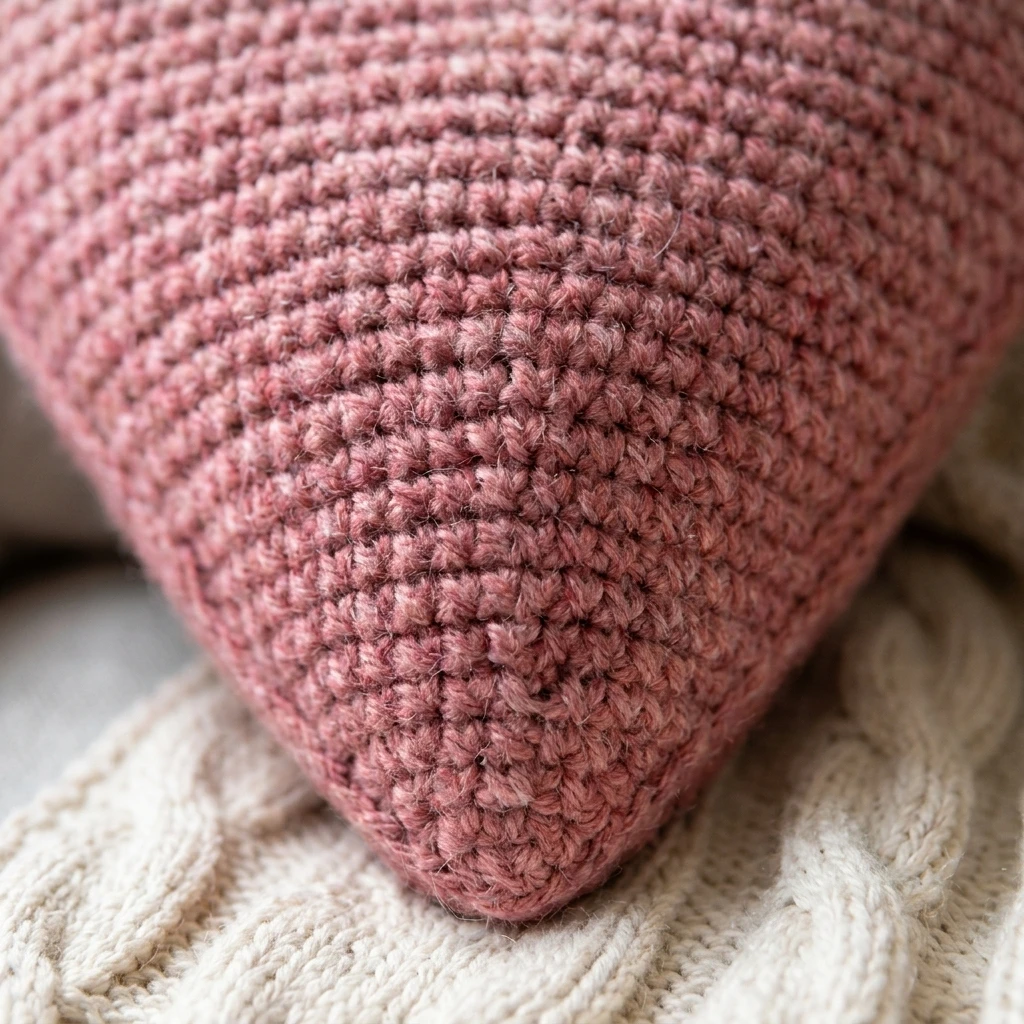
- Use Invisible Decreases: When working the taper, always use the invisible decrease method (inserting into front loops only) to prevent unsightly gaps or bumps in the plush surface.
- Check Your Tension: If you see stuffing through your stitches, your hook is too large. Switch to a smaller hook to create a dense fabric.
- Stuff Gradually: Don’t wait until the very end to stuff. Adding fiberfill every 2-3 rounds during the tapering phase ensures an even distribution without lumps.
- Mind the Gap: The join between the two humps is the weakest point. Use the tail from the first hump to reinforce this area with 2-3 small stitches.
- Yarn Choice Matters: For a crisp shape, use cotton. For a cozy, oversized feel, use blanket yarn. Note that fuzzy yarns may hide your stitches, making it harder to count.
- Stitch Markers are Non-Negotiable: Because we work in a continuous spiral, it is very easy to lose your place. Mark the first stitch of every round.
- Shape Post-Hooking: Once finished, roll the heart between your palms. This helps distribute the stuffing evenly and sharpens the bottom point.
Frequently Asked Questions
What is the best yarn for a heart plush?
For beginners, a standard worsted weight acrylic is easiest to handle. For a premium look, “chenille” or “velvet” yarns are popular because they create a very soft, professional-looking toy with hidden stitches.
How do I make the heart larger or smaller?
The easiest way to change the size is to change your yarn weight and hook size. Using a chunky yarn will result in a large pillow, while embroidery floss and a 1.0mm hook will create a tiny charm.
My heart looks lopsided; what happened?
This usually happens if the two initial humps have a different number of rows or if the joining stitch wasn’t centered. Ensure both humps are identical before connecting them.
Can I wash this crochet heart?
Yes, if you use acrylic, cotton, or polyester yarn. Place the heart in a mesh laundry bag and wash on a delicate cycle, then air dry to prevent the stuffing from clumping.
Do I need to use a Magic Ring?
The Magic Ring is preferred for amigurumi to ensure there is no hole at the top of the humps. If you struggle with it, you can chain 2 and work the first round of stitches into the second chain from the hook.
Conclusion
Creating a Free Crochet Heart Plush is a rewarding project that combines basic amigurumi techniques with a delightful, functional result. By focusing on tight tension and careful tapering, you can produce a professional-grade plushie perfect for any occasion. Don’t forget to experiment with different textures and colors to make each heart unique!
Love this pattern? Save it to your Crochet Inspiration board on Pinterest!
What color will you choose for your first heart plush—classic red or something more modern?
Save This Crochet Pattern