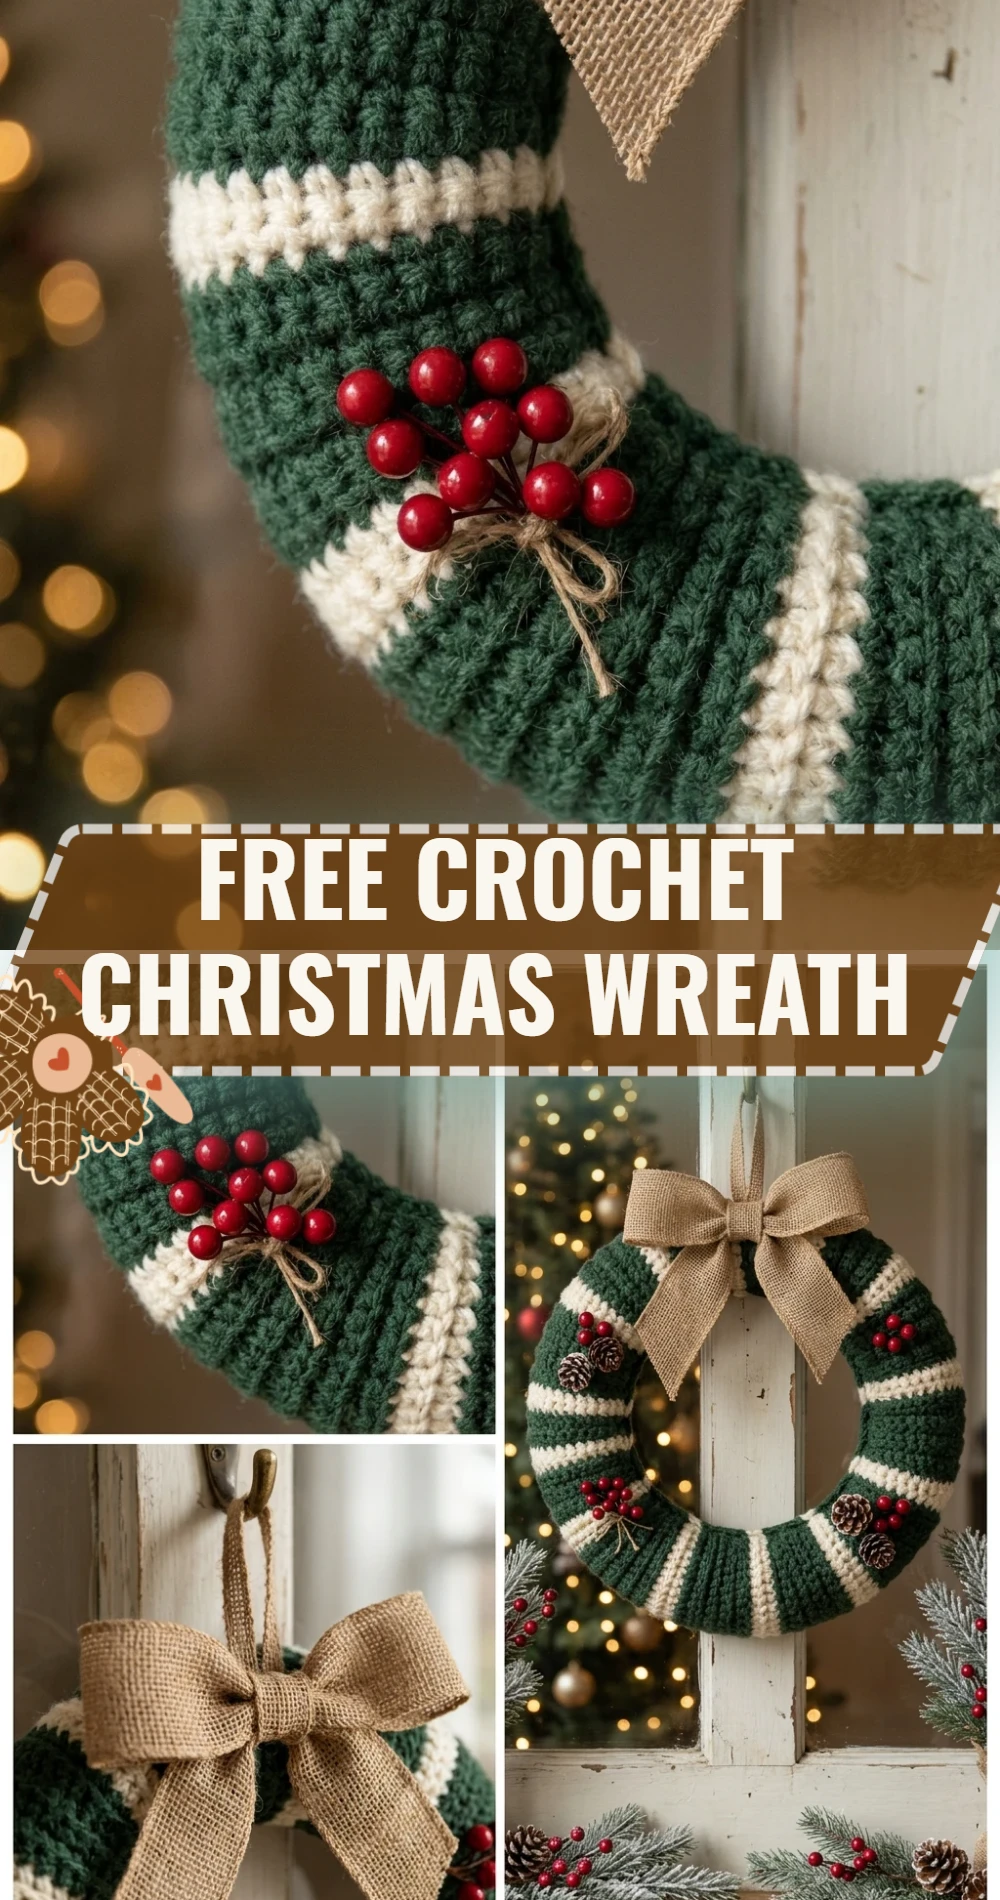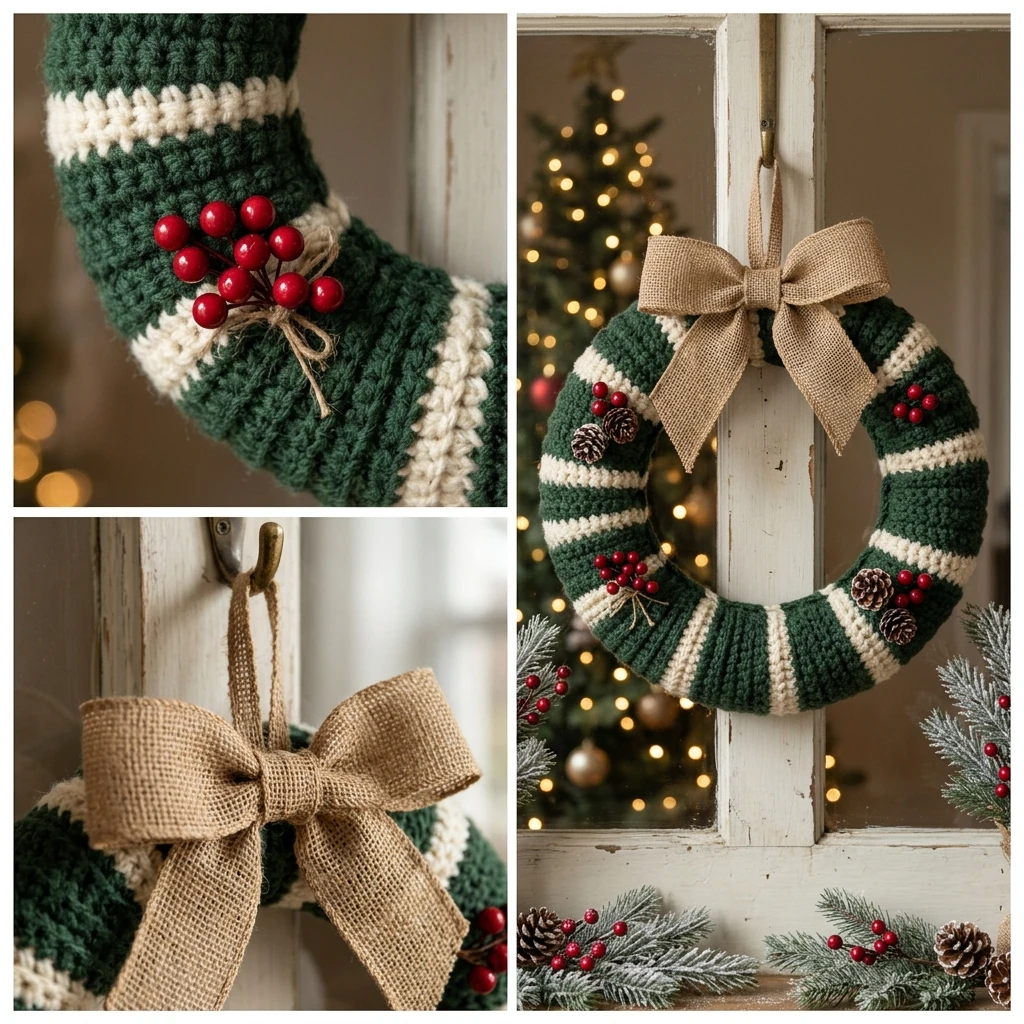
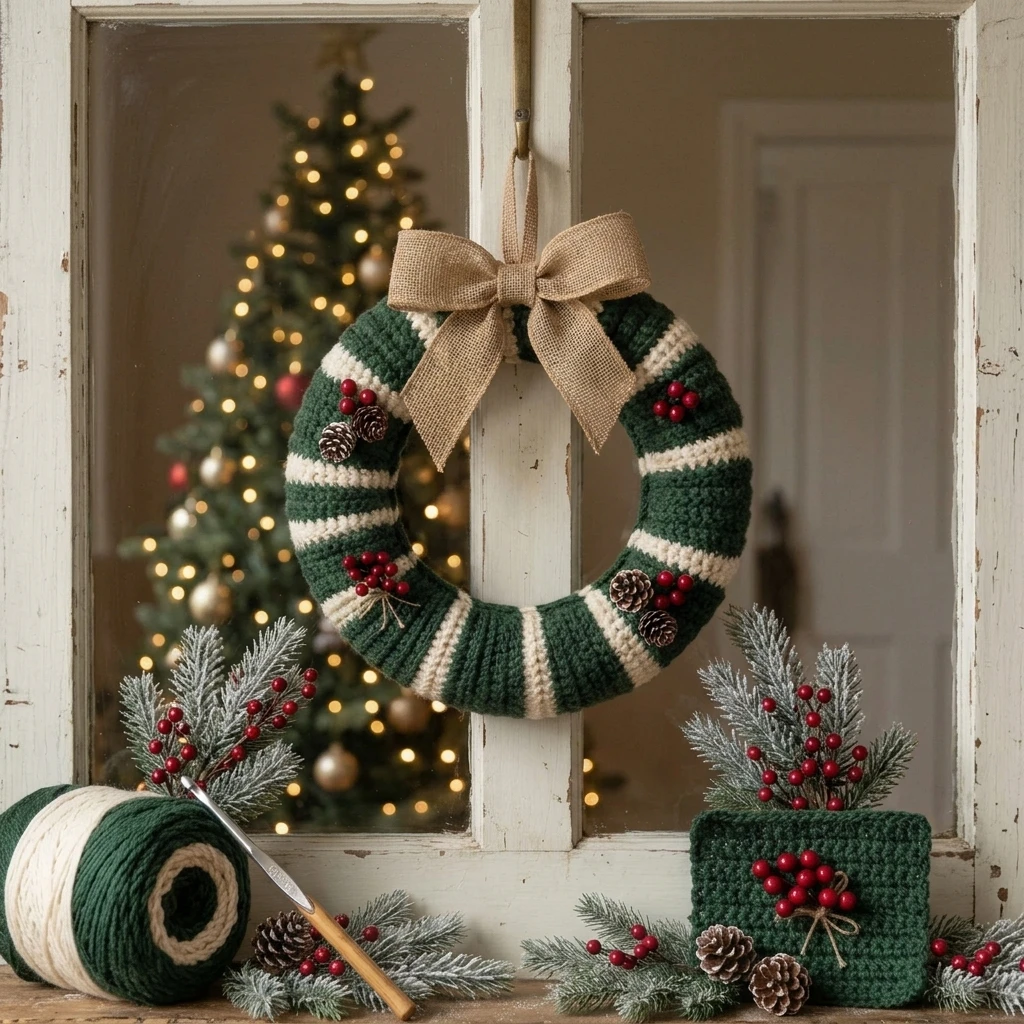
Bringing the timeless charm of festive greenery into your home has never been easier than with this textured crochet Christmas wreath. This project captures the essence of a traditional holiday evergreen, offering a soft, tactile alternative to plastic or real needle wreaths. Designed to fit a standard circular form, the construction utilizes a combination of simple stitches to create a dense, “pine-like” fabric that serves as the perfect canvas for customizable embellishments. Whether you prefer a minimalist Scandinavian look or a vintage-inspired piece dripping with berries and bows, this pattern provides the ideal structural foundation for your holiday creativity.
The Design: What Makes This Pattern Different
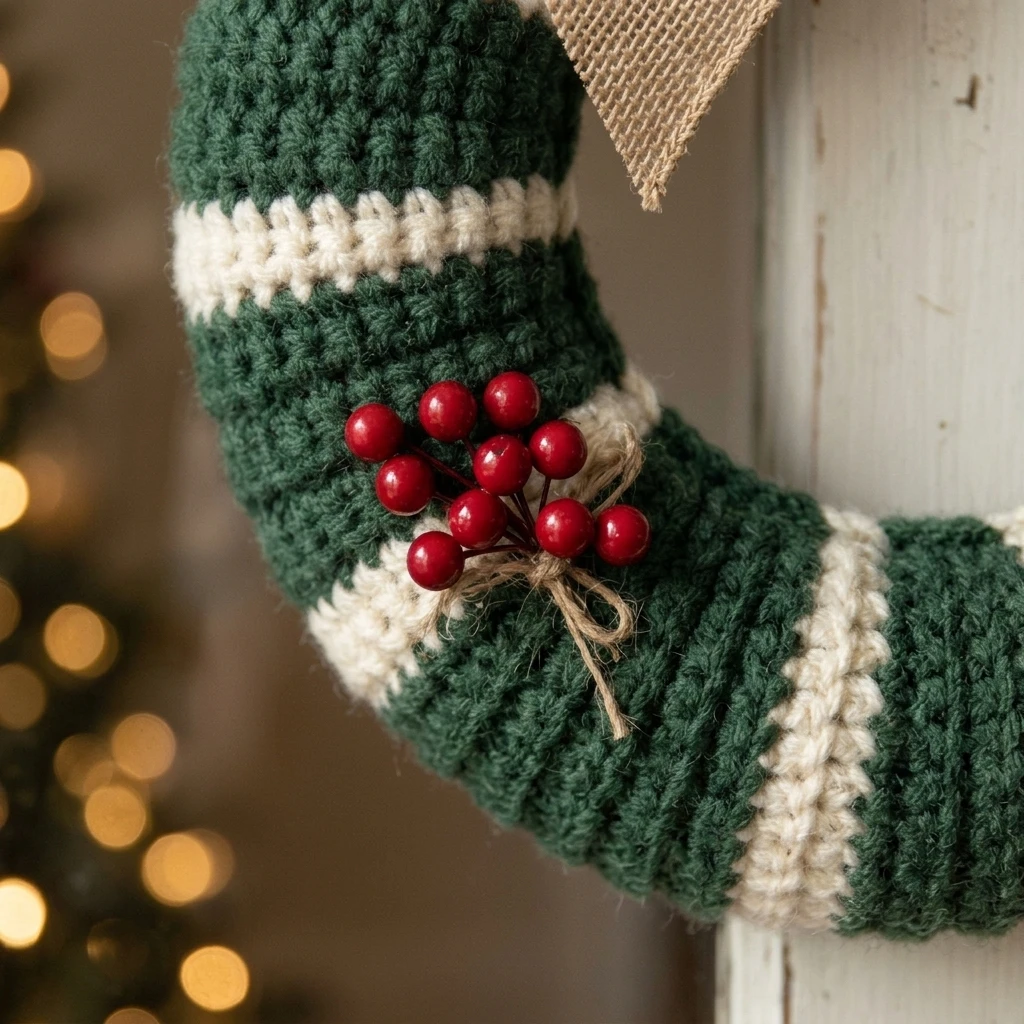
This design prioritizes a seamless fit over a standard foam base, which is a significant departure from “free-hanging” wreaths that can lose their shape over time. Instead of working in a giant circle, we create a long, textured rectangle that is seamed around the form, ensuring the tension remains consistent and the fabric doesn’t bunch on the inner diameter. To mimic the look of pine needles, we utilize a modified moss stitch or a “crunch” stitch texture. One common mistake to avoid is choosing a yarn with too much drape; a stiff, acrylic-based worsted weight is actually preferred here because it maintains the stitch definition and won’t sag under the weight of added decorations like bells or ornaments.
Project Info at a Glance
| Skill Level | Easy / Advanced Beginner |
| Estimated Time | 4 – 6 Hours |
| Finished Size | Designed for a 12-inch (30cm) diameter form |
| Hook Size | 5.0mm (H-8) US Hook |
| Yarn Weight | Worsted (Medium, Weight 4) |
| Gauge | 14 sts x 12 rows = 4″ in pattern stitch (Suggested) |
| Best For | Holiday home decor and door hangings |
Materials and Tools
Yarn
To achieve the lush look of this wreath, you will need approximately 350 to 400 yards of a sturdy worsted weight yarn. For a traditional aesthetic, a deep forest green or hunter green is recommended for the main body. You will also need small amounts (approx. 20-30 yards each) of bright red for berries and a snowy white or gold for accent ribbons. Wool blends work well for indoor use, but 100% acrylic is best if the wreath will be hung on an exterior door protected by a porch.
Tools
- 5.0mm (H) Ergonomic Crochet Hook
- 12-inch Styrofoam or straw wreath form
- Large-eye tapestry needle for seaming and weaving ends
- Stitch markers (to track row counts)
- Sharp embroidery scissors
- Straight pins (to hold fabric in place during assembly)
Abbreviations
- ch: Chain
- st(s): Stitch(es)
- sc: Single crochet
- hdc: Half double crochet
- dc: Double crochet
- sl st: Slip stitch
- sk: Skip
- RS: Right side
- WS: Wrong side
Pattern — Step by Step
The Wreath Base Cover
The cover is worked as one long rectangle. The width of your rectangle should be just enough to wrap around the thickness (girth) of your wreath form with a slight stretch. The length must match the outer circumference of your form.
- Foundation: Ch 21 (or a count that wraps comfortably around your form’s girth).
- Row 1 (RS): Sc in 2nd ch from hook and in each ch across. Turn. (20 sts)
- Row 2 (WS): Ch 1. *Sl st in first st, hdc in next st; repeat from * across. Turn.
- Row 3: Ch 1. *Hdc in sl st, sl st in hdc; repeat from * across. Turn.
- Rows 4 – End: Repeat Rows 2 and 3 until the piece, when slightly stretched, meets the ends around the outer edge of the wreath form. This is typically between 34 to 38 inches for a 12-inch form.
- Finishing: Fasten off, leaving a very long tail (approx. 60 inches) for seaming.
Holly Leaves (Make 3-5)
- Ch 10.
- Sl st in 2nd ch from hook, sc in next, hdc in next, dc in next 3, hdc in next, sc in next, 3 sc in last ch (to turn the corner).
- Working down the opposite side of the chain: sc in next, hdc in next, dc in next 3, hdc in next, sc in next, sl st in last. Fasten off with a long tail.
Festive Berries (Make 6-9)
- Ch 2. 5 sc in 2nd ch from hook. Do not join.
- Sc in each of the 5 sts for one round.
- Sl st to first st, fasten off, and use the tail to cinch the bottom closed, creating a small sphere.
Assembly
The assembly phase is where the texture of your crochet Christmas wreath truly comes to life. Ensuring the seam is placed correctly is vital for a professional, “store-bought” look without the bulk.
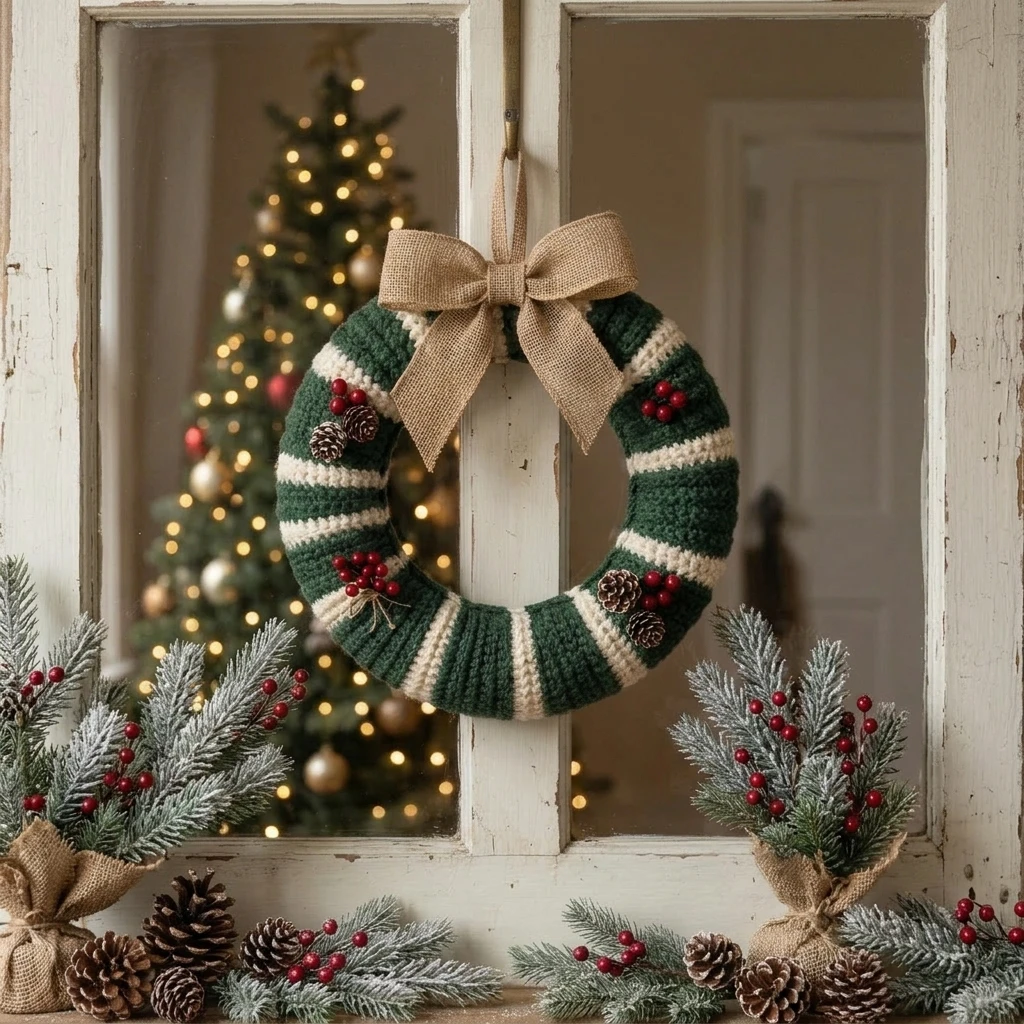
- Positioning: Wrap the long rectangle around your wreath form. Use straight pins to secure the fabric so the edges meet on the “back” or the inside rim of the wreath.
- Seaming: Using the long tail and your tapestry needle, use a mattress stitch to join the short ends together first. Then, seam the long edges along the inner diameter of the wreath. Keep stitches tight to ensure the form doesn’t show through.
- Decoration Placement: Arrange your holly leaves in clusters of two or three. Place the berries in the center of the leaf clusters.
- Securing Details: Sew the leaves and berries directly onto the crocheted fabric using matching yarn. Avoid sewing through the foam form itself.
- Hanger: Attach a loop of yarn or a festive ribbon to the top center of the wreath for hanging.
7 Technical Tips for a Better Free Crochet Christmas Wreath
- Check the Stretch: Crochet fabric naturally expands. Aim for a “negative ease” of about 1 inch in length so the cover sits snugly on the form without wrinkling.
- Conceal the Seam: Always place your long seam on the inner circle or the back side of the wreath so it remains invisible when hung against a wall.
- Consistent Tension: Use a stitch marker every 20 rows to ensure your rectangle isn’t accidentally tapering or widening, which causes twisting on the form.
- Foam Color Matters: If you are using a white foam form and a dark green yarn, paint the foam green first or wrap it in green floral tape so the white doesn’t peek through the stitches.
- Steam Blocking: Lightly steam your holly leaves before attaching them. This prevents the tips from curling and gives them a crisp, professional shape.
- Secure Embellishments: If using heavy bells or large ornaments, reinforce the attachment points with a bit of clear fishing line for extra durability.
- UV Protection: If hanging your wreath in a sunny spot, consider spraying the finished project with a UV-protectant fabric spray to prevent the green yarn from fading to a muddy brown.
Frequently Asked Questions
Can I use a different size wreath form?
Yes! Simply adjust the length of your starting chain to fit the girth of your new form and continue repeating the pattern rows until the piece is long enough to wrap around the entire outer circumference.
What is the best yarn for an outdoor wreath?
100% Acrylic or a “Cotton-Acrylic” blend is best. Natural wool can felt if it gets wet and dried repeatedly, and pure cotton may lose its shape or grow mildew in very humid environments.
How do I clean my crochet wreath after the holidays?
Do not submerge the wreath if it has a straw or foam core. Instead, use a vacuum attachment on a low setting to remove dust, or spot clean the yarn with a damp cloth and mild detergent.
Can I use a wire wreath frame instead?
This specific pattern is designed for solid forms (foam/straw). For a wire frame, you would need to work a ruffled stitch or a much wider fabric to create bulk, as the wire provides no volume.
How do I make the “pine” texture more prominent?
Try using a slightly smaller hook than recommended for your yarn. This tightens the “hdc/sl st” pattern, making the bumps more pronounced and needle-like.
Conclusion
Creating a handmade Christmas wreath is a wonderful way to welcome guests with a touch of personal craftsmanship. By following this textured pattern, you have built a holiday heirloom that combines the rustic beauty of evergreen with the warmth of crochet. Don’t forget to experiment with different color palettes—like an all-white “snow” wreath or a modern metallic version—to suit your unique style. If you enjoyed this tutorial, pin it to your holiday crochet board for later! What colors will you choose for your festive berries this year?
Save This Crochet Pattern