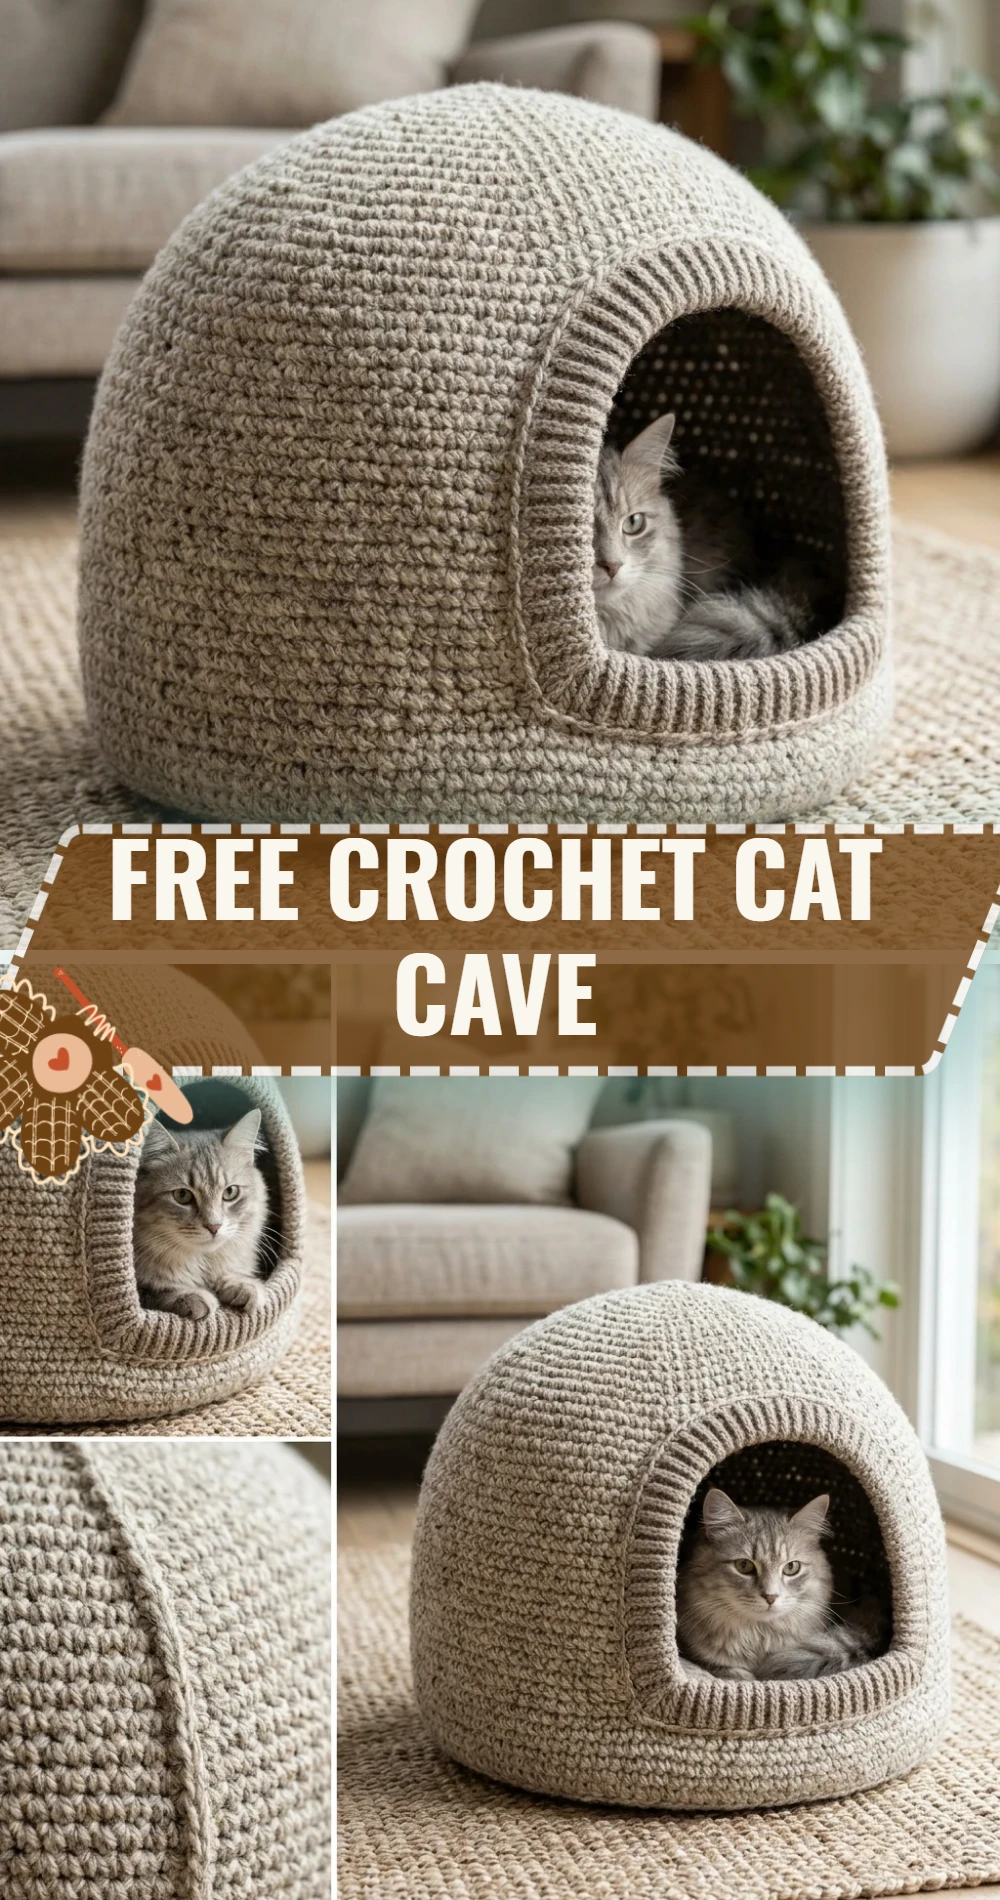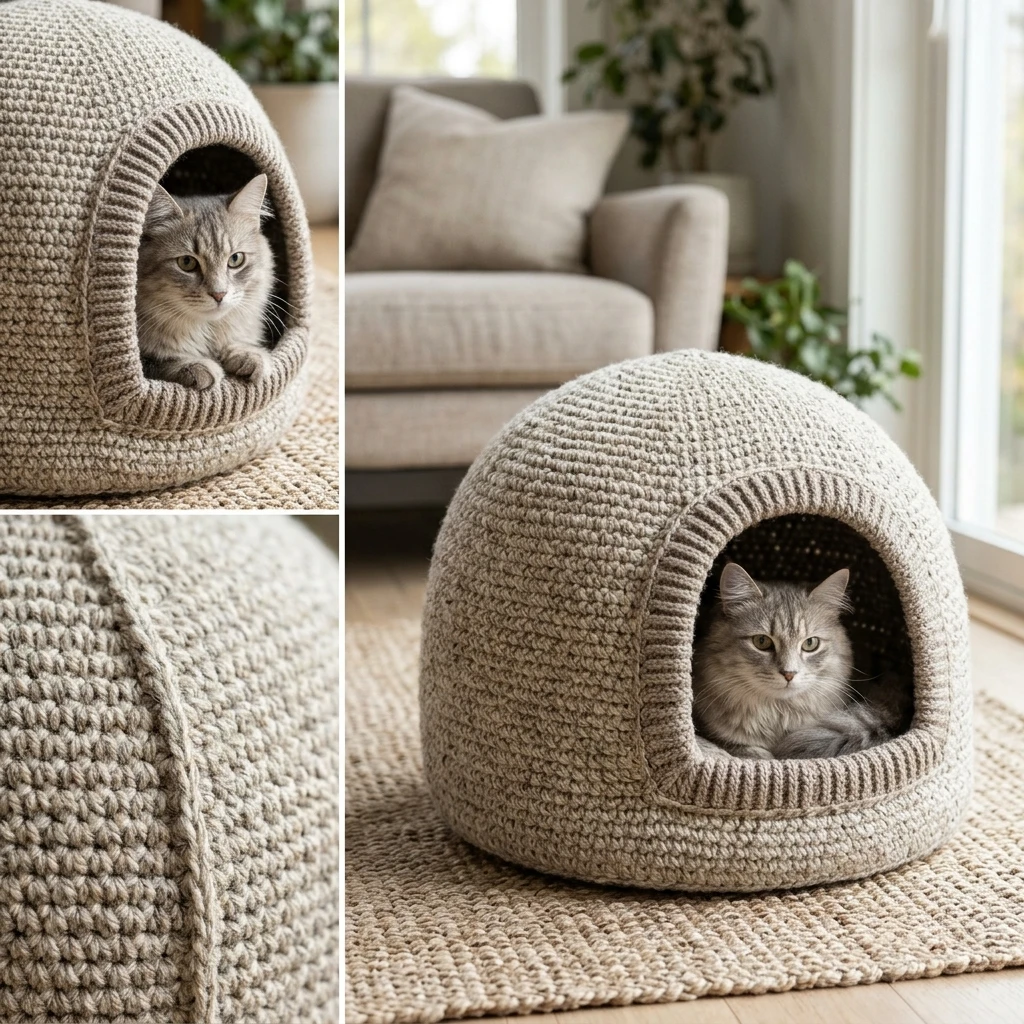
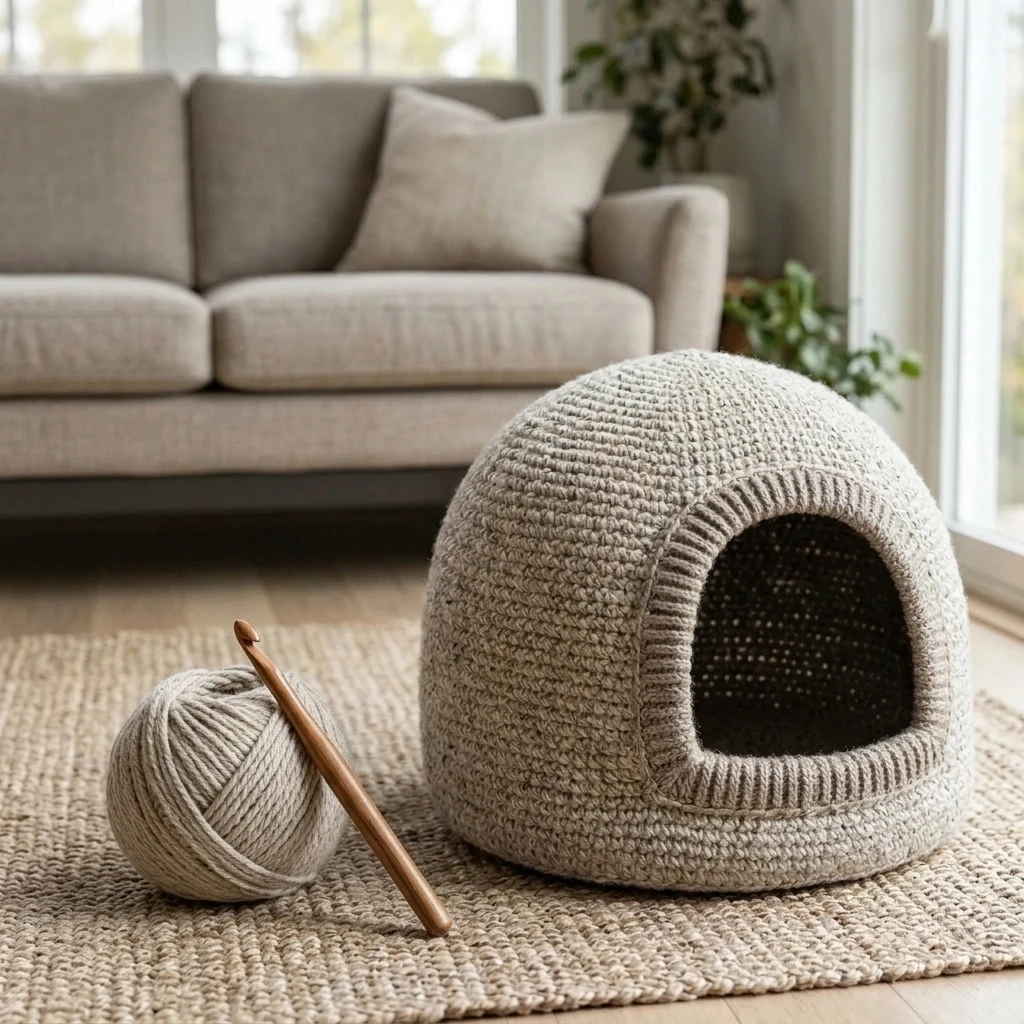
Every cat owner knows that felines crave a sense of security and warmth, and there is no better way to provide that than with a custom, handmade sanctuary. This Free Crochet Cat Cave is designed as a sculptural, modern pod that serves as both a cozy hideaway and a stylish piece of home decor. Unlike flimsy store-bought beds, this project utilizes dense, heavy-weight stitches to create a self-supporting structure that won’t collapse under its own weight. It is the perfect weekend project for intermediate crocheters looking to combine utility with high-end aesthetic appeal.
The Design: What Makes This Pattern Different
The primary challenge with most crochet cat caves is structural integrity. To solve this, this design focuses on a tight gauge and a “solid wall” construction technique. We utilize a slightly smaller hook than the yarn weight usually suggests to ensure the fabric remains stiff and upright. Visually, the cave features a clean, circular base and a tapered roof with a wide, inviting portal. A common mistake to avoid is using a soft, acrylic roving without a core; while it looks beautiful in the skein, it often lacks the tensile strength to remain a “cave” and instead turns into a “pancake” over time. Opt for t-shirt yarn, bulky cotton, or a wool-blend with a nylon core for the best results.
Project Info at a Glance
| Feature | Details |
|---|---|
| Skill Level | Intermediate |
| Estimated Time | 6 – 8 Hours |
| Finished Size | Approx. 16″ Diameter, 12″ Height |
| Hook Size | 8.0 mm (US L/11) or 9.0 mm (US M/13) |
| Yarn Weight | Super Bulky (Category 6) or T-Shirt Yarn |
| Gauge | 8 sc x 9 rows = 4 inches (suggested) |
| Best For | Average-sized indoor cats (up to 12 lbs) |
Materials and Tools
Yarn
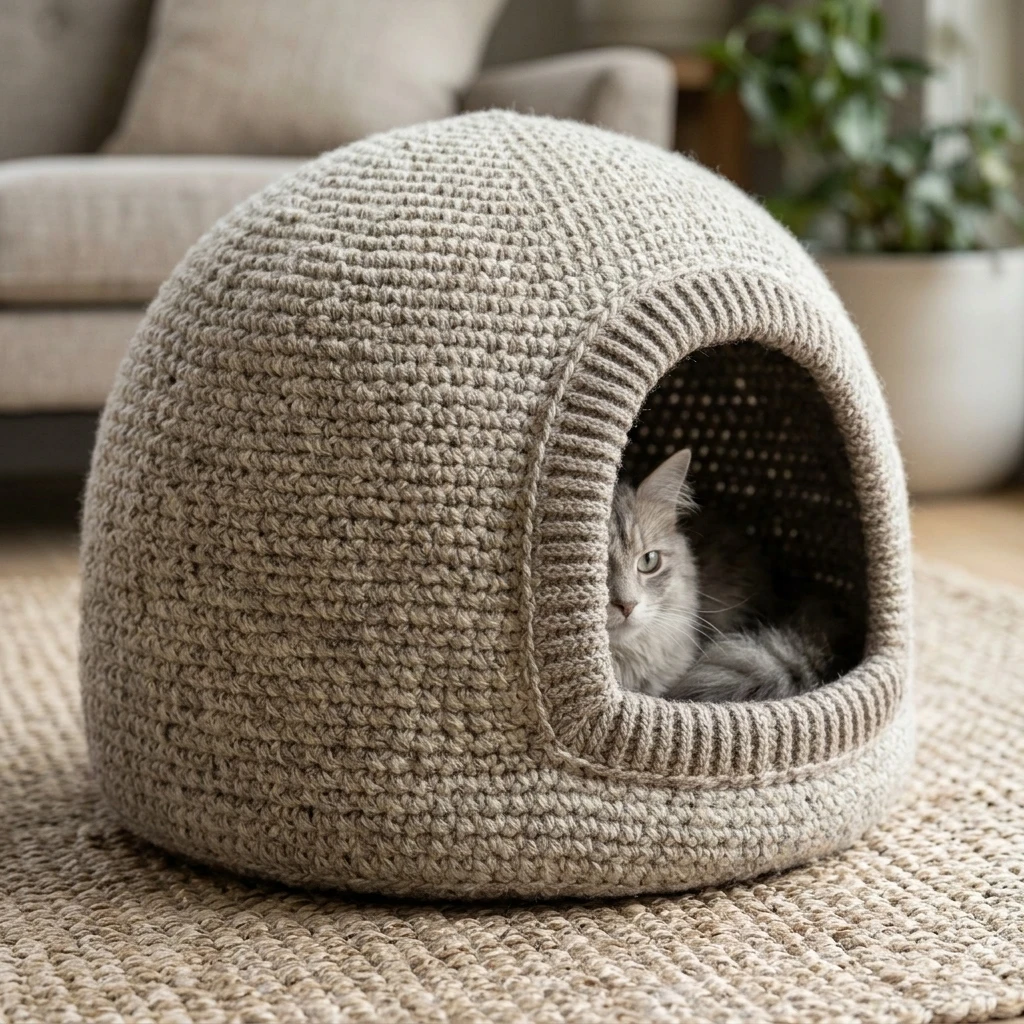
To achieve the architectural shape shown in the photo-inspired model, you will need approximately 450 to 550 yards of Super Bulky yarn. T-shirt yarn (made from recycled cotton jersey) is highly recommended for its stiffness. If using a standard wool bulky yarn, consider holding two strands together to ensure the walls can support the roof structure.
Tools
You will need a large crochet hook (8mm or 9mm depending on your tension), a sturdy metal tapestry needle for weaving in thick ends, and a handful of locking stitch markers. Stitch markers are essential here as the project is worked in a continuous spiral to avoid unsightly seams.
Abbreviations
Pattern — Step by Step
Phase 1: The Structural Base
The base is worked as a flat circle in continuous rounds. Use a stitch marker to track the start of each round.
- Rnd 1: Make a magic ring, 6 sc into ring. (6)
- Rnd 2: 2 sc in each st around. (12)
- Rnd 3: *1 sc, inc* repeat around. (18)
- Rnd 4: *2 sc, inc* repeat around. (24)
- Rnd 5-12: Continue increasing by 6 stitches per round until the base measures approximately 14-16 inches in diameter. Your final increase round might be *10 sc, inc*.
Phase 2: The Vertical Walls
We will now stop increasing to create the “bowl” shape. For a sharper transition, work the first wall round in the back loops only.
- Rnd 13: Sc in blo of each st around.
- Rnd 14-22: Sc in both loops of each st around. Work until the walls reach about 5 inches in height from the base transition.
Phase 3: The Entrance Portal
To create the opening, we will work back and forth in rows for a short section before rejoining.
- Row 23: Ch 1, turn. Sc in next 45 sts (leaving the remaining sts unworked to create the opening).
- Row 24-28: Repeat Row 23, maintaining the width of the opening.
- Rnd 29: Ch 10 (to span the gap of the opening), join to the other side with a sc. Sc around the entire top, including the chain.
Phase 4: The Tapered Roof
- Rnd 30: *10 sc, dec* repeat around.
- Rnd 31-35: Continue decreasing by 6 stitches each round until only a small hole remains. Fasten off, leaving a long tail.
Assembly
Because this cat cave is worked primarily in one piece, the assembly focuses on reinforcement and finishing the entrance to ensure it doesn’t sag over time.
- Thread your tapestry needle with a long strand of the project yarn.
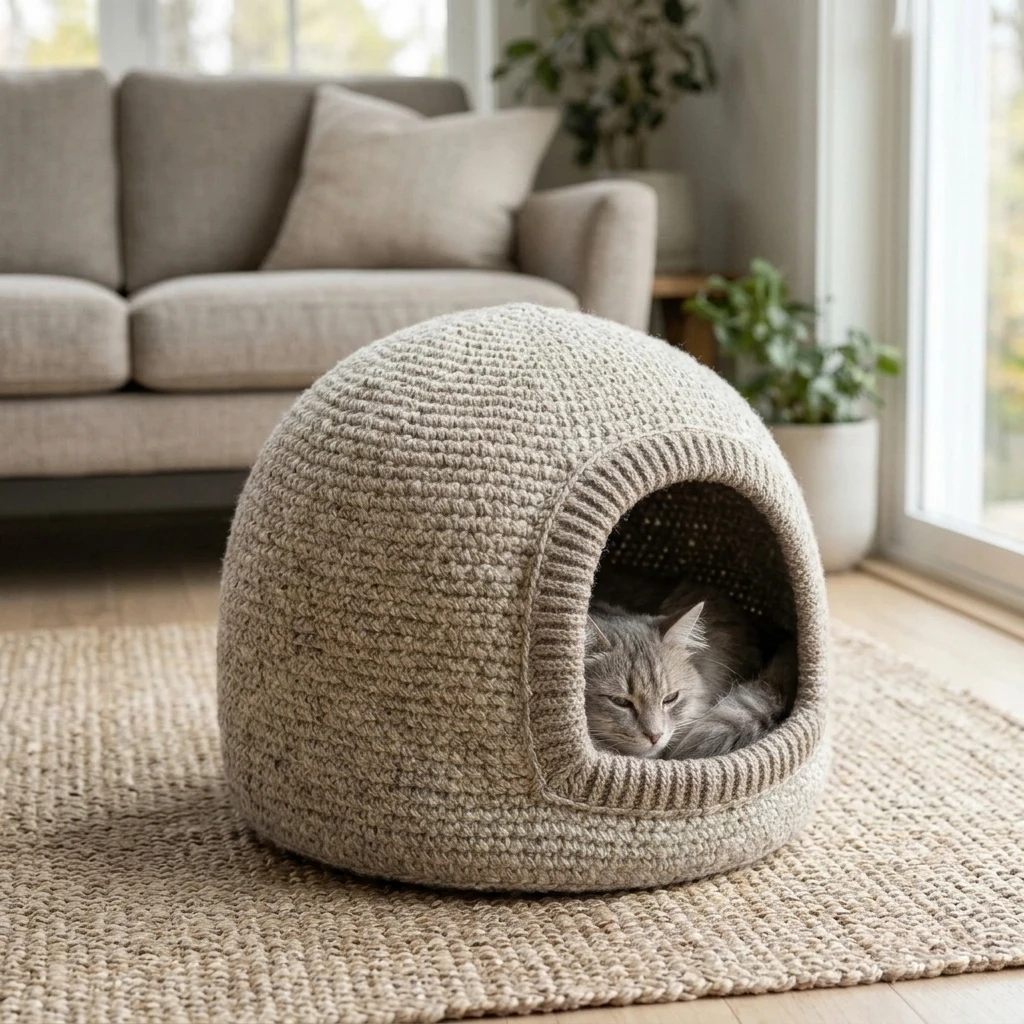
- Using a whip stitch or a surface slip stitch, go around the edge of the “portal” or entrance. This provides a finished look and adds a “rim” of stability to the opening.
- Cinch the final 6 stitches at the very top of the roof together and weave the end in on the inside of the cave.
- Steam block the cave by stuffing it with towels to its full shape and applying steam. Let it dry completely before allowing your cat to enter.
7 Technical Tips for a Better Free Crochet Cat Cave
- Check Your Tension: If your stitches feel “floppy,” drop down a hook size. The fabric should be dense enough that you can’t easily see through the gaps.
- Yarn Selection: Avoid 100% acrylic if possible; it tends to stretch. A cotton-blend or feltable wool will provide much better vertical support.
- The “Invisible” Decrease: When working the roof, use the invisible decrease method (working in the front loops only) to prevent holes in the taper.
- Reinforce the Entrance: If the roof above the door sags, crochet a separate “cord” or use a piece of plastic boning inside the rim of the opening.
- Cleaning Considerations: Since cats shed, choose a yarn that is machine washable or easy to vacuum. Cotton t-shirt yarn is excellent for durability.
- Internal Support: For very large cats, you can crochet around a hula hoop or a thick wire at the base transition for extra grounding.
- Sizing Up: To make a larger cave, simply add more increase rounds to the base before starting the walls.
Frequently Asked Questions
What is the best yarn for a cat cave?
T-shirt yarn or a bulky cotton cord is the gold standard. These yarns are heavy, stiff, and washable, which ensures the cave holds its “igloo” shape even after being jumped on.
Can I make this for a large cat?
Yes. Simply continue the base increase pattern until the diameter is 18-20 inches. Ensure you also increase the height of the walls and the width of the opening accordingly.
My cat cave keeps collapsing, how do I fix it?
Collapsing is usually caused by loose tension or yarn that is too soft. You can try “felting” the project if you used 100% wool, or insert a flexible plastic hoop into the rounds near the opening to provide a frame.
Is this pattern worked in rows or rounds?
It uses a combination of both. The base and walls are worked in rounds, but the entrance portal is worked in rows to create the vertical gap, before returning to rounds for the roof.
How do I clean the crochet cat cave?
If you used t-shirt yarn or cotton, you can usually machine wash on a cold, delicate cycle and air dry. Always reshape the cave while it is damp to ensure it dries in the correct position.
Conclusion
Creating a Free Crochet Cat Cave is a rewarding way to use bulky yarns while providing your pet with a high-quality, durable retreat. By focusing on tight tension and structural yarn choices, you can create a piece of pet furniture that rivals high-end boutique versions. If you enjoyed this tutorial, be sure to save it to your “Crochet for Pets” board on Pinterest so you can find it later! What color yarn will you choose to match your home decor?
Save This Crochet Pattern