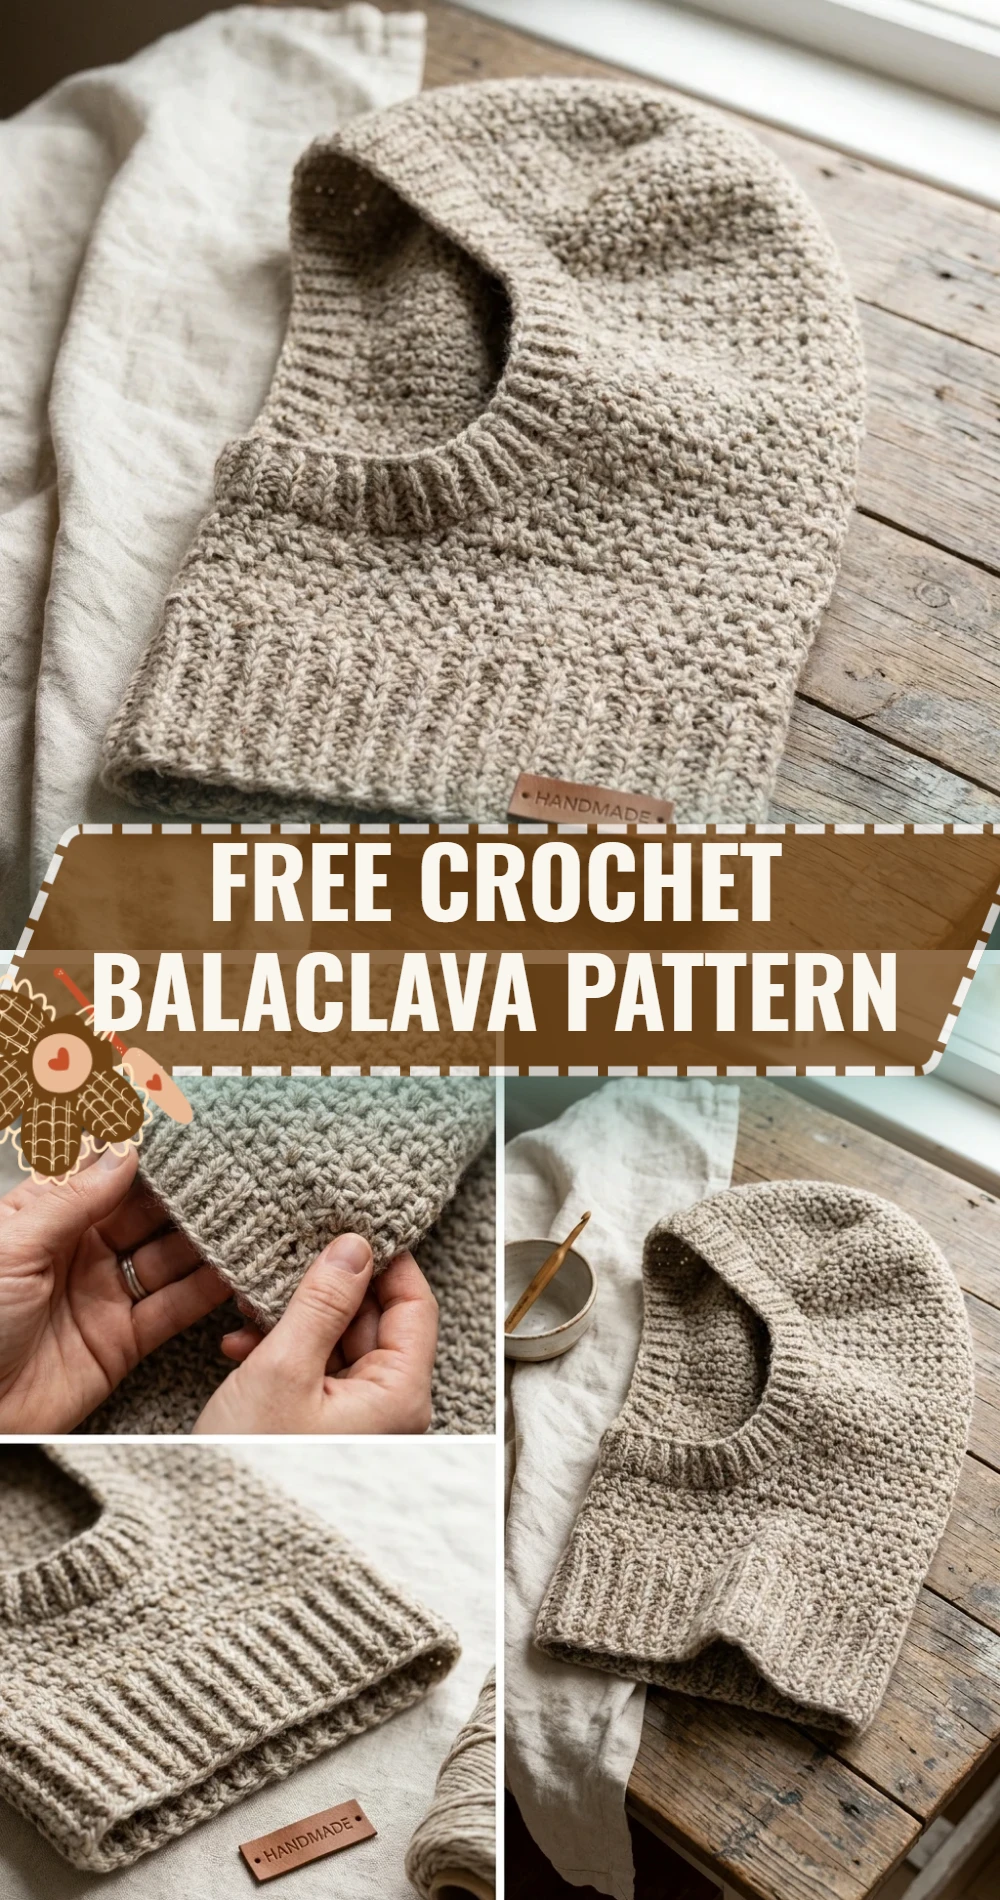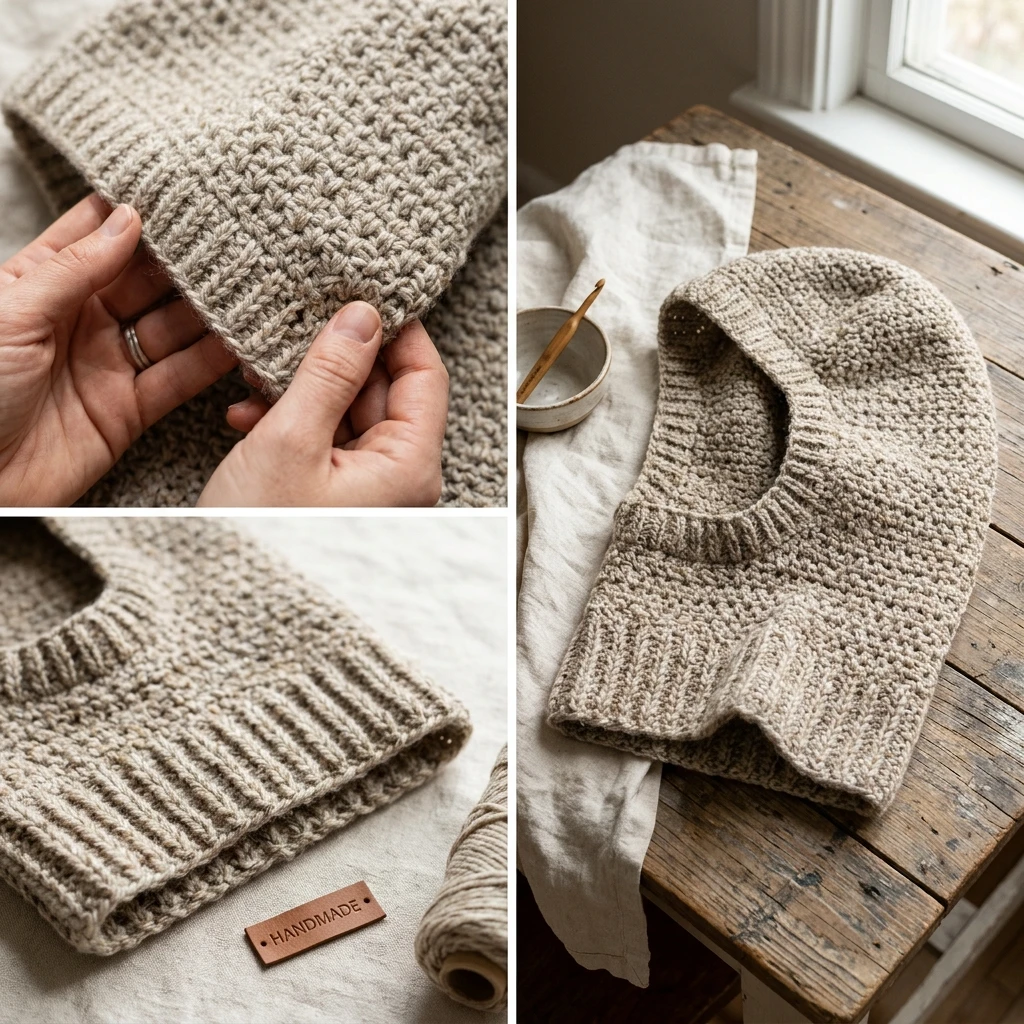
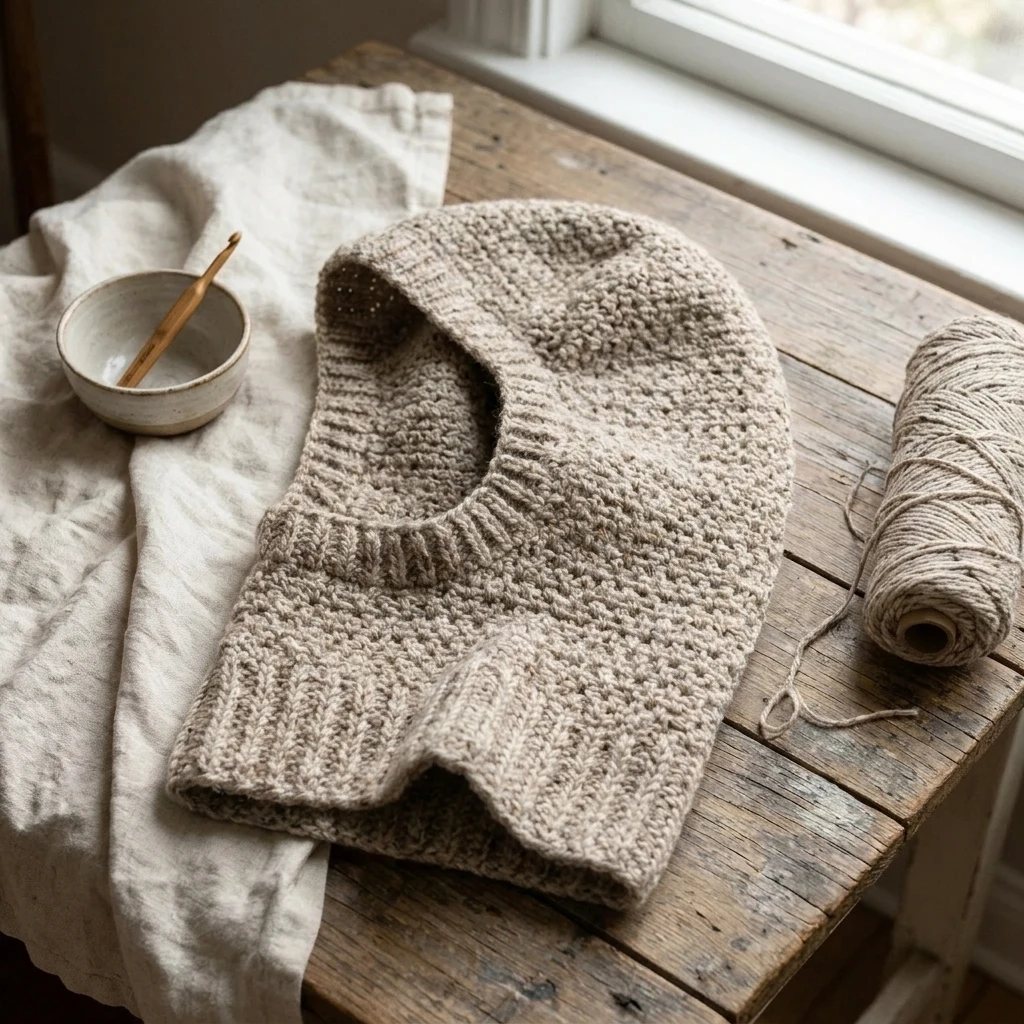
This free crochet balaclava pattern offers the perfect blend of modern streetwear aesthetics and functional winter warmth. Designed with a sleek, ribbed texture that provides both stretch and structure, this accessory is ideal for anyone looking to brave the elements in style—from morning commutes to weekend ski trips. The project is constructed using a clever combination of vertical ribbing and strategic shaping, ensuring a snug fit that covers the neck and head without being overly restrictive. Whether you are crafting this for a minimalist wardrobe or as a rugged outdoor essential, the finished piece boasts a high-end look that belies its simple construction.
The Design: What Makes This Pattern Different
What sets this balaclava apart from standard crochet headwear is the use of Half Double Crochet (HDC) worked in the back loops only. This creates a knit-look ribbing that is significantly more elastic than standard crochet stitches, allowing the mask to contour to the face while maintaining its shape over time. Structurally, we utilize a side-to-side construction method which allows for easy adjustments to the height and circumference of the head.
One common mistake to avoid is working the face opening too tightly. Many crocheters forget that the face opening needs to accommodate various facial movements; if the foundation chain for the eye gap is too short or tight, it will pull the entire mask upward and create discomfort around the nose. We solve this by incorporating a flexible chain-and-skip method that mirrors the tension of the surrounding ribbing.
Project Info at a Glance
| Feature | Details |
|---|---|
| Skill Level | Intermediate (familiarity with ribbing and shaping) |
| Estimated Time | 4 – 6 Hours |
| Finished Size | Adult Medium (Approx. 21-23″ head circumference) |
| Hook Size | 5.0mm (US H-8) |
| Yarn Weight | Worsted (Weight 4) |
| Gauge | 16 sts x 10 rows = 4″ in HDC BLO (Suggested) |
| Best For | Winter sports, hiking, and urban cold-weather fashion |
Materials and Tools
Yarn
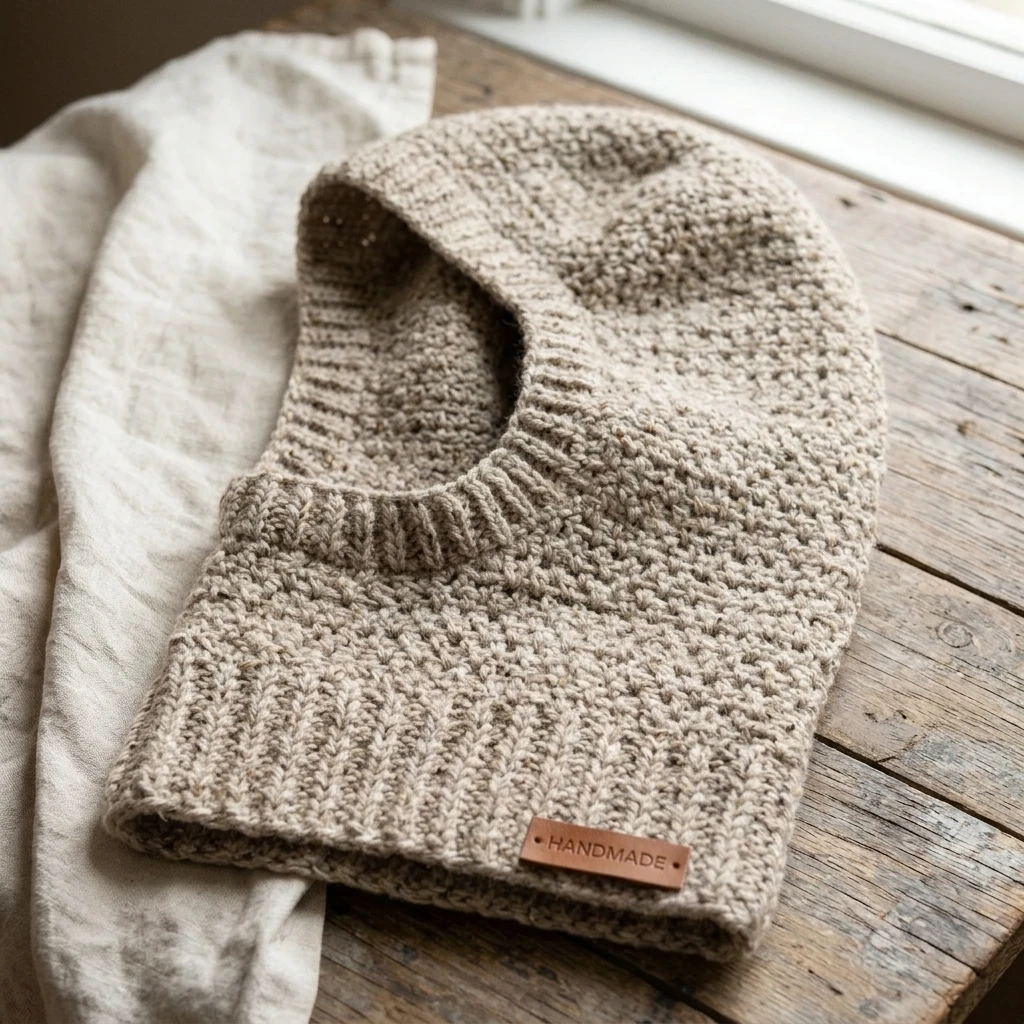
For this project, we suggest approximately 250 to 300 yards of a worsted weight wool blend or a high-quality acrylic. A wool-nylon blend is particularly effective for balaclavas as it offers natural warmth and excellent “memory,” meaning the piece won’t sag after a few wears.
Tools
You will need a 5.0mm crochet hook to achieve the desired drape. Additionally, keep a tapestry needle handy for seaming the crown and weaving in ends. Stitch markers are highly recommended to track the placement of the face opening.
Abbreviations
Pattern — Step by Step
Construction Overview
The balaclava is worked in one large piece using vertical rows. We begin by creating the side of the head, then we split the work to create the face opening, and finally, we continue the ribbing for the other side. Once the flat piece is finished, it is seamed at the back and gathered at the top to form the crown.
Section 1: The First Side
- Foundation: Ch 51. (This determines the height from the top of the head to the base of the neck).
- Row 1: Hdc in 2nd ch from hook and in each ch across. Ch 1, turn. (50 sts)
- Row 2: Hdc in BLO in each st across. Ch 1, turn. (50 sts)
- Rows 3-20: Repeat Row 2 until the piece measures approximately 5 inches in width (unstretched). This covers the side of the head from the back to the corner of the eye.
Section 2: The Face Opening
- Row 21 (Lower Face): Hdc BLO in the first 15 sts (neck area). Ch 20 (this creates the eye gap), skip 20 sts, then Hdc BLO in the remaining 15 sts (top of head). Ch 1, turn.
- Row 22: Hdc BLO in the first 15 sts, hdc in each of the 20 chs, hdc BLO in the last 15 sts. Ch 1, turn. (50 sts)
Section 3: The Second Side
- Row 23: Hdc BLO in each st across. Ch 1, turn.
- Rows 24-42: Repeat Row 23 until the second side matches the width of the first side. Fasten off, leaving a long tail for seaming (approx. 20 inches).
Assembly
The assembly process transforms your flat ribbed rectangle into a functional 3D head covering. Focus on maintaining even tension during the seaming process to avoid creating a bulky ridge at the back of the head.
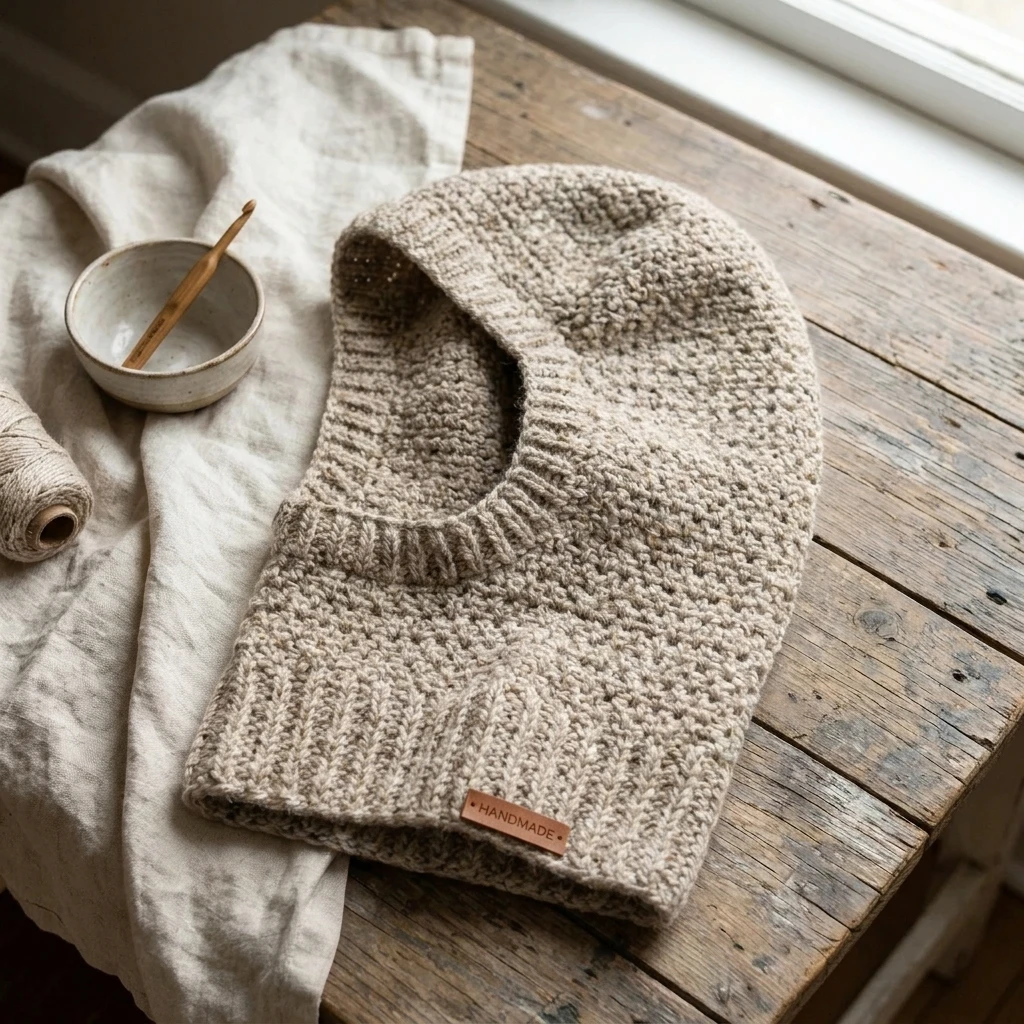
- Back Seam: Fold the rectangle in half so that Row 1 and Row 42 meet. Using your tapestry needle and the long yarn tail, whipstitch or slip stitch the two edges together from the neck edge up toward the top.
- Closing the Crown: Once you reach the top, do not fasten off. Weave the yarn tail in and out of the ends of the ribbed rows around the top opening.
- Cinched Finish: Pull the yarn tail tightly to gather the top of the balaclava into a circle. Secure with several firm stitches across the center of the gather to close any remaining hole.
- Finishing: Turn the balaclava right side out. Weave in all remaining ends securely on the inside of the garment.
7 Technical Tips for a Better Free Crochet Balaclava Pattern
- Swatch for Stretch: Ribbing is very deceptive. Ensure your gauge is measured when the fabric is slightly stretched, otherwise, the mask may be too loose after an hour of wear.
- Softness Matters: Since this sits against the face and neck, choose a yarn with high softness. Merino wool or bamboo blends are excellent choices to prevent itching.
- Consistent BLO: Ensure you are catching only the back loop every single time. Accidentally going through both loops will break the “ribbed” look and reduce elasticity.
- Adjusting the Opening: If you find the 20-stitch gap is too wide for your face, reduce the chain count and increase the surrounding HDC counts symmetrically.
- Reinforce the Corners: When working the rows immediately following the face opening, add a small reinforcement stitch at the corners of the eye gap to prevent holes.
- Steam Blocking: Lightly steam block the finished piece. This relaxes the stitches and helps the ribbing lay flat against the skin.
- Tension Control: Keep your slip stitches loose when seaming the back. If the seam is too tight, it will create an uncomfortable vertical line that doesn’t stretch with the rest of the mask.
Frequently Asked Questions
What is the best yarn for a balaclava?
A worsted weight wool or wool-acrylic blend is best. Avoid 100% cotton as it lacks the elasticity needed for the ribbing to snap back into shape.
How do I make this smaller for a child?
Decrease the initial chain count to reduce the height, and work fewer rows before and after the face opening to reduce the circumference.
Can I use a different stitch?
You can use Single Crochet BLO or Slip Stitch BLO, but these will take much longer to grow. HDC BLO provides the best balance of speed and texture.
Will this balaclava fog up my glasses?
Most handmade balaclavas allow some breath through the stitches, but you can widen the face opening slightly to allow more airflow around the nose if fogging occurs.
Is this pattern beginner-friendly?
Yes, as long as you are comfortable with identifying the back loop of a stitch and working a foundation chain mid-row for the face opening.
Conclusion
This free crochet balaclava pattern is an essential addition to your winter accessory collection, combining utility with a sleek, ribbed design. By mastering the vertical construction and face-opening shaping, you have created a piece that is as warm as it is durable. If you enjoyed making this, save this project to your Crochet Accessories board on Pinterest so you can find it for your next gift-making session. What color yarn will you choose for your first balaclava—classic charcoal or a bold neon?
Save This Crochet Pattern