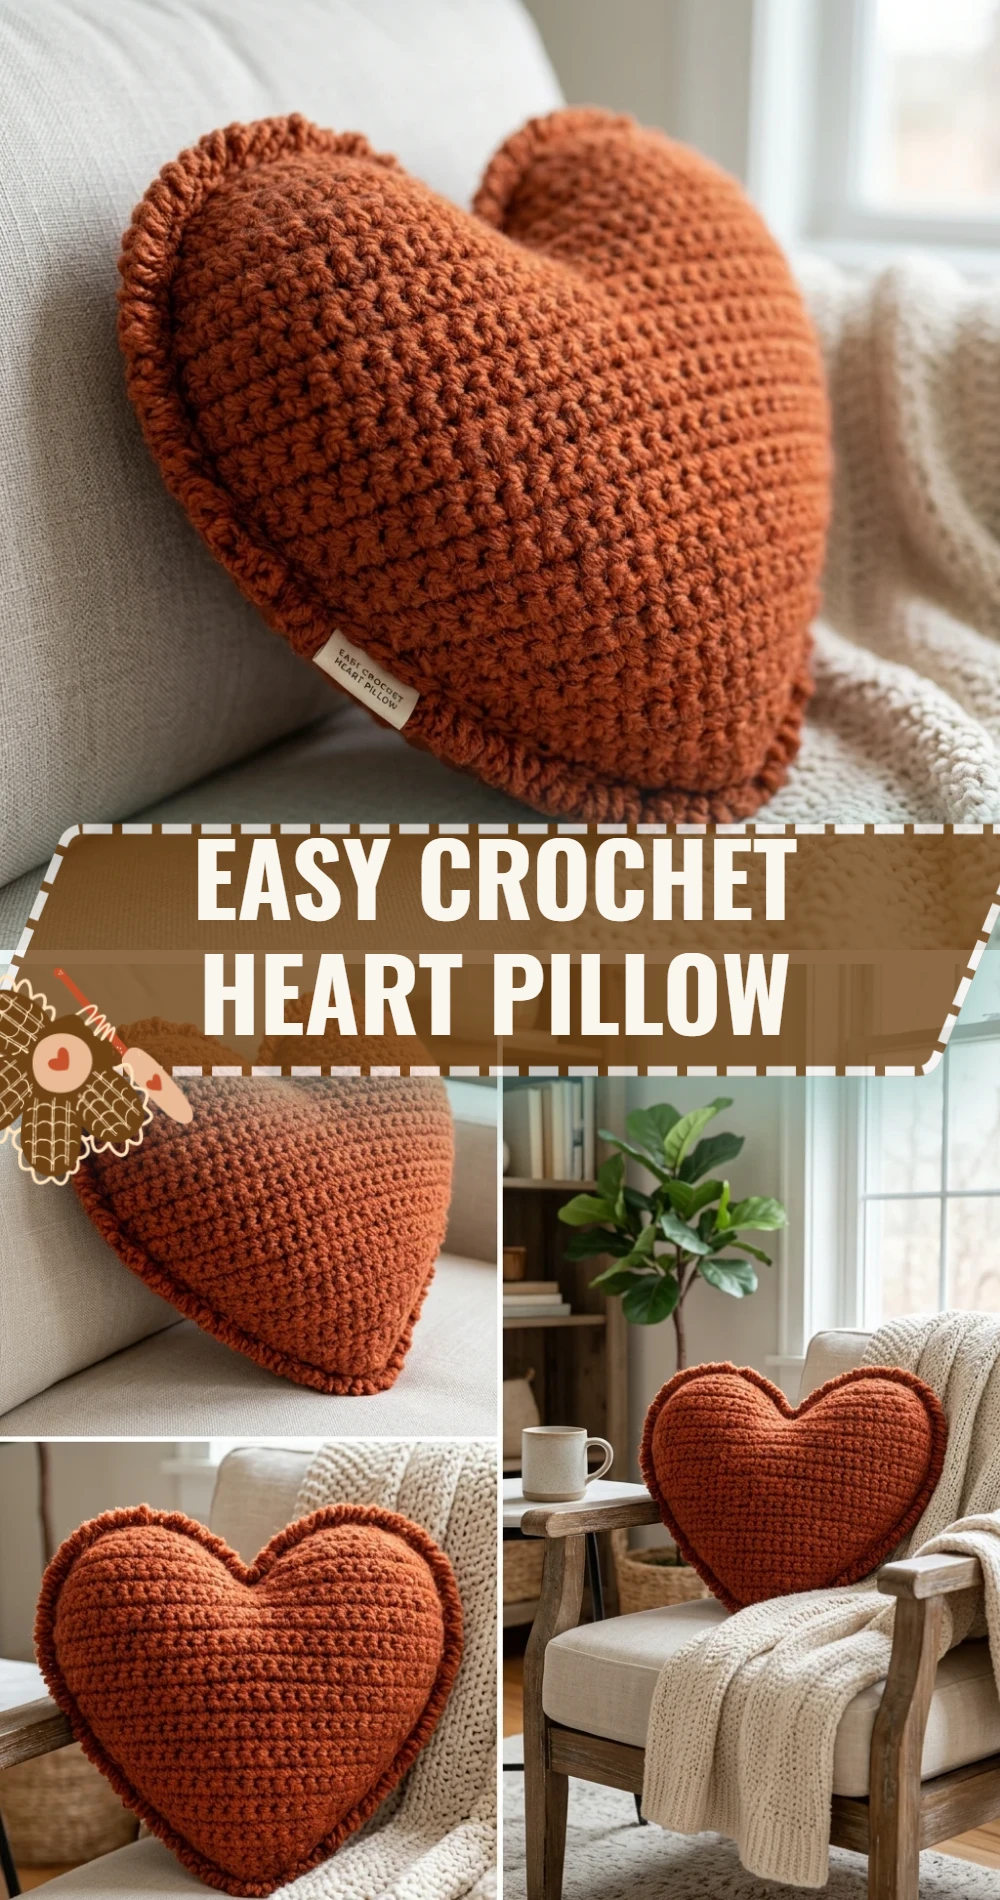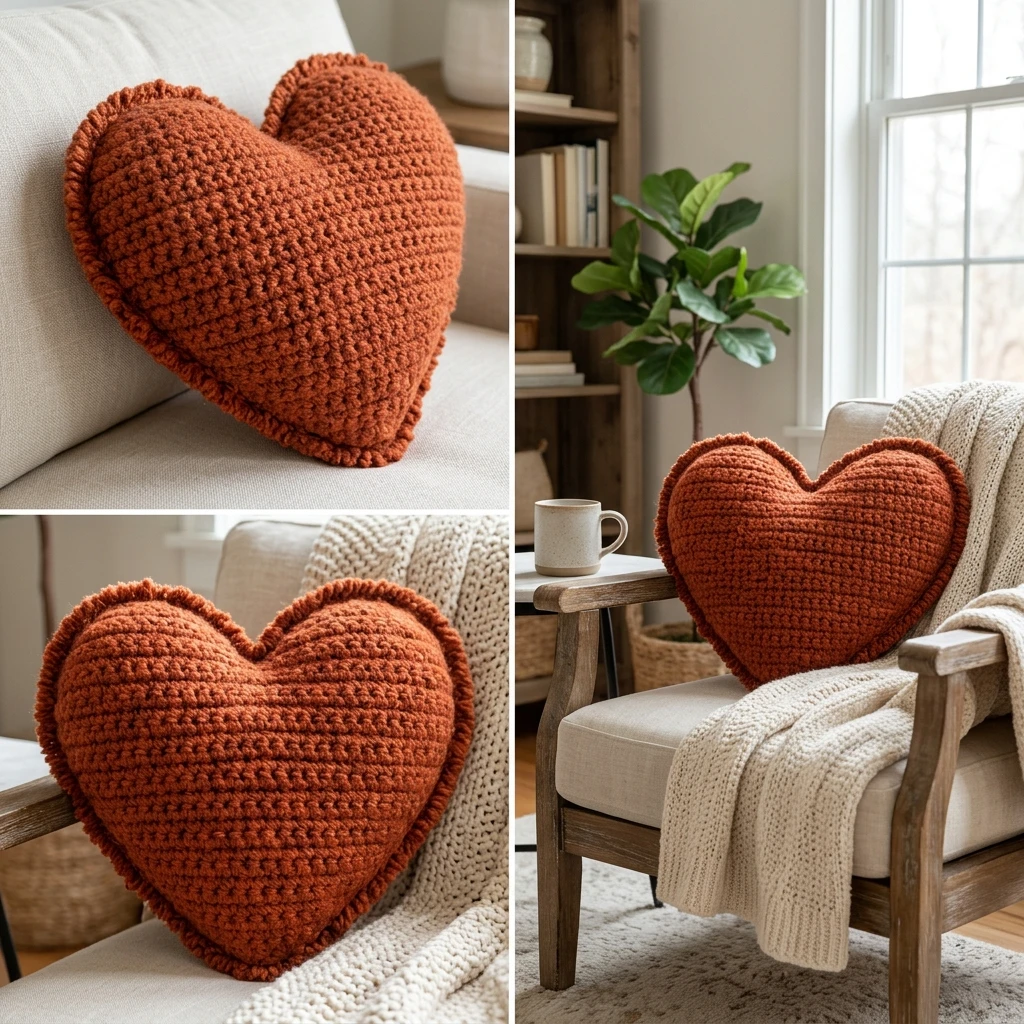
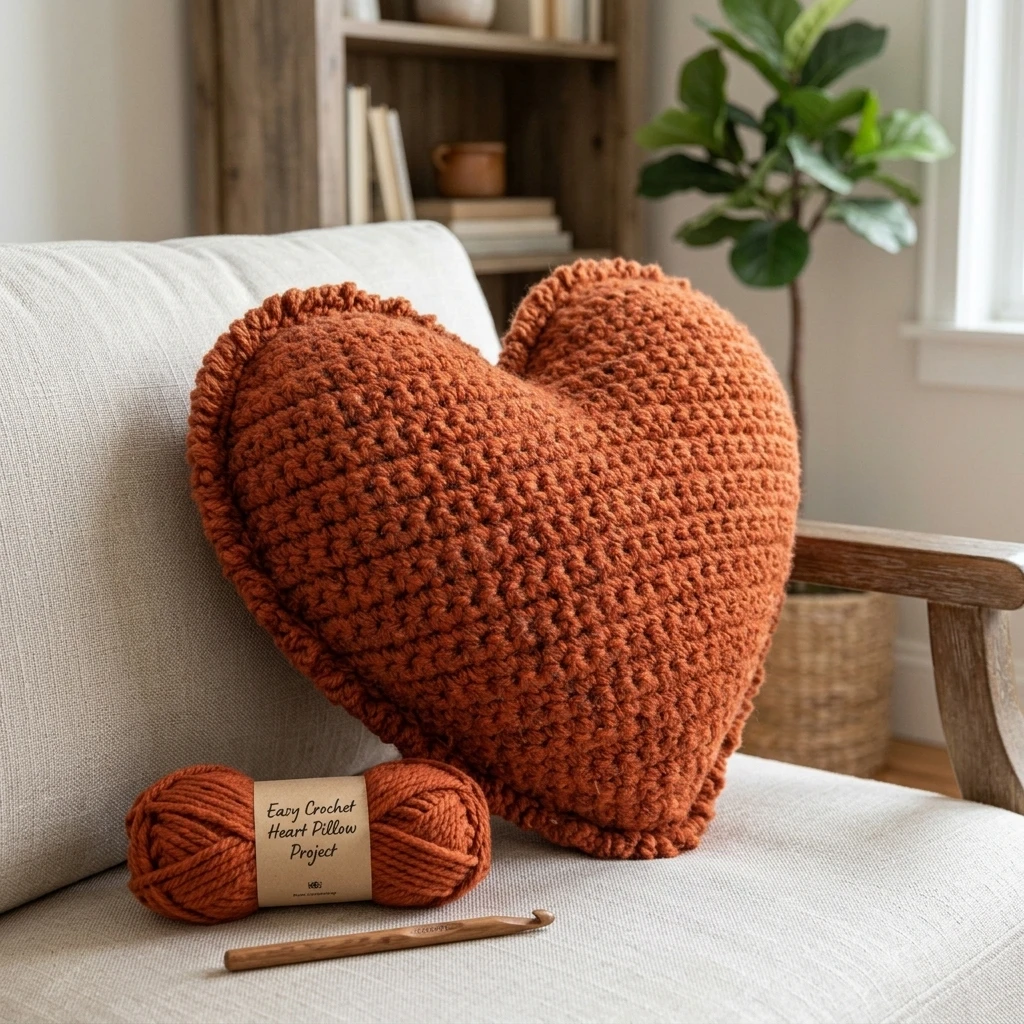
Add a touch of handmade warmth to your living space with this cozy, Easy Crochet Heart Pillow. This project transforms simple stitches into a plush, oversized decorative accent that is perfect for Valentine’s Day, nursery decor, or a thoughtful personalized gift. Designed with beginner-friendly techniques, the construction focuses on creating a soft, rounded silhouette using basic increases and decreases. Whether worked in a velvet yarn for a luxurious sheen or a chunky wool blend for a rustic vibe, this heart pillow serves as a statement piece that invites comfort and style into any room.
The Design: What Makes This Pattern Different
The visual appeal of this Easy Crochet Heart Pillow lies in its seamless transitions and symmetrical curves. Unlike many heart patterns that can result in a “boxy” or “jagged” edge, this design utilizes specific placement of decreases to ensure a smooth, organic taper toward the bottom point. We have opted for a “top-down” construction worked in continuous rounds, which minimizes seaming and allows you to adjust the size of the pillow as you go. One common mistake to avoid is inconsistent tension during the “join” of the two top humps; if the tension is too loose at the center junction, you may find small holes where the stuffing can peek through. Ensuring a tight join here is the secret to a professional finish.
Project Info at a Glance
| Skill Level | Easy / Advanced Beginner |
|---|---|
| Estimated Time | 3 to 5 hours |
| Finished Size | Approximately 14″ wide x 12″ tall (Photo-inspired) |
| Hook Size | 6.0 mm (J-10) or size needed for gauge |
| Yarn Weight | Super Bulky (Weight 6) |
| Gauge | 9 sts x 10 rows = 4″ in sc (Suggested) |
| Best For | Home Decor, Gifts, and Nursery Accents |
Materials and Tools
Yarn
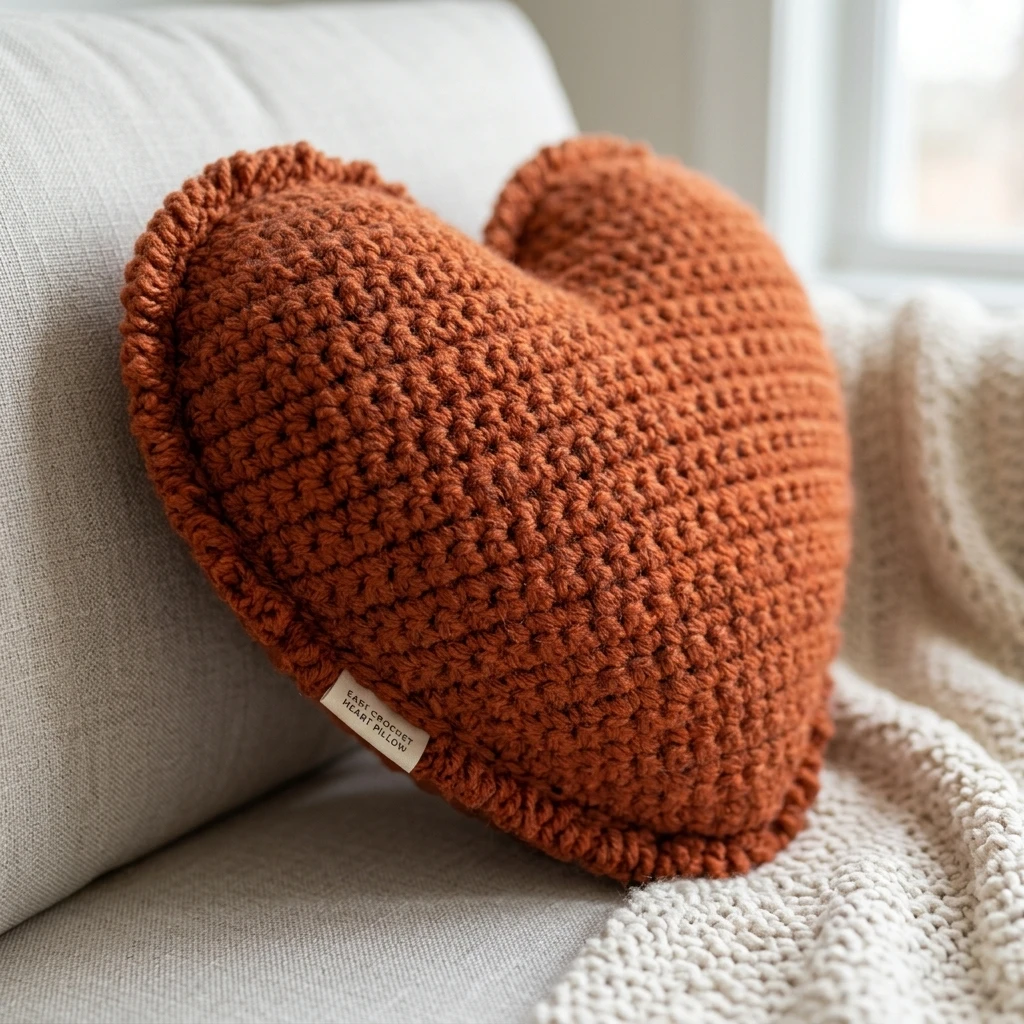
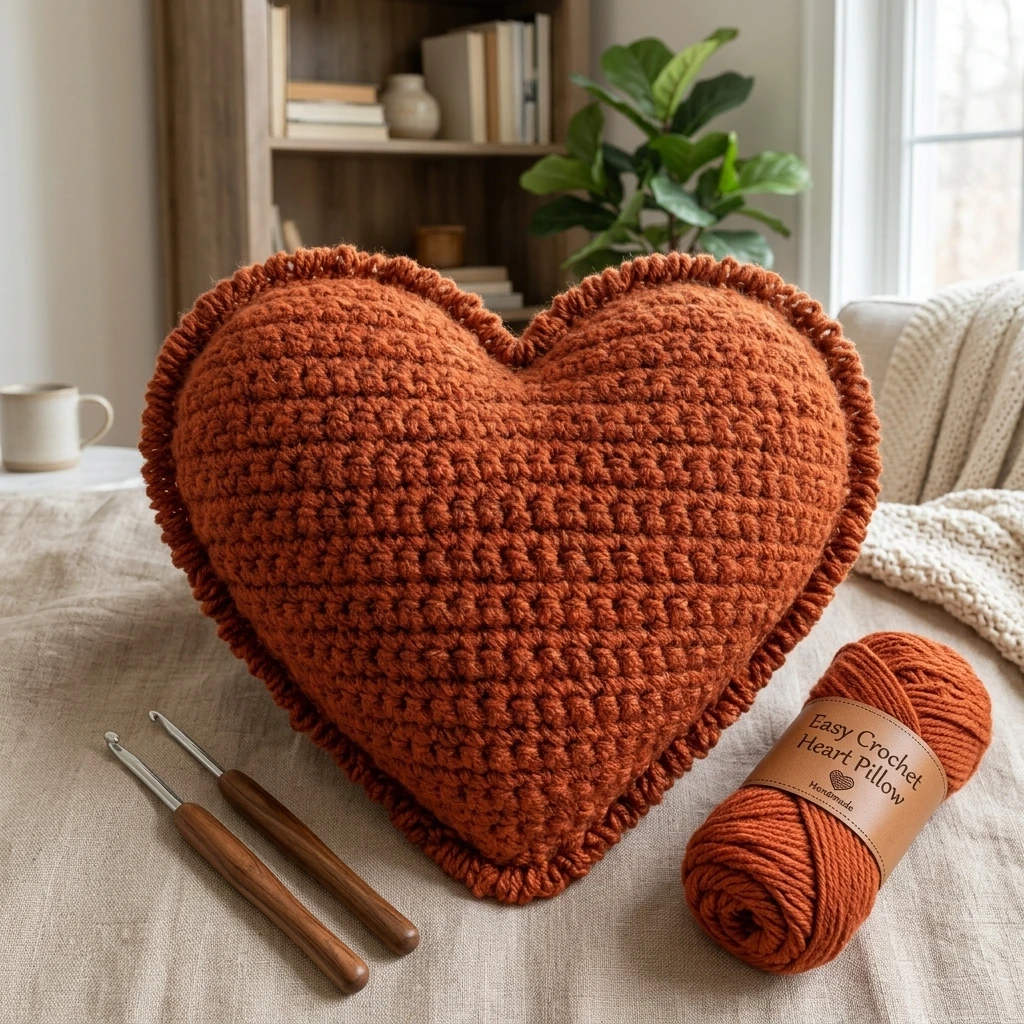
To achieve the plush look shown in the tutorial, we suggest using a Chenille or Velvet-style yarn. These yarns are forgiving and hide stitch transitions beautifully. You will need approximately 150-180 yards of Super Bulky weight yarn. If you prefer a smaller, firmer pillow, you can substitute for a worsted weight yarn held double, though this will alter the final dimensions.
Tools
- 6.0 mm crochet hook (or hook appropriate for your yarn choice)
- Large-eye tapestry needle for weaving in ends
- High-quality polyester fiberfill stuffing (approximately 12-16 oz)
- Stitch markers (essential for working in continuous rounds)
- Sharp scissors
Abbreviations
- ch: chain
- sc: single crochet
- st(s): stitch(es)
- inc: increase (2 sc in the same stitch)
- dec: decrease (sc2tog or invisible decrease)
- sl st: slip stitch
- Rnd: round
Pattern — Step by Step
Part 1: The Two Heart Humps
The heart begins by making two identical circular “cups” that will form the rounded top of the heart. You will finish the first one completely and leave the second one attached to your yarn to continue the project.
- Rnd 1: Create a magic ring, work 6 sc into the ring. (6)
- Rnd 2: 2 sc in each st around. (12)
- Rnd 3: [1 sc, inc] repeat around. (18)
- Rnd 4: [2 sc, inc] repeat around. (24)
- Rnd 5: [3 sc, inc] repeat around. (30)
- Rnd 6: [4 sc, inc] repeat around. (36)
- Rnd 7-9: sc in each st around. (36)
- Fasten off the first hump. Repeat Rnds 1-9 for the second hump, but do not fasten off.
Part 2: Joining the Humps
Now we will connect the two humps to create the wide top of the heart before working down toward the point.
- Rnd 10: Insert hook into any stitch of the first hump and work a sc. This counts as the first stitch of the new round. sc in the remaining 35 sts of the first hump, then sc in all 36 sts of the second hump. (72)
- Rnd 11: sc in each st around. (72)
Part 3: The Body and Point
From here, we will decrease at the sides and the center to create the heart’s signature shape.
- Rnd 12: [7 sc, dec] repeat around. (Note: Adjust counts slightly if needed to ensure 4 decreases are placed evenly: one at each side and one at the front and back center).
- Rnd 13-15: sc in each st around.
- Rnd 16: [6 sc, dec] repeat around.
- Rnd 17: sc in each st around.
- Rnd 18: [5 sc, dec] repeat around.
- Rnd 19: [4 sc, dec] repeat around. Begin stuffing the humps firmly.
- Rnd 20-24: Continue decreasing every round by reducing the number of sc between decreases until you have 6-8 stitches left.
Assembly
The assembly for this pillow is minimal since it is worked in one piece. The primary goal is ensuring the transition between the two humps is closed and the stuffing is distributed evenly.
- Use the tail from your first hump to sew the small gap that often forms at the “V” where the two circles meet.
- Stuff the pillow firmly, ensuring the top “humps” are rounded and the bottom point is not over-stretched.
- For the final round, cut the yarn leaving a 10-inch tail. Use a tapestry needle to weave the tail through the front loops of the remaining stitches.
- Pull tight to close the bottom point, secure with a knot, and hide the tail inside the pillow.
7 Technical Tips for a Better Easy Crochet Heart Pillow
- Use Invisible Decreases: When working the body, use the invisible decrease method (inserting into front loops only) to prevent gaps in the fabric.
- Stitch Markers are Vital: Because this is worked in a continuous spiral, it is very easy to lose your place. Mark the first stitch of every round.
- Don’t Under-Stuff: Crochet fabric stretches over time. Stuff the pillow slightly more than you think you need to maintain the heart shape.
- Check Your Gauge: If your stitches are too loose, the stuffing will show through. If this happens, drop down a hook size.
- Manage the Center Gap: When joining the two humps, work the first stitch of the join very tightly to minimize the hole between them.
- Yarn Selection: If using velvet yarn, be careful not to pull too hard when weaving in ends, as the “fuzz” can slide off the core thread (chenille shedding).
- Sizing Customization: To make a larger pillow, simply add more increase rounds to the humps (e.g., [5 sc, inc], [6 sc, inc]) before joining.
Frequently Asked Questions
What is the best stuffing for a crochet pillow?
High-loft polyester fiberfill is the standard choice. It is washable, hypoallergenic, and holds its shape well. For a more eco-friendly option, you can use shredded fabric scraps or wool roving.
Can I make this pillow with a different yarn weight?
Yes! You can use any yarn weight. Using a thinner yarn (like DK or Worsted) with a smaller hook will result in a smaller “mini” heart, while a jumbo yarn will create a floor-cushion size pillow.
How do I clean my crochet heart pillow?
If you used acrylic or cotton yarn, you can usually machine wash on a delicate cycle in a mesh bag. If you used velvet or wool, hand washing in cool water and air drying is recommended to prevent matting.
Why does my heart look lopsided?
Lopsidedness usually occurs if the increases or decreases are not aligned. Ensure your “humps” have the exact same stitch count before joining, and verify that your decreases are spaced evenly around the body.
How can I make the heart taller?
To make a “longer” heart, simply add more rounds of plain sc (without decreases) between your decrease rounds in the body section.
Conclusion
Creating your own Easy Crochet Heart Pillow is a rewarding project that combines simple techniques with high-impact results. By mastering the top-down construction and utilizing the invisible decrease, you can craft a professional-looking plushie that adds a pop of love to any corner of your home. Don’t forget to experiment with different textures and colors to match your personal style!
Save this pattern to your Crochet Home Decor board on Pinterest!
What color yarn are you planning to use for your first heart pillow—classic red or a modern pastel?
Save This Crochet Pattern