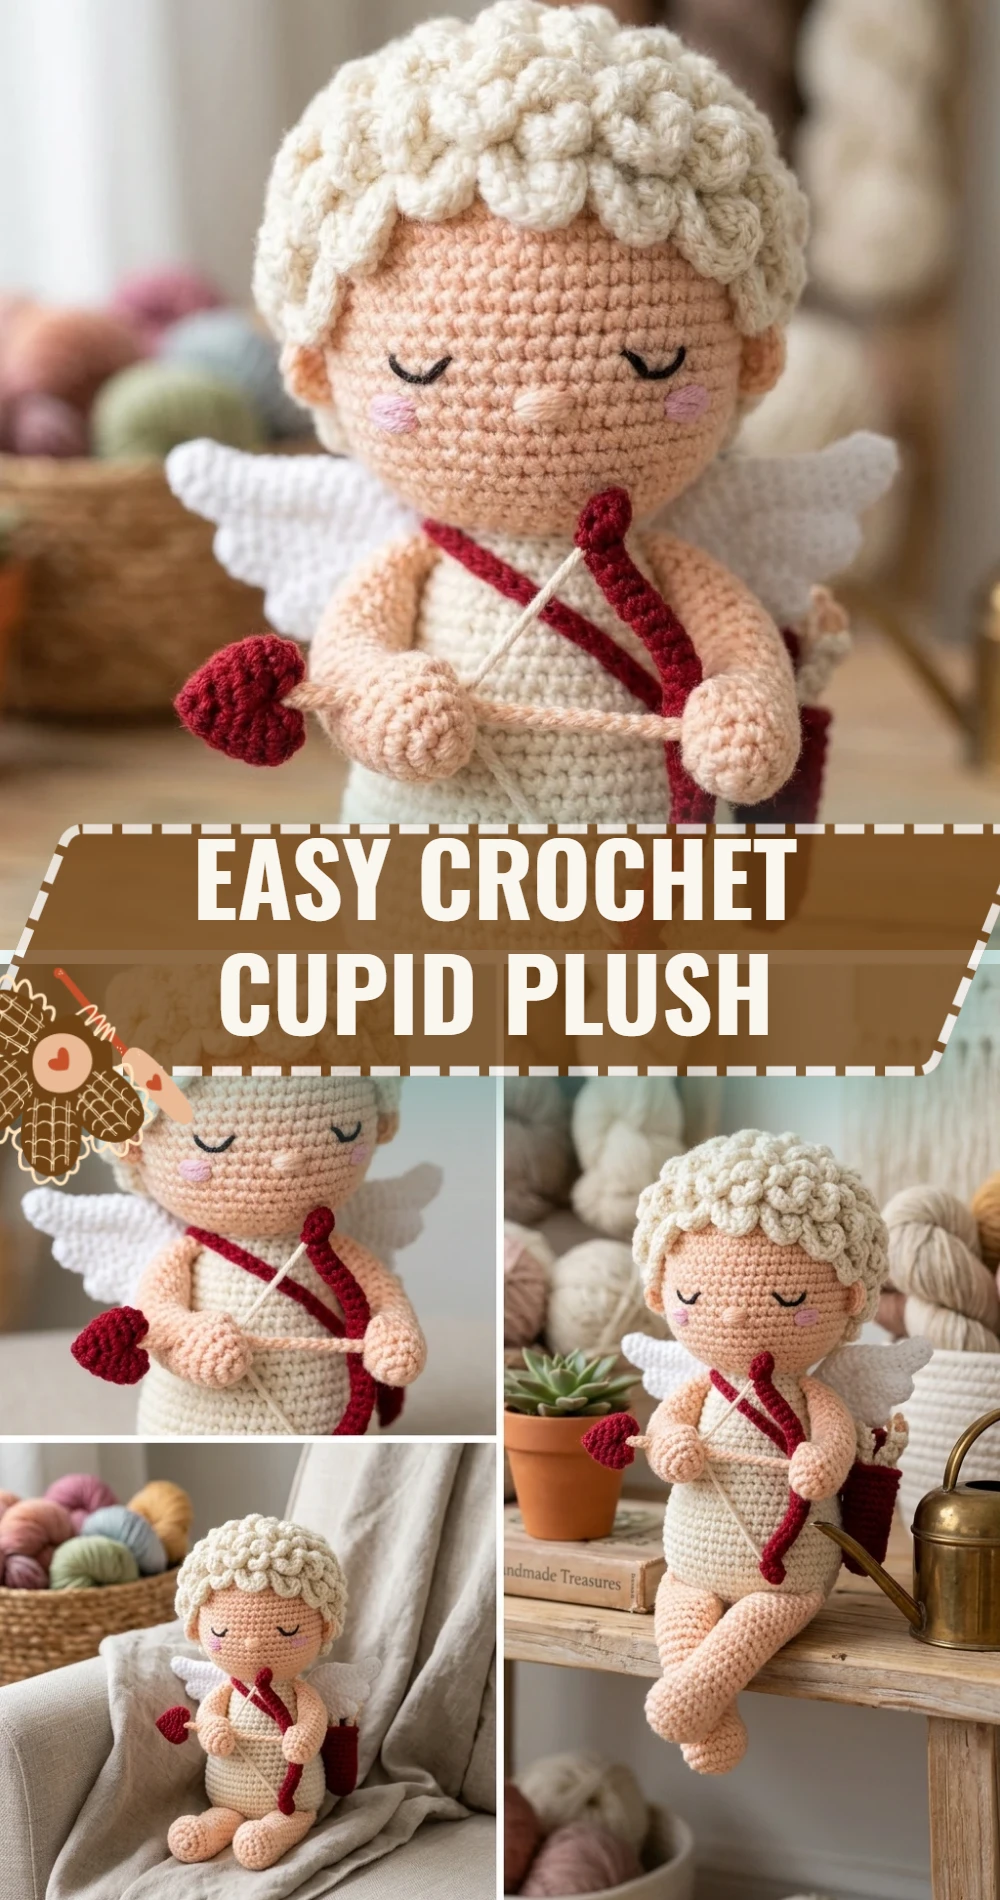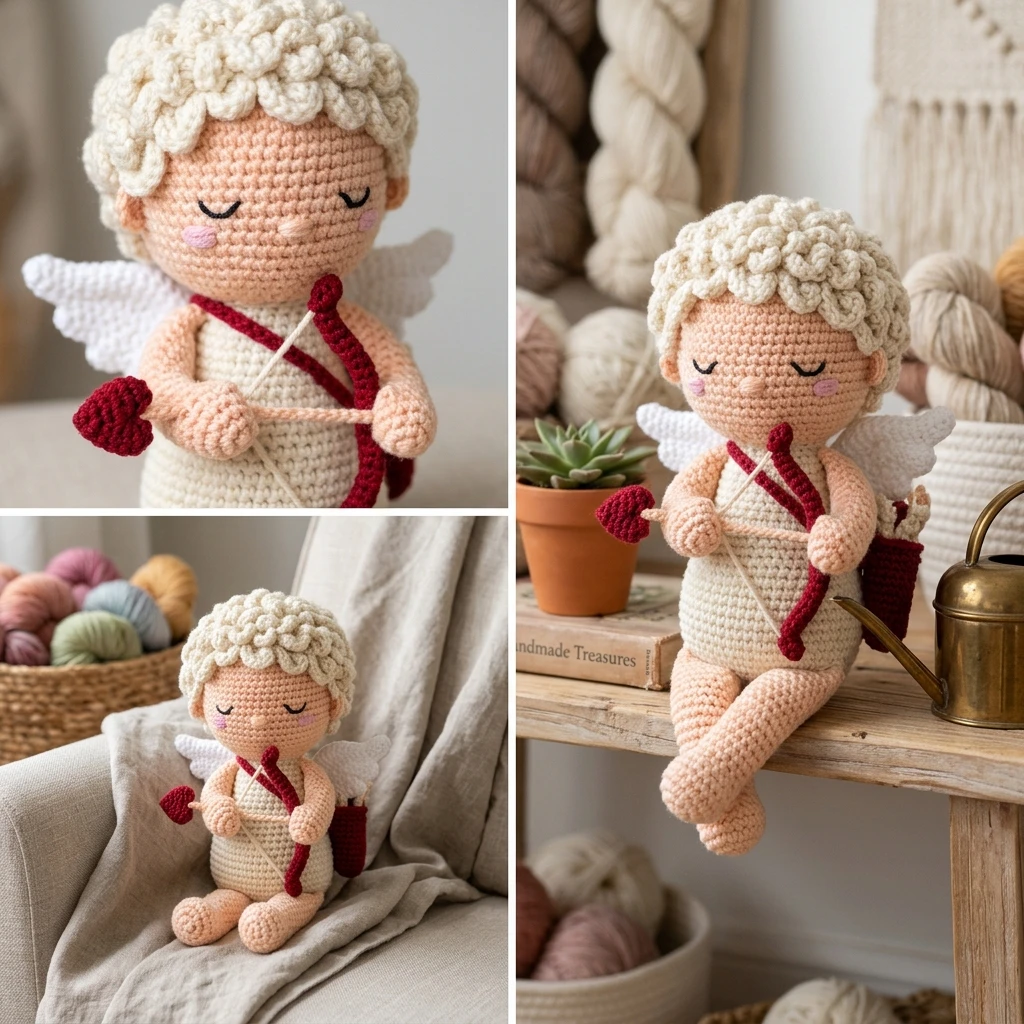
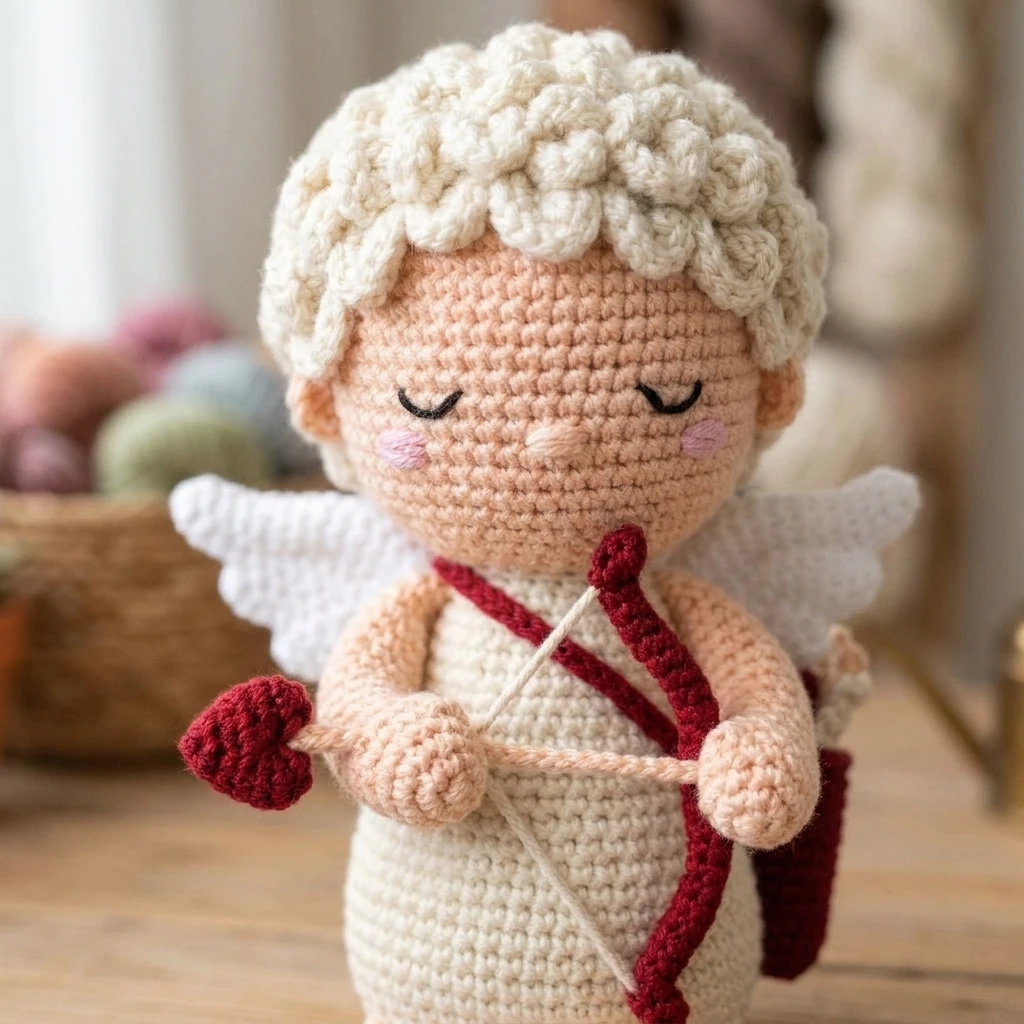
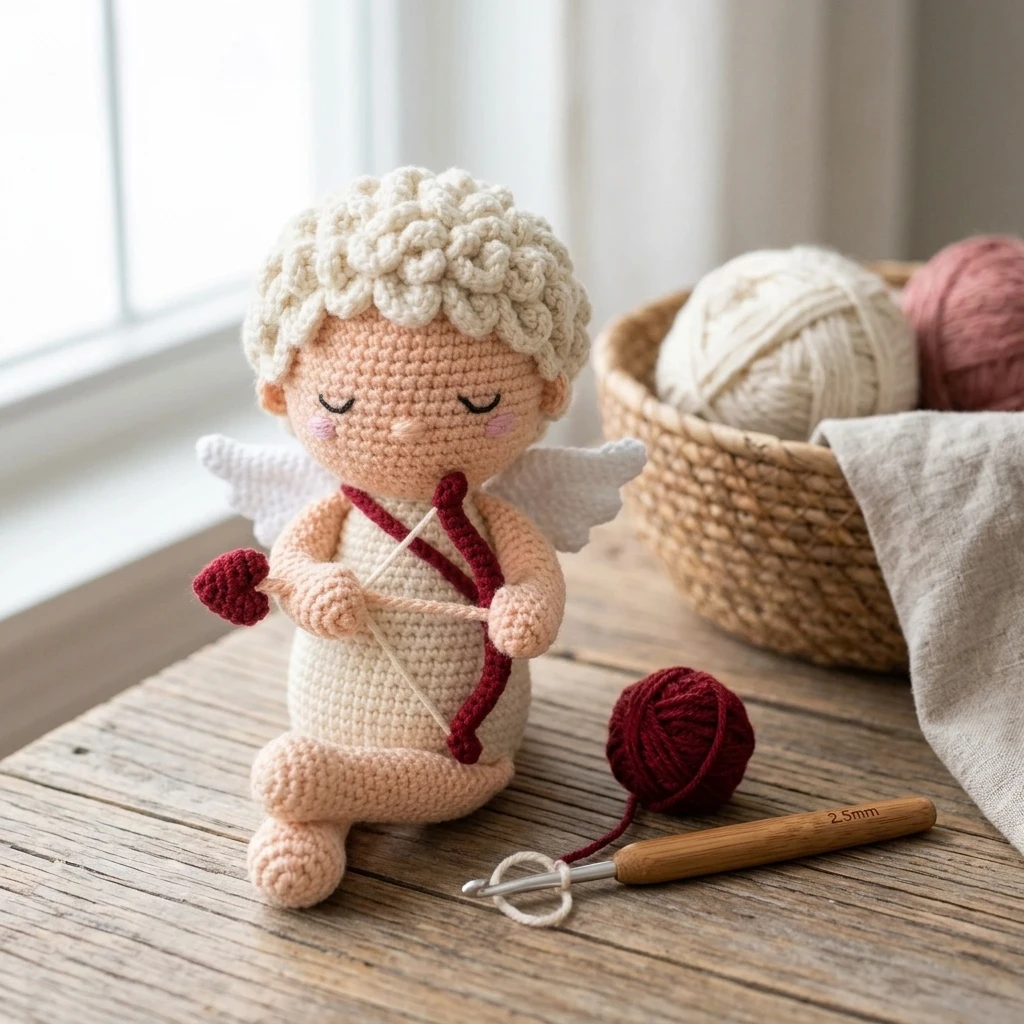
Celebrate the season of love with this adorable Easy Crochet Cupid Plush, a pocket-sized messenger of affection that is as fun to make as it is to gift. This project features a classic amigurumi construction, combining a rounded, huggable body with whimsical details like tiny white wings and a soft heart-tipped arrow. Designed for beginners and seasoned crafters alike, this Cupid uses basic stitches to create a charming character perfect for Valentine’s Day decor, nursery accents, or a handmade surprise for someone special.
The Design: What Makes This Pattern Different
The design of this Cupid plush focuses on “chibi” proportions—an oversized head and a small, stout body—to maximize the “cute factor” while keeping the stitch count manageable. Unlike complex amigurumi that require intricate shaping, this pattern utilizes simple spheres and cylinders. To ensure the wings stand upright without wire, we use a denser stitch gauge and a specific “scalloped” edge technique.
A common mistake to avoid with this project is overstuffing the neck area if you are making the head and body as two separate pieces; too much stuffing can cause the head to wobble. Instead, focus on firm stuffing in the center and leave a small amount of room near the seam for a cleaner, more stable join.
Project Info at a Glance
| Category | Details |
|---|---|
| Skill Level | Easy / Advanced Beginner |
| Estimated Time | 3–5 Hours |
| Finished Size | Approximately 6.5 inches tall (suggested) |
| Hook Size | 3.5mm (E) or 4.0mm (G) |
| Yarn Weight | Worsted Weight (Medium / 4) |
| Gauge | 5 sts x 5 rows = 1 inch (photo-inspired) |
| Best For | Valentine’s Gifts, Desk Decor, Photo Props |
Materials and Tools
Yarn
To achieve the classic Cupid look, we recommend using a soft acrylic or cotton blend yarn. Estimated quantities are based on standard worsted weight:
- Skin Tone: Approx. 60–75 yards (Beige, Peach, or Brown).
- White: Approx. 30 yards (for wings and diaper/loincloth).
- Red or Pink: Approx. 15 yards (for the heart and bow).
- Yellow or Gold: Small scrap (for hair or arrow shaft).
Tools
- Crochet hook (sized to match your yarn for a tight tension).
- 9mm safety eyes or black embroidery thread for eyes.
- Yarn needle for weaving ends and assembly.
- Polyester fiberfill stuffing.
- Stitch markers and scissors.
Abbreviations
- MR: Magic Ring
- ch: Chain
- sc: Single Crochet
- inc: Increase (2 sc in the same stitch)
- dec: Invisible Decrease (sc 2 together using front loops)
- st(s): Stitch(es)
- sl st: Slip Stitch
- ( ): Repeat instructions within parentheses
Pattern — Step by Step
Head and Body (Main Piece)
The head and body are worked in continuous rounds from the top down.
- Rnd 1: 6 sc in MR (6).
- Rnd 2: inc in each st around (12).
- Rnd 3: (sc, inc) 6 times (18).
- Rnd 4: (2 sc, inc) 6 times (24).
- Rnd 5: (3 sc, inc) 6 times (30).
- Rnd 6-12: sc in each st around (30). *Insert safety eyes between Rnds 9 and 10, approx 6 sts apart.*
- Rnd 13: (3 sc, dec) 6 times (24).
- Rnd 14: (2 sc, dec) 6 times (18). *Stuff the head firmly.*
- Rnd 15: (sc, dec) 6 times (12).
- Rnd 16 (Color Change to White): inc in each st around (24).
- Rnd 17-21: sc in each st around (24).
- Rnd 22: (2 sc, dec) 6 times (18).
- Rnd 23: (sc, dec) 6 times (12). *Finish stuffing the body.*
- Rnd 24: dec 6 times (6). Fasten off and weave in ends.
Arms and Legs (Make 2 of Each)
Worked in skin tone yarn.
- Rnd 1: 5 sc in MR (5).
- Rnd 2-5: sc in each st around (5). Fasten off, leaving a long tail for sewing. Do not stuff.
Wings (Make 2)
Worked in white yarn.
- Rnd 1: 6 sc in MR (6).
- Rnd 2: (sc, inc) 3 times (9).
- Rnd 3-4: sc in each st around (9).
- Rnd 5: (sc, dec) 3 times (6). Flatten the wing and sc through both layers to close.
Assembly
Before beginning assembly, pin all pieces in place to ensure symmetry. This step is crucial for giving your Cupid its sweet, balanced expression.
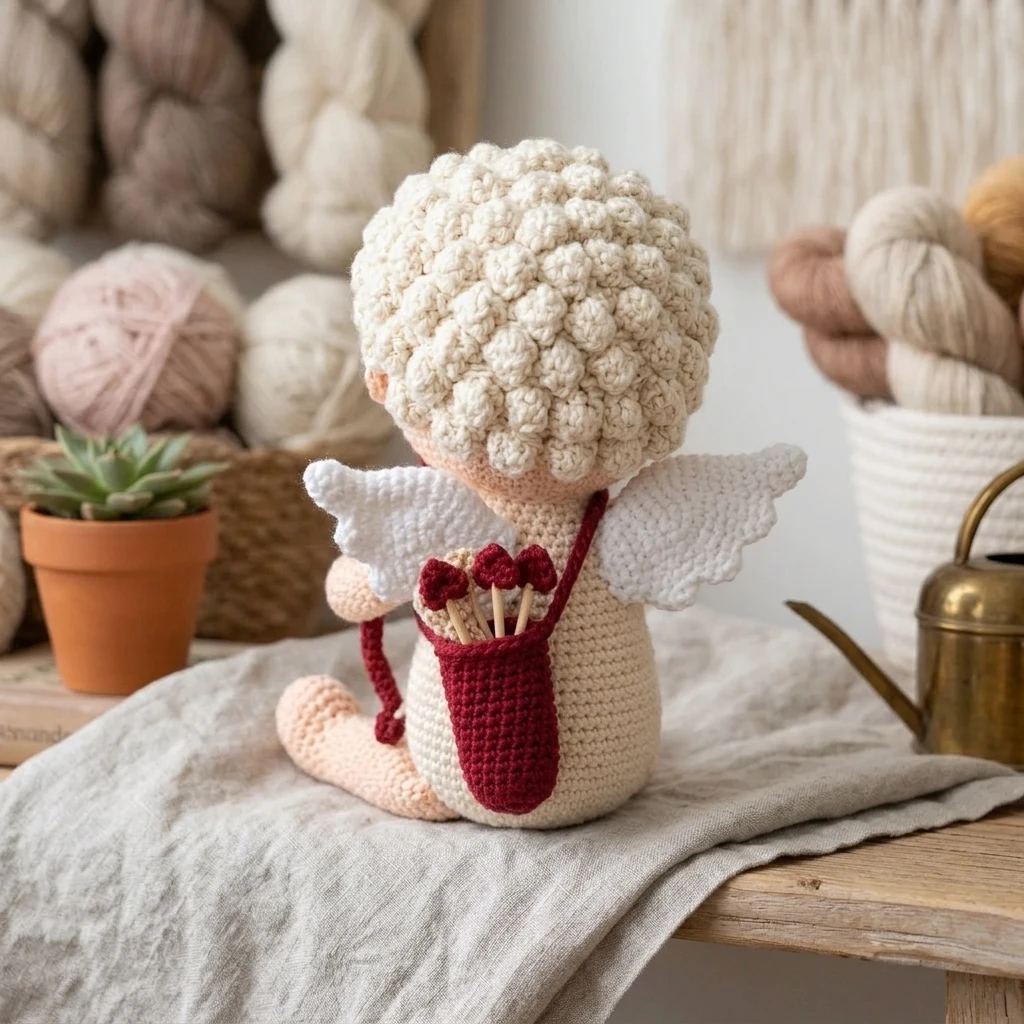
- Sew the arms to the sides of the body, just below the neck line (Rnd 16).
- Attach the legs to the bottom of the body, spacing them about 2 stitches apart so the Cupid can “sit.”
- Sew the wings to the back of the body. Position them slightly angled outward for a fluttering effect.
- Embroider a small “v” shape in red for the mouth or add pink felt circles for cheeks.
- Optional: Use a scrap of red yarn to crochet a tiny heart (MR, 2 ch, 2 dc, 2 hdc, 1 dc, 2 hdc, 2 dc, 2 ch, sl st into ring) and sew it to the Cupid’s hand.
7 Technical Tips for a Better Easy Crochet Cupid Plush
- Use the “Yarn Under” Technique: To get those perfect “X” shaped stitches common in professional amigurumi, try yarning under instead of over.
- Invisible Decreases are Key: When shaping the head and body, always use invisible decreases to prevent gaps where stuffing might show through.
- Tension Consistency: Keep your tension tight, especially on the wings, so they maintain their shape without needing wire inserts.
- Placement of Eyes: If gifting to a child under three, embroider the eyes with black yarn instead of using plastic safety eyes to avoid choking hazards.
- Blush for Realism: Use a tiny bit of real pink eyeshadow or a fabric marker to give your Cupid rosy cheeks for an extra cute look.
- Stitch Markers: Since amigurumi is worked in a spiral, always use a stitch marker to keep track of the first stitch of every round.
- Seamless Color Changes: When switching from the skin tone to the white diaper, pull the new color through the last two loops of the previous stitch for a clean line.
Frequently Asked Questions
What is the best yarn for this project?
Cotton yarn provides great stitch definition and a sturdy structure, but acrylic is softer and more budget-friendly. Both work well for this pattern!
Can I make this Cupid larger?
Yes! Simply use a bulkier yarn (like velvet or chenille) and a larger hook (5.0mm or 6.0mm). The proportions will stay the same, but the plush will be much bigger.
How do I make the wings stay stiff?
Crocheting with a hook size smaller than recommended on the yarn label creates a denser fabric. If they still flop, you can lightly spray them with fabric stiffener.
My Cupid won’t sit up straight. What happened?
Check the placement of the legs. They should be positioned slightly toward the front of the bottom of the body to act as a tripod base.
How do I clean the plush?
If you used acrylic yarn and safety eyes, you can spot clean with a damp cloth. For deep cleans, hand wash in cold water and air dry to maintain the shape.
Conclusion
Creating this Easy Crochet Cupid Plush is a wonderful way to practice your amigurumi skills while making something truly heartfelt. From the tiny scalloped wings to the customizable hair and accessories, this little character is sure to spread love wherever it goes. Don’t forget to share your finished project on social media!
Save this pattern to your Valentine’s Crochet board on Pinterest for later!
What color heart will your Cupid be holding this year?
Save This Crochet Pattern