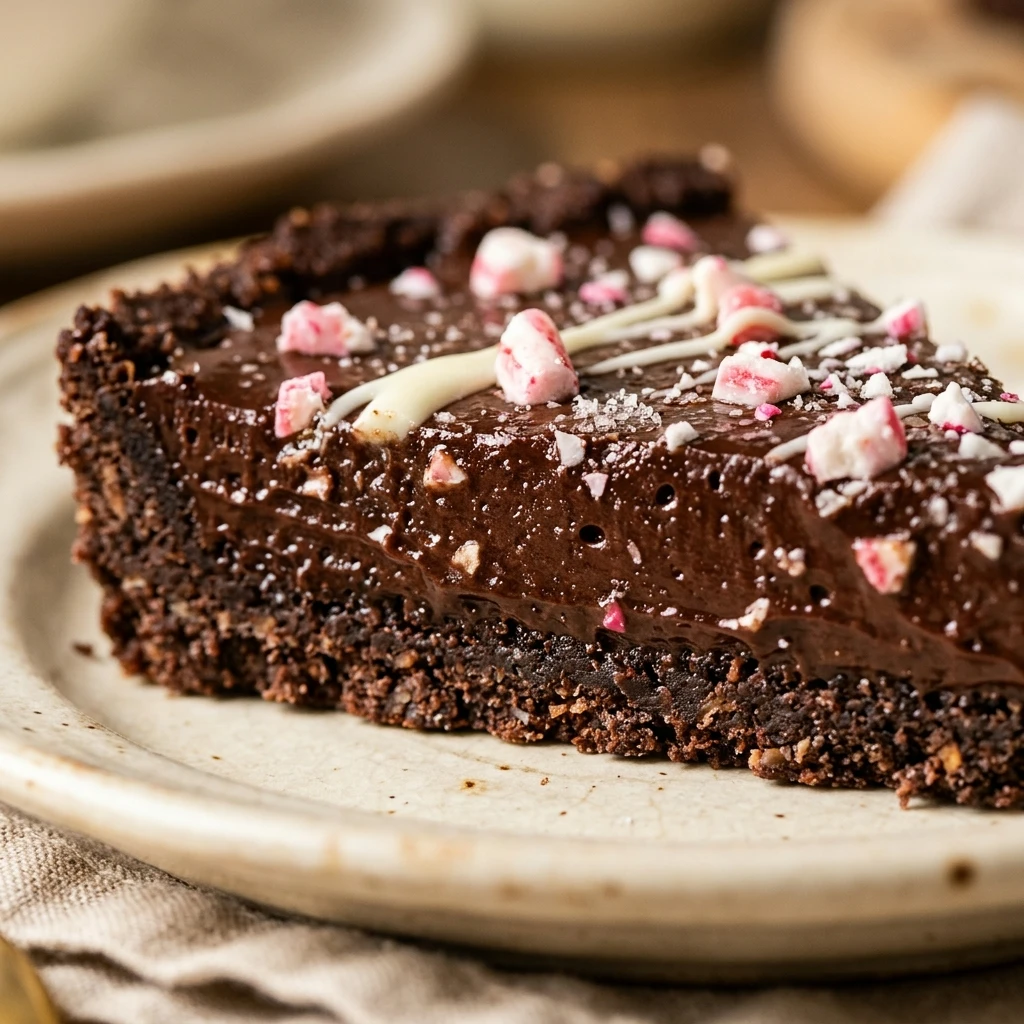
The holidays can be hectic, but your dessert menu doesn’t have to be. This No-Bake Chocolate Peppermint Tart is the ultimate solution for those who want a show-stopping dessert without ever turning on the oven. Featuring a crunchy, buttery chocolate cookie crust and a velvety, mint-infused ganache filling, it strikes the perfect balance between rich indulgence and cool refreshment. Whether you are hosting a festive dinner party or just need a sweet treat to brighten a winter evening, this tart delivers sophisticated flavor with minimal effort.
Recipe Information
- Prep Time: 20 minutes
- Cook Time: 0 minutes (plus 4 hours chilling)
- Total Time: 4 hours 20 minutes
- Servings: 12 servings
- Difficulty: Easy
Nutrition values
- Calories: 385 kcal
- Protein: 4g
- Carbs: 42g
Why Make This No-Bake Chocolate Peppermint Tart
There are countless reasons to add this recipe to your regular rotation. First and foremost, it saves precious oven space during busy cooking days. The combination of dark chocolate and peppermint is a timeless classic that appeals to both kids and adults. It is also an incredibly forgiving recipe; you don’t need to be a master pastry chef to achieve a professional-looking result. Plus, you can make it a day in advance, making your hosting duties much smoother and stress-free.
Ingredients
- 28-30 Chocolate sandwich cookies (such as Oreos)
- 6 tablespoons unsalted butter, melted
- 12 ounces high-quality semi-sweet or dark chocolate, finely chopped
- 1 & 1/4 cups heavy whipping cream
- 1/2 teaspoon pure peppermint extract
- 1/4 cup crushed candy canes or peppermint candies
- Optional: Fresh mint leaves or whipped cream for garnish
Directions
Step 1: Prepare the Cookie Crust
Place the chocolate sandwich cookies into a food processor and pulse until they become fine crumbs. Pour in the melted butter and pulse again until the mixture resembles wet sand. Transfer the mixture to a 9-inch tart pan with a removable bottom. Press the crumbs firmly into the bottom and up the sides of the pan using the back of a spoon or a flat-bottomed measuring cup. Place the crust in the freezer for 10-15 minutes to set while you prepare the filling.
Step 2: Create the Chocolate Ganache Filling
Place the chopped chocolate in a medium heat-proof glass bowl. In a small saucepan, heat the heavy whipping cream over medium heat until it just begins to simmer—do not let it reach a rolling boil. Immediately pour the hot cream over the chopped chocolate. Let it sit undisturbed for 5 minutes. Add the peppermint extract, then gently whisk the mixture starting from the center and moving outward until it is completely smooth and glossy.
Step 3: Assemble and Chill
Remove the crust from the freezer. Pour the chocolate ganache into the chilled crust, spreading it evenly with a spatula if necessary. Tap the pan gently on the counter to release any air bubbles. Refrigerate the tart for at least 4 hours, or until the filling is firm. Just before serving, sprinkle the crushed candy canes over the top to maintain their crunch.
Step 4: Slicing and Serving
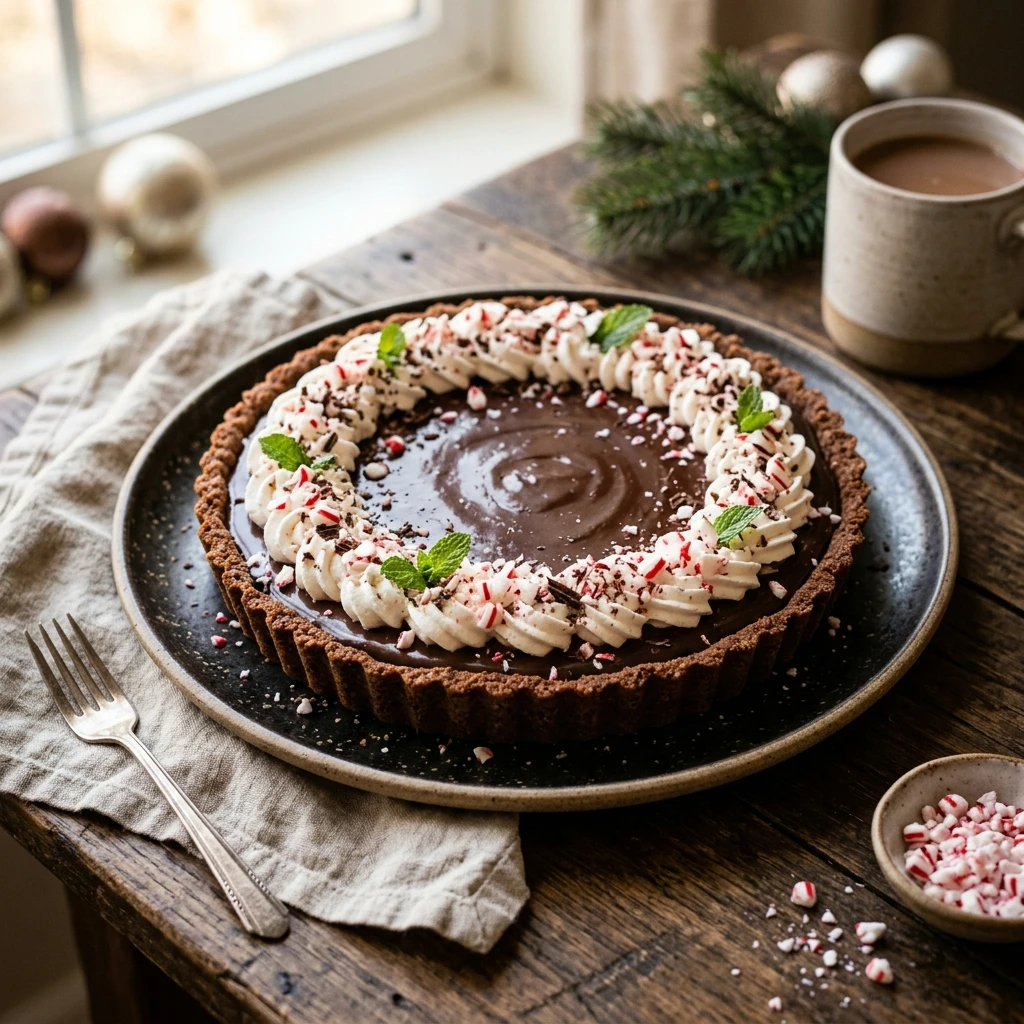
Carefully remove the tart from the outer ring of the pan. To get clean, professional slices, dip a sharp knife in hot water and wipe it dry between each cut. Garnish with a dollop of whipped cream or a fresh mint leaf if desired. Serve chilled for the best texture.
Expert Tips for Perfect No-Bake Chocolate Peppermint Tart
To ensure your tart turns out perfectly every time, use the highest quality chocolate you can find. Since the chocolate is the star of the show, its flavor will define the dish. Ensure you chop the chocolate very finely so it melts evenly when the hot cream is added. If your ganache isn’t melting fully, you can microwave the bowl for 10-second intervals, stirring in between, but be very careful not to scorch it. Lastly, wait to add the crushed peppermint until right before serving, as the moisture from the fridge can cause the candy to soften or bleed color into the chocolate.
Delicious Variations
While the classic version is stunning, you can easily customize this tart. For a “White Christmas” version, swap the dark chocolate for high-quality white chocolate chips, though you may need to reduce the cream slightly as white chocolate is softer. If you love coffee, add a teaspoon of espresso powder to the hot cream to enhance the chocolate flavor. For a gluten-free option, simply use gluten-free chocolate sandwich cookies for the crust. You can also add a layer of chocolate ganache over a thin layer of raspberry jam for a fruity twist on the peppermint theme.
Frequently Asked Questions
Can I use peppermint oil instead of peppermint extract?
Yes, but use caution. Peppermint oil is much more concentrated than extract. Start with just a drop or two, taste the ganache, and add more only if needed. Extract is generally safer for beginners to control the flavor level.
How long does this tart stay fresh in the refrigerator?
The tart will stay fresh and delicious for up to 5 days when stored in an airtight container in the refrigerator. Note that the crust may soften slightly over time, and the candy cane garnish should be added fresh each time you serve a slice.
Can I make this recipe vegan?
Absolutely. Use vegan chocolate sandwich cookies (many standard brands are accidentally vegan), use a vegan butter substitute for the crust, and swap the heavy cream for full-fat coconut cream or a plant-based heavy cream alternative.
What if I don’t have a tart pan with a removable bottom?
You can use a standard 9-inch pie plate. You won’t be able to remove the tart to show off the fluted edges, but it will still taste just as delicious and be much easier to slice and serve directly from the dish.
Can I freeze the No-Bake Chocolate Peppermint Tart?
Yes, this tart freezes remarkably well. Wrap it tightly in plastic wrap and then aluminum foil. It can be frozen for up to 2 months. Thaw it in the refrigerator overnight before serving, and add the peppermint topping just before you bring it to the table.
Conclusion
This No-Bake Chocolate Peppermint Tart is the perfect blend of simplicity and elegance. With its rich, melt-in-your-mouth texture and festive flavor profile, it is guaranteed to become a holiday favorite in your household. It proves that you don’t need hours in the kitchen or a hot oven to create a dessert that looks like it came straight from a high-end bakery. Give this recipe a try for your next gathering, and watch it disappear in minutes!
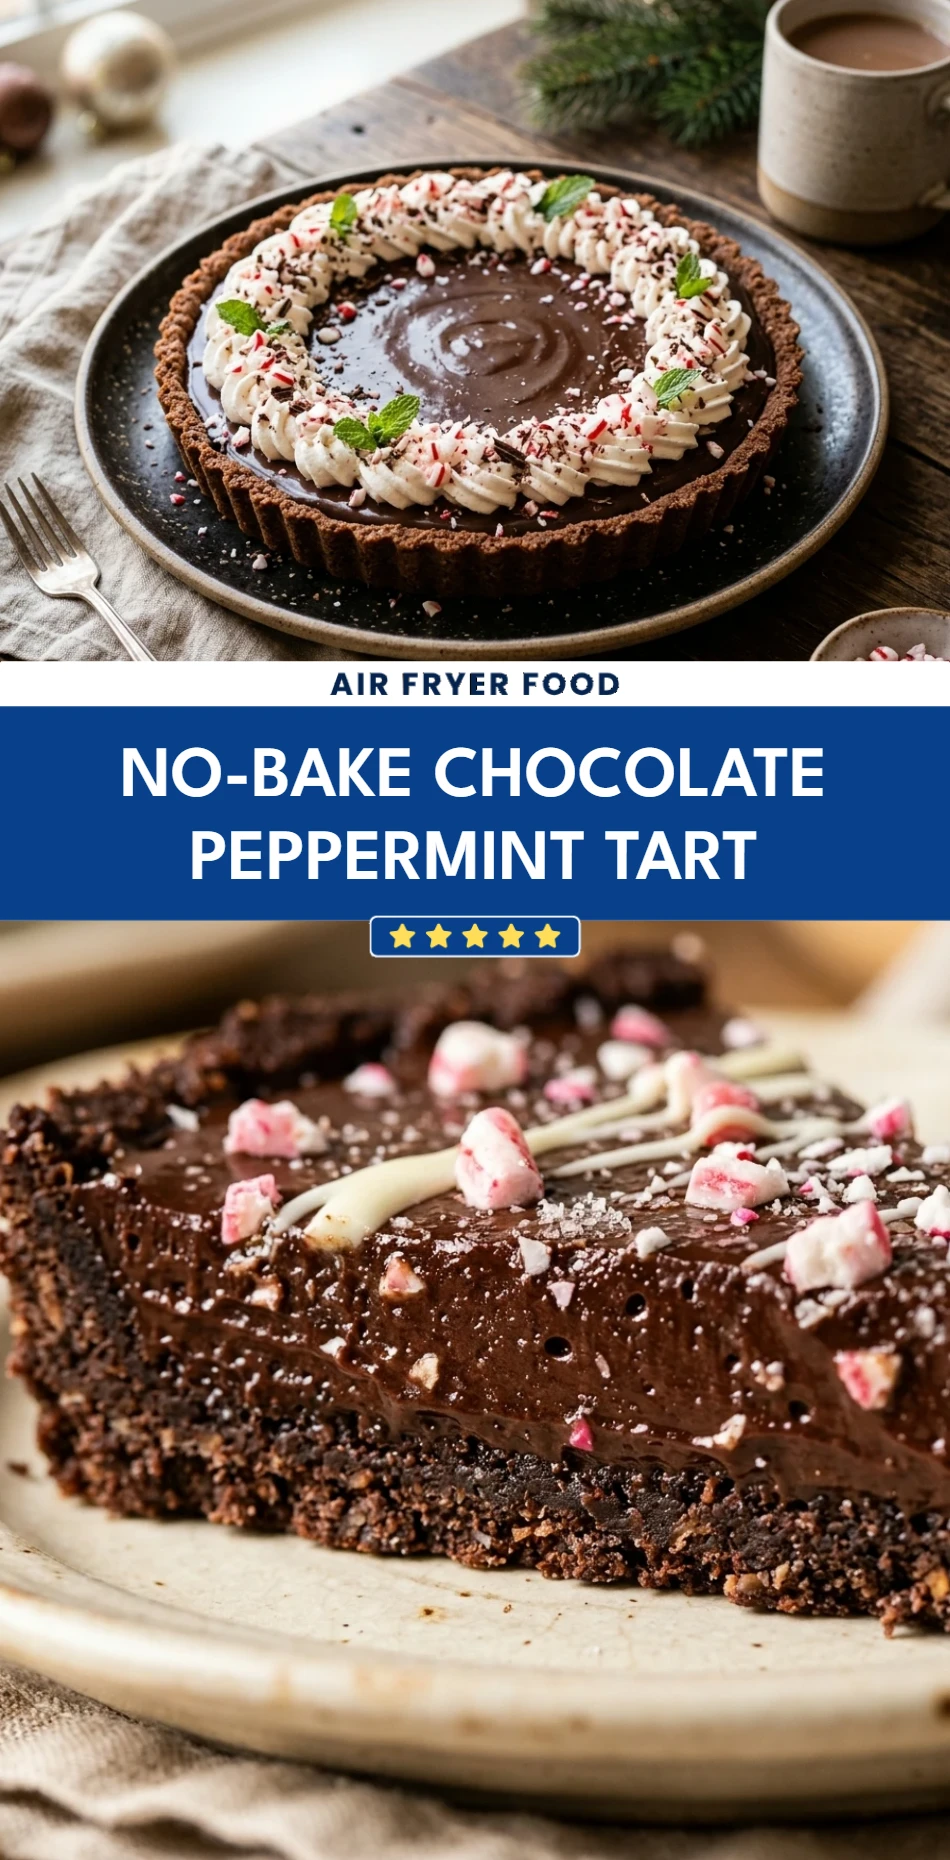

No-Bake Chocolate Peppermint Tart
- Total Time: 4 hours 20 minutes
- Diet: Vegetarian
Ingredients
- 28–30 Chocolate sandwich cookies (such as Oreos)
- 6 tablespoons unsalted butter, melted
- 12 ounces high-quality semi-sweet or dark chocolate, finely chopped
- 1 & 1/4 cups heavy whipping cream
- 1/2 teaspoon pure peppermint extract
- 1/4 cup crushed candy canes or peppermint candies
- Optional: Fresh mint leaves or whipped cream for garnish
Instructions
- Step 1: Prepare the Cookie Crust
Place the chocolate sandwich cookies into a food processor and pulse until they become fine crumbs. Pour in the melted butter and pulse again until the mixture resembles wet sand. Transfer the mixture to a 9-inch tart pan with a removable bottom. Press the crumbs firmly into the bottom and up the sides of the pan using the back of a spoon or a flat-bottomed measuring cup. Place the crust in the freezer for 10-15 minutes to set while you prepare the filling.
- Step 2: Create the Chocolate Ganache Filling
Place the chopped chocolate in a medium heat-proof glass bowl. In a small saucepan, heat the heavy whipping cream over medium heat until it just begins to simmer—do not let it reach a rolling boil. Immediately pour the hot cream over the chopped chocolate. Let it sit undisturbed for 5 minutes. Add the peppermint extract, then gently whisk the mixture starting from the center and moving outward until it is completely smooth and glossy.
- Step 3: Assemble and Chill
Remove the crust from the freezer. Pour the chocolate ganache into the chilled crust, spreading it evenly with a spatula if necessary. Tap the pan gently on the counter to release any air bubbles. Refrigerate the tart for at least 4 hours, or until the filling is firm. Just before serving, sprinkle the crushed candy canes over the top to maintain their crunch.
- Step 4: Slicing and Serving
Carefully remove the tart from the outer ring of the pan. To get clean, professional slices, dip a sharp knife in hot water and wipe it dry between each cut. Garnish with a dollop of whipped cream or a fresh mint leaf if desired. Serve chilled for the best texture.
- Cook Time: 4 hours 20 minutes