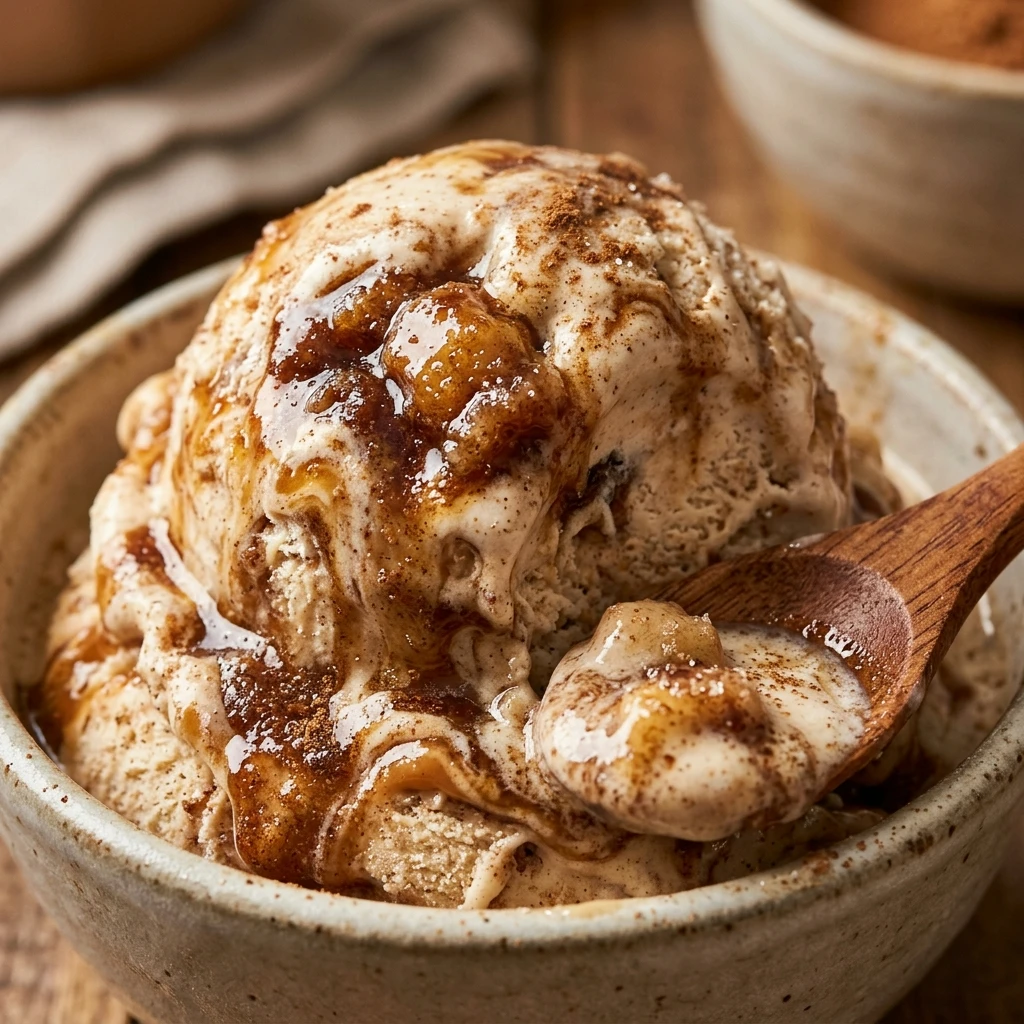
Imagine diving into a pint of creamy, decadent ice cream that tastes exactly like the center of a warm cinnamon roll, but without the sugar crash or the guilt. This High Protein Cinnamon Roll Protein Ice Cream is a total game-changer for anyone trying to hit their fitness goals while satisfying a massive sweet tooth. Whether you are using a Ninja Creami or a traditional blender method, this recipe delivers a thick, soft-serve texture packed with muscle-building protein and that nostalgic cinnamon-spice kick. It is the ultimate “proats” alternative for dessert lovers who want to stay on track.
Recipe Information
- Prep Time: 10 minutes
- Cook Time: 2 minutes (Processing time)
- Total Time: 24 hours 12 minutes (Includes freezing time)
- Servings: 1 pint
- Difficulty: Easy
Nutrition values
- Calories: 340 kcal
- Protein: 42g
- Carbs: 18g
Why Make This High Protein Cinnamon Roll Protein Ice Cream Recipe
This recipe is the perfect solution for late-night cravings. Most store-bought “healthy” ice creams are either too icy or lack enough protein to actually keep you full. By making your own, you control the ingredients, ensuring a high-quality protein source and zero added sugars. The combination of cinnamon and vanilla protein creates a flavor profile that rivals high-end creameries. Plus, it takes less than ten minutes of actual work to prep, making it a sustainable habit for your meal prep routine.
Ingredients
- 2 cups Fairlife Core Power or skim milk (or unsweetened almond milk for lower calories)
- 1 scoop (30g) Vanilla Whey or Casein protein powder
- 1 tablespoon sugar-free vanilla instant pudding mix (for creaminess)
- 1 teaspoon ground cinnamon
- 1/2 teaspoon vanilla extract
- 1 tablespoon granulated monk fruit or sweetener of choice
- A pinch of sea salt
- Optional mix-in: 1 crushed low-fat graham cracker or a sugar-free cinnamon swirl
Directions
Step 1: Preparation and Mixing
In a large mixing bowl or a blender, combine your choice of milk, protein powder, sugar-free pudding mix, ground cinnamon, sweetener, vanilla extract, and sea salt. Use a whisk or a handheld milk frother to blend the ingredients until the mixture is completely smooth. Ensure there are no clumps of protein powder left, as these can affect the texture once frozen.
Step 2: The Deep Freeze
Pour the mixture into your ice cream pint container. Secure the lid tightly and place it on a level surface in your freezer. You must let the base freeze for at least 24 hours. Freezing it thoroughly ensures that the fats and proteins stabilize, resulting in a much creamier texture when you finally process it.
Step 3: Processing and Spinning
Remove the pint from the freezer. If you are using a Ninja Creami, select the “Light Ice Cream” or “Ice Cream” setting and let the machine work its magic. If the mixture looks crumbly after the first spin, add a tablespoon of milk and run a “Re-spin” cycle. This will turn the icy particles into a smooth, luscious soft-serve consistency.
Step 4: Adding the Mix-ins
Once the base is creamy, create a small well in the center of the ice cream. Drop in your crushed graham crackers or any cinnamon-flavored protein bits. Select the “Mix-in” setting on your machine (or gently fold them in by hand). This adds the “doughy” texture that makes cinnamon rolls so iconic.
Step 5: Plating and Serving
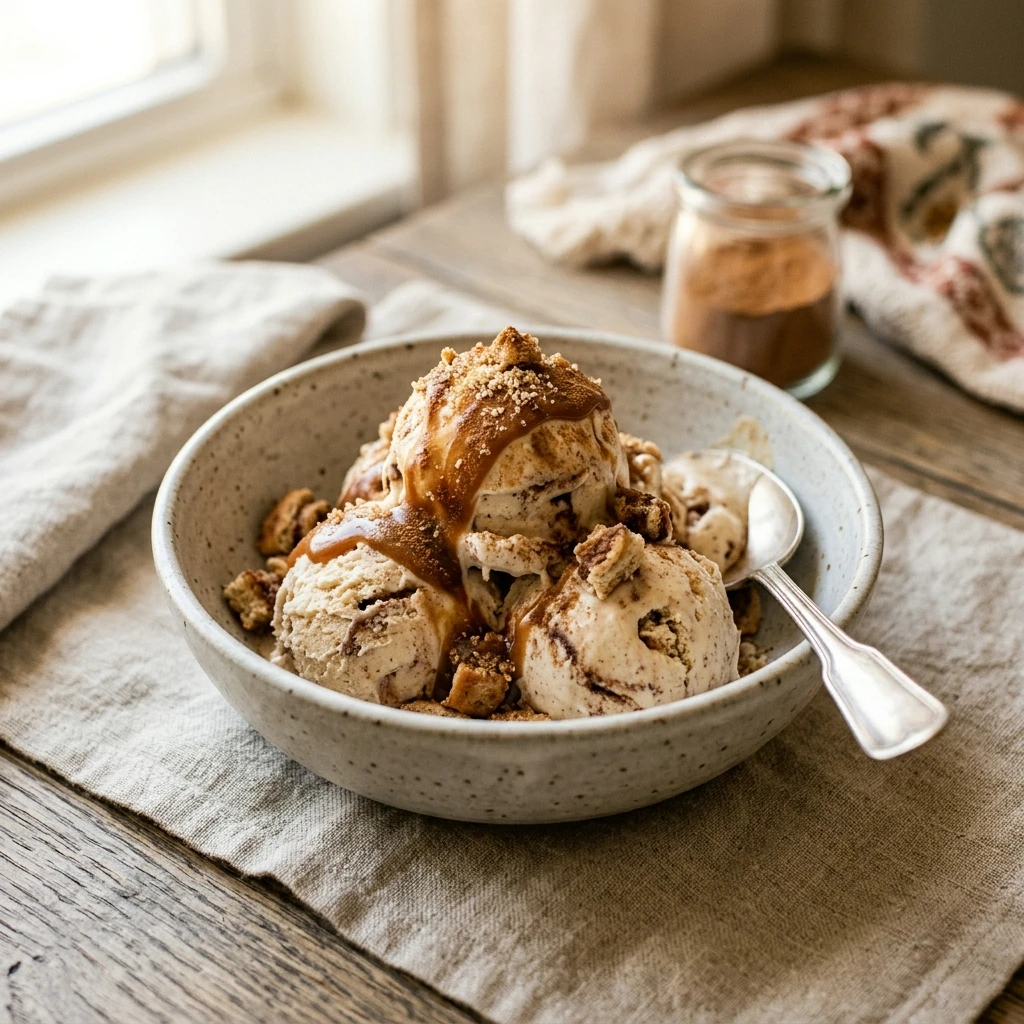
Scoop the ice cream into a chilled bowl. For an extra touch of indulgence, sprinkle a little extra cinnamon on top or drizzle a tiny bit of melted almond butter to mimic the icing. Enjoy your high-protein masterpiece immediately before it begins to melt!
Expert Tips for Perfect High Protein Cinnamon Roll Protein Ice Cream Recipe
To achieve the best results, use a protein powder that you actually enjoy the taste of, as it is the primary flavor driver. If you find your ice cream is consistently too icy, try using a milk with a slightly higher fat content or adding a tiny pinch of xanthan gum (about 1/4 teaspoon). Always make sure your freezer is set to a very cold temperature; if the base doesn’t freeze solid, the machine won’t be able to shave the ice crystals properly. Lastly, let the pint sit on the counter for 5 minutes before spinning to soften the very outer edges for a more even blend.
Delicious Variations
You can easily customize this recipe to keep things exciting. For a “Cinnamon Raisin” version, add a tablespoon of raisins during the mix-in step. If you want a “Cream Cheese Frosting” flavor, whisk in one tablespoon of softened light cream cheese or Greek yogurt into the base before freezing. For chocolate lovers, a dash of white chocolate chips provides a beautiful contrast to the spice of the cinnamon. You can even swap the vanilla protein for salted caramel protein to create a Cinnamon Caramel swirl.
Frequently Asked Questions
Can I use a regular blender if I don’t have an ice cream maker?
Yes, but the texture will be different. To use a blender, freeze the mixture in ice cube trays first. Once frozen, blend the cubes with a splash of milk until smooth. It will be more like a thick smoothie or “nice cream” rather than traditional scooped ice cream.
Which protein powder works best for ice cream?
A blend of whey and casein is usually the gold standard for protein ice cream. Casein absorbs more liquid, which results in a much thicker, creamier consistency that mimics real dairy ice cream better than 100% whey.
Is the sugar-free pudding mix necessary?
While not strictly mandatory, it acts as a stabilizer. It contains thickening agents that prevent the ice cream from becoming a block of ice and help it maintain that “scoopable” feel. You can substitute it with 1/4 teaspoon of xanthan gum or guar gum.
How long can I store this in the freezer?
You can keep the frozen base in the freezer for up to two weeks. However, once it has been spun and processed, it is best eaten immediately. If you have leftovers, you will likely need to re-spin it the next time you want to eat it because it will freeze back into a solid block.
Can I make this recipe dairy-free?
Absolutely. Use unsweetened almond, soy, or oat milk and a plant-based vanilla protein powder. Just be aware that plant-based proteins can sometimes be grittier, so you might want to add a little extra fat (like a teaspoon of nut butter) to help with the creaminess.
Conclusion
The High Protein Cinnamon Roll Protein Ice Cream proves that you don’t have to choose between your fitness goals and your favorite desserts. With 42 grams of protein and a fraction of the sugar found in traditional pints, it is a nutritional powerhouse that tastes like a cheat meal. Give this recipe a try tonight, and you will never look at “diet food” the same way again. It’s thick, spicy, sweet, and perfectly satisfying!

High Protein Cinnamon Roll Protein Ice Cream Recipe
- Total Time: 24 hours 12 minutes
- Diet: High-Protein, Low-Sugar
Ingredients
- 2 cups Fairlife Core Power or skim milk (or unsweetened almond milk for lower calories)
- 1 scoop (30g) Vanilla Whey or Casein protein powder
- 1 tablespoon sugar-free vanilla instant pudding mix (for creaminess)
- 1 teaspoon ground cinnamon
- 1/2 teaspoon vanilla extract
- 1 tablespoon granulated monk fruit or sweetener of choice
- A pinch of sea salt
- Optional mix-in: 1 crushed low-fat graham cracker or a sugar-free cinnamon swirl
Instructions
- In a large mixing bowl or a blender, combine your choice of milk, protein powder, sugar-free pudding mix, ground cinnamon, sweetener, vanilla extract, and sea salt. Use a whisk or a handheld milk frother to blend the ingredients until the mixture is completely smooth. Ensure there are no clumps of protein powder left, as these can affect the texture once frozen.
- Pour the mixture into your ice cream pint container. Secure the lid tightly and place it on a level surface in your freezer. You must let the base freeze for at least 24 hours. Freezing it thoroughly ensures that the fats and proteins stabilize, resulting in a much creamier texture when you finally process it.
- Remove the pint from the freezer. If you are using a Ninja Creami, select the “Light Ice Cream” or “Ice Cream” setting and let the machine work its magic. If the mixture looks crumbly after the first spin, add a tablespoon of milk and run a “Re-spin” cycle. This will turn the icy particles into a smooth, luscious soft-serve consistency.
- Once the base is creamy, create a small well in the center of the ice cream. Drop in your crushed graham crackers or any cinnamon-flavored protein bits. Select the “Mix-in” setting on your machine (or gently fold them in by hand). This adds the “doughy” texture that makes cinnamon rolls so iconic.
- Scoop the ice cream into a chilled bowl. For an extra touch of indulgence, sprinkle a little extra cinnamon on top or drizzle a tiny bit of melted almond butter to mimic the icing. Enjoy your high-protein masterpiece immediately before it begins to melt!
- Cook Time: 24 hours 12 minutes (Includes freezing time)