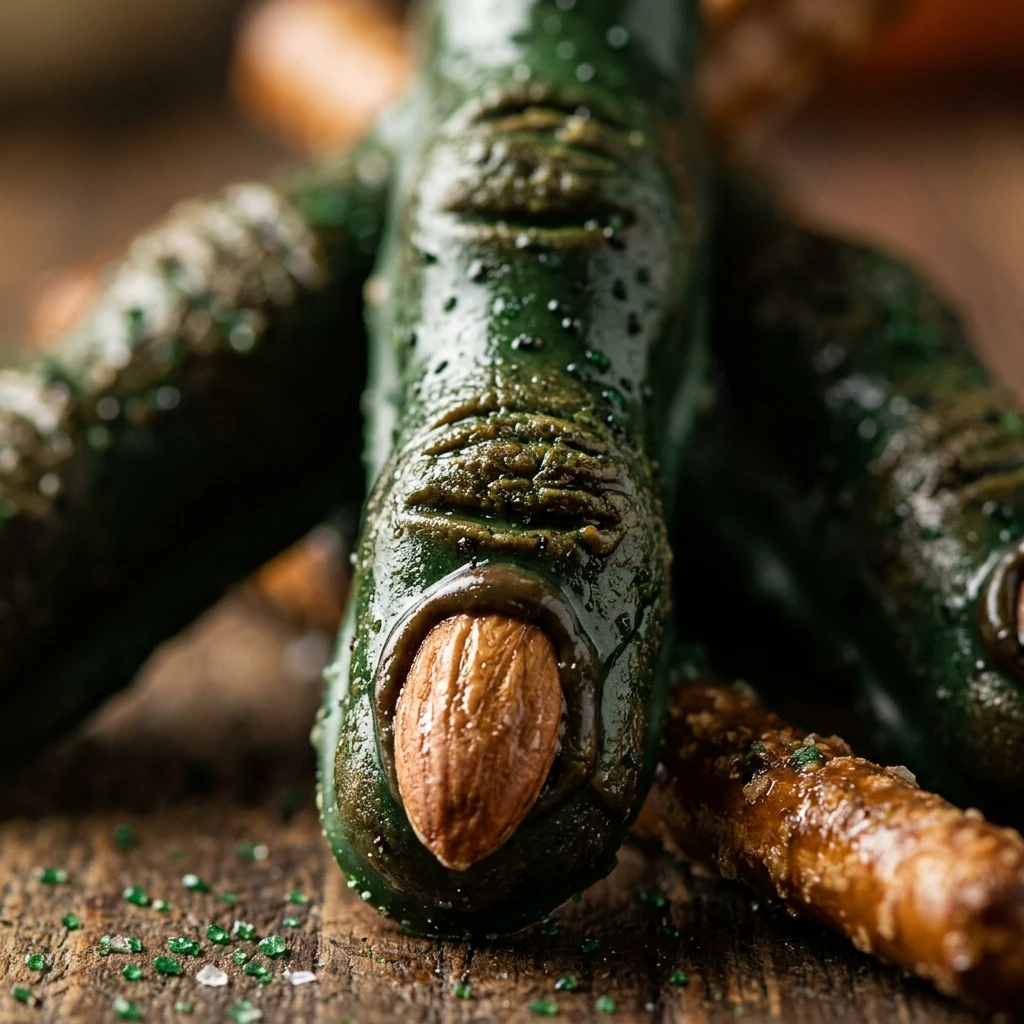
Get ready to cast a delicious spell on your next Halloween party with these Witch Finger Pretzel Rods. These spooky treats perfectly balance salty and sweet flavors while offering a creepy aesthetic that delights kids and adults alike. Whether you are hosting a haunted house gathering or just want a festive snack for movie night, these ghoulish fingers are incredibly easy to assemble. With just a few ingredients and zero baking time, you can whip up a batch of these “wicked” snacks that look like they were plucked straight from a forest hag’s hand.
Recipe Information
- Prep Time: 20 minutes
- Cook Time: 5 minutes
- Total Time: 25 minutes
- Servings: 12 fingers
- Difficulty: Easy
Nutrition values
- Calories: 165 kcal
- Protein: 2g
- Carbs: 29g
Why Make This Witch Finger Pretzel Rods
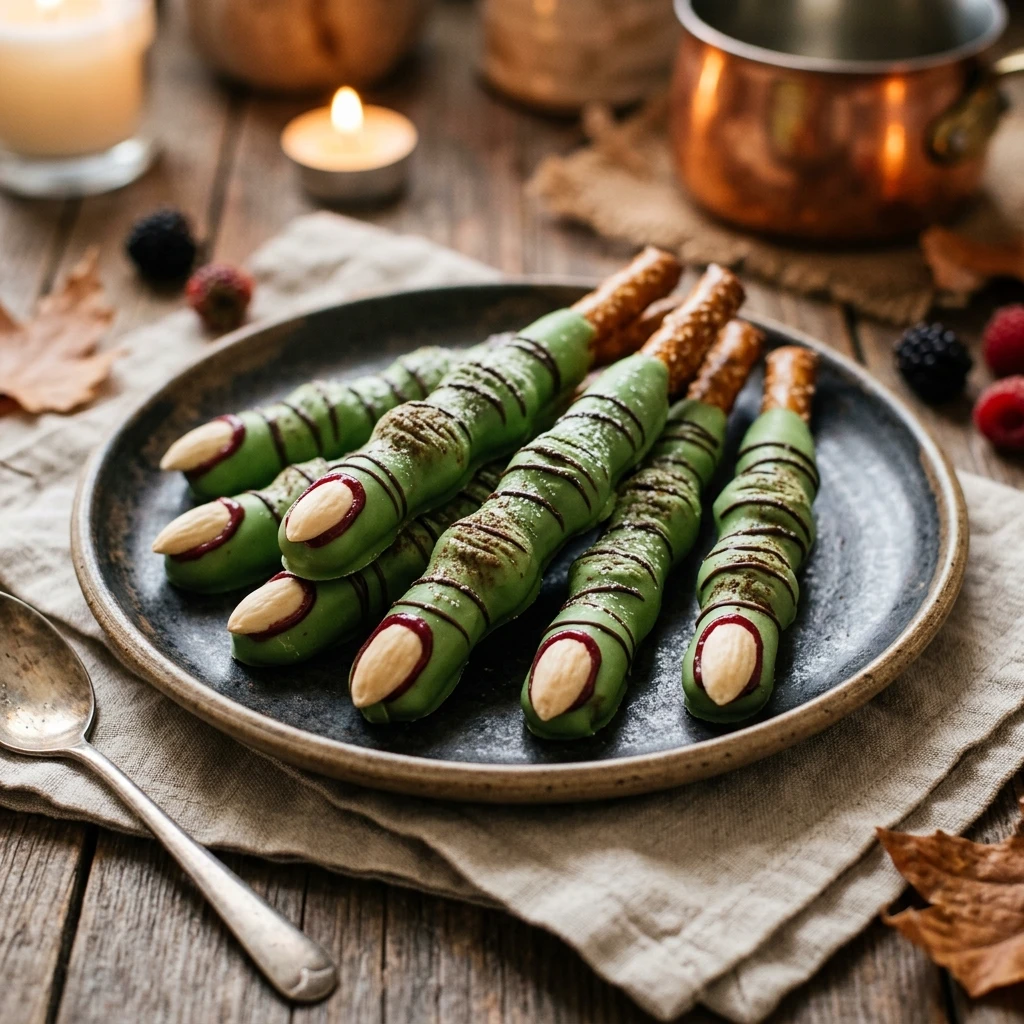
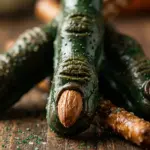
These treats are the ultimate “low effort, high reward” Halloween snack. You do not need to be a professional pastry chef to make them look impressive. The green candy coating provides a vibrant pop of color to any dessert table, and the sliced almond “fingernail” adds a realistic, creepy touch. Since they use pretzel rods as a base, they are sturdy enough for kids to handle and make for great party favors when wrapped in cellophane bags. Plus, the combination of crunchy pretzel and creamy white chocolate or candy melts is a classic crowd-pleaser.
Ingredients
- 12 sturdy pretzel rods
- 12 ounces green candy melts (or white chocolate chips with green oil-based food coloring)
- 1/4 cup sliced almonds (choose the most “fingernail-shaped” ones)
- 1 teaspoon coconut oil or vegetable shortening (optional, for thinning candy)
- Red decorating gel or edible red ink (optional, for a “bloody” look)
Directions
Step 1: Melt the Candy Coating
Place your green candy melts in a microwave-safe bowl. Heat them in 30-second intervals, stirring thoroughly between each session until the mixture is completely smooth. If the candy feels too thick to dip, stir in a teaspoon of coconut oil or shortening to reach a silky consistency. Pour the melted candy into a tall, narrow glass to make dipping the long pretzel rods much easier.
Step 2: Dip the Pretzel Rods
Line a baking sheet with parchment paper or a silicone mat. Take one pretzel rod and dip it into the melted candy, leaving about two inches at the bottom uncoated to serve as a handle. Lift the pretzel out and let the excess candy drip back into the glass. Lay the coated pretzel onto your prepared baking sheet.
Step 3: Add the Details
Immediately press a sliced almond onto the tip of the pretzel rod to create the fingernail. While the candy is still wet, use a toothpick or a small knife to gently score three horizontal lines in the middle of the rod and three more near the “nail” to mimic the look of knuckles. Repeat this process for all pretzels. If you want a gory effect, dab a bit of red decorating gel around the base of the almond nail or at the “severed” bottom of the finger once the green coating has set.
Step 4: Setting the Treats
Allow the pretzels to sit at room temperature for about 20 to 30 minutes until the candy coating is completely firm. To speed up the process, you can place the baking sheet in the refrigerator for 10 minutes. Once hardened, gently lift them off the parchment paper and arrange them on a serving platter.
Expert Tips for Perfect Witch Finger Pretzel Rods
For the smoothest finish, avoid getting any water in your candy melts, as this will cause the chocolate to seize and become lumpy. If you find the almonds aren’t sticking well, wait about 60 seconds after dipping before pressing the almond on so the candy is slightly tacky but not runny. To create “warty” fingers, you can mix a few crushed pretzels or small sprinkles into the candy coating before dipping to give the fingers a bumpy, textured appearance.
Delicious Variations
You can easily customize these fingers for different themes. Use purple or orange candy melts for a more whimsical look, or use dark chocolate for “werewolf” fingers. For the nails, try using black sunflower seeds or pumpkin seeds if you want a different color or a nut-free alternative. You can also sprinkle a little sea salt over the wet candy to enhance the sweet and salty contrast even further.
Frequently Asked Questions
How do I store these pretzel rods?
Store the finished pretzels in an airtight container at room temperature in a cool, dry place. They will stay fresh and crunchy for up to two weeks. Avoid storing them in the refrigerator long-term, as the moisture can make the pretzels go soft.
Can I make these ahead of time?
Yes, these are perfect for making 2-3 days in advance of your party. Just ensure they are kept away from heat sources so the candy coating doesn’t melt or bloom.
What if I can’t find green candy melts?
You can use white chocolate chips or white almond bark. However, make sure to use oil-based food coloring specifically designed for chocolate. Water-based liquid coloring will ruin the texture of the melted chocolate.
Are these safe for school parties?
If you are bringing these to a nut-free environment, swap the sliced almonds for a piece of sunflower seed or a small piece of fondant shaped like a nail. Always check your pretzel packaging to ensure they weren’t processed in a facility with nuts.
Why is my candy coating falling off the pretzel?
This usually happens if the coating is too thick or if the pretzels are cold. Ensure the candy is thinned out with a little shortening and that your pretzels are at room temperature before dipping.
Conclusion
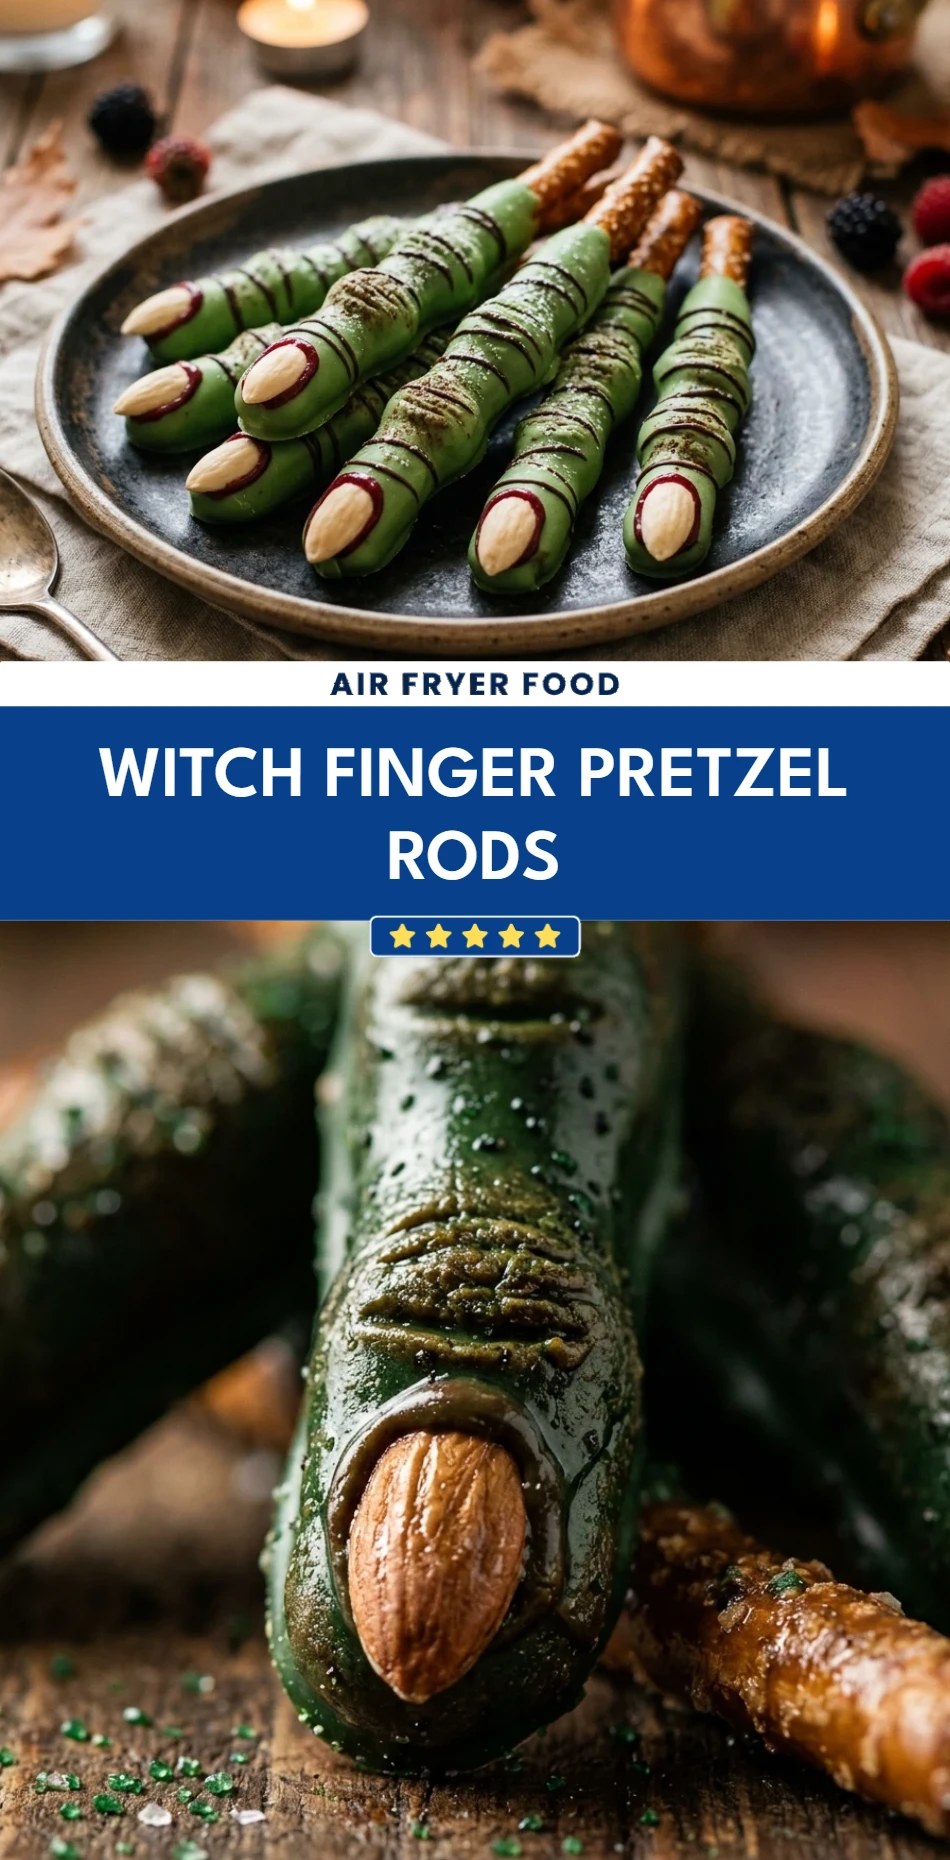
Witch Finger Pretzel Rods are the perfect blend of spooky and snackable. They require minimal ingredients and even less “kitchen magic” to turn out perfectly every time. These treats prove that you don’t need a lot of time to create something memorable and delicious for the holiday season. Plate them up on a dark platter, watch them disappear, and enjoy the cackles of delight from your guests!
Witch Finger Pretzel Rods
- Total Time: 25 minutes
- Diet: Vegetarian
Ingredients
- 12 sturdy pretzel rods
- 12 ounces green candy melts (or white chocolate chips with green oil-based food coloring)
- 1/4 cup sliced almonds (choose the most “fingernail-shaped” ones)
- 1 teaspoon coconut oil or vegetable shortening (optional, for thinning candy)
- Red decorating gel or edible red ink (optional, for a “bloody” look)
Instructions
- Place your green candy melts in a microwave-safe bowl. Heat them in 30-second intervals, stirring thoroughly between each session until the mixture is completely smooth. If the candy feels too thick to dip, stir in a teaspoon of coconut oil or shortening to reach a silky consistency. Pour the melted candy into a tall, narrow glass to make dipping the long pretzel rods much easier.
- Line a baking sheet with parchment paper or a silicone mat. Take one pretzel rod and dip it into the melted candy, leaving about two inches at the bottom uncoated to serve as a handle. Lift the pretzel out and let the excess candy drip back into the glass. Lay the coated pretzel onto your prepared baking sheet.
- Immediately press a sliced almond onto the tip of the pretzel rod to create the fingernail. While the candy is still wet, use a toothpick or a small knife to gently score three horizontal lines in the middle of the rod and three more near the “nail” to mimic the look of knuckles. Repeat this process for all pretzels. If you want a gory effect, dab a bit of red decorating gel around the base of the almond nail or at the “severed” bottom of the finger once the green coating has set.
- Allow the pretzels to sit at room temperature for about 20 to 30 minutes until the candy coating is completely firm. To speed up the process, you can place the baking sheet in the refrigerator for 10 minutes. Once hardened, gently lift them off the parchment paper and arrange them on a serving platter.
- Cook Time: 25 minutes