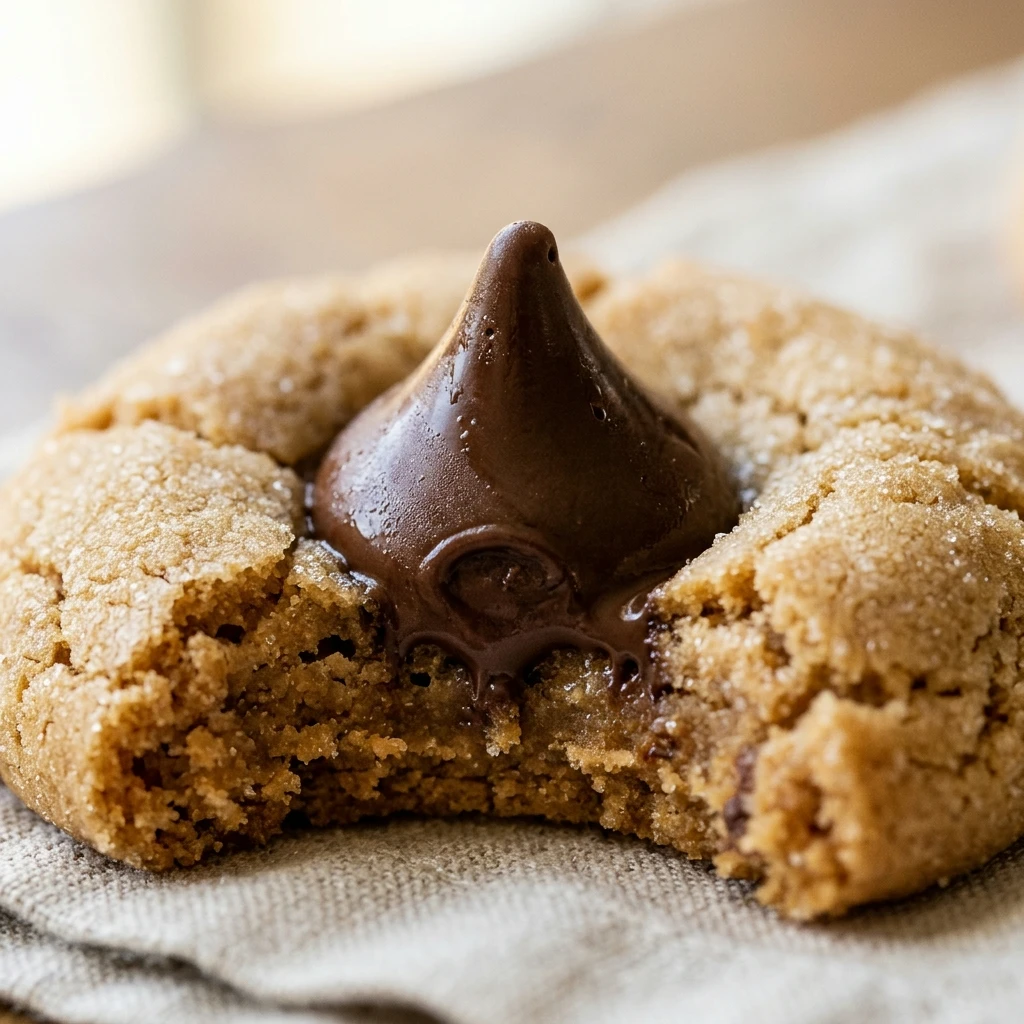
Nothing says the holidays or a cozy weekend like the nostalgic scent of peanut butter and chocolate wafting through the kitchen. These Peanut Butter Blossoms with Hershey Kisses are the ultimate classic cookie that everyone loves. With a soft, chewy peanut butter base rolled in crunchy sugar and topped with a signature chocolate kiss, they are as beautiful as they are delicious. Whether you are baking for a cookie swap or just satisfying a sweet tooth, this foolproof recipe delivers perfect results every single time.
Recipe Information
- Prep Time: 20 minutes
- Cook Time: 10 minutes
- Total Time: 30 minutes
- Servings: 36 cookies
- Difficulty: Easy
Nutrition values
- Calories: 95 kcal
- Protein: 2g
- Carbs: 11g
Why Make This Peanut Butter Blossoms with Hershey Kisses
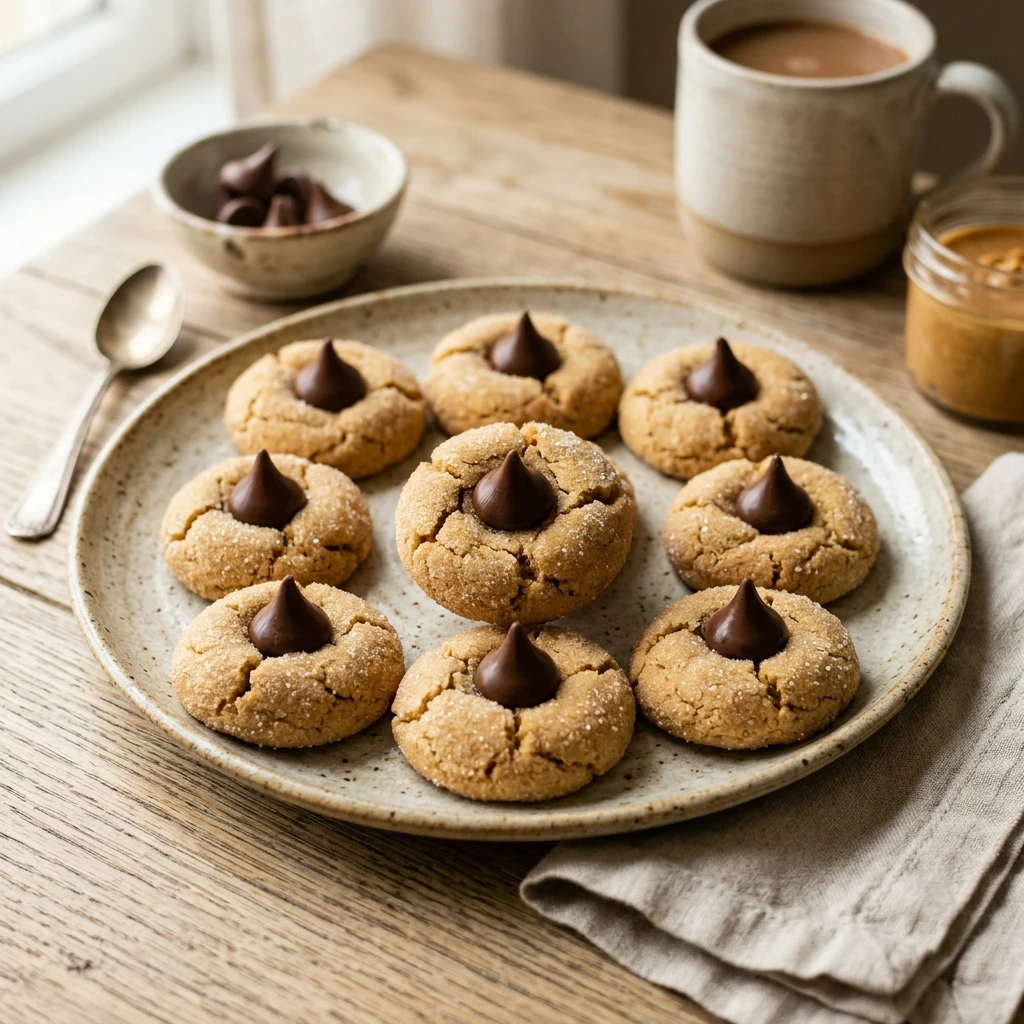
These cookies are a staple for a reason. First, the flavor combination of salty peanut butter and sweet milk chocolate is unbeatable. Second, they are incredibly easy to make with basic pantry staples, making them a great project for baking with kids. Finally, they look impressive on any dessert platter. The “blossom” shape created when you press the chocolate into the warm cookie is iconic and festive. If you need a reliable crowd-pleaser that stays soft for days, this is the recipe for you.
Ingredients
- 1/2 cup granulated sugar (plus extra for rolling)
- 1/2 cup packed brown sugar
- 1/2 cup creamy peanut butter
- 1/2 cup softened unsalted butter
- 1 large egg
- 2 tablespoons milk
- 1 teaspoon vanilla extract
- 1 1/2 cups all-purpose flour
- 1 teaspoon baking soda
- 1/2 teaspoon salt
- 36 Hershey’s Kisses (unwrapped)
Directions
Step 1: Preparation
Preheat your oven to 375°F (190°C). Line two large baking sheets with parchment paper or silicone baking mats. Unwrapping all the Hershey’s Kisses now saves time later; place them in a small bowl and set them aside. If your kitchen is very warm, keep the chocolate in the refrigerator until needed so they hold their shape better.
Step 2: Cream the Butter and Sugars
In a large mixing bowl, beat the softened butter, granulated sugar, and brown sugar together until the mixture is light and fluffy. This usually takes about 2 to 3 minutes with an electric mixer. Add the peanut butter and mix again until fully incorporated. Drop in the egg, milk, and vanilla extract, beating on medium speed until the batter is smooth.
Step 3: Combine Dry Ingredients
In a separate medium bowl, whisk together the all-purpose flour, baking soda, and salt. Gradually add these dry ingredients to the wet peanut butter mixture. Mix on low speed just until the flour streaks disappear. Be careful not to overmix, as this can make the cookies tough instead of tender.
Step 4: Roll and Bake
Shape the dough into 1-inch balls (about a tablespoon of dough per ball). Roll each ball in a small bowl of granulated sugar until evenly coated. Place the balls 2 inches apart on the prepared cookie sheets. Bake for 8 to 10 minutes, or until the edges are just lightly golden. The centers will still look slightly soft, which is perfect.
Step 5: Plating and Finishing
Immediately after removing the cookies from the oven, press a Hershey’s Kiss firmly into the center of each warm cookie. The cookie will crack slightly around the edges, creating the signature “blossom” look. Let the cookies sit on the baking sheet for 5 minutes before moving them to a wire rack to cool completely. The chocolate will soften from the heat; do not touch them until the chocolate has re-hardened.
Expert Tips for Perfect Peanut Butter Blossoms with Hershey Kisses
To get the best results, always use standard creamy peanut butter rather than the “natural” oils-on-top variety. Natural peanut butter can be too oily and cause the cookies to spread too much. Another great tip is to freeze your Hershey’s Kisses for 15 minutes before baking. This prevents them from melting into a puddle when they hit the hot cookie. Finally, don’t overbake! These cookies should be soft; if they look “done” in the oven, they are likely overcooked. Pull them out when they are just set.
Delicious Variations
While the classic milk chocolate kiss is traditional, you can easily swap it out. Try using Dark Chocolate Kisses for a richer flavor, or “Hug” Kisses (white and milk chocolate swirl) for a decorative touch. You can also roll the dough in colored sanding sugar—red or green for Christmas, or orange for Halloween—to match any holiday theme. For an extra nutty crunch, roll the dough balls in finely chopped peanuts instead of granulated sugar.
Frequently Asked Questions
Can I use crunchy peanut butter?
Yes, you can use crunchy peanut butter if you prefer extra texture, though the traditional recipe calls for creamy to maintain a soft, smooth dough.
How do I store these cookies?
Store them in an airtight container at room temperature for up to 5 days. Ensure the chocolate has fully set before stacking them to avoid a mess.
Can I freeze the dough?
Absolutely! Roll the dough into balls but do not coat them in sugar. Freeze on a tray, then transfer to a bag. Thaw, roll in sugar, and bake as directed when ready.
Why did my chocolate kisses melt?
Kisses will naturally soften from the heat of the cookie. To help them keep their shape, you can chill the chocolate before using or pop the finished cookies in the fridge for 10 minutes after adding the Kisses.
Can I make these gluten-free?
Yes, you can substitute the all-purpose flour with a 1:1 gluten-free baking flour blend. Most other ingredients, including Hershey’s Kisses, are naturally gluten-free.
Conclusion
Peanut Butter Blossoms with Hershey Kisses are more than just a recipe; they are a timeless tradition. With their soft texture and the perfect balance of salty and sweet, they are guaranteed to disappear quickly from any dessert table. Simple to bake and delightful to eat, these cookies are a must-have in every baker’s repertoire. Grab your ingredients and start rolling—your kitchen is about to smell amazing!


Peanut Butter Blossoms with Hershey Kisses
- Total Time: 30 minutes
- Diet: Vegetarian
Ingredients
- 1/2 cup granulated sugar (plus extra for rolling)
- 1/2 cup packed brown sugar
- 1/2 cup creamy peanut butter
- 1/2 cup softened unsalted butter
- 1 large egg
- 2 tablespoons milk
- 1 teaspoon vanilla extract
- 1 1/2 cups all-purpose flour
- 1 teaspoon baking soda
- 1/2 teaspoon salt
- 36 Hershey’s Kisses (unwrapped)
Instructions
- Preheat your oven to 375°F (190°C). Line two large baking sheets with parchment paper or silicone baking mats. Unwrapping all the Hershey’s Kisses now saves time later; place them in a small bowl and set them aside. If your kitchen is very warm, keep the chocolate in the refrigerator until needed so they hold their shape better.
- In a large mixing bowl, beat the softened butter, granulated sugar, and brown sugar together until the mixture is light and fluffy. This usually takes about 2 to 3 minutes with an electric mixer. Add the peanut butter and mix again until fully incorporated. Drop in the egg, milk, and vanilla extract, beating on medium speed until the batter is smooth.
- In a separate medium bowl, whisk together the all-purpose flour, baking soda, and salt. Gradually add these dry ingredients to the wet peanut butter mixture. Mix on low speed just until the flour streaks disappear. Be careful not to overmix, as this can make the cookies tough instead of tender.
- Shape the dough into 1-inch balls (about a tablespoon of dough per ball). Roll each ball in a small bowl of granulated sugar until evenly coated. Place the balls 2 inches apart on the prepared cookie sheets. Bake for 8 to 10 minutes, or until the edges are just lightly golden. The centers will still look slightly soft, which is perfect.
- Immediately after removing the cookies from the oven, press a Hershey’s Kiss firmly into the center of each warm cookie. The cookie will crack slightly around the edges, creating the signature “blossom” look. Let the cookies sit on the baking sheet for 5 minutes before moving them to a wire rack to cool completely. The chocolate will soften from the heat; do not touch them until the chocolate has re-hardened.
- Cook Time: 30 minutes