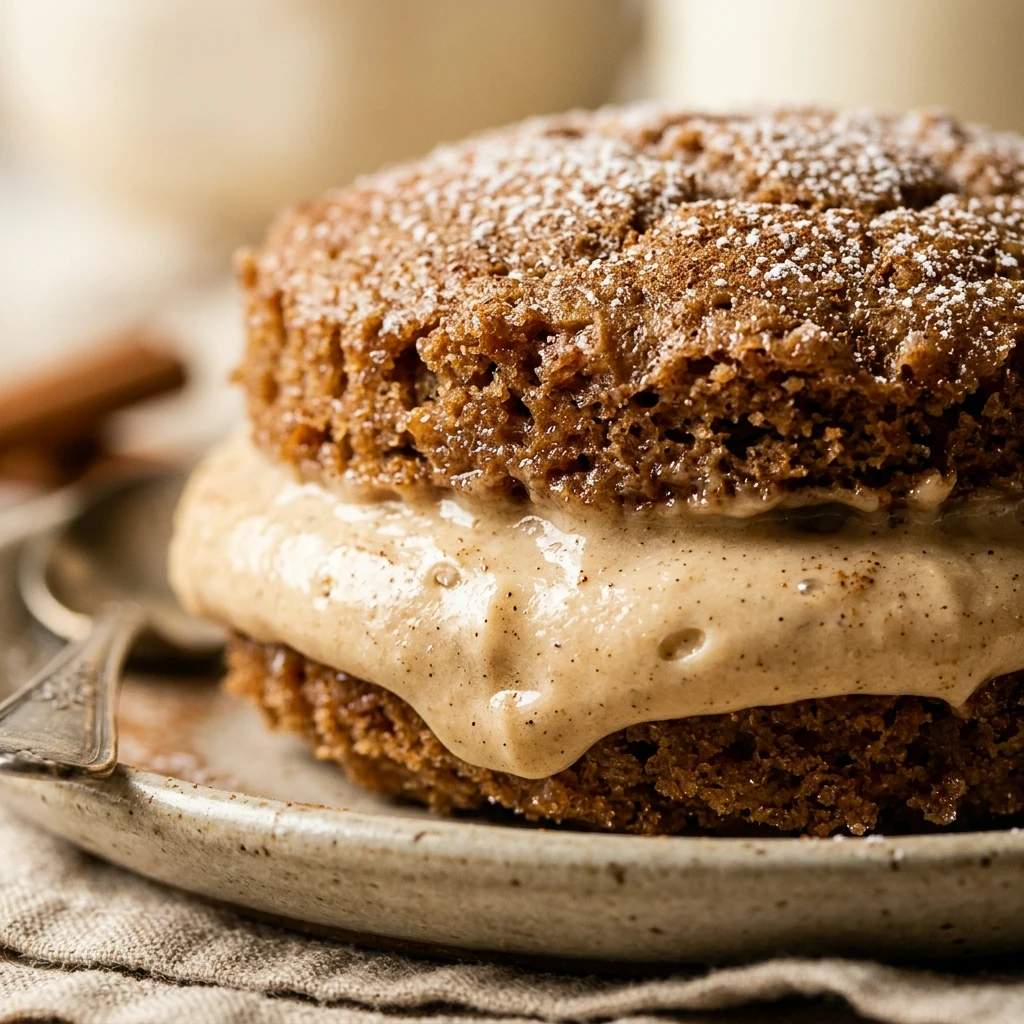
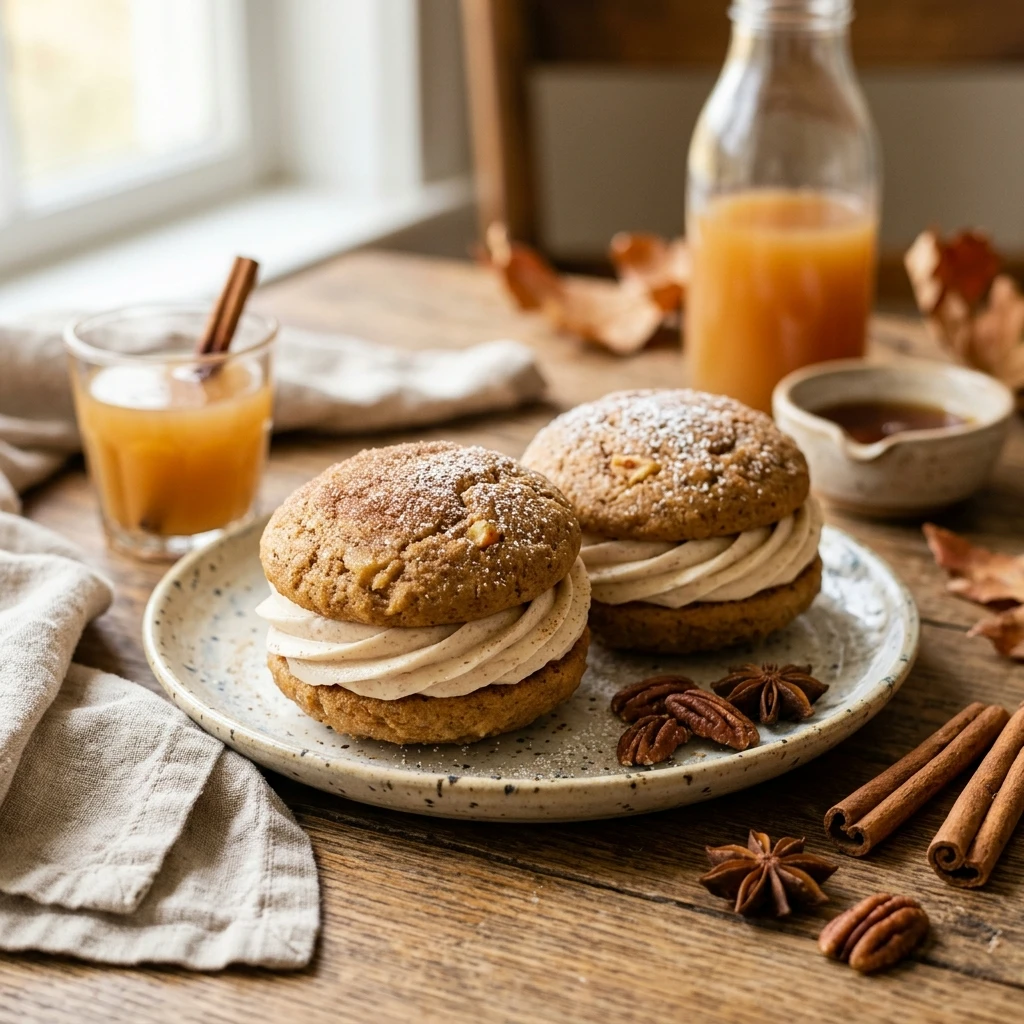
Imagine the crisp autumn air, the scent of fallen leaves, and the warmth of a cozy kitchen. These Apple Cider Whoopie Pies with Maple Filling capture the very essence of fall in every bite. They aren’t quite a cookie and not quite a cake, but rather a soft, spiced pillow of joy sandwiched around a velvety maple cream. If you are looking for the ultimate dessert to bring to a harvest party or simply want to treat your family to a seasonal delight, these handheld treats are the answer. They offer a sophisticated twist on the classic New England whoopie pie, blending concentrated apple flavor with the woody sweetness of real maple syrup.
Recipe Information
- Prep Time: 30 minutes
- Cook Time: 12 minutes
- Total Time: 42 minutes
- Servings: 12 sandwiches
- Difficulty: Medium
Nutrition values
- Calories: 345 kcal
- Protein: 3g
- Carbs: 52g
Why Make This Apple Cider Whoopie Pies with Maple Filling
These whoopie pies stand out because they use a reduced cider technique, which packs a massive punch of apple flavor without making the batter too runny. Unlike standard spiced cookies, the texture is incredibly light and springy. The maple filling provides a creamy, earthy contrast to the warm spices of cinnamon, nutmeg, and ginger. They are naturally portable, making them perfect for picnics or school lunches, and they look stunning on any dessert table. Making these from scratch allows you to control the quality of the ingredients, ensuring a far superior taste to anything you would find in a grocery store.
Ingredients
For the Cookies:
- 1 cup fresh apple cider (reduced to 1/4 cup)
- 2 cups all-purpose flour
- 1 teaspoon baking powder
- 1/2 teaspoon baking soda
- 1 teaspoon ground cinnamon
- 1/2 teaspoon ground ginger
- 1/4 teaspoon ground nutmeg
- 1/2 teaspoon salt
- 1/2 cup unsalted butter, softened
- 1/2 cup packed light brown sugar
- 1/4 cup granulated sugar
- 1 large egg, room temperature
- 1/2 teaspoon vanilla extract
For the Maple Filling:
- 1/2 cup unsalted butter, softened
- 2 cups powdered sugar
- 3 tablespoons pure maple syrup
- 1/2 teaspoon maple extract (optional for extra punch)
- A pinch of salt
Directions
Step 1: Reduce the Apple Cider
Pour the apple cider into a small saucepan over medium-high heat. Simmer the cider until it reduces to exactly 1/4 cup. This concentrated liquid provides the deep apple flavor. Set it aside to cool completely before using in the batter.
Step 2: Prepare Oven and Dry Ingredients
Preheat your oven to 350°F (175°C). Line two large baking sheets with parchment paper or silicone baking mats. In a medium bowl, whisk together the flour, baking powder, baking soda, cinnamon, ginger, nutmeg, and salt until well combined.
Step 3: Cream the Butter and Sugars
In a large mixing bowl or a stand mixer, beat the softened butter with the brown sugar and granulated sugar. Mix on medium-high speed for about 3 minutes until the mixture is light and fluffy. Add the egg and vanilla extract, beating until fully incorporated.
Step 4: Mix the Batter and Bake
Turn the mixer to low speed. Add half of the dry ingredients, then the cooled cider reduction, followed by the remaining dry ingredients. Mix just until the flour streaks disappear. Scoop rounded tablespoons of batter onto the prepared pans, spacing them 2 inches apart. Bake for 10–12 minutes until the tops spring back when lightly touched. Let them cool completely on a wire rack.
Step 5: Prepare the Maple Filling
While the cakes cool, prepare the frosting. Beat the softened butter until smooth. Gradually add the powdered sugar, maple syrup, maple extract, and salt. Whip on high speed for 2–3 minutes until the filling is light, airy, and hold its shape.
Step 6: Assemble the Whoopie Pies
Match up the cooled cakes into pairs of similar size. Pipe or spread a generous amount of maple filling onto the flat side of one cake. Press the flat side of a second cake on top to create a sandwich. Repeat with all remaining cakes. Serve immediately or store for later.
Expert Tips for Perfect Apple Cider Whoopie Pies with Maple Filling
To ensure success, never skip the cider reduction step. Regular cider is too watery and will ruin the consistency of the batter. Use room temperature eggs and butter to ensure a smooth, emulsified batter that rises evenly. When scooping the batter, use a small cookie scoop to keep the sizes consistent so the sandwiches match up perfectly. If your kitchen is warm, chill the filling for 15 minutes before piping to help it hold its shape between the cakes.
Delicious Variations
You can customize these treats in several ways. For a crunchier texture, roll the edges of the assembled pies in chopped toasted pecans. If you love a “salty-sweet” profile, add a tiny drizzle of salted caramel inside the filling. For a festive look, dust the tops of the cakes with a mixture of cinnamon and sugar before baking. You can also swap the maple filling for a tangy cream cheese frosting if you prefer a bit of acidity to balance the sweetness.
Frequently Asked Questions
How should I store these whoopie pies?
Store them in an airtight container. They stay fresh at room temperature for up to 2 days, or in the refrigerator for up to 5 days. If refrigerated, let them sit at room temperature for 15 minutes before eating.
Can I freeze these?
Yes! Wrap each assembled pie individually in plastic wrap and store them in a freezer-safe bag for up to 3 months. Thaw in the refrigerator overnight before serving.
Why did my whoopie pies turn out flat?
Flat cakes usually happen if the butter was too melted or if the batter was overmixed. Ensure your butter is “cool-room temperature” and stop mixing as soon as the flour is incorporated.
Can I use maple-flavored syrup instead of pure maple syrup?
For the best flavor, use 100% pure maple syrup (Grade A Dark is great). Pancake syrup is mostly corn syrup and lacks the complex woody notes needed for the filling.
Do I have to reduce the cider?
Yes, reducing the cider is essential. It concentrates the sugars and the apple flavor. Without this step, the cakes will taste bland and may have a spongy, wet texture.
Conclusion
Apple Cider Whoopie Pies with Maple Filling are the ultimate comfort food for the autumn season. With their soft, spiced exterior and rich, maple-infused center, they offer a nostalgic yet elevated dessert experience. Whether you are sharing them with friends or enjoying one with a hot cup of coffee, these pies are sure to become a seasonal favorite in your household. Happy baking!

Apple Cider Whoopie Pies with Maple Filling
- Total Time: 42 minutes
- Diet: Vegetarian
Ingredients
- For the Cookies:
- 1 cup fresh apple cider (reduced to 1/4 cup)
- 2 cups all-purpose flour
- 1 teaspoon baking powder
- 1/2 teaspoon baking soda
- 1 teaspoon ground cinnamon
- 1/2 teaspoon ground ginger
- 1/4 teaspoon ground nutmeg
- 1/2 teaspoon salt
- 1/2 cup unsalted butter, softened
- 1/2 cup packed light brown sugar
- 1/4 cup granulated sugar
- 1 large egg, room temperature
- 1/2 teaspoon vanilla extract
- For the Maple Filling:
- 1/2 cup unsalted butter, softened
- 2 cups powdered sugar
- 3 tablespoons pure maple syrup
- 1/2 teaspoon maple extract (optional for extra punch)
- A pinch of salt
Instructions
- Step 1: Reduce the Apple Cider: Pour the apple cider into a small saucepan over medium-high heat. Simmer the cider until it reduces to exactly 1/4 cup. This concentrated liquid provides the deep apple flavor. Set it aside to cool completely before using in the batter.
- Step 2: Prepare Oven and Dry Ingredients: Preheat your oven to 350°F (175°C). Line two large baking sheets with parchment paper or silicone baking mats. In a medium bowl, whisk together the flour, baking powder, baking soda, cinnamon, ginger, nutmeg, and salt until well combined.
- Step 3: Cream the Butter and Sugars: In a large mixing bowl or a stand mixer, beat the softened butter with the brown sugar and granulated sugar. Mix on medium-high speed for about 3 minutes until the mixture is light and fluffy. Add the egg and vanilla extract, beating until fully incorporated.
- Step 4: Mix the Batter and Bake: Turn the mixer to low speed. Add half of the dry ingredients, then the cooled cider reduction, followed by the remaining dry ingredients. Mix just until the flour streaks disappear. Scoop rounded tablespoons of batter onto the prepared pans, spacing them 2 inches apart. Bake for 10–12 minutes until the tops spring back when lightly touched. Let them cool completely on a wire rack.
- Step 5: Prepare the Maple Filling: While the cakes cool, prepare the frosting. Beat the softened butter until smooth. Gradually add the powdered sugar, maple syrup, maple extract, and salt. Whip on high speed for 2–3 minutes until the filling is light, airy, and hold its shape.
- Step 6: Assemble the Whoopie Pies: Match up the cooled cakes into pairs of similar size. Pipe or spread a generous amount of maple filling onto the flat side of one cake. Press the flat side of a second cake on top to create a sandwich. Repeat with all remaining cakes. Serve immediately or store for later.
- Cook Time: 42 minutes