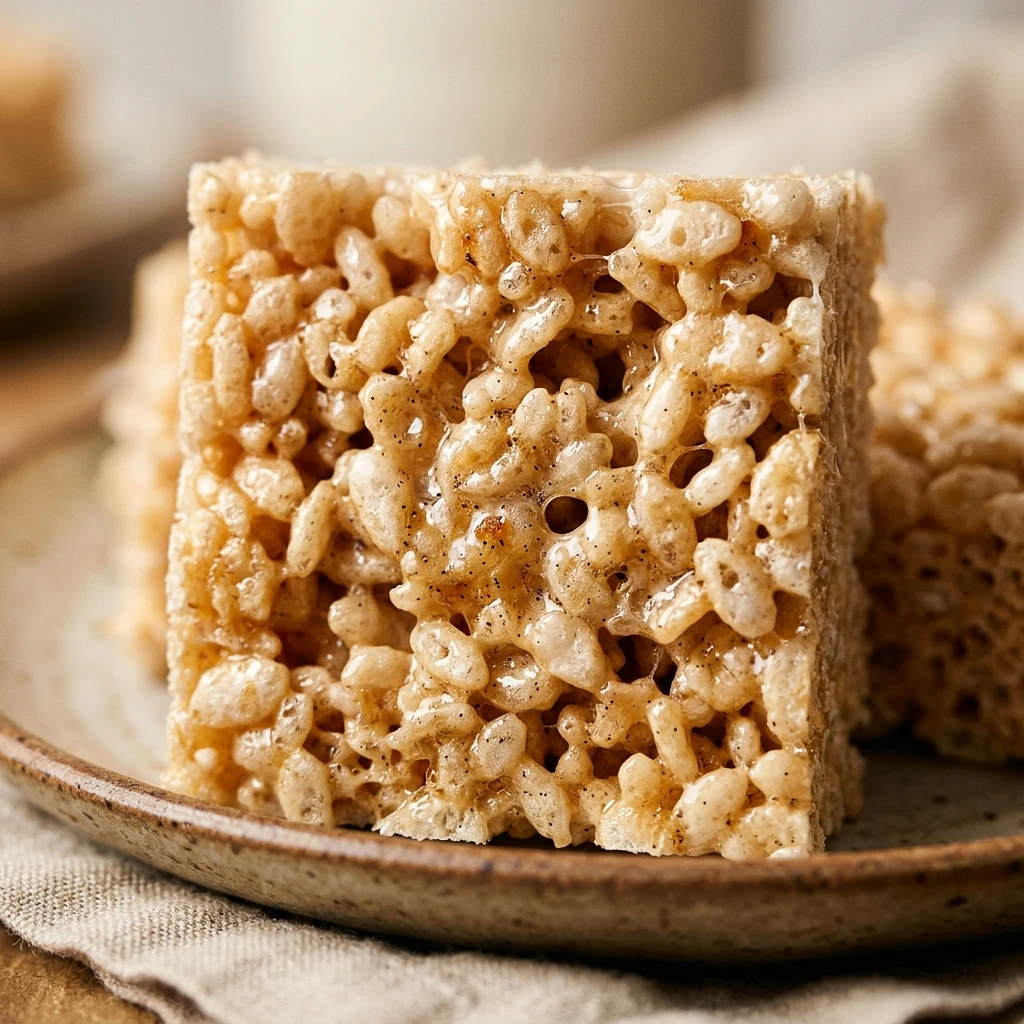
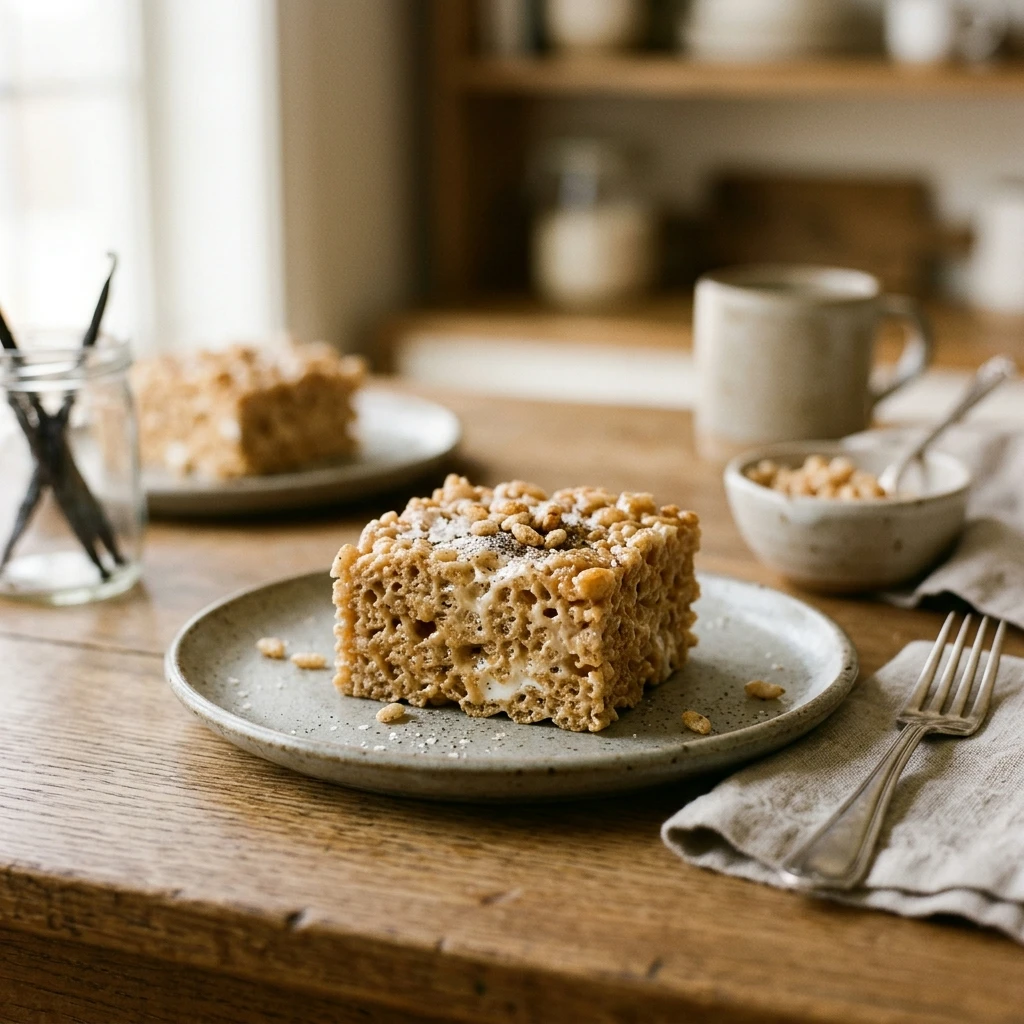
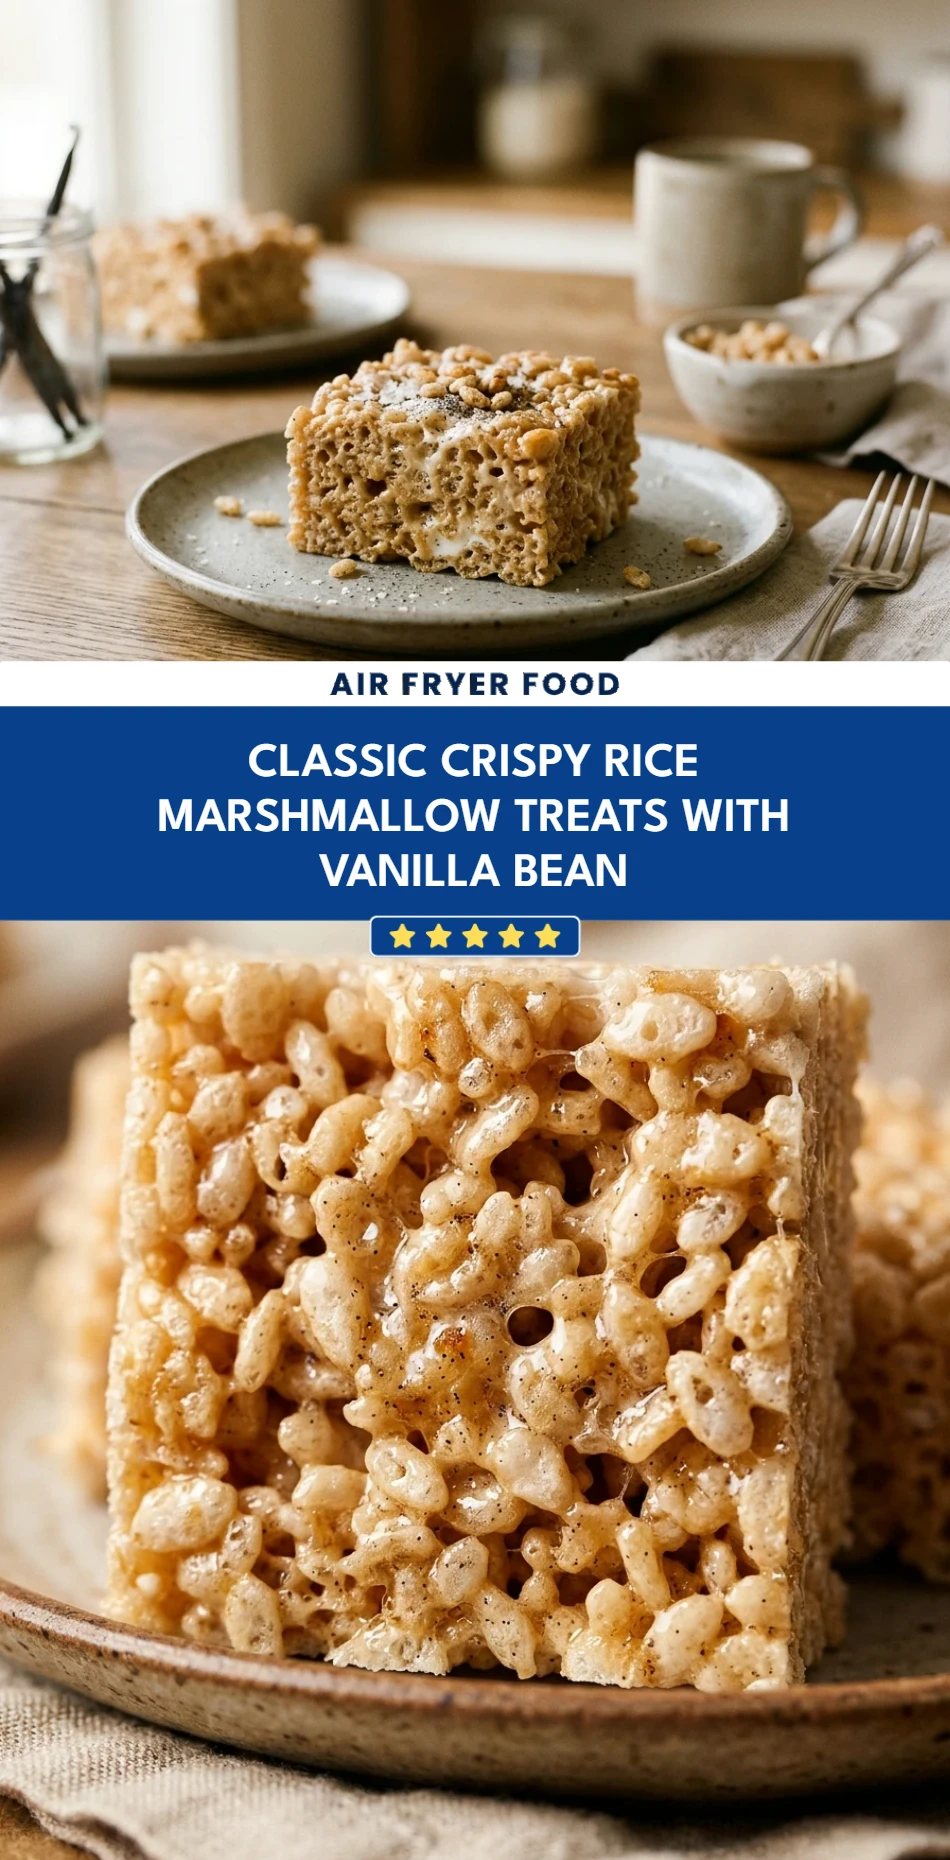
Nothing beats the nostalgic crunch of a crispy rice treat, but we are taking this childhood favorite to a gourmet level. By infusing the gooey marshmallow base with real vanilla bean seeds and a hint of browned butter, you transform a simple snack into a sophisticated dessert. These treats are thick, chewy, and speckled with those beautiful tiny black vanilla seeds that signal high-quality flavor. Whether you are packing them in a lunchbox or serving them at a party, these elevated classics disappear in seconds.
Recipe Information
- Prep Time: 10 minutes
- Cook Time: 10 minutes
- Total Time: 20 minutes
- Servings: 16 squares
- Difficulty: Easy
Nutrition values
- Calories: 175 kcal
- Protein: 1.5g
- Carbs: 34g
Why Make This Classic Crispy Rice Marshmallow Treats with Vanilla Bean
Most store-bought treats taste like corn syrup and artificial flavorings. This homemade version uses high-quality butter and real vanilla beans to create a depth of flavor you cannot find in a box. The addition of salt balances the sweetness, while the vanilla bean adds an aromatic elegance. It is a quick, no-bake recipe that yields professional results with very little effort.
Ingredients
- 6 cups Crispy Rice Cereal
- 10 ounces Mini Marshmallows (fresh is best)
- 1/2 cup Unsalted Butter (1 stick)
- 1 Whole Vanilla Bean (split and scraped)
- 1/2 teaspoon Sea Salt
- Extra butter or cooking spray for greasing the pan
Directions
Step 1: Preparation
Grease a 9×9-inch square baking pan generously with butter or line it with parchment paper. Leave a little overhang with the parchment paper to make the treats easy to lift out later. Set the pan aside so it is ready as soon as the mixture is hot.
Step 2: Brown the Butter and Vanilla
Place a large pot over medium-low heat. Add the stick of butter and let it melt completely. Once melted, continue cooking the butter, stirring occasionally, until it begins to foam and turn a light golden brown. It should smell nutty. Immediately stir in the scraped vanilla bean seeds and the sea salt. This infuses the fat with that deep vanilla aroma.
Step 3: Melt the Marshmallows
Turn the heat to the lowest setting. Add the mini marshmallows to the browned butter. Stir constantly with a silicone spatula until the marshmallows are about 90% melted. Remove the pot from the heat and continue stirring until the mixture is completely smooth. Residual heat will finish the job without overcooking the sugar, which keeps the treats soft.
Step 4: Incorporate the Cereal
Pour the crispy rice cereal into the marshmallow mixture. Use your spatula to gently fold the cereal into the gooey marshmallow base. Ensure every piece of cereal is evenly coated with the vanilla-speckled mixture. Work quickly but gently to avoid crushing the cereal pieces.
Step 5: Press and Set
Transfer the mixture into your prepared pan. Use the back of a buttered spoon or a piece of wax paper to gently press the mixture into the corners. Do not pack the treats down tightly; a light touch ensures a chewy, tender texture rather than a hard, dense block. Let the treats sit at room temperature for at least 30 minutes before slicing into 16 squares.
Expert Tips for Perfect Classic Crispy Rice Marshmallow Treats with Vanilla Bean
To get the best results, always use fresh marshmallows. Old, stale marshmallows do not melt well and result in a dry, brittle treat. When browning the butter, watch it closely, as it can go from golden to burnt in seconds. If you do not have a whole vanilla bean, you can substitute it with two teaspoons of vanilla bean paste to keep those visible black specks. Finally, never refrigerate these treats; the cold air makes the sugar crystalize and turns them rock hard.
Delicious Variations
You can easily customize this base recipe. For a “Salted Caramel” vibe, drizzle the finished treats with melted caramel and an extra pinch of flaky sea salt. If you love chocolate, stir in half a cup of mini chocolate chips after the cereal has cooled slightly so they don’t fully melt. For a festive look, add colorful sprinkles during the folding process. You can even brown the butter a bit longer for a deeper, toastier flavor profile.
Frequently Asked Questions
Can I use large marshmallows instead of mini ones?
Yes, you can use large marshmallows. You will need about 40 large marshmallows to equal a 10-ounce bag of minis. Cut them into smaller pieces before melting to ensure they melt evenly and quickly.
How do I store these treats to keep them fresh?
Store your treats in an airtight container at room temperature. They stay fresh and chewy for about 2 to 3 days. If you need to stack them, place a layer of parchment paper between the layers to prevent sticking.
Can I make this recipe vegan?
You can make a vegan version by using vegan-friendly marshmallows and a plant-based butter substitute. Note that vegan marshmallows sometimes take longer to melt and may have a slightly different setting consistency.
What is the best way to scrape a vanilla bean?
Lay the bean flat on a cutting board. Use a sharp paring knife to slice it lengthwise down the middle. Use the back of the knife to scrape the “caviar” (the seeds) from the inside of the pod.
Why are my treats too hard?
Treats usually turn out hard if the marshmallows were melted over heat that was too high, or if you pressed them too firmly into the pan. Low heat and a gentle touch are the secrets to a soft, chewy texture.
Conclusion
These Classic Crispy Rice Marshmallow Treats with Vanilla Bean prove that simple ingredients can produce extraordinary results. By taking the extra step to brown the butter and use real vanilla, you create a snack that appeals to both children and adults. They are quick to make, require no oven time, and offer a comforting flavor that never goes out of style. Give this elevated recipe a try the next time you need a crowd-pleasing dessert!
Classic Crispy Rice Marshmallow Treats with Vanilla Bean
- Total Time: 20 minutes
- Diet: Vegetarian
Ingredients
- 6 cups Crispy Rice Cereal
- 10 ounces Mini Marshmallows (fresh is best)
- 1/2 cup Unsalted Butter (1 stick)
- 1 Whole Vanilla Bean (split and scraped)
- 1/2 teaspoon Sea Salt
- Extra butter or cooking spray for greasing the pan
Instructions
- Step 1: Preparation Grease a 9×9-inch square baking pan generously with butter or line it with parchment paper. Leave a little overhang with the parchment paper to make the treats easy to lift out later. Set the pan aside so it is ready as soon as the mixture is hot.
- Step 2: Brown the Butter and Vanilla Place a large pot over medium-low heat. Add the stick of butter and let it melt completely. Once melted, continue cooking the butter, stirring occasionally, until it begins to foam and turn a light golden brown. It should smell nutty. Immediately stir in the scraped vanilla bean seeds and the sea salt. This infuses the fat with that deep vanilla aroma.
- Step 3: Melt the Marshmallows Turn the heat to the lowest setting. Add the mini marshmallows to the browned butter. Stir constantly with a silicone spatula until the marshmallows are about 90% melted. Remove the pot from the heat and continue stirring until the mixture is completely smooth. Residual heat will finish the job without overcooking the sugar, which keeps the treats soft.
- Step 4: Incorporate the Cereal Pour the crispy rice cereal into the marshmallow mixture. Use your spatula to gently fold the cereal into the gooey marshmallow base. Ensure every piece of cereal is evenly coated with the vanilla-speckled mixture. Work quickly but gently to avoid crushing the cereal pieces.
- Step 5: Press and Set Transfer the mixture into your prepared pan. Use the back of a buttered spoon or a piece of wax paper to gently press the mixture into the corners. Do not pack the treats down tightly; a light touch ensures a chewy, tender texture rather than a hard, dense block. Let the treats sit at room temperature for at least 30 minutes before slicing into 16 squares.
- Cook Time: 20 minutes