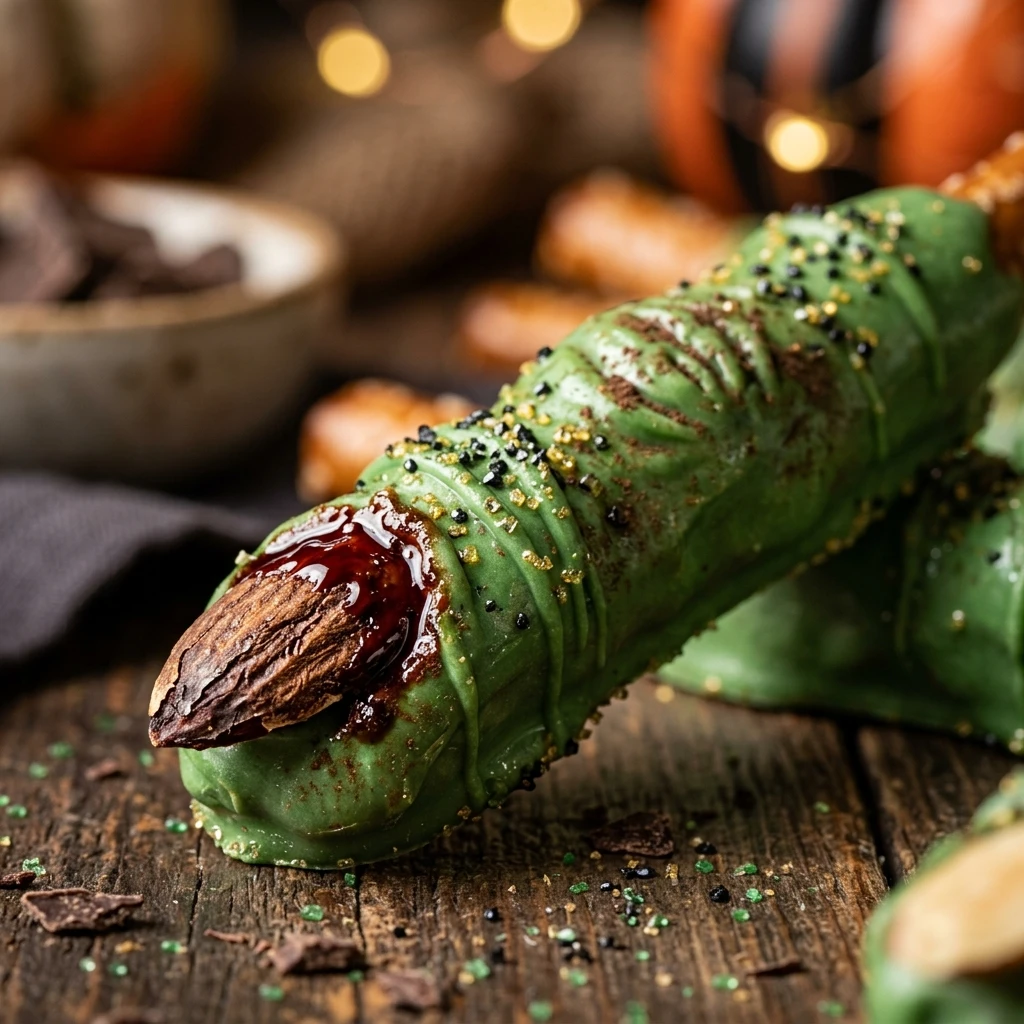
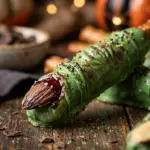
Get ready to spook your guests with the ultimate Halloween treat that is as creepy as it is delicious! These Witch Finger Pretzel Rods are the perfect combination of salty and sweet, featuring a crunchy pretzel center coated in eerie green chocolate and topped with a crunchy almond fingernail. Whether you are hosting a haunted house party or looking for a fun activity to do with the kids, these ghoulish snacks are guaranteed to be the star of your dessert table. They require zero baking and only a handful of ingredients, making them a stress-free addition to your festive autumn spread. Let’s get brewing in the kitchen!
Recipe Information
- Prep Time: 25 minutes
- Cook Time: 5 minutes
- Total Time: 30 minutes
- Servings: 24 pretzels
- Difficulty: Easy
Nutrition values
- Calories: 115 kcal
- Protein: 2g
- Carbs: 19g
Why Make This Witch Finger Pretzel Rods Halloween Dessert
This recipe is a must-have for the Halloween season because it strikes the perfect balance between “gross-out” fun and genuine tastiness. The saltiness of the pretzel rod cuts through the sweetness of the candy coating, creating a snack that adults and children alike will reach for. Since there is no actual baking involved, it is a safe and engaging project for little helpers. Plus, these treats are incredibly shelf-stable, meaning you can make them a few days in advance of your big party without worrying about them going stale or losing their crunch.
Ingredients
- 24 Pretzel rods (full size)
- 12 oz Green candy melts (vibrant green or “slime” green)
- 24 Sliced almonds (blanched work best)
- 1 teaspoon Coconut oil or vegetable shortening (optional, for thinning)
- Red decorating gel or red edible ink marker (optional, for blood effects)
Directions
Step 1: Preparation
Line a large baking sheet with parchment paper or a silicone baking mat. This prevents the candy coating from sticking to the surface. Sort through your sliced almonds to find 24 pieces that look most like fingernails. If you want a more realistic “bloody” look, you can dip the tips of the almonds into red decorating gel or paint one side with red edible ink before you begin the dipping process.
Step 2: Melt the Candy Coating
Place the green candy melts in a microwave-safe bowl. Heat them in 30-second intervals, stirring thoroughly between each session. If the candy feels too thick to dip smoothly, stir in a teaspoon of coconut oil or shortening to reach a silky consistency. Once the mixture is completely smooth and melted, pour it into a tall, narrow glass. This makes dipping the long pretzel rods much easier and ensures an even coat.
Step 3: Dip the Pretzel Rods
Take one pretzel rod and dip it into the tall glass of melted green candy. Leave about two inches of the pretzel uncoated at the bottom to serve as a “handle.” Lift the pretzel out and let the excess candy drip back into the glass. Gently tap the pretzel against the rim to ensure a smooth finish. Lay the coated pretzel onto your prepared parchment paper.
Step 4: Add the Finger Details
While the candy coating is still wet, place a sliced almond at the very tip of the pretzel to create the fingernail. Press it down slightly so it sticks. To create the look of knuckles, wait about one minute for the candy to slightly firm up, then use a toothpick or a clean knife to score three or four horizontal lines in the middle of the “finger.” This adds a realistic, wrinkled texture that makes the fingers look extra creepy.
Step 5: Set and Serve
Repeat the process for all remaining pretzels. Allow the Witch Finger Pretzel Rods to sit at room temperature for at least 30 minutes until the candy coating is completely hard. If you are in a rush, you can place the baking sheet in the refrigerator for 10 minutes. Once set, you can add extra “blood” by dabbing red gel around the base of the almond nail or at the bottom of the finger where it was “severed.”
Expert Tips for Perfect Witch Finger Pretzel Rods Halloween Dessert
To get the smoothest finish, always use a tall glass for dipping rather than a wide bowl. This allows you to coat the pretzel in one single motion, preventing lumps. If your candy melts start to harden while you are working, simply pop the glass back into the microwave for 15 seconds and stir. For the most realistic knuckles, don’t score the lines immediately; waiting 60 seconds allows the candy to hold the shape of the lines without the chocolate flowing back together. Finally, if you are worried about the almonds falling off, you can add a tiny dot of extra melted candy to the back of the almond before pressing it onto the pretzel.
Delicious Variations
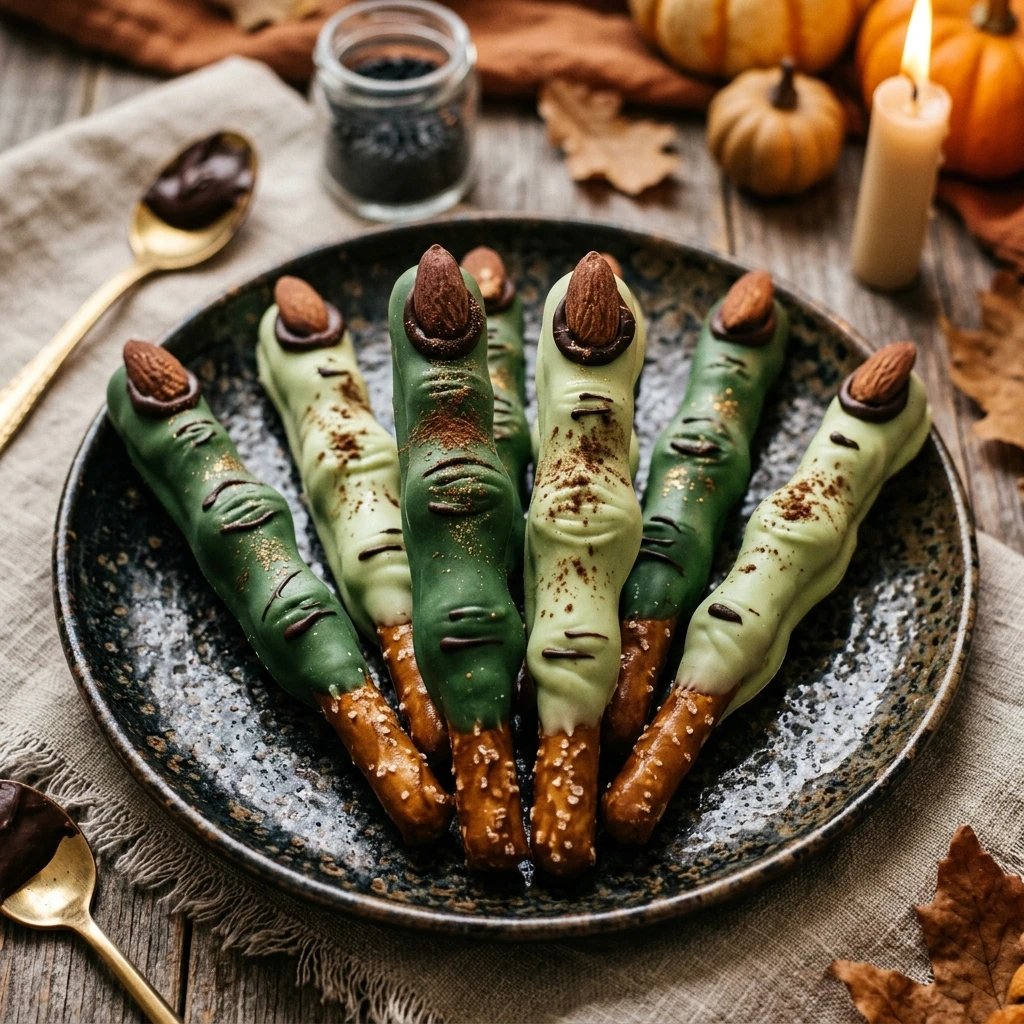
You can easily customize these treats to fit any spooky theme. For Zombie Fingers, use light blue or grey candy melts and add some black edible dust to make them look “dusty.” If you want Wicked Witch Fingers, use dark purple candy melts and paint the almond nails with black food coloring. For those who want a nut-free version, replace the sliced almonds with green pumpkin seeds or even a piece of black fondant shaped like a nail. You can also sprinkle a little sea salt over the wet candy for an extra savory-sweet kick.
Frequently Asked Questions
How should I store these pretzel rods?
Store your finished witch fingers in an airtight container at room temperature. Keep them in a cool, dry place away from direct sunlight or heat sources, which could melt the candy coating. They will stay fresh and crunchy for up to two weeks.
Can I use white chocolate instead of candy melts?
Yes, you can use white chocolate chips or chopped white chocolate bars. However, you must use oil-based food coloring specifically designed for chocolate. Traditional water-based food coloring will cause the chocolate to “seize” and become a clumpy mess.
Why is my candy coating cracking?
Cracking usually happens if there is a extreme temperature difference. If you put the pretzels in the freezer to set, the pretzel expands and contracts differently than the chocolate, leading to cracks. It is best to let them set at room temperature or in a cool refrigerator.
Can I make these gluten-free?
Absolutely! Simply swap the standard pretzel rods for your favorite brand of gluten-free pretzel rods. Most candy melts are gluten-free, but always check the packaging to be certain.
What if I can’t find green candy melts?
If green melts are sold out, buy white candy melts and add green oil-based candy coloring. Alternatively, you can use vibrant green candy bars or even melted white chocolate with a drop of green gel paste (though oil-based is always safer for chocolate).
Conclusion
Witch Finger Pretzel Rods are the quintessential Halloween treat because they combine simple preparation with high-impact visual appeal. They are spooky, crunchy, and satisfy that classic sweet-and-salty craving. By following these easy steps and tips, you will have a batch of terrifyingly tasty snacks that look like they were plucked straight from a cauldron. Set them out in a tall jar or lay them on a platter with some plastic spiders for a presentation that will leave your guests enchanted. Happy Halloween!
Witch Finger Pretzel Rods Halloween Dessert
- Total Time: 30 minutes
- Diet: Gluten-Free (optional)
Ingredients
- 24 Pretzel rods (full size)
- 12 oz Green candy melts (vibrant green or “slime” green)
- 24 Sliced almonds (blanched work best)
- 1 teaspoon Coconut oil or vegetable shortening (optional, for thinning)
- Red decorating gel or red edible ink marker (optional, for blood effects)
Instructions
- Line a large baking sheet with parchment paper or a silicone baking mat. This prevents the candy coating from sticking to the surface. Sort through your sliced almonds to find 24 pieces that look most like fingernails. If you want a more realistic “bloody” look, you can dip the tips of the almonds into red decorating gel or paint one side with red edible ink before you begin the dipping process.
- Place the green candy melts in a microwave-safe bowl. Heat them in 30-second intervals, stirring thoroughly between each session. If the candy feels too thick to dip smoothly, stir in a teaspoon of coconut oil or shortening to reach a silky consistency. Once the mixture is completely smooth and melted, pour it into a tall, narrow glass. This makes dipping the long pretzel rods much easier and ensures an even coat.
- Take one pretzel rod and dip it into the tall glass of melted green candy. Leave about two inches of the pretzel uncoated at the bottom to serve as a “handle.” Lift the pretzel out and let the excess candy drip back into the glass. Gently tap the pretzel against the rim to ensure a smooth finish. Lay the coated pretzel onto your prepared parchment paper.
- While the candy coating is still wet, place a sliced almond at the very tip of the pretzel to create the fingernail. Press it down slightly so it sticks. To create the look of knuckles, wait about one minute for the candy to slightly firm up, then use a toothpick or a clean knife to score three or four horizontal lines in the middle of the “finger.” This adds a realistic, wrinkled texture that makes the fingers look extra creepy.
- Repeat the process for all remaining pretzels. Allow the Witch Finger Pretzel Rods to sit at room temperature for at least 30 minutes until the candy coating is completely hard. If you are in a rush, you can place the baking sheet in the refrigerator for 10 minutes. Once set, you can add extra “blood” by dabbing red gel around the base of the almond nail or at the bottom of the finger where it was “severed.”
- Cook Time: 30 minutes