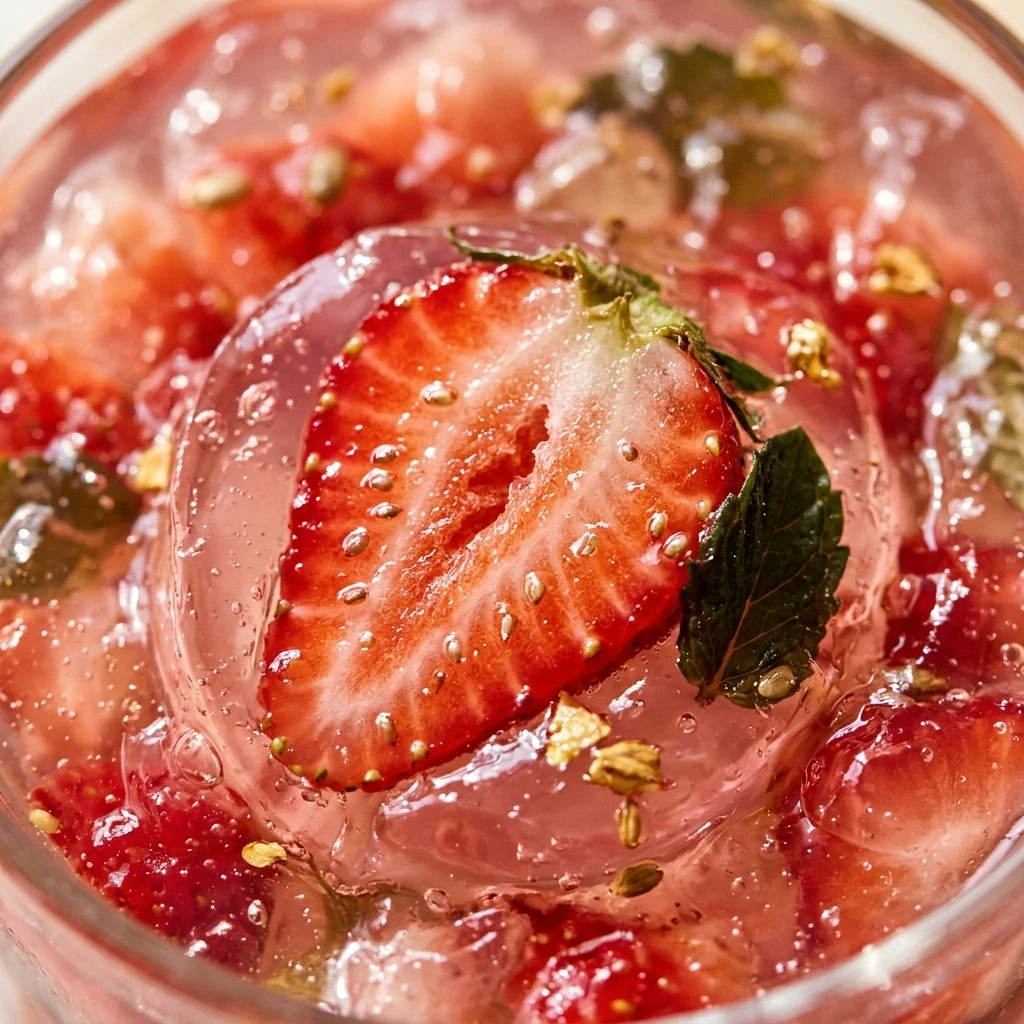
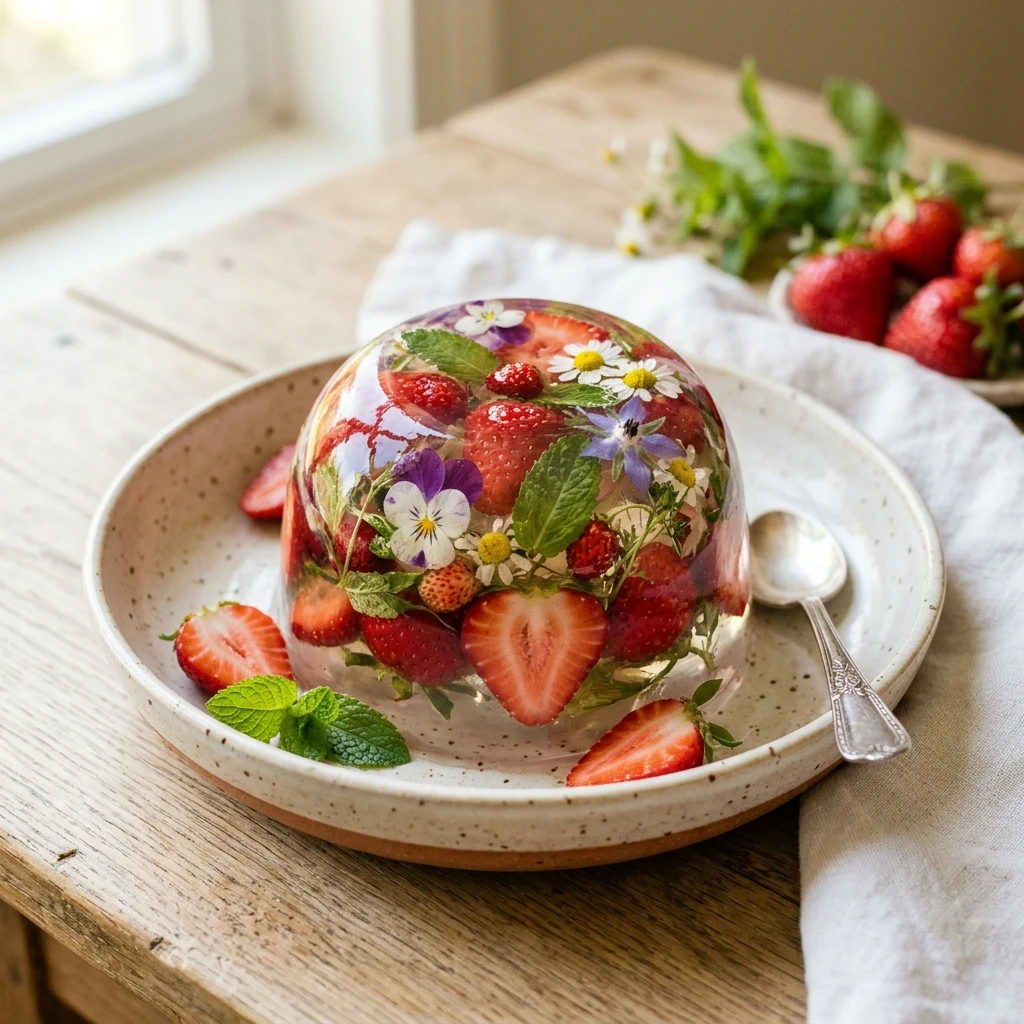
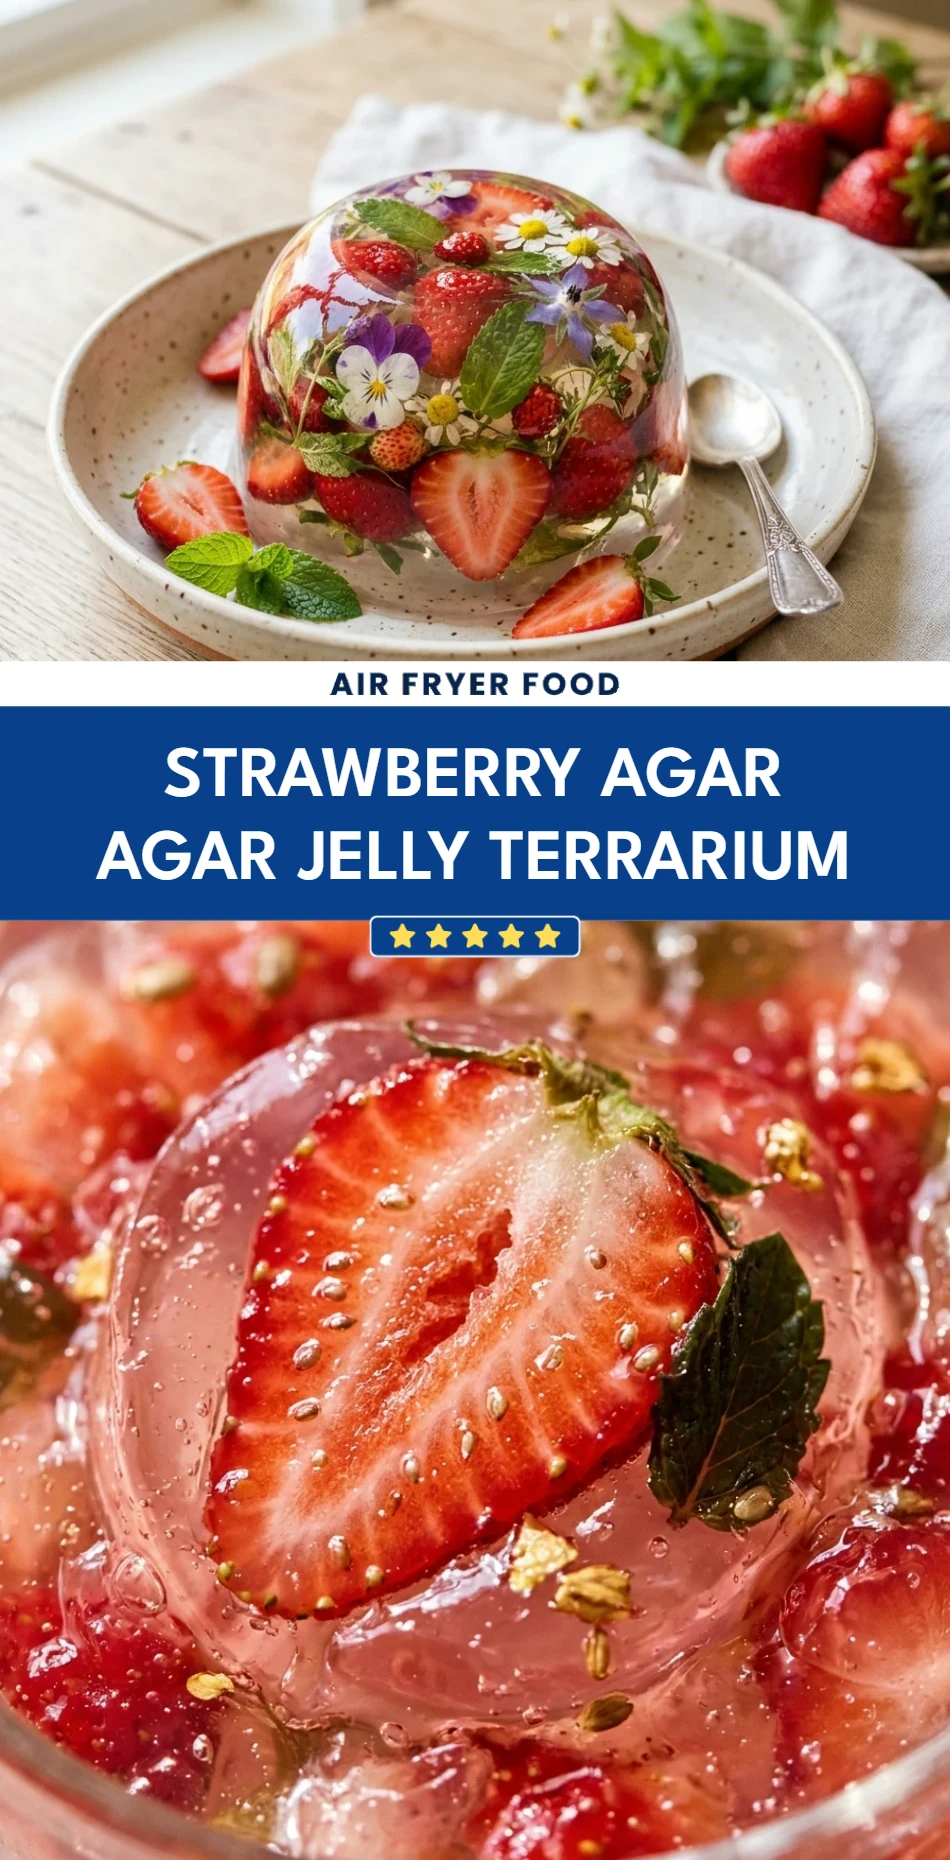
Imagine a dessert that looks like a miniature garden frozen in time. This Strawberry Agar Agar Jelly Terrarium is more than just a sweet treat; it is a piece of edible art that will leave your guests speechless. By using agar agar, a plant-based gelatin alternative derived from seaweed, we create a crystal-clear medium that perfectly showcases vibrant red strawberries and lush green mint “foliage.” It is refreshing, light, and surprisingly simple to assemble once you master the timing. Whether you are hosting a whimsical garden party or looking for a healthy, vegan-friendly dessert, this jelly terrarium is the ultimate showstopper.
Recipe Information
- Prep Time: 20 minutes
- Cook Time: 10 minutes
- Total Time: 30 minutes
- Servings: 4
- Difficulty: Medium
Nutrition values
- Calories: 115 kcal
- Protein: 0.8g
- Carbs: 27g
Why Make This Strawberry Agar Agar Jelly Terrarium
This recipe is a fantastic choice for anyone who loves aesthetics as much as flavor. Unlike traditional gelatin, agar agar sets firmly at room temperature and stays stable, making it perfect for intricate designs. It is naturally vegan and gluten-free, catering to almost any dietary restriction. The combination of fresh, tart strawberries and the subtle sweetness of the clear jelly provides a refreshing palate cleanser after a heavy meal. Plus, it is a fun, creative project that allows you to “landscape” your dessert exactly how you want.
Ingredients
- 2 teaspoons agar agar powder (telephone brand works best)
- 3 cups water
- 1/2 cup granulated sugar (adjust to taste)
- 1 cup fresh strawberries, hulled and sliced or kept whole if small
- 1/2 teaspoon lemon juice (for clarity and brightness)
- Fresh mint leaves for decoration
- Optional: Edible gold leaf or edible flowers for extra flair
Directions
Step 1: Prepare the Fruit and Vessels
Wash your strawberries and mint leaves thoroughly. Pat them dry with a paper towel to ensure no excess water clings to them, which could cause cloudy spots in the jelly. Choose clear glass jars or bowls for your “terrarium” so the design is visible from all sides. Slice some strawberries into rounds and leave others whole to create depth and variety in your arrangement.
Step 2: Boil the Agar Agar Mixture
In a medium saucepan, combine the water and agar agar powder. Whisk them together while the water is still cold to prevent clumping. Place the pan over medium-high heat and bring the mixture to a rolling boil. Stir constantly for about 5 minutes, or until the powder is completely dissolved and the liquid looks transparent. Stir in the sugar and lemon juice, continuing to simmer until the sugar vanishes entirely.
Step 3: Pour the Base Layer
Pour a small amount of the hot agar mixture into the bottom of each glass vessel, filling it about half an inch deep. Let this layer sit for 3 to 5 minutes at room temperature. You want it to become tacky—firm enough to support the fruit, but not completely hardened. This “glue” layer ensures your decorations stay exactly where you place them rather than floating to the top.
Step 4: Arrange the Terrarium Elements
Carefully place your strawberries and mint leaves onto the tacky base layer. Use tweezers for precision if you are using small jars. Position the mint leaves so they look like small ferns or bushes around the “boulders” of strawberries. If you want a 3D effect, lean some fruit slices against the glass walls. Once your design is set, let it rest for another minute to anchor the pieces.
Step 5: Final Pour and Chill
Gently pour the remaining agar mixture over the fruit. If the mixture in your pot has started to thicken, reheat it briefly until it is liquid again. Pour slowly down the side of the glass to avoid creating air bubbles or dislodging your fruit. Fill to the top of the vessel. Leave the jars on the counter until they set, then transfer them to the refrigerator for at least 1 hour to chill thoroughly before serving.
Expert Tips for Perfect Strawberry Agar Agar Jelly Terrarium
For the clearest jelly possible, always whisk the agar agar into cold water before heating. If you notice any bubbles on the surface after pouring, quickly pop them with a toothpick or lightly spray the surface with a fine mist of food-grade alcohol. Timing is everything; if you wait too long between layers, they may not fuse together, causing the jelly to separate when sliced. If this happens, you can lightly score the surface of the first layer with a fork before pouring the second.
Delicious Variations
You can easily customize your terrarium by changing the “landscape.” Try adding a bottom layer made of coconut milk and agar agar to simulate “sand” or “soil.” Use blueberries as small rocks or pieces of kiwi for a different shade of green. For an adult version, replace half a cup of the water with a clear sparkling wine or elderflower liqueur for a sophisticated, boozy jelly treat.
Frequently Asked Questions
Can I use frozen strawberries?
It is best to use fresh strawberries. Frozen berries release too much juice as they thaw, which will bleed into the clear agar and ruin the “glass” look of your terrarium.
Does agar agar taste like seaweed?
No, high-quality agar agar powder is completely odorless and tasteless. It takes on the flavor of the sugar, fruit, and lemon juice you add to the mixture.
How long does the jelly stay firm?
Agar agar is much more stable than gelatin. It will stay firm at room temperature for several hours, making it perfect for display at parties. However, it is most refreshing when served cold.
Why is my jelly cloudy?
Cloudiness usually happens if the agar powder didn’t dissolve completely or if you used unfiltered tap water. Ensure the mixture boils for the full recommended time and consider using filtered water for a crystal-clear finish.
Can I make this in advance?
Yes, you can make these up to two days in advance. Keep them covered in the refrigerator so the jelly doesn’t dry out or absorb other fridge odors.
Conclusion
The Strawberry Agar Agar Jelly Terrarium is a delightful fusion of culinary skill and artistic expression. It proves that healthy, plant-based desserts can be just as exciting and beautiful as traditional pastries. By following these steps, you can create a centerpiece that is as delicious to eat as it is lovely to look at. Get creative with your fruit placement and enjoy the refreshing, crisp texture of this unique jelly creation!
Strawberry Agar Agar Jelly Terrarium
- Total Time: 30 minutes
- Diet: Vegan, Gluten-free
Ingredients
- 2 teaspoons agar agar powder (telephone brand works best)
- 3 cups water
- 1/2 cup granulated sugar (adjust to taste)
- 1 cup fresh strawberries, hulled and sliced or kept whole if small
- 1/2 teaspoon lemon juice (for clarity and brightness)
- Fresh mint leaves for decoration
- Optional: Edible gold leaf or edible flowers for extra flair
Instructions
- Step 1: Prepare the Fruit and Vessels
Wash your strawberries and mint leaves thoroughly. Pat them dry with a paper towel to ensure no excess water clings to them, which could cause cloudy spots in the jelly. Choose clear glass jars or bowls for your “terrarium” so the design is visible from all sides. Slice some strawberries into rounds and leave others whole to create depth and variety in your arrangement. - Step 2: Boil the Agar Agar Mixture
In a medium saucepan, combine the water and agar agar powder. Whisk them together while the water is still cold to prevent clumping. Place the pan over medium-high heat and bring the mixture to a rolling boil. Stir constantly for about 5 minutes, or until the powder is completely dissolved and the liquid looks transparent. Stir in the sugar and lemon juice, continuing to simmer until the sugar vanishes entirely. - Step 3: Pour the Base Layer
Pour a small amount of the hot agar mixture into the bottom of each glass vessel, filling it about half an inch deep. Let this layer sit for 3 to 5 minutes at room temperature. You want it to become tacky—firm enough to support the fruit, but not completely hardened. This “glue” layer ensures your decorations stay exactly where you place them rather than floating to the top. - Step 4: Arrange the Terrarium Elements
Carefully place your strawberries and mint leaves onto the tacky base layer. Use tweezers for precision if you are using small jars. Position the mint leaves so they look like small ferns or bushes around the “boulders” of strawberries. If you want a 3D effect, lean some fruit slices against the glass walls. Once your design is set, let it rest for another minute to anchor the pieces. - Step 5: Final Pour and Chill
Gently pour the remaining agar mixture over the fruit. If the mixture in your pot has started to thicken, reheat it briefly until it is liquid again. Pour slowly down the side of the glass to avoid creating air bubbles or dislodging your fruit. Fill to the top of the vessel. Leave the jars on the counter until they set, then transfer them to the refrigerator for at least 1 hour to chill thoroughly before serving.
- Cook Time: 30 minutes