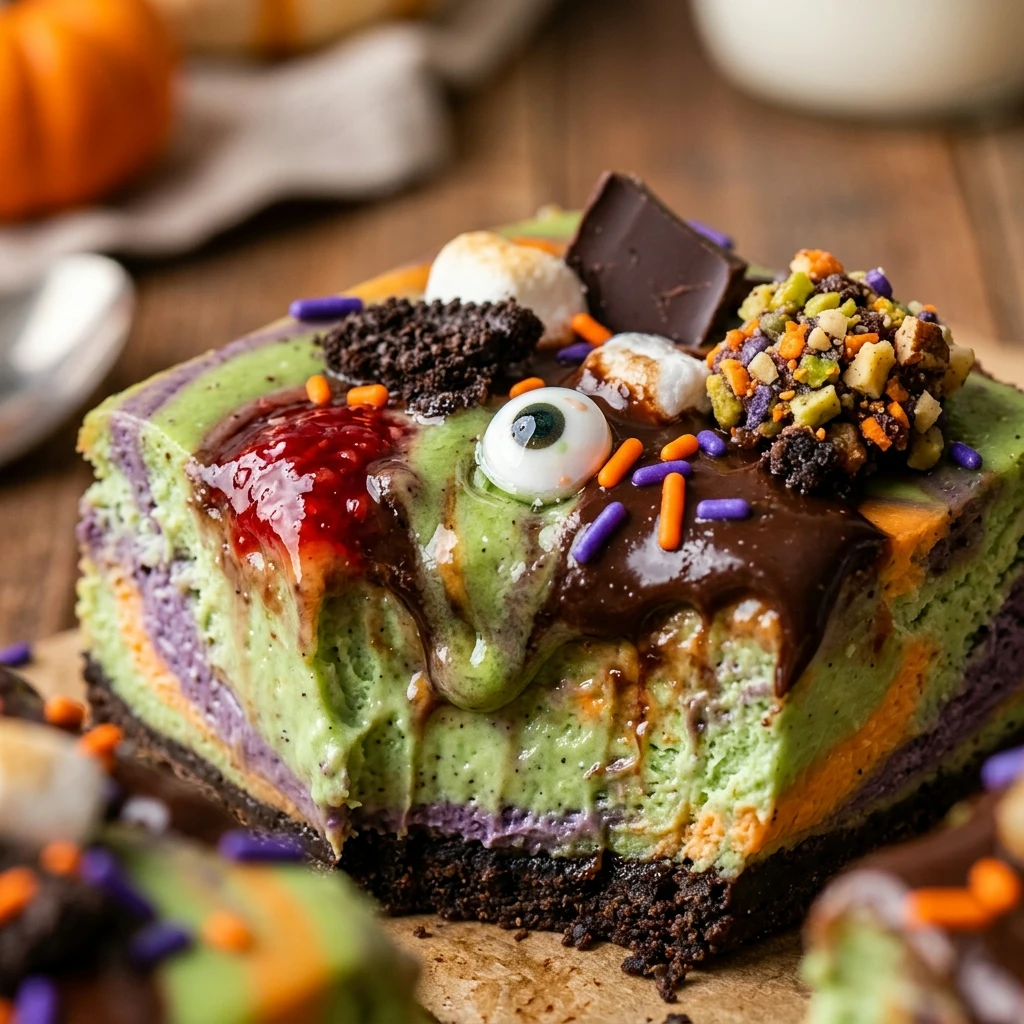
Get ready to bring a burst of colorful, creepy fun to your next Halloween gathering with these Spooky Monster Mash Cheesecake Bars. These aren’t just your average dessert squares; they are a vibrant, swirl-filled celebration of the spooky season. With a buttery graham cracker crust and a creamy, neon-colored cheesecake filling topped with googly candy eyes, they are as delicious as they are delightful to look at. Whether you are hosting a neighborhood bash or looking for a fun kitchen project with the kids, these bars are guaranteed to be the star of the dessert table. Let’s get mashing!
Recipe Information
- Prep Time: 20 minutes
- Cook Time: 40 minutes
- Total Time: 1 hour (plus chilling time)
- Servings: 16 bars
- Difficulty: Medium
Nutrition values
- Calories: 315 kcal
- Protein: 5g
- Carbs: 28g
Why Make This Spooky Monster Mash Cheesecake Bars Recipe
You should make this recipe because it perfectly balances spooky aesthetics with professional-grade taste. Unlike many “novelty” desserts that favor looks over flavor, these bars use a rich, tangy New York-style cheesecake base that melts in your mouth. The “Monster Mash” theme allows for total creative freedom—you can customize the neon colors to match your specific party vibe. Plus, the addition of candy eyes makes them instantly “Instagrammable” without requiring advanced decorating skills. It is the ultimate low-stress, high-impact Halloween treat.
Ingredients
- 1 1/2 cups graham cracker crumbs
- 1/4 cup granulated sugar (for crust)
- 6 tablespoons unsalted butter, melted
- 24 ounces cream cheese, softened to room temperature
- 1 cup granulated sugar (for filling)
- 1 cup sour cream, room temperature
- 1 teaspoon vanilla extract
- 3 large eggs, room temperature
- Neon food coloring (purple, green, orange, and blue)
- Candy eyeballs of various sizes
- Halloween-themed sprinkles
Directions
Step 1: Prepare the Oven and Crust
Preheat your oven to 325°F (160°C). Line an 8×8-inch square baking pan with parchment paper, leaving an overhang on the sides for easy removal. In a medium bowl, combine the graham cracker crumbs, 1/4 cup sugar, and melted butter. Stir until the mixture resembles wet sand. Press the mixture firmly into the bottom of the prepared pan in an even layer. Bake the crust for 10 minutes, then remove it from the oven and let it cool while you prepare the filling.
Step 2: Create the Cheesecake Base
In a large mixing bowl or a stand mixer fitted with a paddle attachment, beat the softened cream cheese and 1 cup of sugar together until completely smooth and creamy. Scrape down the sides of the bowl to ensure no lumps remain. Add the sour cream and vanilla extract, mixing until just combined. Incorporate the eggs one at a time, beating on low speed after each addition just until the yellow disappears. Do not overmix, as this can introduce air bubbles and cause cracks.
Step 3: Color the Batter
Divide the cheesecake batter evenly into four separate small bowls. Use the food coloring to dye each bowl a different vibrant color: neon purple, lime green, bright orange, and electric blue. Stir gently by hand until the color is uniform. You want the colors to be saturated and bold to achieve that “monster” look.
Step 4: Swirl and Bake
Drop random spoonfuls of the colored batters over the pre-baked crust, alternating colors to create a patchwork effect. Use a butter knife or a toothpick to gently swirl the colors together. Be careful not to over-swirl, or the colors will muddy together instead of looking like distinct “monster” patches. Bake for 35 to 40 minutes, or until the edges are set but the center still has a slight jiggle. Turn off the oven and leave the door cracked for 30 minutes to allow the cheesecake to cool slowly.
Step 5: Decorate and Chill
Once the bars have cooled to room temperature, place the candy eyeballs and sprinkles across the top, pressing them very lightly into the surface. Cover the pan and refrigerate for at least 4 hours, or preferably overnight. When ready to serve, use the parchment paper overhang to lift the bars out of the pan. Slice into 16 squares and serve chilled.
Expert Tips for Perfect Spooky Monster Mash Cheesecake Bars Recipe
To ensure the smoothest texture, always use room temperature ingredients; cold cream cheese will create stubborn lumps. When swirling the colors, use a “figure-eight” motion only twice to keep the neon hues distinct. If you want to avoid cracks entirely, place a pan of hot water on the bottom rack of the oven while the cheesecake bakes to create a humid environment. Finally, for clean cuts, wipe your knife with a warm, damp cloth between every single slice.
Delicious Variations
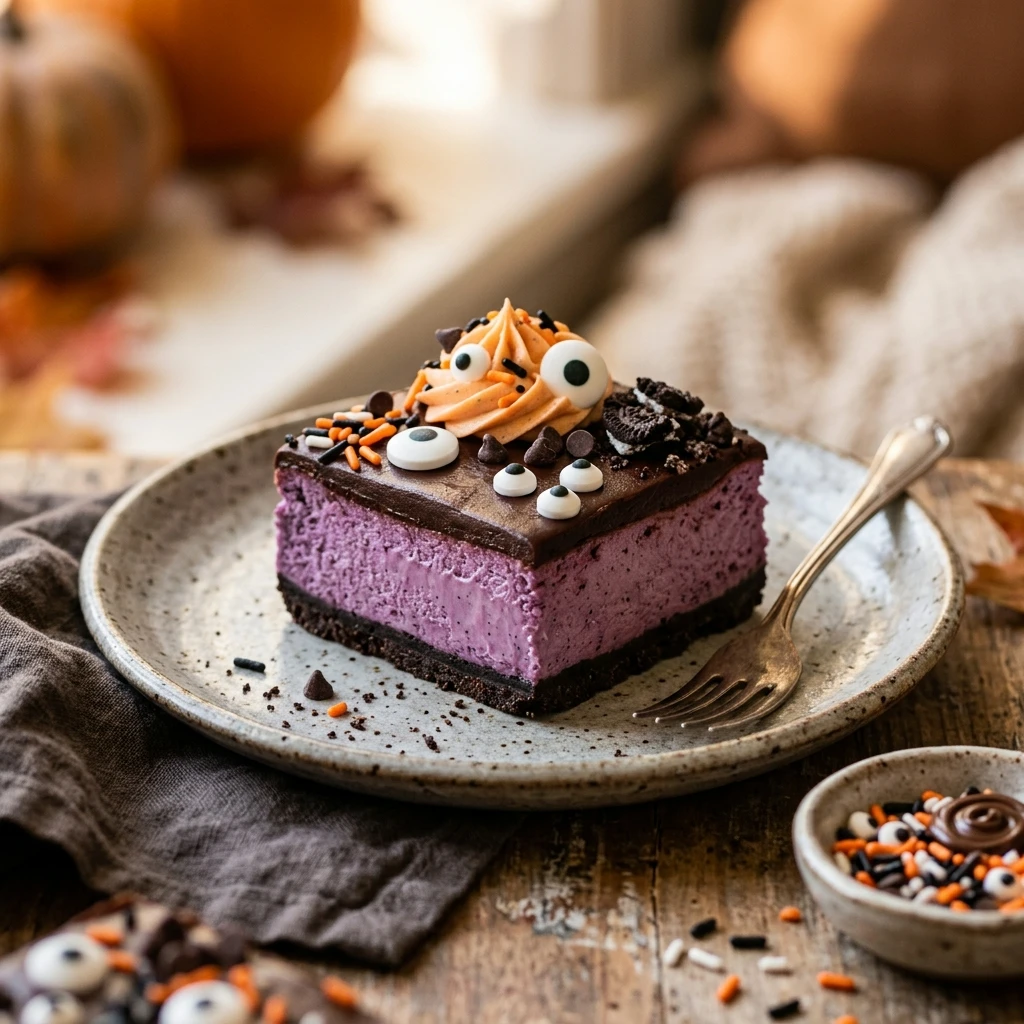
If you want to change things up, try using chocolate sandwich cookie crumbs (like Oreos) for the crust to create a “dark” contrast to the neon colors. You can also add a teaspoon of peppermint extract to the green batter for a “minty monster” flavor profile. For a “Glow-in-the-Dark” effect under blacklight, use specialized neon food gels that contain riboflavin. If you prefer a more “bloody” look, omit the blue and green and use red swirls with a strawberry jam drizzle.
Frequently Asked Questions
Can I make these cheesecake bars in advance?
Yes, these are actually better when made in advance! You can prepare them up to two days before your event. Just wait to add the candy eyeballs until shortly before serving, as the moisture from the cheesecake can sometimes cause the black dye in the “pupils” to bleed.
How do I store leftovers?
Store any leftover bars in an airtight container in the refrigerator for up to 5 days. If you need to stack them, place a piece of parchment paper between layers to prevent the tops from sticking.
Why did my cheesecake bars crack on top?
Cracks are usually caused by overbeating the eggs, which incorporates too much air, or by cooling the cheesecake too quickly. Ensure you mix on low speed once the eggs are added and follow the slow-cooling instructions in Step 4.
Can I freeze these bars?
Absolutely. Wrap the individual bars tightly in plastic wrap and then foil. They will stay fresh in the freezer for up to 3 months. Thaw them in the refrigerator overnight before eating. Do not freeze them with the candy eyeballs attached, as they may become mushy upon thawing.
Can I use natural food coloring?
You can use natural dyes like beet powder or turmeric, but keep in mind that they often produce more muted, earthy tones. For the “Spooky Monster” look, synthetic neon gel food colors provide the most vibrant and stable results.
Conclusion
These Spooky Monster Mash Cheesecake Bars are the ultimate blend of festive fun and culinary indulgence. They prove that you don’t need to be a professional baker to create a dessert that is both visually stunning and incredibly tasty. By following the swirling technique and adding those whimsical googly eyes, you’ll create a treat that guests of all ages will scream for. Happy Halloween and happy baking!
Spooky Monster Mash Cheesecake Bars Recipe
- Total Time: 1 hour
- Diet: Vegetarian
Ingredients
- 1 1/2 cups graham cracker crumbs
- 1/4 cup granulated sugar (for crust)
- 6 tablespoons unsalted butter, melted
- 24 ounces cream cheese, softened to room temperature
- 1 cup granulated sugar (for filling)
- 1 cup sour cream, room temperature
- 1 teaspoon vanilla extract
- 3 large eggs, room temperature
- Neon food coloring (purple, green, orange, and blue)
- Candy eyeballs of various sizes
- Halloween-themed sprinkles
Instructions
- Preheat your oven to 325°F (160°C). Line an 8×8-inch square baking pan with parchment paper, leaving an overhang on the sides for easy removal. In a medium bowl, combine the graham cracker crumbs, 1/4 cup sugar, and melted butter. Stir until the mixture resembles wet sand. Press the mixture firmly into the bottom of the prepared pan in an even layer. Bake the crust for 10 minutes, then remove it from the oven and let it cool while you prepare the filling.
- In a large mixing bowl or a stand mixer fitted with a paddle attachment, beat the softened cream cheese and 1 cup of sugar together until completely smooth and creamy. Scrape down the sides of the bowl to ensure no lumps remain. Add the sour cream and vanilla extract, mixing until just combined. Incorporate the eggs one at a time, beating on low speed after each addition just until the yellow disappears. Do not overmix, as this can introduce air bubbles and cause cracks.
- Divide the cheesecake batter evenly into four separate small bowls. Use the food coloring to dye each bowl a different vibrant color: neon purple, lime green, bright orange, and electric blue. Stir gently by hand until the color is uniform. You want the colors to be saturated and bold to achieve that “monster” look.
- Drop random spoonfuls of the colored batters over the pre-baked crust, alternating colors to create a patchwork effect. Use a butter knife or a toothpick to gently swirl the colors together. Be careful not to over-swirl, or the colors will muddy together instead of looking like distinct “monster” patches. Bake for 35 to 40 minutes, or until the edges are set but the center still has a slight jiggle. Turn off the oven and leave the door cracked for 30 minutes to allow the cheesecake to cool slowly.
- Once the bars have cooled to room temperature, place the candy eyeballs and sprinkles across the top, pressing them very lightly into the surface. Cover the pan and refrigerate for at least 4 hours, or preferably overnight. When ready to serve, use the parchment paper overhang to lift the bars out of the pan. Slice into 16 squares and serve chilled.
- Cook Time: 1 hour (plus chilling time)