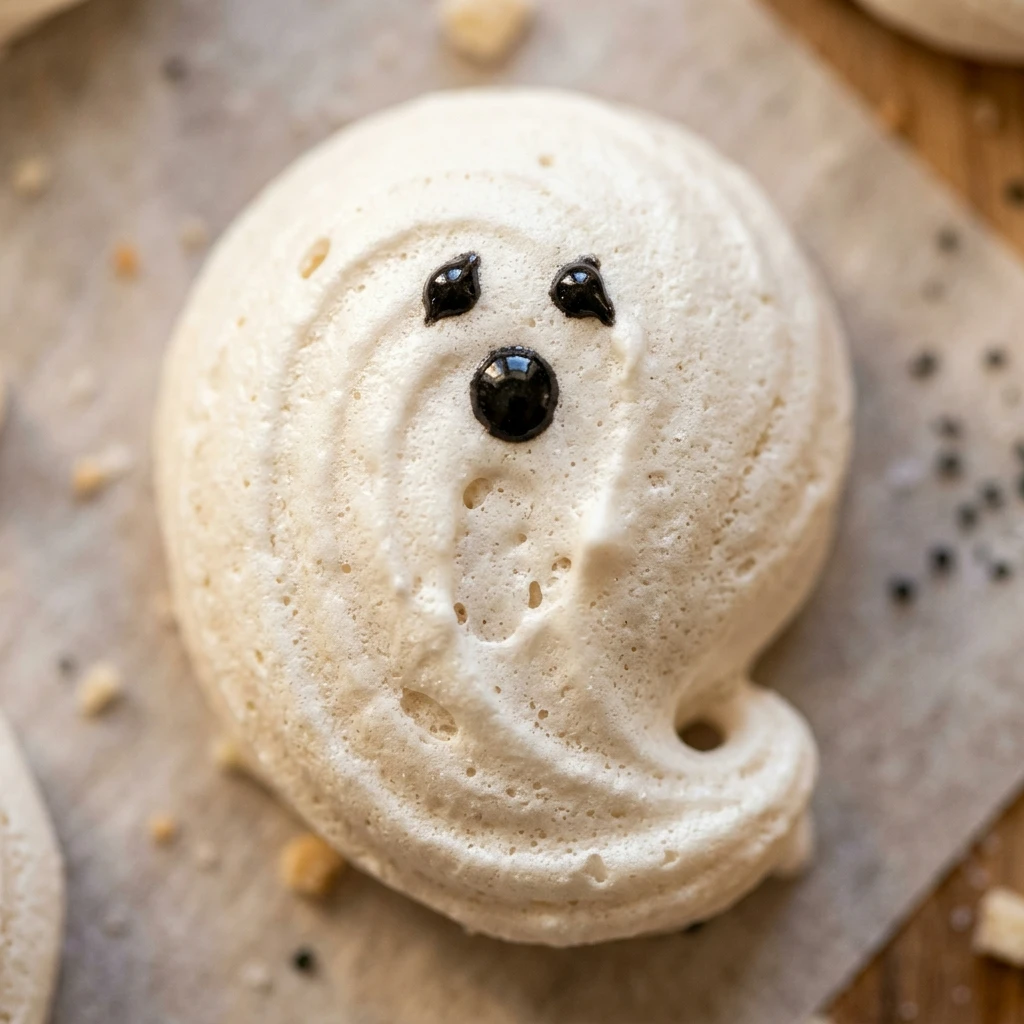
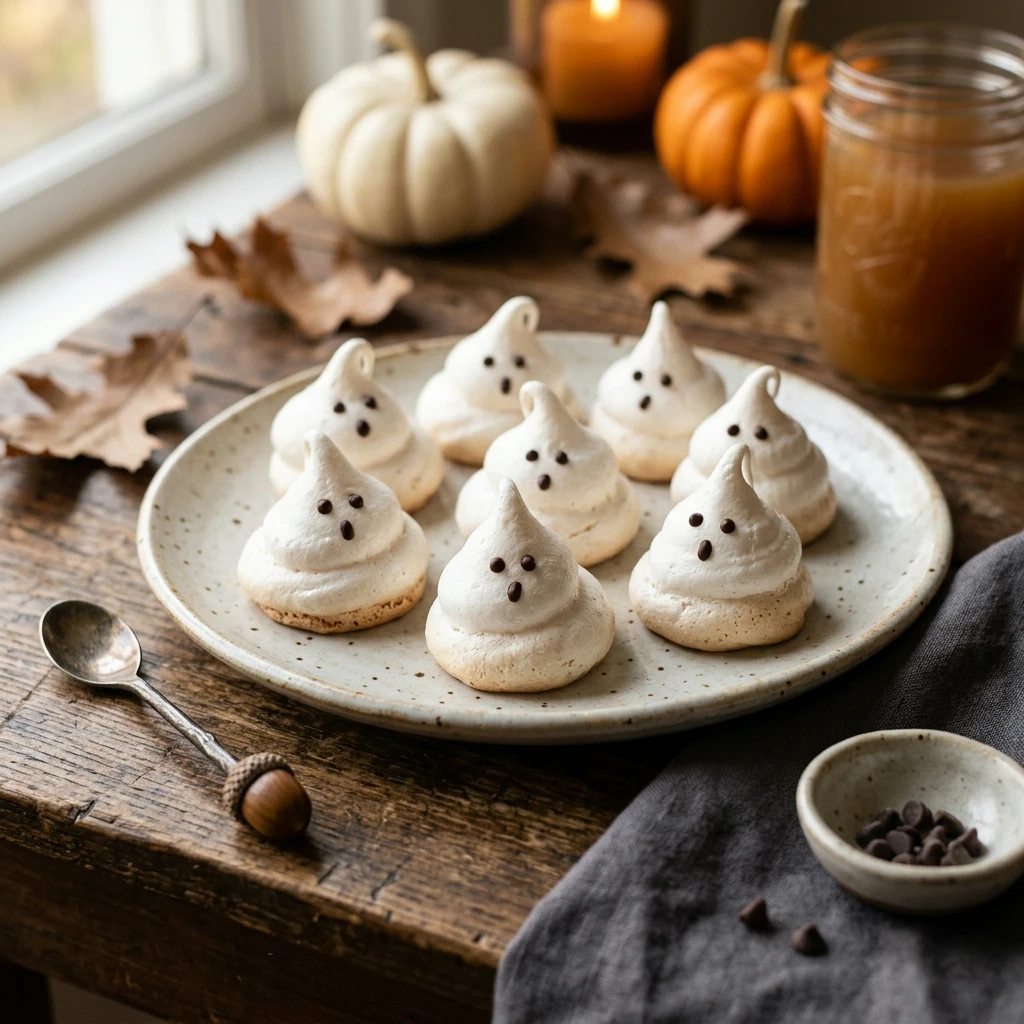
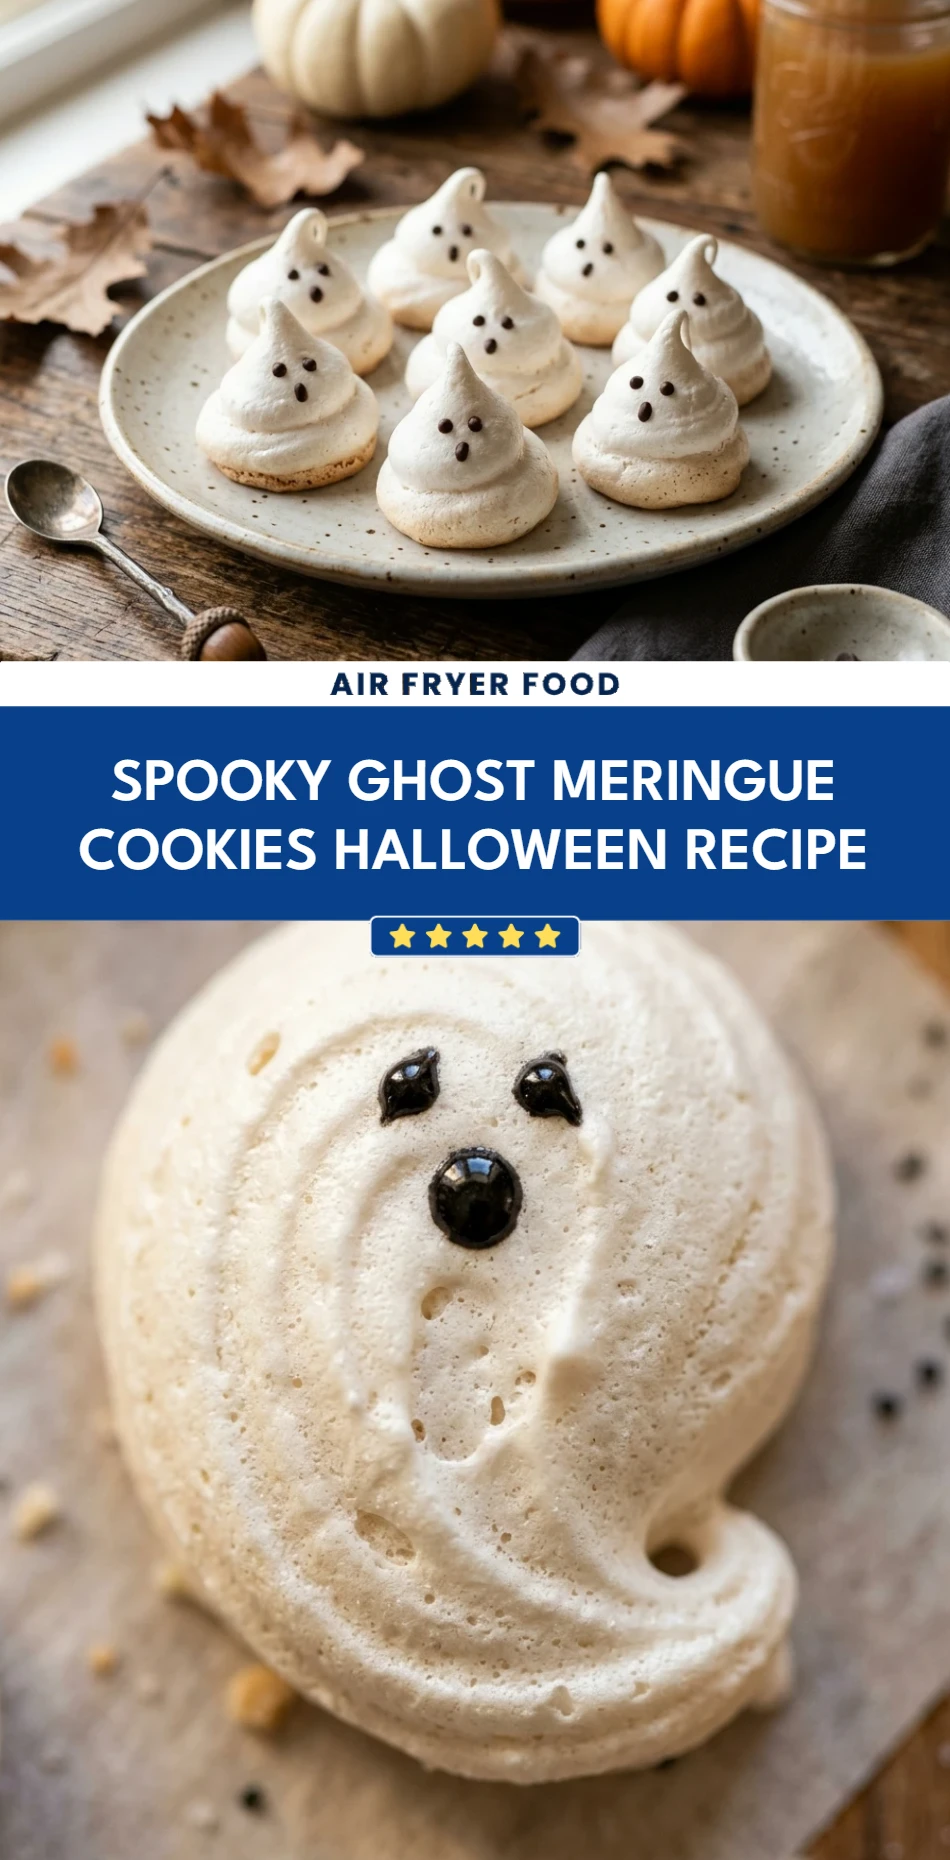
Halloween is just around the corner, and nothing says “sweet but spooky” like these adorable ghost meringue cookies. These light-as-air treats melt in your mouth and look absolutely charming on any festive dessert table. Whether you are hosting a haunted house party or just want a fun project to do with the kids, these little spirits are the perfect addition to your October baking list. They require only a few simple ingredients and a little bit of patience to achieve that perfect, crisp crunch.
Recipe Information
- Prep Time: 20 minutes
- Cook Time: 90 minutes
- Total Time: 110 minutes
- Servings: 24 cookies
- Difficulty: Medium
Nutrition values
- Calories: 35 kcal
- Protein: 0.5g
- Carbs: 8g
Why Make This Spooky Ghost Meringue Cookies Halloween Recipe
You should make these ghost meringues because they are naturally gluten-free and dairy-free, making them a safe bet for crowds with mixed dietary needs. Unlike heavy brownies or cakes, these cookies are incredibly light, offering a sweet fix without the sugar crash. Plus, they double as edible decorations! You can perch them on top of chocolate cupcakes to create a “graveyard” effect or simply serve them in a bowl for a ghostly snack that everyone will love.
Ingredients
- 3 large egg whites (room temperature)
- 1/4 teaspoon cream of tartar
- 3/4 cup granulated sugar
- 1/2 teaspoon pure vanilla extract
- 1/8 teaspoon salt
- 48 mini chocolate chips (for eyes) or black edible food gel
Directions
Step 1: Preparation
Preheat your oven to 225°F (110°C). Line two large baking sheets with parchment paper or silicone baking mats. Ensure your mixing bowl and whisk attachment are spotlessly clean and free of any grease, as even a tiny drop of oil can prevent the egg whites from fluffing up properly.
Step 2: Whip the Egg Whites
Place the room-temperature egg whites in the bowl of a stand mixer. Add the cream of tartar and salt. Beat on medium-low speed until the mixture becomes foamy. Increase the speed to medium-high and continue beating until soft peaks form.
Step 3: Add Sugar and Vanilla
With the mixer still running, add the granulated sugar one tablespoon at a time. This gradual process ensures the sugar dissolves completely. Once all the sugar is in, turn the mixer to high and beat until the meringue reaches stiff, glossy peaks. This means the mixture should stand straight up when you lift the whisk. Finally, fold in the vanilla extract.
Step 4: Piping the Ghosts
Transfer the meringue into a large piping bag fitted with a large round tip. Hold the bag vertically over the baking sheet. Squeeze the bag to create a wide base, then pull upward while releasing pressure to create a tapered “head” for your ghost. Repeat this for all 24 cookies, leaving about an inch of space between each.
Step 5: Baking and Drying
Place the baking sheets in the oven and bake for 90 minutes. Do not open the oven door during this time. Once the time is up, turn off the oven but leave the cookies inside with the door slightly ajar for at least another hour. This slow cooling process prevents the meringues from cracking.
Step 6: Decorating
Once the cookies are completely cool and crisp, it is time to give them some personality. If using mini chocolate chips, use a tiny dot of honey or corn syrup to “glue” them onto the ghosts as eyes. Alternatively, use a toothpick and black food gel to draw various spooky or silly expressions on each ghost face.
Expert Tips for Perfect Spooky Ghost Meringue Cookies Halloween Recipe
Always use room-temperature eggs because they reach a higher volume when whipped compared to cold eggs. When separating your eggs, ensure no yolk gets into the whites, as the fat in the yolk will ruin the meringue. Avoid making these on a very humid or rainy day; meringue absorbs moisture from the air, which can make your ghosts sticky or chewy instead of crisp. Lastly, use a glass or metal bowl rather than plastic, which can hold onto hidden grease residues.
Delicious Variations
You can easily customize these ghosts to fit your flavor preferences. Try adding a drop of peppermint extract for a cool winter ghost vibe or a teaspoon of cocoa powder for a “chocolate ghost.” If you want colorful spirits, add a tiny drop of neon food coloring to the meringue before piping. You can also sprinkle some edible glitter over them before they go into the oven for a magical, shimmering effect.
Frequently Asked Questions
How do I store meringue cookies?
Store these cookies in an airtight container at room temperature. They will stay crisp for up to 5 days. Keep them away from moisture or heat to prevent them from softening.
Why are my meringues chewy instead of crunchy?
This usually happens if the cookies weren’t baked long enough or if the humidity in your kitchen was too high. You can try putting them back in a 200°F oven for 15-20 minutes to crisp them back up.
Can I use liquid egg whites from a carton?
It is best to use fresh egg whites for meringues. Carton egg whites are pasteurized, which can sometimes prevent them from reaching the stiff peaks necessary for a sturdy cookie.
Can I make these cookies ahead of time?
Yes, you can make them 2-3 days in advance. Just ensure they are kept in a completely dry, airtight environment so they don’t lose their texture before your Halloween event.
What can I use if I don’t have a piping bag?
You can use a large gallon-sized plastic storage bag. Simply fill the bag with meringue and snip off one of the bottom corners. It works just as well for creating the ghost shapes.
Conclusion
These Spooky Ghost Meringue Cookies are the ultimate Halloween treat—simple, effective, and incredibly delicious. By following the “low and slow” baking method, you will ensure a perfect crunch every single time. Get creative with your decorating and enjoy the smiles these little edible ghosts bring to your friends and family. Happy Halloween and happy baking!
Spooky Ghost Meringue Cookies Halloween Recipe
- Total Time: 1 hour 50 minutes
- Diet: Gluten-Free, Dairy-Free
Ingredients
- 3 large egg whites (room temperature)
- 1/4 teaspoon cream of tartar
- 3/4 cup granulated sugar
- 1/2 teaspoon pure vanilla extract
- 1/8 teaspoon salt
- 48 mini chocolate chips (for eyes) or black edible food gel
Instructions
- Preheat your oven to 225°F (110°C). Line two large baking sheets with parchment paper or silicone baking mats. Ensure your mixing bowl and whisk attachment are spotlessly clean and free of any grease, as even a tiny drop of oil can prevent the egg whites from fluffing up properly.
- Place the room-temperature egg whites in the bowl of a stand mixer. Add the cream of tartar and salt. Beat on medium-low speed until the mixture becomes foamy. Increase the speed to medium-high and continue beating until soft peaks form.
- With the mixer still running, add the granulated sugar one tablespoon at a time. This gradual process ensures the sugar dissolves completely. Once all the sugar is in, turn the mixer to high and beat until the meringue reaches stiff, glossy peaks. This means the mixture should stand straight up when you lift the whisk. Finally, fold in the vanilla extract.
- Transfer the meringue into a large piping bag fitted with a large round tip. Hold the bag vertically over the baking sheet. Squeeze the bag to create a wide base, then pull upward while releasing pressure to create a tapered “head” for your ghost. Repeat this for all 24 cookies, leaving about an inch of space between each.
- Place the baking sheets in the oven and bake for 90 minutes. Do not open the oven door during this time. Once the time is up, turn off the oven but leave the cookies inside with the door slightly ajar for at least another hour. This slow cooling process prevents the meringues from cracking.
- Once the cookies are completely cool and crisp, it is time to give them some personality. If using mini chocolate chips, use a tiny dot of honey or corn syrup to “glue” them onto the ghosts as eyes. Alternatively, use a toothpick and black food gel to draw various spooky or silly expressions on each ghost face.
- Cook Time: 110 minutes