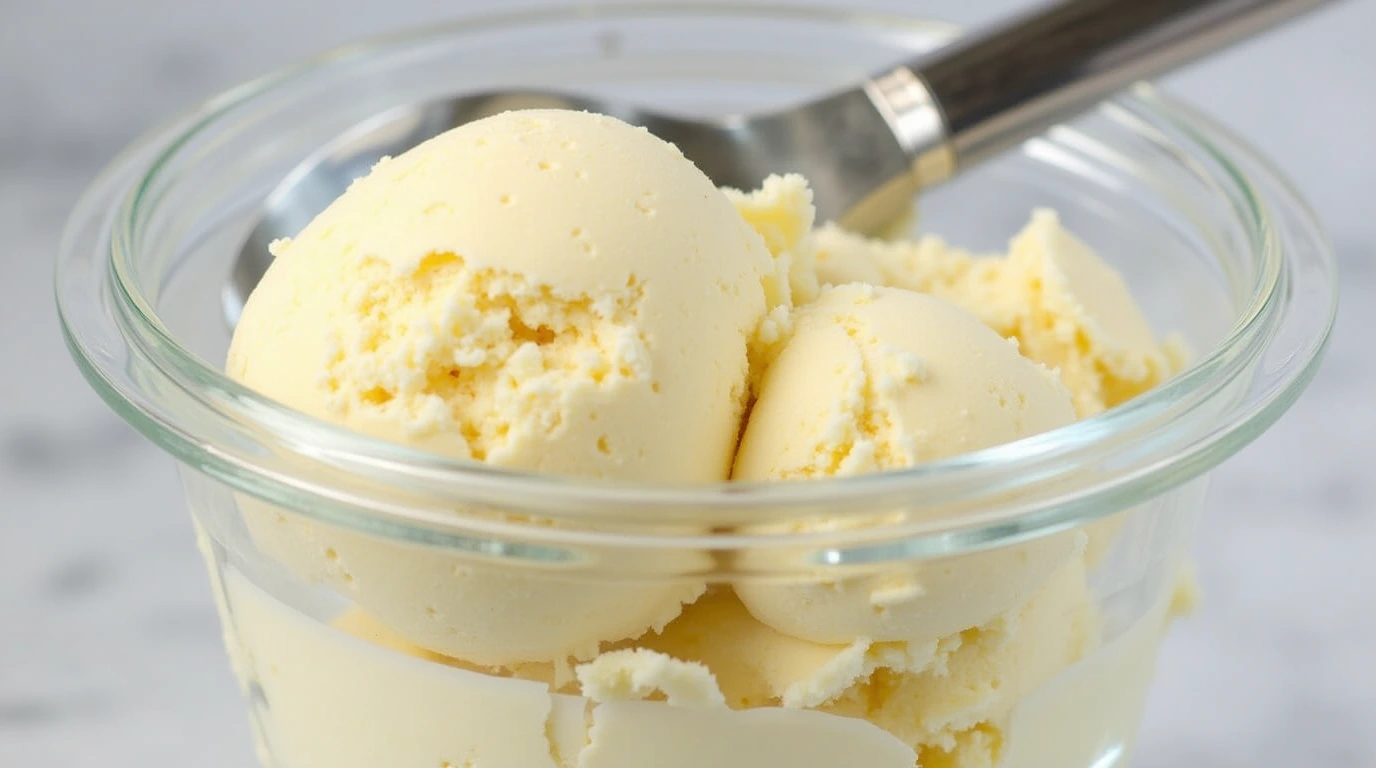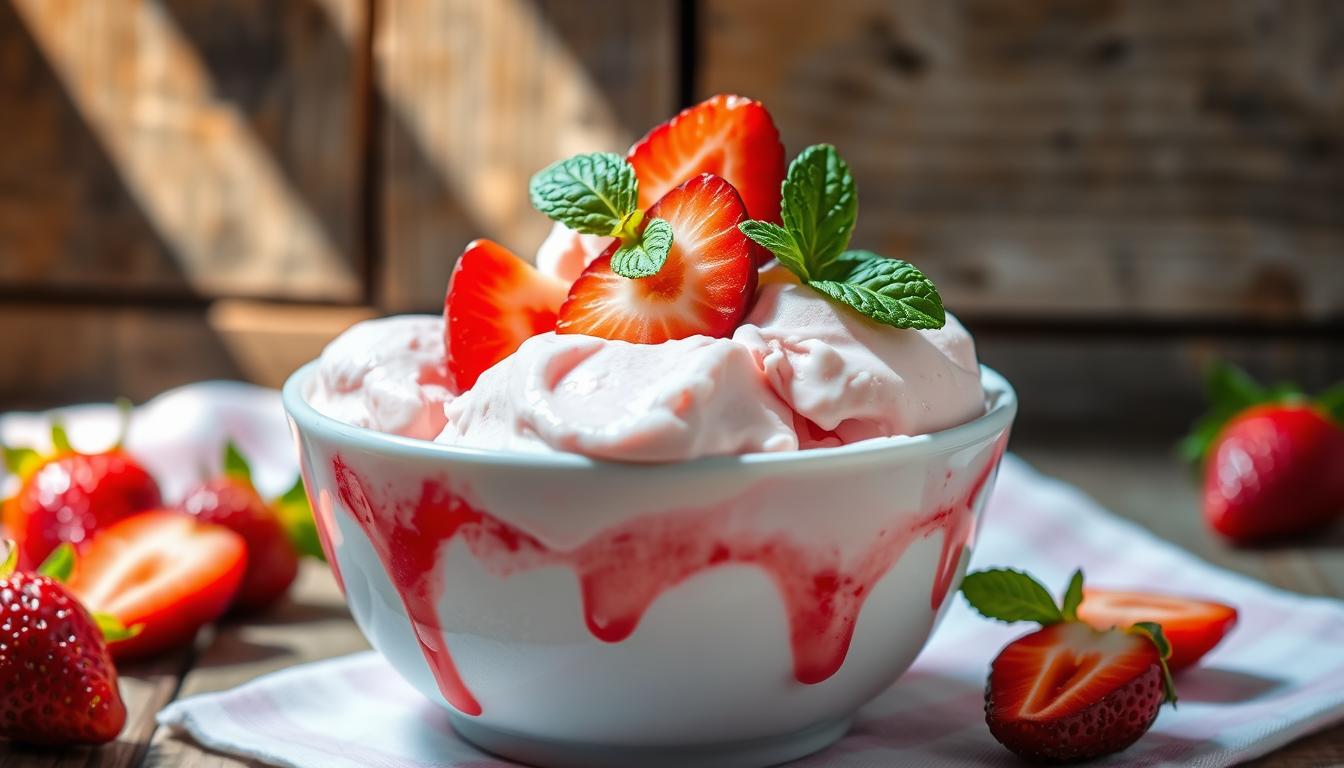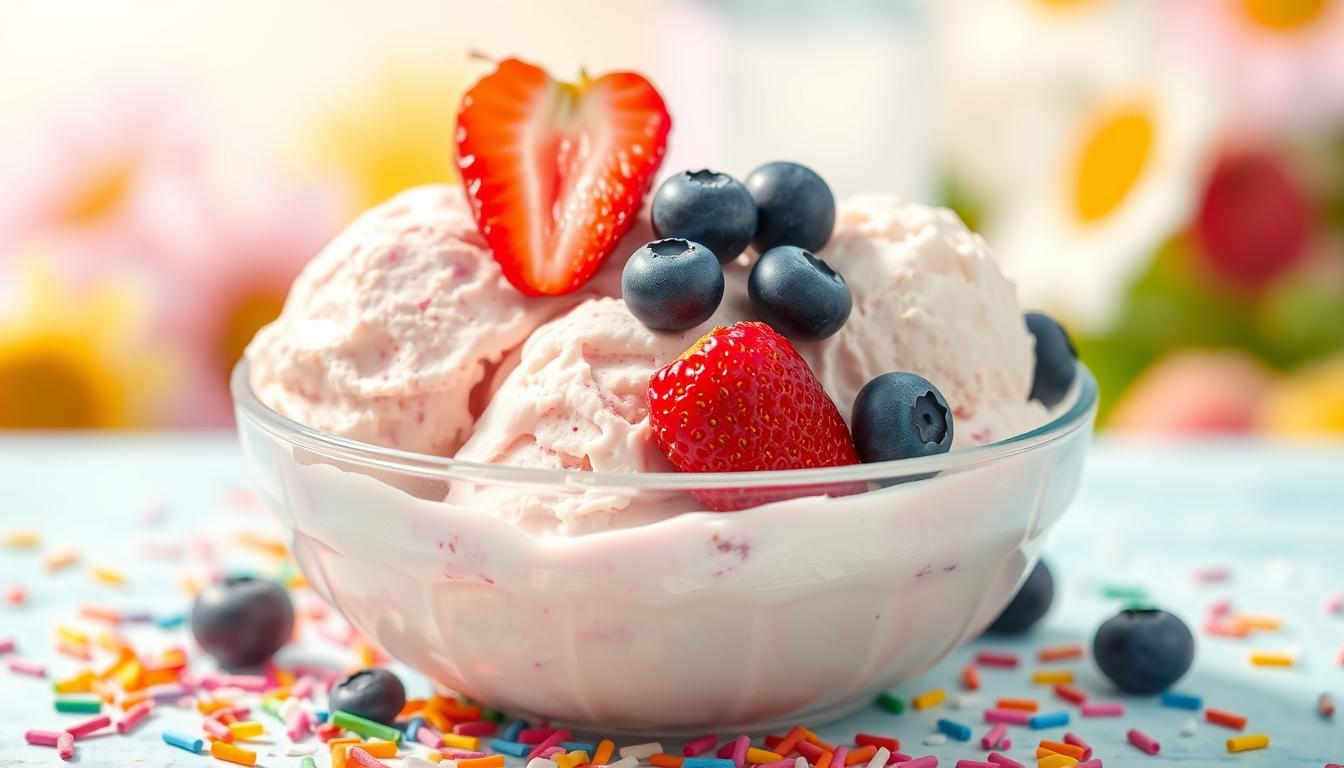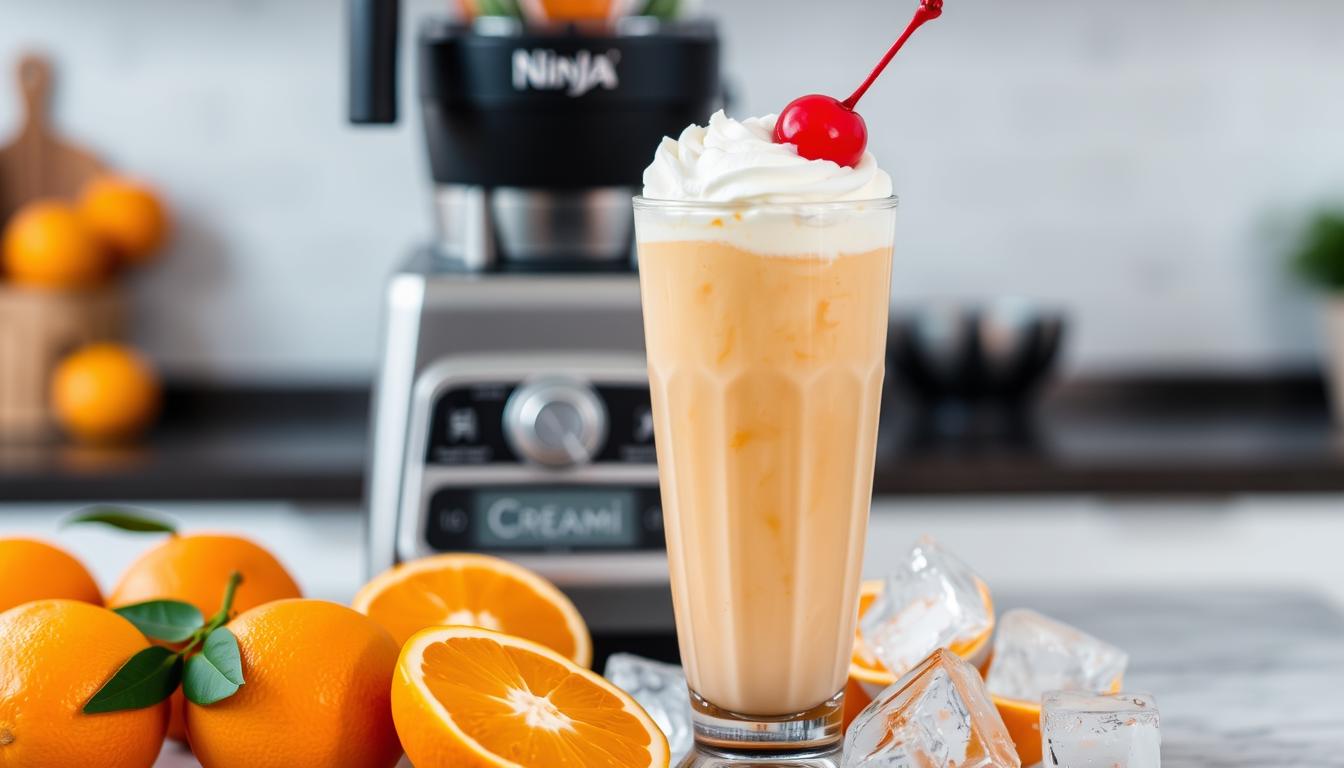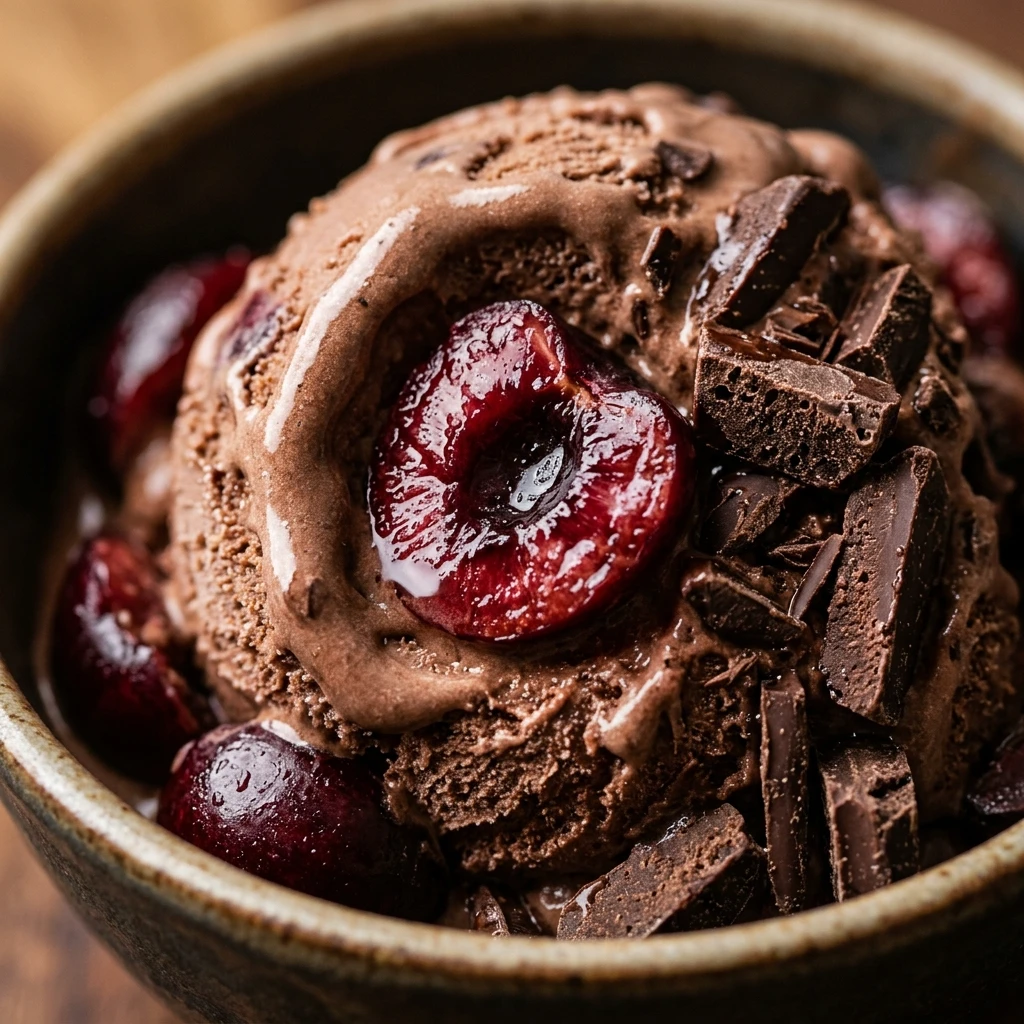
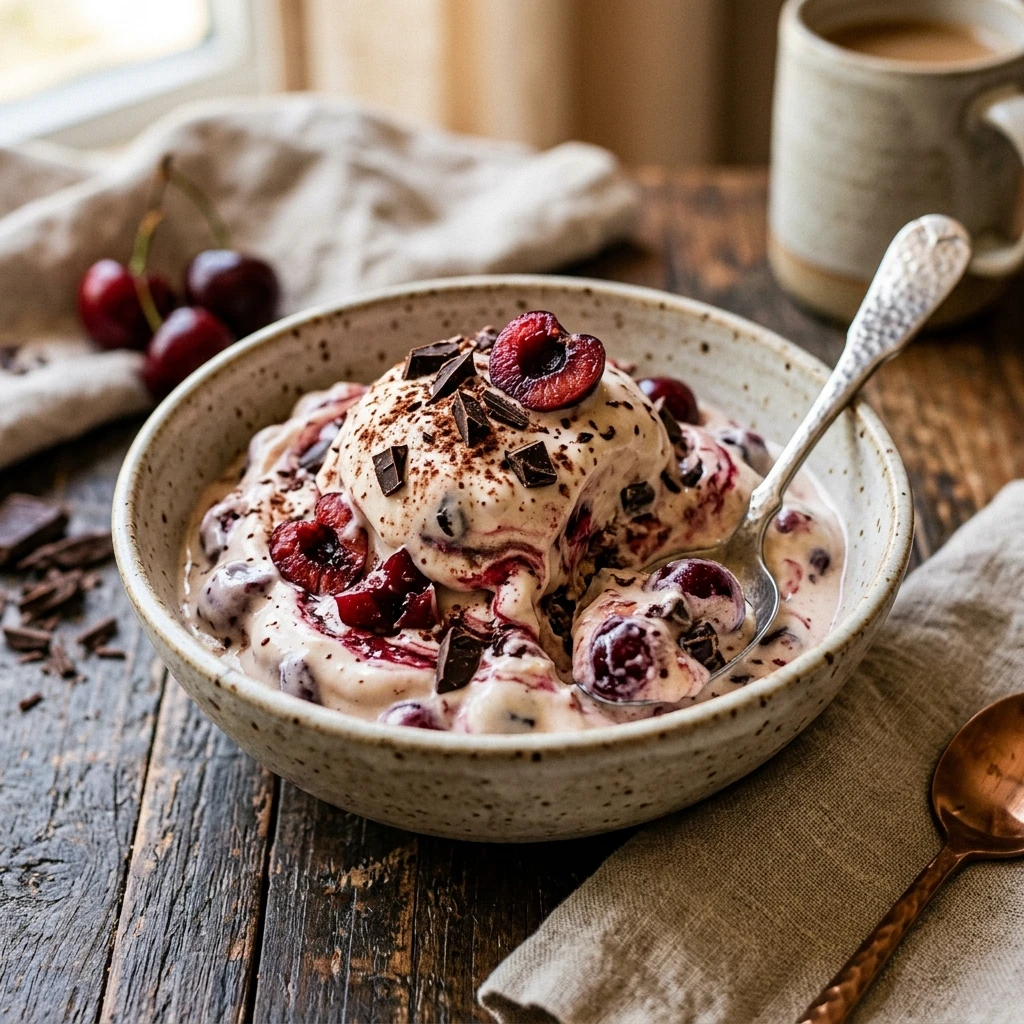
Imagine enjoying your favorite decadent ice cream shop flavor without the sugar crash. This Protein Cherry Garcia Ice Cream made in the Ninja Creami is a total game-changer for anyone with a sweet tooth. It combines the classic pairing of sweet cherries and rich dark chocolate with a high-protein base that tastes just like the real thing.
The Ninja Creami technology allows us to turn a simple protein shake into a thick, creamy masterpiece. Whether you are hitting your fitness goals or just looking for a healthier dessert, this recipe delivers on flavor and texture. You get all the indulgence of a premium pint with a fraction of the calories and a massive protein boost.
Recipe Information
- Prep Time: 10 minutes
- Cook Time: 24 hours (freezing time)
- Total Time: 24 hours 10 minutes
- Servings: 1 pint
- Difficulty Level: Easy
Nutrition Information
- Calories per serving: 310
- Protein: 32g
- Carbohydrates: 24g
- Fat: 9g
- Fiber: 3g
- Sugar: 16g
- Sodium: 280mg
Why Make This Protein Cherry Garcia Ice Cream Ninja Creami
This recipe is the perfect solution for late-night cravings. Most “healthy” ice creams are icy or lack flavor, but the Ninja Creami process ensures a velvety smooth mouthfeel. By using high-quality protein and real fruit, you are fueling your body while satisfying your palate.
It is also incredibly cost-effective compared to buying pint after pint of specialty high-protein ice cream at the grocery store. Plus, you have total control over the ingredients. There are no hidden gums or artificial fillers here—just pure, delicious ingredients that you can feel good about eating every single day.
How to Make Protein Cherry Garcia Ice Cream Ninja Creami
Making this frozen treat is a simple three-phase process: mixing the base, freezing, and spinning. Follow these steps to get that perfect “Garcia” style texture every time.
Ingredients
- 1.5 cups Vanilla protein shake (such as Fairlife or Premier Protein)
- 1 tablespoon sugar-free vanilla pudding mix (dry)
- 1/2 teaspoon vanilla extract
- 1/4 cup dark sweet cherries, pitted and halved (fresh or thawed from frozen)
- 1 tablespoon dark chocolate chips or chopped sugar-free chocolate
- A pinch of sea salt
Directions
Step 1: Mix the Base
In your Ninja Creami pint container, combine the vanilla protein shake, dry vanilla pudding mix, vanilla extract, and a pinch of sea salt. Use a small whisk or a handheld frother to blend everything until the pudding mix is completely dissolved and the liquid is smooth.
Step 2: The Freezing Phase
Place the lid on the pint container and set it on a level surface in your freezer. Let the mixture freeze for at least 24 hours. It is important that the base is completely solid to ensure the Creami blade can process it into a creamy texture.
Step 3: The First Spin
Remove the pint from the freezer and take off the lid. If there is a small bump in the center, you can scrape it flat with a spoon. Place the pint into the outer bowl, lock it into the Ninja Creami machine, and select the “Lite Ice Cream” function. Let the machine run through its full cycle.
Step 4: Re-Spin (If Necessary)
Check the consistency of the ice cream. If it looks crumbly or powdery, add one tablespoon of water or extra protein shake and run the “Re-Spin” cycle. It should now look smooth and creamy like soft serve.
Step 5: Adding the Mix-ins
Use a spoon to create a small hole (about an inch wide) down the center of your ice cream. Drop in your halved cherries and chocolate chips. Place the pint back into the machine and select the “Mix-in” button. This will gently fold the chunks into the ice cream without pulverizing them.
How to Serve Protein Cherry Garcia Ice Cream Ninja Creami
For the best experience, serve the ice cream immediately after the mix-in cycle. Transfer the ice cream to a chilled bowl to keep it from melting too quickly. You can top it with an extra fresh cherry or a drizzle of sugar-free chocolate syrup if you want to feel extra fancy. It is a complete meal or a perfect post-workout snack right out of the pint!
How to Store Protein Cherry Garcia Ice Cream Ninja Creami
If you have leftovers, flatten the top of the ice cream with a spoon and place the lid back on the pint. Store it in the freezer. When you are ready to eat it again, you will likely need to process it on the “Lite Ice Cream” or “Re-Spin” setting again, as protein-based ice creams tend to harden more than traditional dairy versions in a home freezer.
Expert Tips for Perfect Protein Cherry Garcia Ice Cream Ninja Creami
Always ensure your freezer is set to a very cold temperature. If the base isn’t frozen solid, the texture will be slushy rather than creamy. Another tip is to use dark sweet cherries specifically; tart cherries can be too acidic and might clash with the sweet vanilla base. Lastly, don’t skip the pinch of salt—it enhances the chocolate and cherry flavors significantly.
Delicious Variations
If you want to switch things up, try using a chocolate protein shake as the base for a “Double Chocolate Cherry” version. You can also swap the dark chocolate chips for white chocolate chips for a creamier, sweeter profile. For a nutty twist, add a teaspoon of almond extract to the base; it pairs beautifully with the cherry flavor and gives it an “Amaretto” vibe.
Frequently Asked Questions
Q: Can I use fresh cherries instead of frozen?
Yes, fresh cherries work beautifully! Just make sure they are pitted and halved before adding them during the mix-in stage.
Q: Why is my ice cream crumbly after the first spin?
This is common with high-protein, low-fat bases. Simply add a splash of liquid (milk or water) and use the Re-Spin function to make it creamy.
Q: Can I use a different type of protein powder?
Yes, you can mix 1 scoop of your favorite protein powder with 1.5 cups of milk. Just ensure it is well-blended before freezing.
Q: Do I have to wait the full 24 hours?
For the best results, yes. The Ninja Creami technology relies on the base being completely frozen to a specific temperature to create the right texture.
Q: Can I make this dairy-free?
Absolutely! Use a plant-based protein shake (like Owyn or Evolve) and ensure your chocolate chips are dairy-free. The results will still be delicious.
Conclusion
This Protein Cherry Garcia Ice Cream is the ultimate proof that you don’t have to sacrifice flavor for nutrition. With the help of the Ninja Creami, you can transform simple pantry staples into a gourmet dessert that rivals any premium brand. Give this recipe a try, and it will quickly become a permanent resident in your freezer rotation!
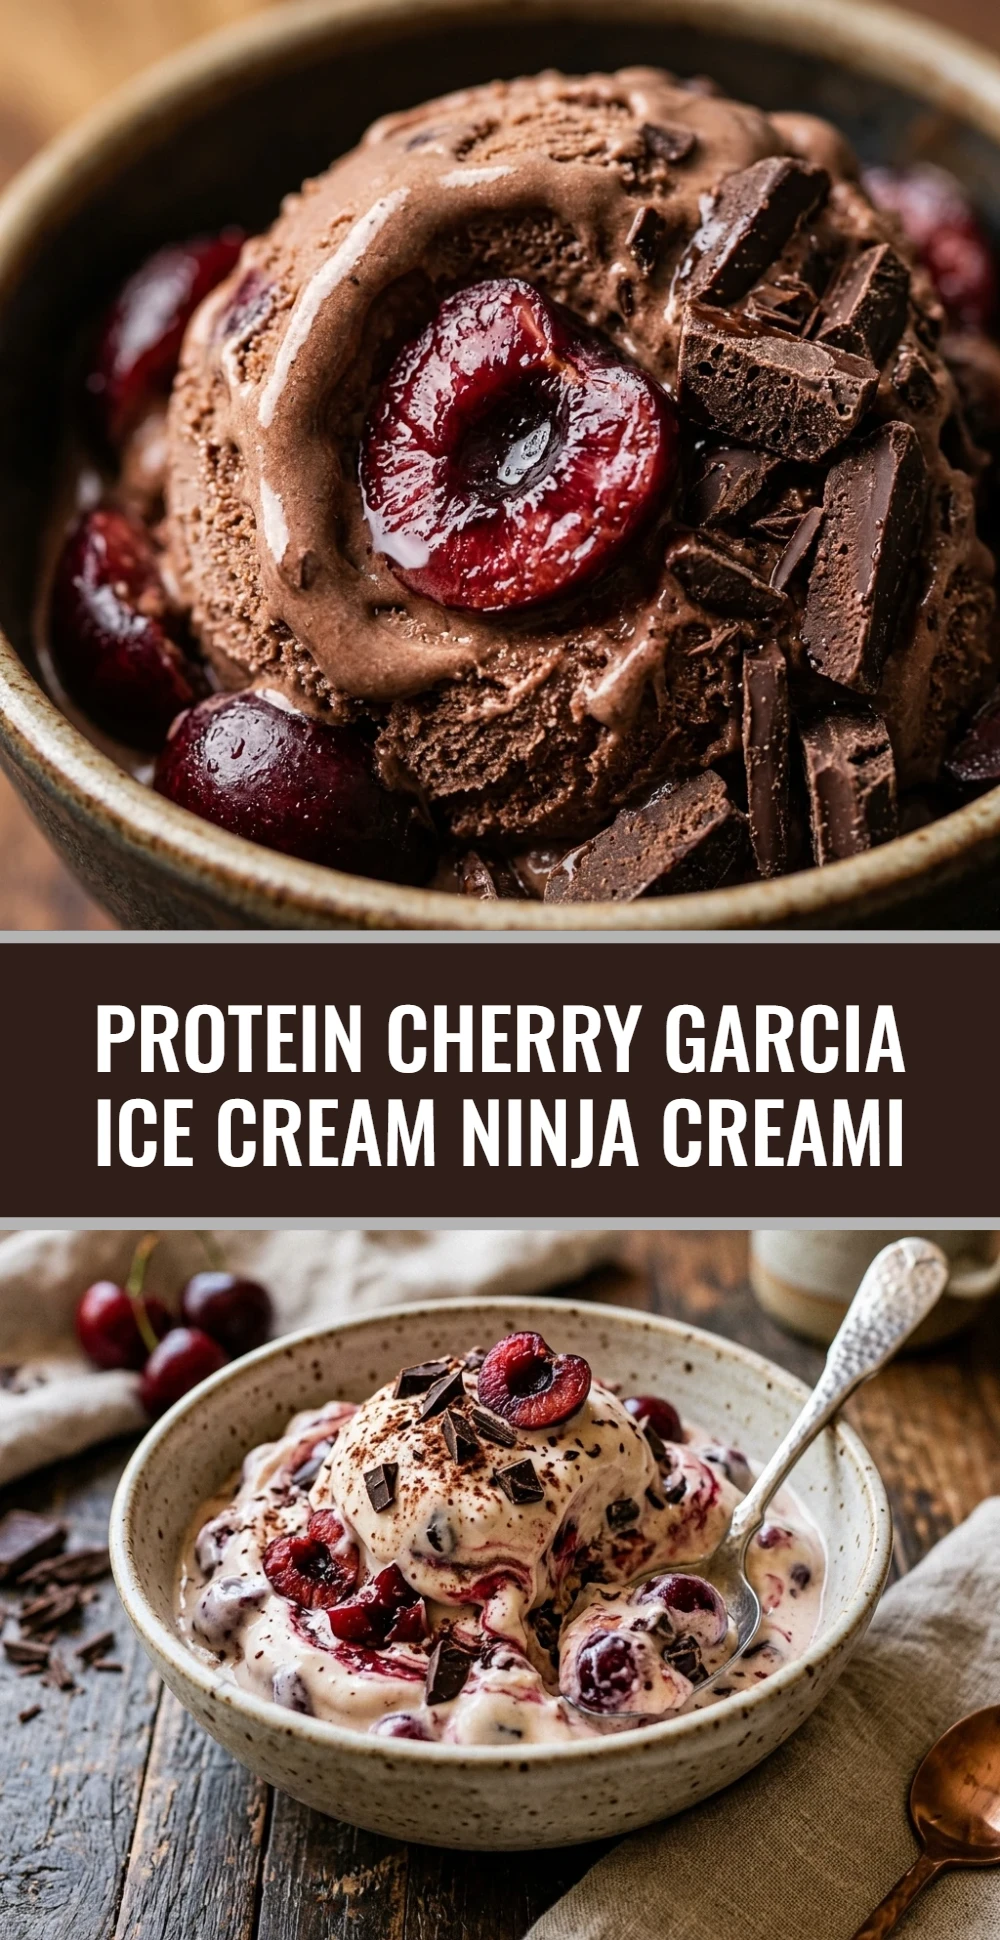

Protein Cherry Garcia Ice Cream Ninja Creami
- Total Time: 24 hours 10 minutes
- Diet: High-Protein, Vegetarian, Gluten-Free
Ingredients
- 1.5 cups Vanilla protein shake (such as Fairlife or Premier Protein)
- 1 tablespoon sugar-free vanilla pudding mix (dry)
- 1/2 teaspoon vanilla extract
- 1/4 cup dark sweet cherries, pitted and halved (fresh or thawed from frozen)
- 1 tablespoon dark chocolate chips or chopped sugar-free chocolate
- A pinch of sea salt
Instructions
- In your Ninja Creami pint container, combine the vanilla protein shake, dry vanilla pudding mix, vanilla extract, and a pinch of sea salt. Use a small whisk or a handheld frother to blend everything until the pudding mix is completely dissolved and the liquid is smooth.
- Place the lid on the pint container and set it on a level surface in your freezer. Let the mixture freeze for at least 24 hours. It is important that the base is completely solid to ensure the Creami blade can process it into a creamy texture.
- Remove the pint from the freezer and take off the lid. If there is a small bump in the center, you can scrape it flat with a spoon. Place the pint into the outer bowl, lock it into the Ninja Creami machine, and select the “Lite Ice Cream” function. Let the machine run through its full cycle.
- Check the consistency of the ice cream. If it looks crumbly or powdery, add one tablespoon of water or extra protein shake and run the “Re-Spin” cycle. It should now look smooth and creamy like soft serve.
- Use a spoon to create a small hole (about an inch wide) down the center of your ice cream. Drop in your halved cherries and chocolate chips. Place the pint back into the machine and select the “Mix-in” button. This will gently fold the chunks into the ice cream without pulverizing them.
- Cook Time: 24 hours 10 minutes