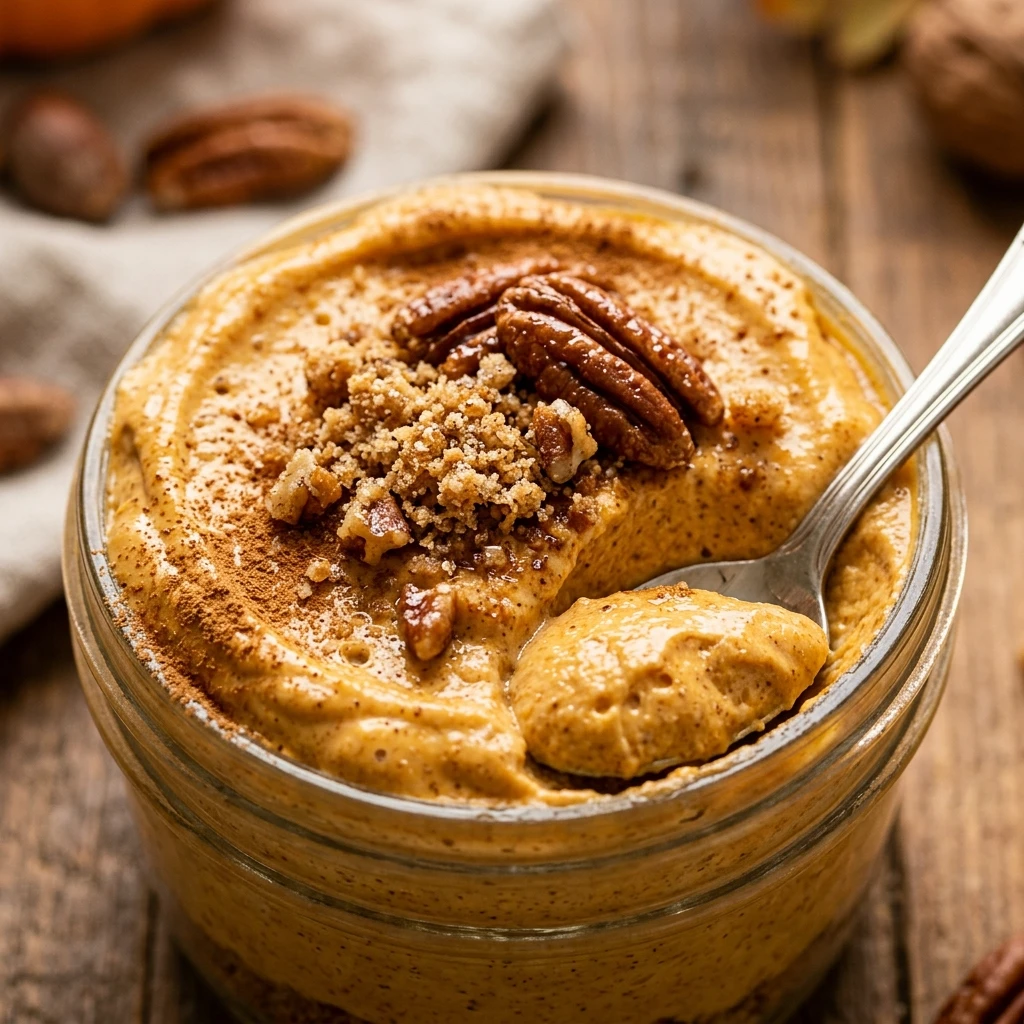
Fall is officially in the air, and there is no better way to celebrate the season than with a dessert that captures all the warm, cozy flavors of autumn without ever touching your oven. These No Bake Pumpkin Cheesecake Jars are the ultimate solution for holiday hosting or a simple weeknight treat. They combine the velvety smoothness of classic cheesecake with the earthy sweetness of pumpkin and a hint of spice. By serving them in individual jars, you get the perfect portion every time, and they look stunning on any dessert table. Whether you are a seasoned baker or a total novice, this recipe is virtually foolproof and guaranteed to impress.
Recipe Information
- Prep Time: 20 minutes
- Cook Time: 0 minutes
- Total Time: 20 minutes
- Servings: 6 jars
- Difficulty: Easy
Nutrition values
- Calories: 345 kcal
- Protein: 4g
- Carbs: 36g
Why Make This No Bake Pumpkin Cheesecake Jars
This recipe is a game-changer for anyone who loves pumpkin pie but hates the hassle of a temperamental crust or a cracked cheesecake top. Since these are “no-bake,” you save precious oven space during busy holidays like Thanksgiving. The individual jars make them portable and easy to serve at parties, eliminating the need for messy slicing. Plus, you can make them a day in advance, allowing the flavors to meld and the texture to set into a cloud-like consistency that is lighter and fluffier than traditional baked cheesecake.
Ingredients
- 1.5 cups graham cracker crumbs
- 4 tablespoons unsalted butter, melted
- 1 tablespoon brown sugar
- 8 ounces cream cheese, softened to room temperature
- 1 cup canned pumpkin puree (not pumpkin pie filling)
- 1/2 cup powdered sugar
- 1 teaspoon vanilla extract
- 1 teaspoon pumpkin pie spice
- 1.5 cups whipped topping (or homemade whipped cream)
- Extra whipped cream and pecans for garnish (optional)
Directions
Step 1: Prepare the Crust
In a medium bowl, combine the graham cracker crumbs, melted butter, and brown sugar. Stir until the mixture looks like wet sand. Evenly distribute the crumbs into the bottom of six small mason jars or dessert glasses. Use the back of a spoon or a small pastry tamper to press the crumbs down firmly to create a solid base.
Step 2: Cream the Base
In a large mixing bowl, beat the softened cream cheese and powdered sugar together using a hand mixer or stand mixer. Continue mixing on medium speed until the mixture is completely smooth and free of lumps. Scrape down the sides of the bowl to ensure everything is well-incorporated.
Step 3: Add Pumpkin and Spices
Add the pumpkin puree, vanilla extract, and pumpkin pie spice to the cream cheese mixture. Beat on low speed until the color is uniform and the spices are evenly distributed. Be careful not to overmix at this stage; you just want a smooth, orange-tinted batter.
Step 4: Fold in the Whipped Topping
Using a rubber spatula, gently fold the whipped topping into the pumpkin mixture. Use a slow, circular motion to incorporate the air, which gives the cheesecake its light and airy texture. Continue folding until no white streaks remain and the filling is fluffy.
Step 5: Assemble and Chill
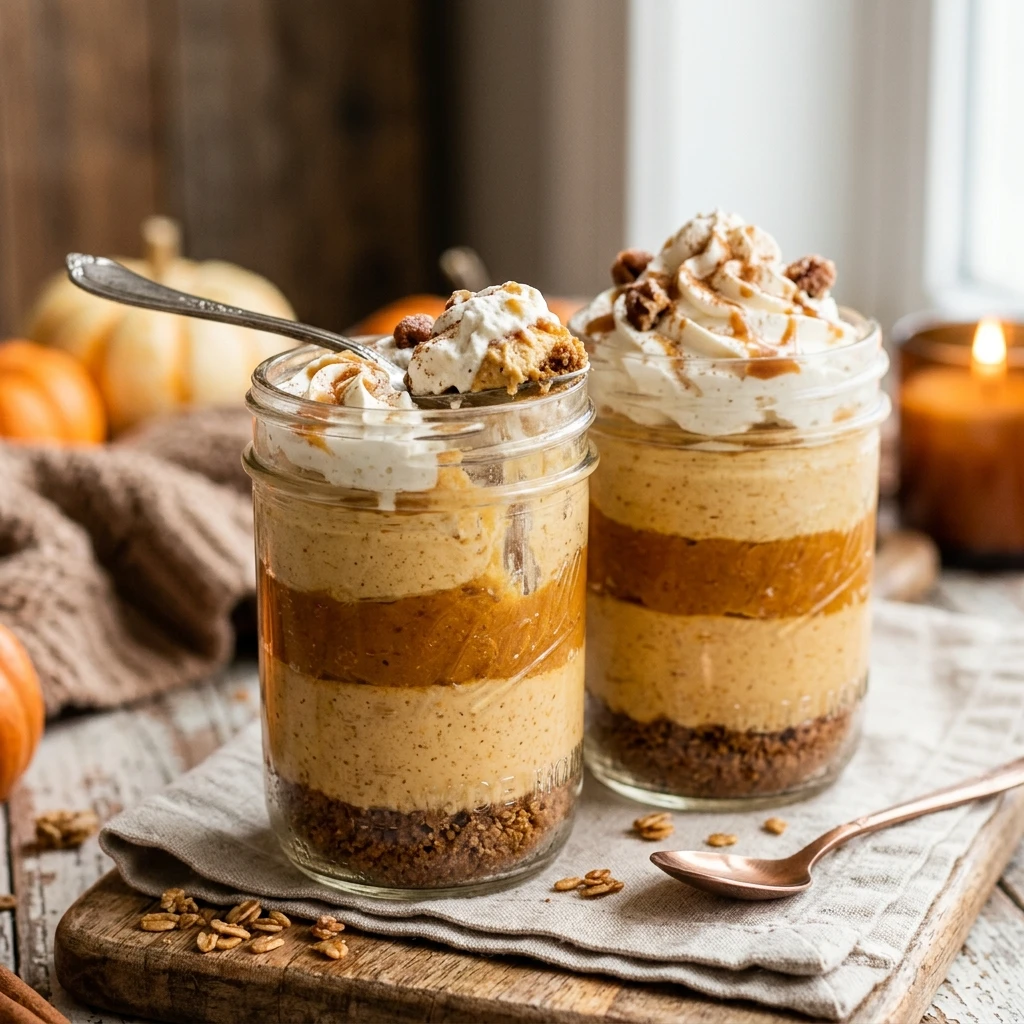
Pipe or spoon the cheesecake filling into the jars over the graham cracker crust. Smooth the tops with a spoon or leave them with a rustic swirl. Cover the jars with lids or plastic wrap and refrigerate for at least 2 hours, or overnight, to allow the filling to set. Just before serving, top with an extra dollop of whipped cream and a sprinkle of pumpkin pie spice or pecans.
Expert Tips for Perfect No Bake Pumpkin Cheesecake Jars
For the best results, always use full-fat block cream cheese rather than the spreadable kind found in tubs. The block version provides the structural integrity needed for a no-bake dessert to hold its shape. Additionally, ensure your cream cheese is truly at room temperature before mixing to avoid a grainy texture. If you want a more intense flavor, toast your graham cracker crumbs in a pan for 2 minutes before mixing with butter to add a nutty depth to the crust.
Delicious Variations
You can easily customize these jars to suit your taste. Swap the graham crackers for crushed gingersnap cookies or Biscoff cookies for an extra spicy kick. For a decadent twist, add a layer of caramel sauce or chocolate ganache between the crust and the cheesecake filling. If you prefer a less sweet dessert, you can substitute the powdered sugar with maple syrup, which adds a lovely autumnal aroma to the pumpkin mixture.
Frequently Asked Questions
Can I use fresh pumpkin puree instead of canned?
Yes, you can use homemade pumpkin puree, but make sure it is very well-strained. Fresh puree often contains more water than canned versions, which can make your cheesecake jars too runny.
How long do these jars last in the fridge?
These cheesecake jars will stay fresh and delicious for up to 4 days when kept refrigerated and tightly sealed. This makes them an excellent make-ahead dessert.
Can I freeze No Bake Pumpkin Cheesecake Jars?
Yes! These jars freeze surprisingly well. Freeze them without the whipped cream garnish for up to 1 month. Thaw them in the refrigerator for a few hours before serving.
What is the best size jar to use?
Small 4-ounce or 6-ounce mason jars are ideal for individual servings. If you don’t have jars, wine glasses or even small ramekins work perfectly fine.
Can I make this recipe vegan?
To make this vegan, use a dairy-free cream cheese alternative, vegan butter, and a coconut-based whipped topping. Ensure your graham crackers are honey-free as well.
Conclusion
No Bake Pumpkin Cheesecake Jars are the ultimate stress-free dessert for the fall season. They offer all the creamy, spiced goodness of a traditional cheesecake with a fraction of the effort. Because they are pre-portioned and easy to store, they take the pressure off the host while providing a gourmet experience for the guests. Grab your jars and get started on this simple, delicious treat today!
No Bake Pumpkin Cheesecake Jars
- Total Time: 20 minutes
- Diet: Vegetarian
Ingredients
- 1.5 cups graham cracker crumbs
- 4 tablespoons unsalted butter, melted
- 1 tablespoon brown sugar
- 8 ounces cream cheese, softened to room temperature
- 1 cup canned pumpkin puree (not pumpkin pie filling)
- 1/2 cup powdered sugar
- 1 teaspoon vanilla extract
- 1 teaspoon pumpkin pie spice
- 1.5 cups whipped topping (or homemade whipped cream)
- Extra whipped cream and pecans for garnish (optional)
Instructions
- In a medium bowl, combine the graham cracker crumbs, melted butter, and brown sugar. Stir until the mixture looks like wet sand. Evenly distribute the crumbs into the bottom of six small mason jars or dessert glasses. Use the back of a spoon or a small pastry tamper to press the crumbs down firmly to create a solid base.
- In a large mixing bowl, beat the softened cream cheese and powdered sugar together using a hand mixer or stand mixer. Continue mixing on medium speed until the mixture is completely smooth and free of lumps. Scrape down the sides of the bowl to ensure everything is well-incorporated.
- Add the pumpkin puree, vanilla extract, and pumpkin pie spice to the cream cheese mixture. Beat on low speed until the color is uniform and the spices are evenly distributed. Be careful not to overmix at this stage; you just want a smooth, orange-tinted batter.
- Using a rubber spatula, gently fold the whipped topping into the pumpkin mixture. Use a slow, circular motion to incorporate the air, which gives the cheesecake its light and airy texture. Continue folding until no white streaks remain and the filling is fluffy.
- Pipe or spoon the cheesecake filling into the jars over the graham cracker crust. Smooth the tops with a spoon or leave them with a rustic swirl. Cover the jars with lids or plastic wrap and refrigerate for at least 2 hours, or overnight, to allow the filling to set. Just before serving, top with an extra dollop of whipped cream and a sprinkle of pumpkin pie spice or pecans.
- Cook Time: 20 minutes