Recipe Information
- Prep Time: 15 minutes
- Cook Time: 0 minutes
- Total Time: 24 hours 15 minutes (including freezing)
- Servings: 4
- Difficulty Level: Easy
Nutrition Information
- Calories per serving: 360
- Protein: 6 grams
- Carbohydrates: 30 grams
- Fat: 24 grams
- Fiber: 1 gram
- Sugar: 20 grams
- Sodium: 150 mg
Why Make This Ninja Creami Copycat Dairy Queen Butterfinger Blizzard
There’s something magical about the creamy, crunchy delight of a Butterfinger Blizzard from Dairy Queen, and now you can recreate that magic right at home with the Ninja Creami! This copycat recipe captures all the scrumptious flavors and textures you know and love, minus the trip to the drive-thru. By making it yourself, you get to control the ingredients, ensuring it’s fresher and tailored to your taste. Perfect for a hot summer day, this homemade treat is not only satisfying but also allows for some creative variations, making it a hit with family and friends!
How to Make Ninja Creami Copycat Dairy Queen Butterfinger Blizzard
Creating this delightful dessert is a fun process that anyone can master. Follow the simple steps below for a frozen treat that will take you straight back to your childhood.
Ingredients:
- 1 cup whole milk
- 3/4 cup heavy cream
- 1/3 cup granulated sugar
- 1 teaspoon vanilla extract
- 1 tablespoon cream cheese (softened)
- 1/4 cup Butterfinger baking bits (or chopped Butterfinger candy bars)
- 2 tablespoons peanut butter topping (plus extra for drizzling)
- Whipped cream (optional for topping)
- Extra Butterfinger pieces for garnish
Directions:
Step 1: Preparation
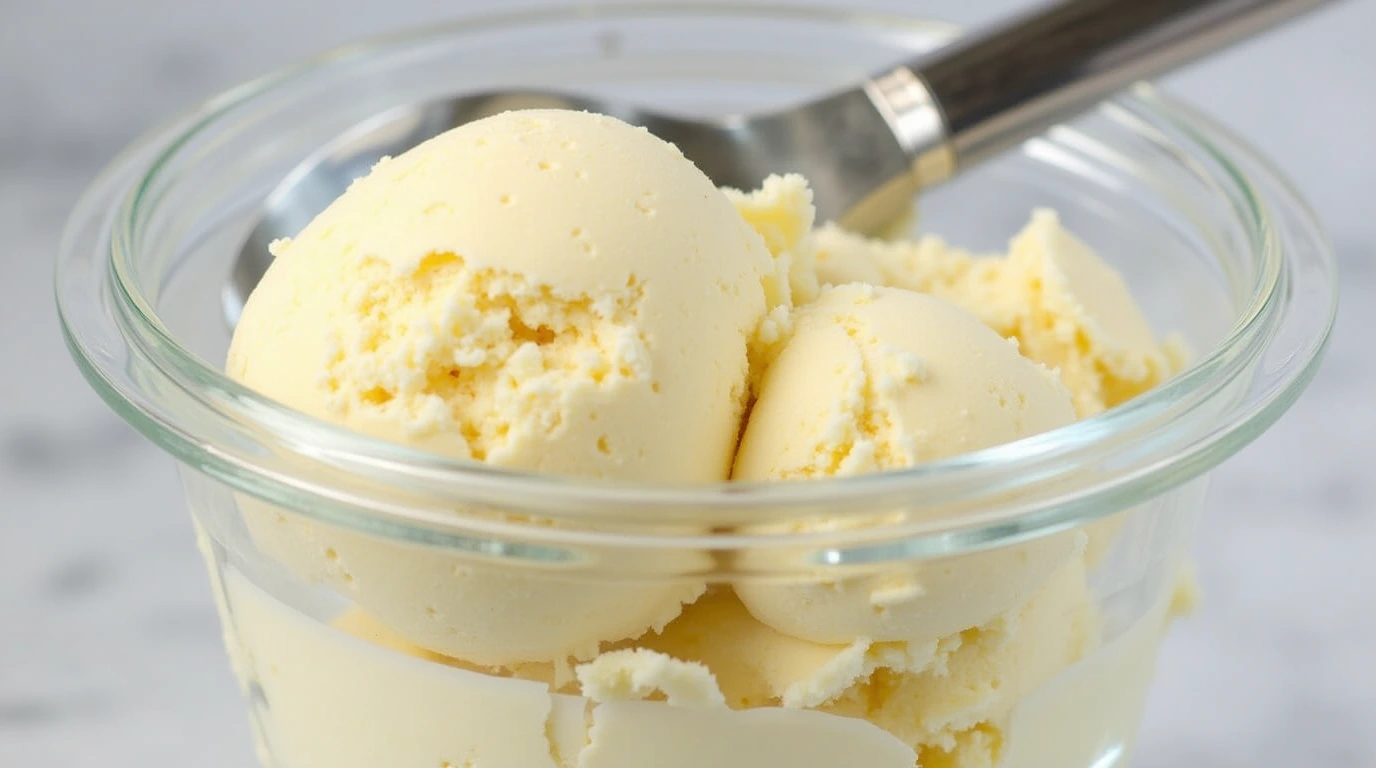
In a mixing bowl, whisk together the whole milk, heavy cream, granulated sugar, and vanilla extract until the sugar is completely dissolved. This step is crucial as it ensures a smooth and creamy base for your ice cream.
Step 2: Mixing
Add the softened cream cheese to the bowl and mix until smooth and creamy. This will give your Blizzard a rich texture, enhancing the overall flavor of the finished product.
Step 3: Freezing
Pour the vanilla ice cream mixture into the Ninja Creami pint container. Freeze for at least 24 hours or until fully frozen. Be patient—they say good things come to those who wait!
Step 4: Processing
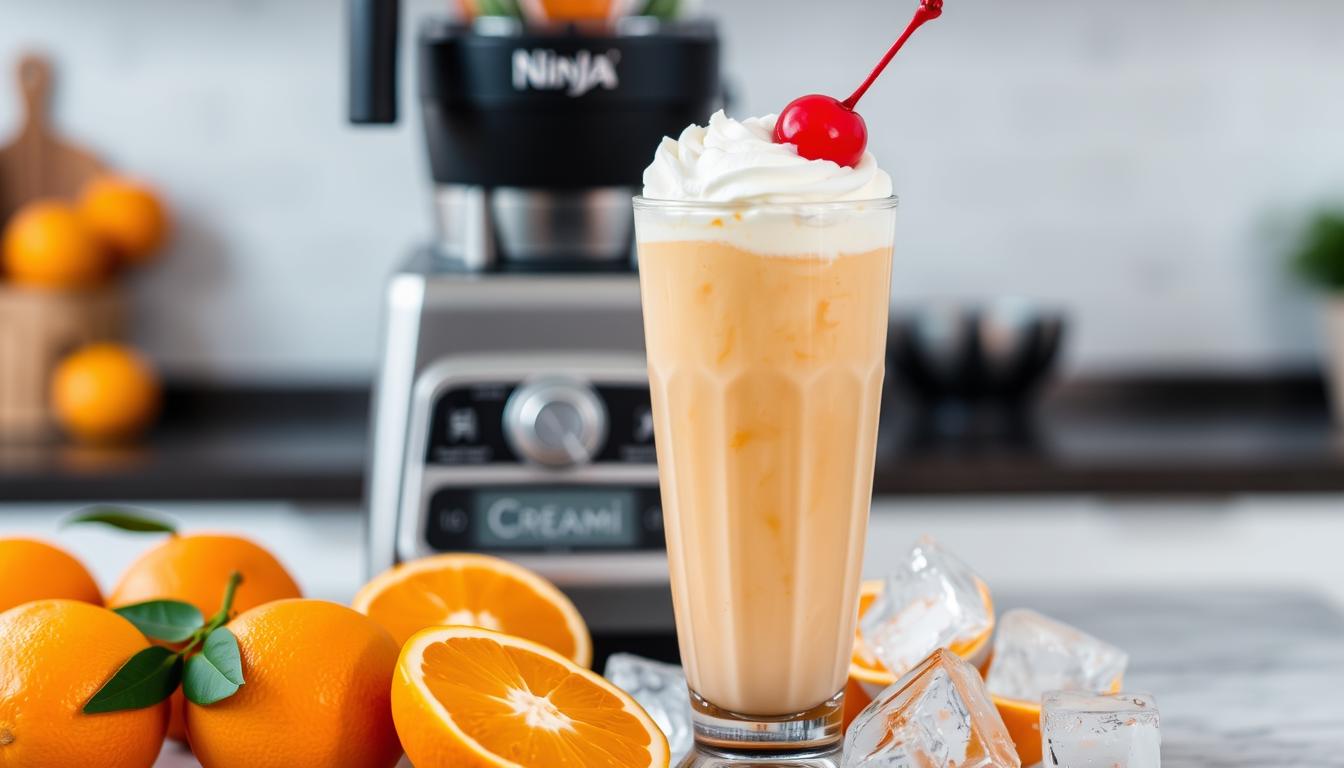
Once the base is completely frozen, remove it from the freezer and process it using the "Ice Cream" setting on the Ninja Creami. This magical machine whips your ice cream into a creamy consistency.
Step 5: Combining
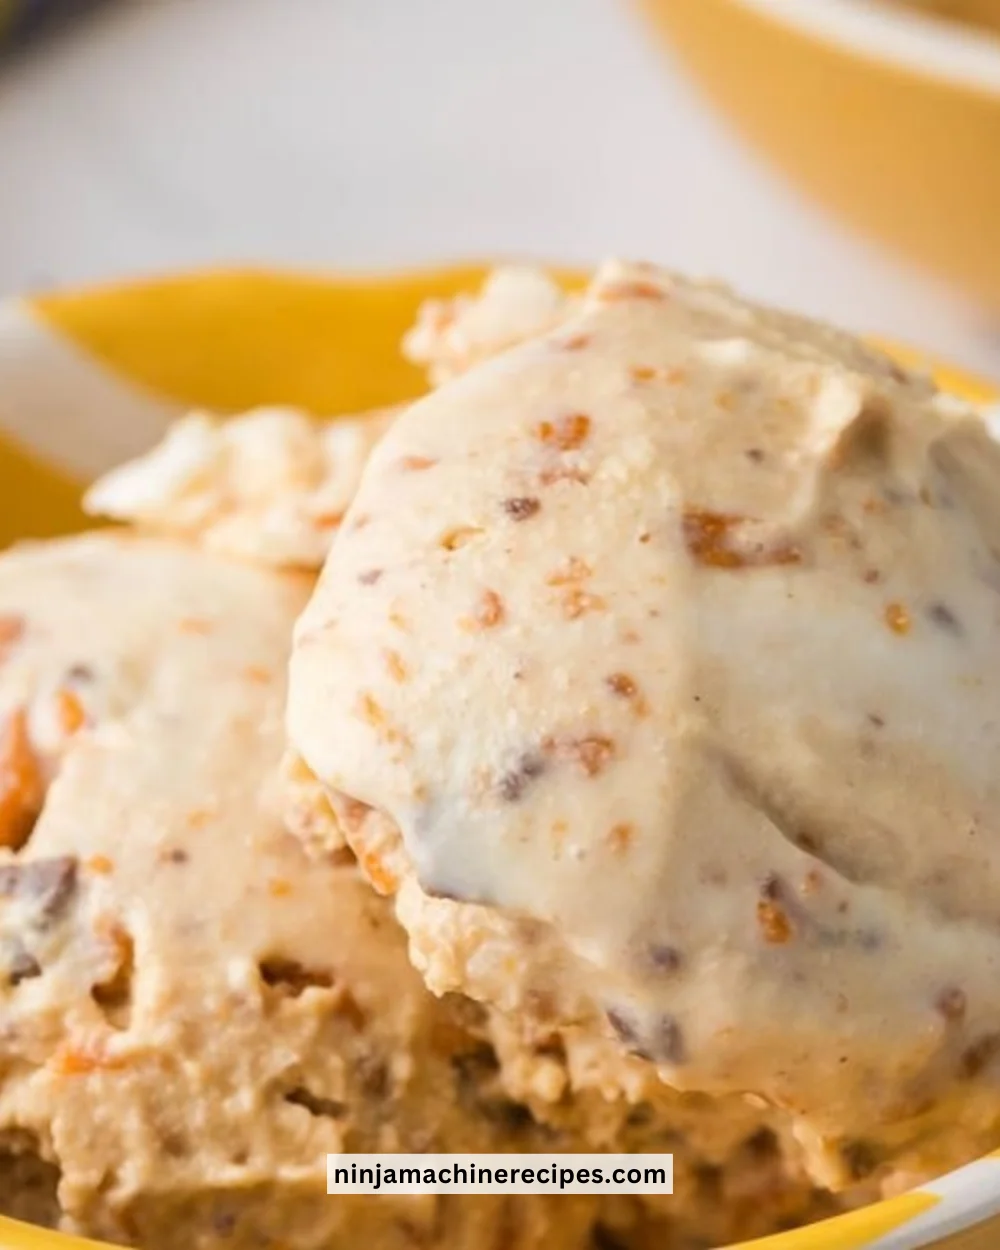
After processing, create a well in the center of the ice cream and add the chopped Butterfinger pieces and peanut butter topping. Gently fold the mix-ins into the ice cream using a spoon for a delightful crunch in every bite.
Step 6: Scooping
Scoop the ice cream mixture into a cup or bowl. Top with whipped cream and drizzle with extra peanut butter topping. Add more Butterfinger pieces as desired for that extra sweet crunch!
How to Serve Ninja Creami Copycat Dairy Queen Butterfinger Blizzard
Serve your Ninja Creami Butterfinger Blizzard in chilled cups or bowls, allowing the whipped cream to stand tall as a crown on your dessert. Perfect for birthday parties, summer gatherings, or simply to satisfy your sweet cravings, this Blizzard is sure to impress!
How to Store Ninja Creami Copycat Dairy Queen Butterfinger Blizzard
Store any leftover Blizzard in the Ninja Creami container, tightly sealed in the freezer. It will stay fresh for up to one week. Just remember to allow it to soften for a few minutes before serving again.
Expert Tips for Perfect Ninja Creami Copycat Dairy Queen Butterfinger Blizzard
- Ensure that your ingredients are at room temperature before mixing. This helps in achieving a smoother ice cream base.
- Feel free to experiment with other mix-ins such as crushed Oreos, M&M’s, or fresh fruit!
- If you’re feeling adventurous, try adding a hint of malt extract for a Malteser-style twist.
- Don’t rush the freezing process; proper freezing is critical for the right texture.
- For an even richer taste, use full-fat cream cheese instead of regular cream cheese.
Delicious Variations
- Chocolate Peanut Butter Blizzard: Substitute half the heavy cream with chocolate milk and use chocolate chips instead of Butterfinger.
- Mint Chocolate Chip: Add a few drops of peppermint extract and replace Butterfinger with chopped chocolate mint candies.
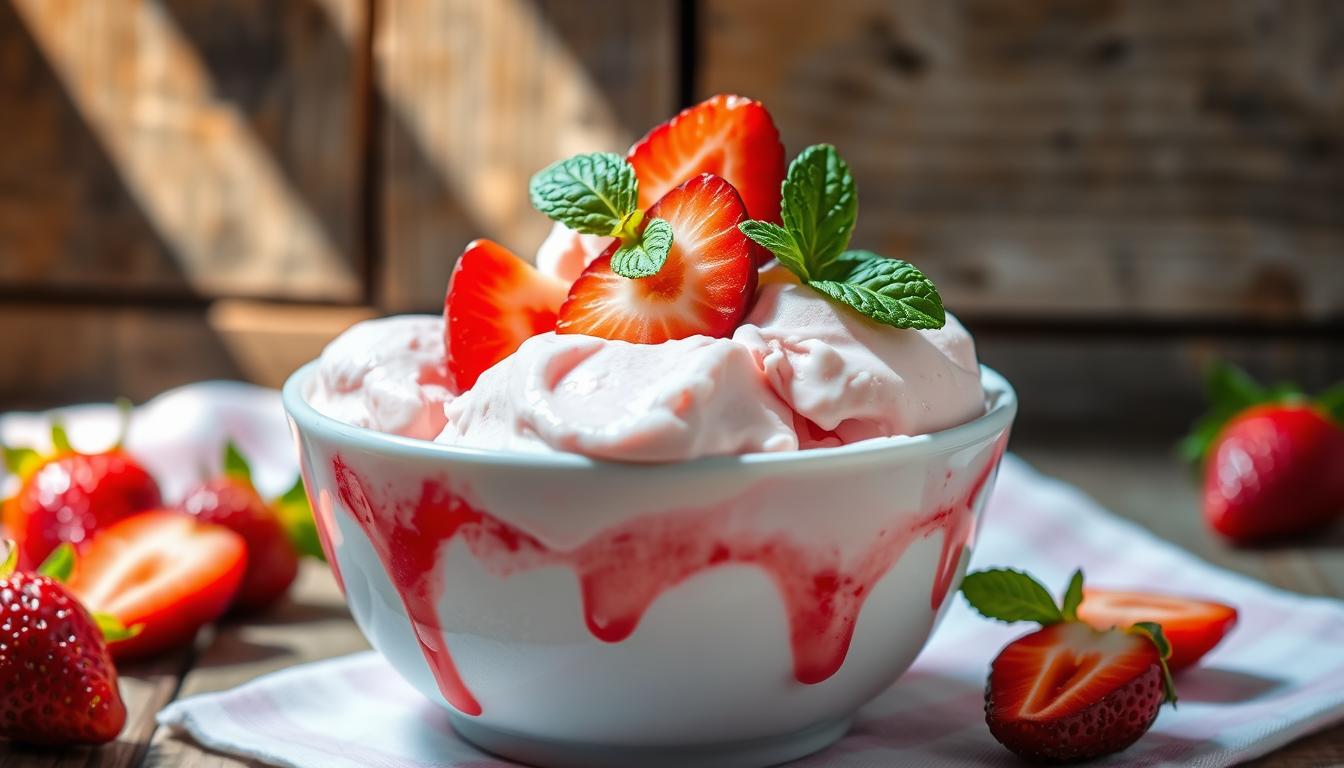
- Fruit Blizzard: Swirl in fresh strawberries or bananas with the Butterfinger for a fruity spin.
Frequently Asked Questions
-
Can I use low-fat milk?
Yes, but it may affect the creaminess of the final product. Whole milk and heavy cream provide the best texture. -
How long does it take to freeze?
You need to freeze the mixture for at least 24 hours to achieve the desired consistency. -
Can I use a different blender?
While the Ninja Creami is recommended for the best results, any high-powered blender can work—just be mindful of the texture. -
What if I don’t have Butterfinger bits?
You can chop up regular Butterfinger candy bars or substitute with similar candy bars like Reese’s or Twix. -
How can I make it dairy-free?
Substitute dairy milk with almond or coconut milk and use coconut cream instead of heavy cream. Ensure your mix-ins are dairy-free.
Conclusion
Making a Ninja Creami Copycat Dairy Queen Butterfinger Blizzard at home is not only easy but also a gratifying adventure into the world of frozen desserts. The combination of creamy ice cream with crunchy Butterfinger bits and rich peanut butter makes for a treat everyone will adore. So go ahead, gather your ingredients, and whip up this delightful sweet indulgence. You’ll be glad you did, and your taste buds will thank you! Enjoy!
Print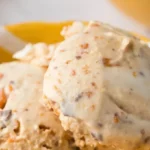
Ninja Creami Copycat Dairy Queen Butterfinger Blizzard
- Total Time: 1440 minutes
- Yield: 4 servings 1x
- Diet: Vegetarian
Description
Recreate the creamy delight of a Butterfinger Blizzard from Dairy Queen at home using the Ninja Creami.
Ingredients
- 1 cup whole milk
- 3/4 cup heavy cream
- 1/3 cup granulated sugar
- 1 teaspoon vanilla extract
- 1 tablespoon cream cheese (softened)
- 1/4 cup Butterfinger baking bits (or chopped Butterfinger candy bars)
- 2 tablespoons peanut butter topping (plus extra for drizzling)
- Whipped cream (optional for topping)
- Extra Butterfinger pieces for garnish
Instructions
- In a mixing bowl, whisk together the whole milk, heavy cream, granulated sugar, and vanilla extract until the sugar is completely dissolved.
- Add the softened cream cheese to the bowl and mix until smooth and creamy.
- Pour the vanilla ice cream mixture into the Ninja Creami pint container. Freeze for at least 24 hours or until fully frozen.
- Once the base is completely frozen, remove it from the freezer and process it using the ‘Ice Cream’ setting on the Ninja Creami.
- Create a well in the center of the ice cream and add the chopped Butterfinger pieces and peanut butter topping. Gently fold the mix-ins into the ice cream.
- Scoop the ice cream mixture into a cup or bowl. Top with whipped cream and drizzle with extra peanut butter topping. Add more Butterfinger pieces as desired.
Notes
Ensure that your ingredients are at room temperature before mixing for a smoother base. Experiment with other mix-ins like crushed Oreos or fresh fruit.
- Prep Time: 15 minutes
- Cook Time: 0 minutes
- Category: Dessert
- Method: Freezing
- Cuisine: American
Nutrition
- Serving Size: 1 serving
- Calories: 360
- Sugar: 20g
- Sodium: 150mg
- Fat: 24g
- Saturated Fat: 12g
- Unsaturated Fat: 8g
- Trans Fat: 0g
- Carbohydrates: 30g
- Fiber: 1g
- Protein: 6g
- Cholesterol: 30mg