Recipe Information
- Prep Time: 15 minutes
- Cook Time: 24 hours (freezing time)
- Total Time: 24 hours 15 minutes
- Servings: 4
- Difficulty Level: Easy
Nutrition Information
- Calories per serving: 290
- Protein: 4g per serving
- Carbohydrates: 30g per serving
- Fat: 18g per serving
- Fiber: 0g per serving
- Sugar: 14g per serving
- Sodium: 60mg per serving
Why Make This Ninja Creami Cookie Butter Ice Cream
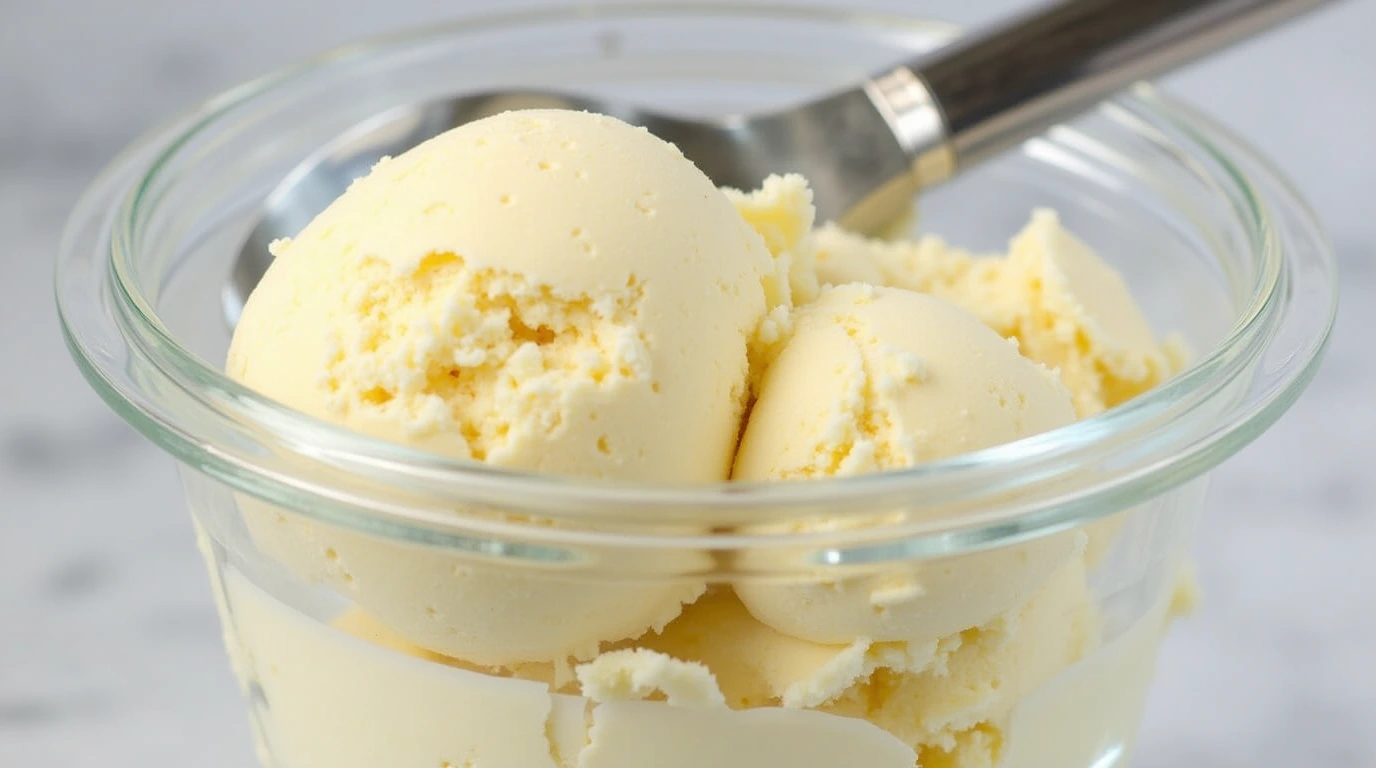
Creating your own ice cream at home can be a wonderfully satisfying experience, especially when it involves the rich, luscious flavors of cookie butter. This Ninja Creami Cookie Butter Ice Cream is a delightful treat that captures the comforting warmth of cookies right from your freezer. With its creamy texture and a hint of sweetness, this ice cream is perfect for any occasion, whether it’s a hot summer day or a cozy night in. Plus, with your Ninja Creami, you can whip it up effortlessly, making it a fun project for family and friends.
How to Make Ninja Creami Cookie Butter Ice Cream
Crafting your own delicious ice cream has never been easier, thanks to this straightforward recipe. With a handful of accessible ingredients and your Ninja Creami, you’re on the way to a delectable dessert that will impress everyone around. Here’s an overview of what you need to do.
Ingredients:
- 1 cup whole milk
- 2 TBSP instant vanilla pudding mix
- 1/2 cup cookie butter
- 1/2 cup heavy whipping cream
Directions:
-
Step 1: Preparation
Combine the milk and instant vanilla pudding mix in a small bowl or large liquid measuring cup. Whisk together until the pudding mix is completely dissolved and fully incorporated into the milk.
-
Step 2: Mixing
Place the cookie butter in a microwave-safe bowl and microwave it for about 15-20 seconds until it becomes smooth. Stir well to ensure there are no lumps.
-
Step 3: Combining
Pour the melted cookie butter into the milk and pudding mixture, whisking thoroughly to incorporate all ingredients smoothly. There should be a lovely creamy texture forming at this stage.
-
Step 4: Whipping
Slowly whisk the heavy cream into the milk mixture until everything is well combined. This step adds richness and creates that luscious, dreamy ice cream texture.
-
Step 5: Freezing
Transfer your mixture to a Ninja Creami pint container and close the lid tightly. Place it on a level surface in your freezer and freeze for at least 24 hours until solid.
-
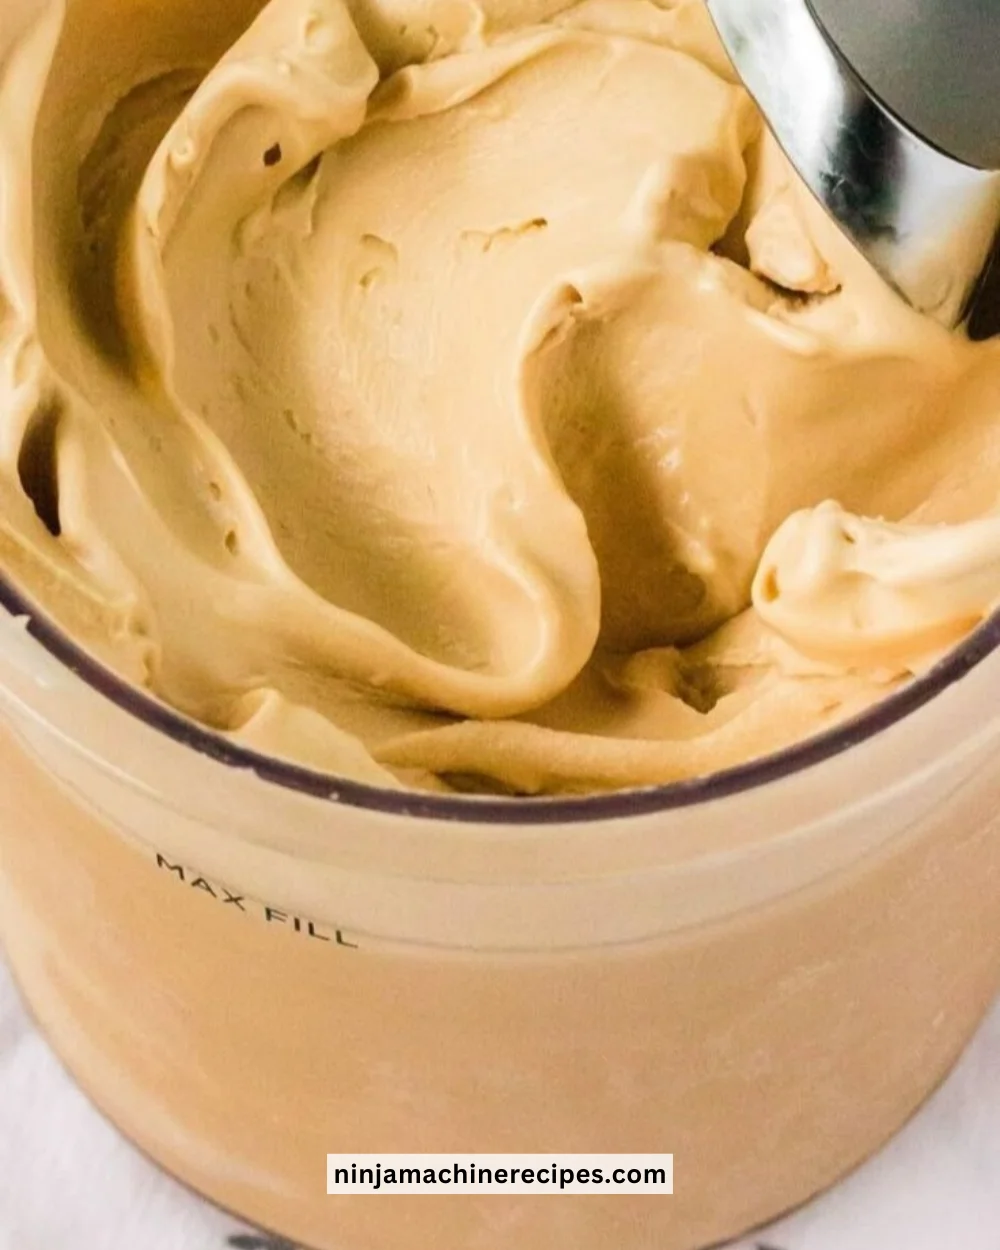
Step 6: Churning
Once frozen, remove the pint from the freezer and take off the lid. Fit the pint container into the outer bowl apparatus and secure the outer bowl lid.
-
Step 7: Ice Cream Processing
Insert the outer bowl into the Ninja Creami machine. Select the Ice Cream function and let the machine work its magic until the cycle is complete.
-
Step 8: Texture Check
After the cycle, remove the pint and check the consistency of your ice cream. If it looks crumbly, simply put it back into the machine and use the Re-spin function. If it remains crumbly, add a tablespoon of milk and use the Re-spin function again.
-
Step 9: Adding Mix-ins (Optional)
If you’re looking to add mix-ins like chocolate chips or nuts, create a well in the middle of the ice cream about 1/2-inch wide and extending to the bottom of the pint container. Add your desired mix-in, place the pint back in the machine, and opt for the Mix-in function to combine everything evenly.
How to Serve Ninja Creami Cookie Butter Ice Cream
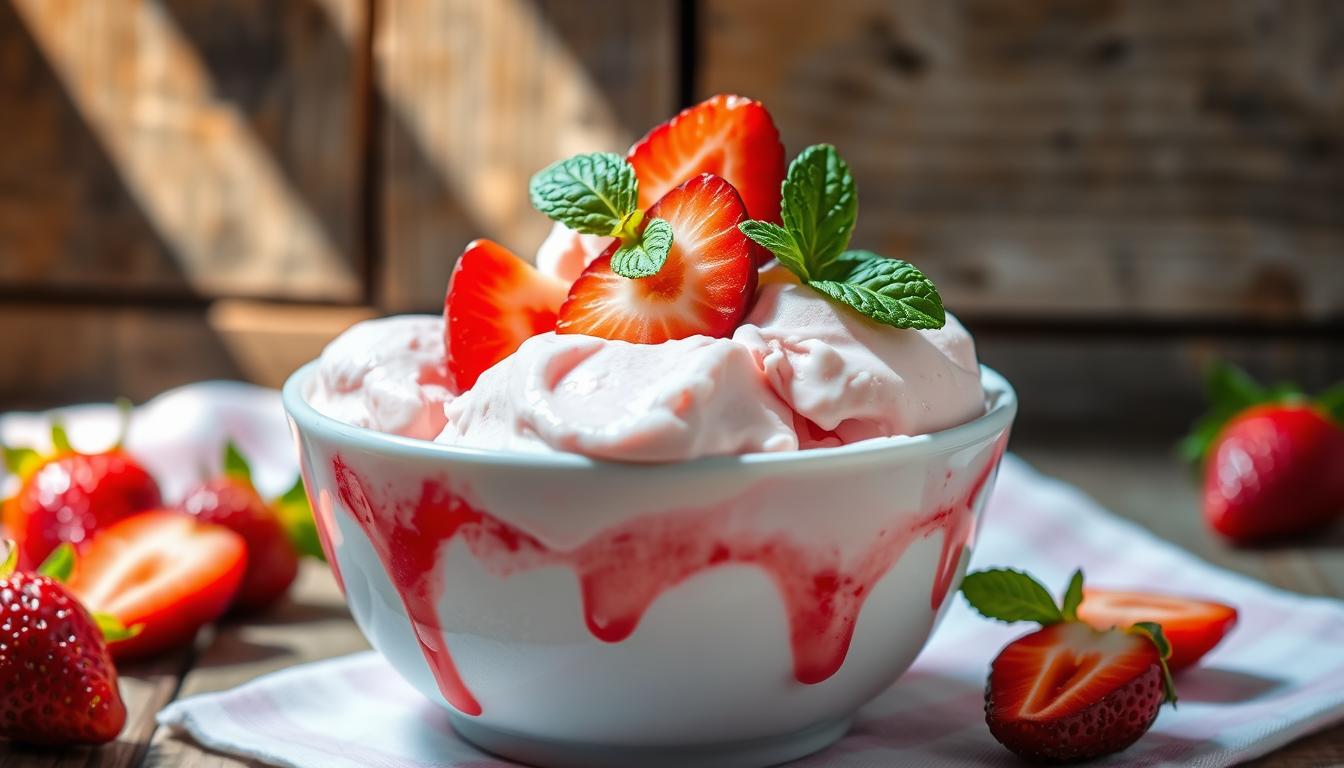
Serving your homemade Ninja Creami Cookie Butter Ice Cream is a joyous occasion! You can scoop it into bowls or cones and even top it with whipped cream, a drizzle of chocolate sauce, or a sprinkle of crushed cookies for that extra wow factor. Enjoy it fresh, or pair it with pie or cake for a delightful dessert platter.
How to Store Ninja Creami Cookie Butter Ice Cream
To store your leftover ice cream, simply keep it in the Ninja Creami pint container with a lid tightly sealed. It can last up to 1 week in the freezer, but it’s best enjoyed sooner rather than later for the freshest taste and best texture. If you notice it becoming too hard, let it sit at room temperature for a few minutes before scooping for ease.
Expert Tips for Perfect Ninja Creami Cookie Butter Ice Cream
- Use High-Quality Ingredients: Quality milk and cookie butter can greatly influence the flavor.
- Pudding Mix Alternatives: If you’re looking for a healthier option, try using a sugar-free pudding mix.
- Experiment with Flavors: Feel free to mix in spices like cinnamon or nutmeg for added warmth or use different flavored puddings.
- Make it Dairy-Free: Substitute whole milk with almond or oat milk and use a dairy-free whipping cream for a dairy-free version.
- Chilling the Equipment: Before making ice cream, chill the Ninja Creami parts in the freezer for an hour to enhance texture.
Delicious Variations
- Chocolate Chip Cookie Butter Ice Cream: Fold in some mini chocolate chips for a delightful chocolatey twist.
- Cookie Butter Swirl: Create a richer flavor by adding spoonfuls of cookie butter into the already mixed ingredients, swirling them in before freezing.
- Nutty Cookie Butter Ice Cream: Mix in some chopped nuts for a crunchy texture that contrasts nicely with the smooth ice cream.
Frequently Asked Questions
-
Can I use almond milk instead of whole milk?
Yes! Almond milk works well, but it may slightly alter the texture. Choose a creamier nut milk for best results. -
How can I make this ice cream less sweet?
You can reduce the cookie butter slightly, or opt for a sugar-free pudding mix to control sweetness levels. -
What if my ice cream is too hard?
Let it sit at room temperature for 5-10 minutes before scooping. This helps soften it to a creamy consistency. -
Can I use flavored cookie butter?
Absolutely! Feel free to use chocolate or speculoos flavored cookie butter for a fun twist. -
What’s the best way to serve this ice cream?
Serve it on its own, or as a delightful topping on desserts like brownies or pies.
Conclusion
Indulging in homemade Ninja Creami Cookie Butter Ice Cream is a treat that every ice cream lover should experience. With its creamy richness and delightful cookie butter flavor, it’s not just a dessert, but a standout moment that can bring joy to your day. Now that you have this simple yet delicious recipe, why not gather your ingredients and give it a try? You’ll be amazed at how easy it is to create your own artisanal ice cream right at home!
Print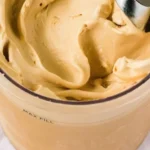
Ninja Creami Cookie Butter Ice Cream
- Total Time: 1455 minutes
- Yield: 4 servings 1x
- Diet: Vegetarian
Description
A rich and creamy homemade ice cream infused with the delightful flavors of cookie butter, perfect for any occasion.
Ingredients
- 1 cup whole milk
- 2 tablespoons instant vanilla pudding mix
- 1/2 cup cookie butter
- 1/2 cup heavy whipping cream
Instructions
- Combine the milk and instant vanilla pudding mix in a bowl, whisking until fully incorporated.
- Melt the cookie butter in a microwave-safe bowl for 15-20 seconds, then stir to smooth.
- Pour the melted cookie butter into the milk mixture and whisk thoroughly.
- Slowly whisk in the heavy cream until well combined.
- Transfer the mixture to a Ninja Creami pint container, sealing tightly, and freeze for at least 24 hours.
- Remove the pint from the freezer and take off the lid. Fit the container into the Ninja Creami machine.
- Select the Ice Cream function and let the machine process.
- Check the consistency. If crumbly, use the Re-spin function. Add milk if necessary.
- Optionally add mix-ins and use the Mix-in function to incorporate.
Notes
For best results, use quality ingredients. Chill Ninja Creami parts before use for enhanced texture.
- Prep Time: 15 minutes
- Cook Time: 1440 minutes
- Category: Dessert
- Method: Freezing
- Cuisine: American
Nutrition
- Serving Size: 1 serving
- Calories: 290
- Sugar: 14g
- Sodium: 60mg
- Fat: 18g
- Saturated Fat: 10g
- Unsaturated Fat: 8g
- Trans Fat: 0g
- Carbohydrates: 30g
- Fiber: 0g
- Protein: 4g
- Cholesterol: 30mg