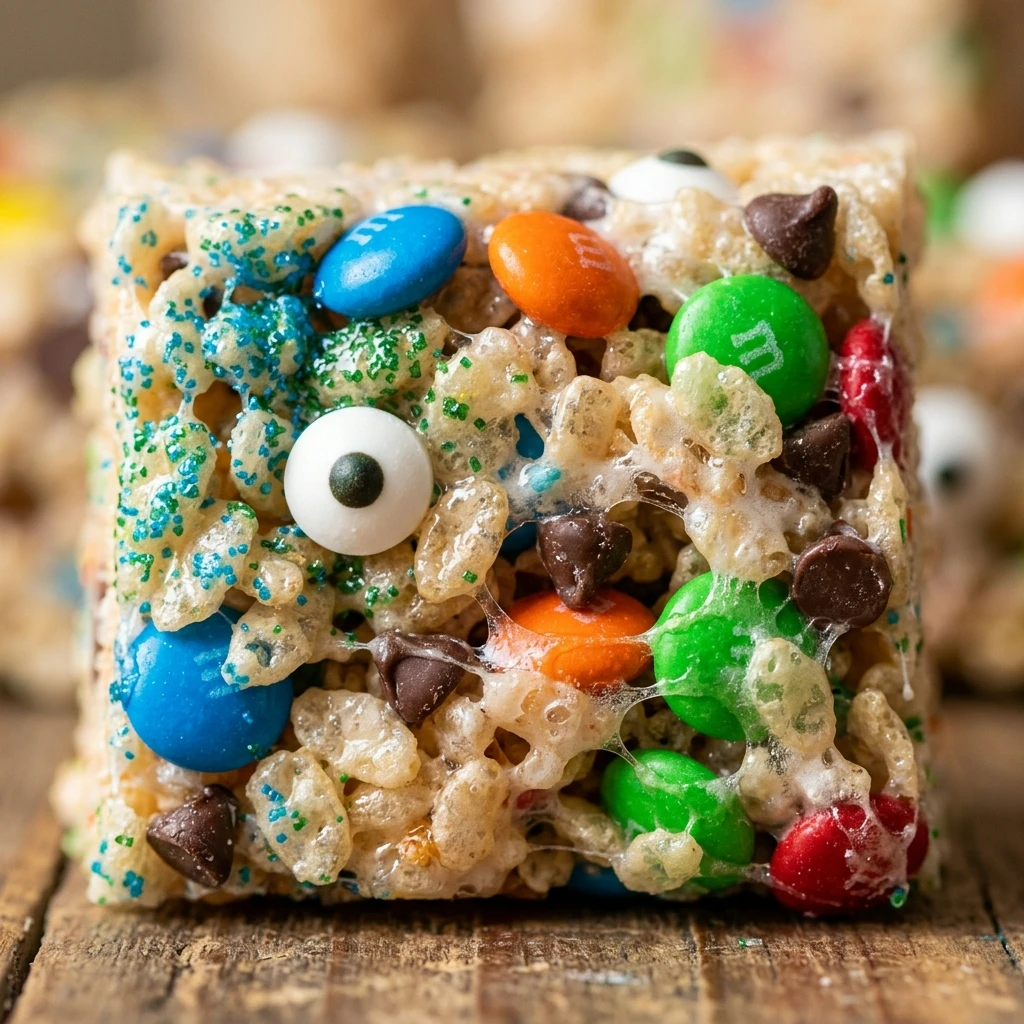
Get ready to bring some spooky fun into your kitchen with these vibrant and goofy Monster Rice Krispie Treats! Whether you are planning a Halloween bash or just want to surprise the kids with a colorful snack, these treats are the ultimate crowd-pleaser. They take the classic, gooey marshmallow treat we all love and transform it into a parade of one-eyed, three-eyed, and multi-colored monsters. The best part? There is no baking required, meaning you can whip these up in no time and get straight to the decorating fun.
Recipe Information
- Prep Time: 15 minutes
- Cook Time: 10 minutes
- Total Time: 25 minutes
- Servings: 12 bars
- Difficulty: Easy
Nutrition values
- Calories: 185 kcal
- Protein: 1.5g
- Carbs: 36g
Why Make This Monster Rice Krispie Treats
These treats are the perfect project for little bakers who want to help out in the kitchen. Since the recipe is essentially a “melt and stir” process, it is low-stress and high-reward. You can customize the colors to match any party theme, and the candy eyeballs add a hilarious personality to every single square. Plus, they stay soft and chewy for days, making them a great make-ahead option for school bake sales or festive gatherings.
Ingredients
- 6 cups Rice Krispies cereal
- 1 package (10 oz) fresh mini marshmallows
- 1/2 cup unsalted butter
- 1 teaspoon vanilla extract
- Gel food coloring (green, purple, orange, and blue)
- 1/2 cup candy eyeballs (various sizes)
- 1/4 cup candy melts (optional, for drizzling)
- Pinch of salt
Directions
Step 1: Prepare Your Pan
Line a 9×9 inch square baking pan with parchment paper. Leave a little overhang on the sides so you can easily lift the treats out later. Lightly grease the parchment paper with butter or non-stick cooking spray to ensure nothing sticks.
Step 2: Melt the Butter and Marshmallows
In a large pot or Dutch oven, melt the butter over low heat. Once the butter is completely liquid, add the mini marshmallows and a pinch of salt. Stir constantly with a rubber spatula until the marshmallows are completely melted and smooth. Remove the pot from the heat immediately to prevent the sugar from getting too hard.
Step 3: Add Color and Flavor
Stir in the vanilla extract. If you want all your monsters to be one color, add the gel food coloring now. If you want multiple colors, divide the marshmallow mixture into separate bowls before adding the coloring. Stir until the color is vibrant and even.
Step 4: Incorporate the Cereal
Gently fold the Rice Krispies cereal into the marshmallow mixture. Use a folding motion to ensure every piece of cereal is coated in gooey goodness. Work quickly before the marshmallows begin to set and become difficult to stir.
Step 5: Press into the Pan
Transfer the mixture into your prepared baking pan. Use a greased spatula or a piece of wax paper to gently press the mixture into an even layer. Do not press too hard; a light touch keeps the treats light and airy rather than dense and hard.
Step 6: Decorate with Monster Eyes
While the treats are still slightly warm and sticky, press the candy eyeballs into the top. Use different sizes and placements to give each “monster” a unique look. If the treats have already set, use a tiny dot of melted candy melts or icing to stick the eyes on. Let the treats cool completely at room temperature for at least 30 minutes before slicing into squares.
Expert Tips for Perfect Monster Rice Krispie Treats
Always use fresh marshmallows for the best texture. Old marshmallows tend to result in hard, tooth-shattering treats. For the best color, use gel food coloring instead of liquid drops; gel provides a much more intense hue without thinning out the marshmallow glue. Finally, avoid the temptation to put them in the fridge to cool faster, as this can make the cereal lose its crunch.
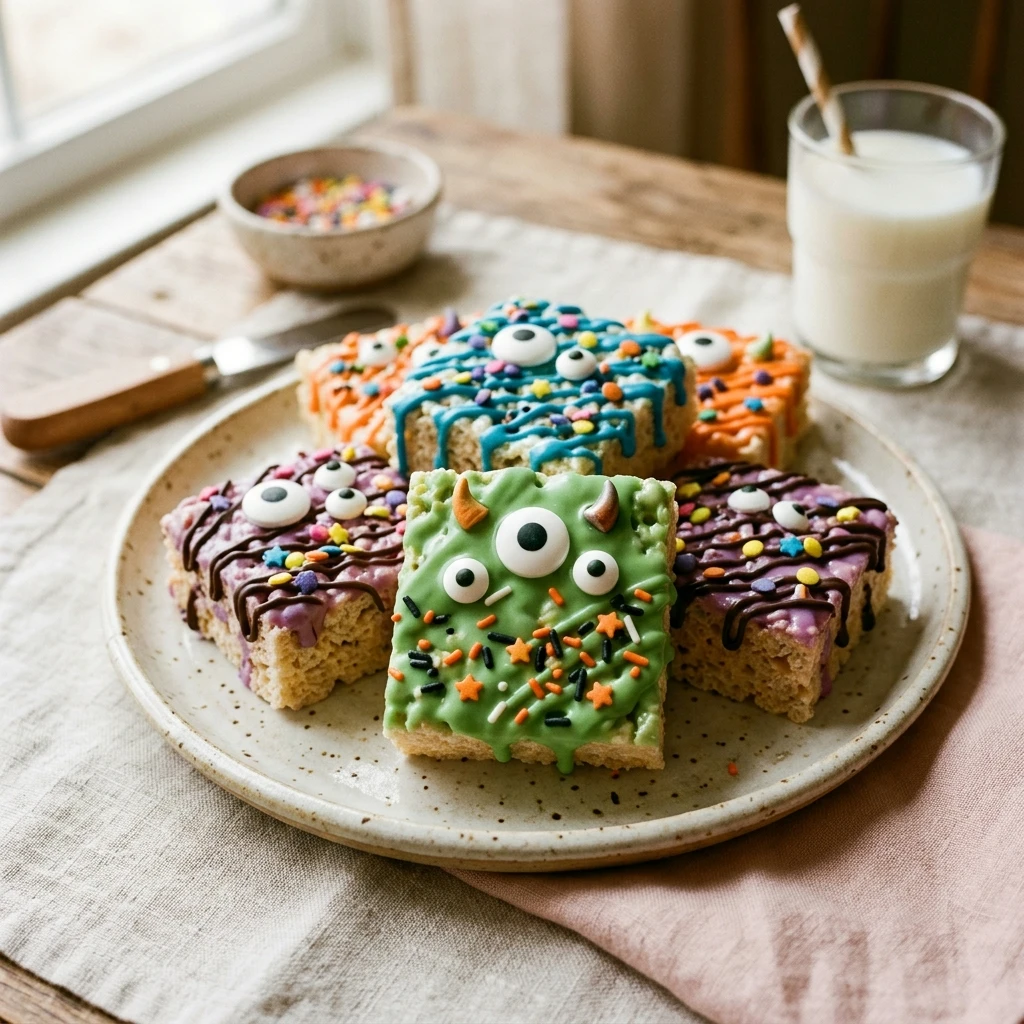
Delicious Variations
You can easily upgrade these monsters by adding different textures. Mix in some colorful sprinkles or mini chocolate chips for “monster spots.” If you want a salty-sweet vibe, add a handful of crushed pretzels to the cereal mix. You can also dip the bottom of each square in melted dark chocolate for a “muddy feet” look that tastes incredible.
Frequently Asked Questions
Can I use large marshmallows instead of mini ones?
Yes, you can! Just be sure to weigh them to match the 10-ounce requirement. Large marshmallows take a bit longer to melt, so keep the heat very low to avoid burning.
How do I store these treats?
Store them in an airtight container at room temperature. They will stay fresh and soft for up to 3 days. Do not refrigerate them, or they will become hard.
Can I make these vegan?
Absolutely. Simply swap the butter for a plant-based alternative and use vegan-friendly marshmallows (like Dandies).
How do I get the treats out of the pan easily?
The parchment paper “sling” is the secret. By leaving an overhang, you can simply lift the entire block of treats out of the pan and onto a cutting board once they are set.
My treats came out too hard. What happened?
This usually happens if the marshmallows were melted over heat that was too high, or if you pressed the mixture into the pan too firmly. Always use low heat and a gentle touch!
Conclusion
Monster Rice Krispie Treats are the perfect blend of nostalgic flavor and creative fun. They are quick to assemble, require zero baking, and offer endless opportunities for customization. Whether you are making a batch for a school party or just a fun weekend activity with the family, these treats are sure to bring a smile to everyone’s face. Grab your candy eyes and get ready to create some delicious little monsters!
Monster Rice Krispie Treats
- Total Time: 25 minutes
- Diet: Vegetarian
Ingredients
- 6 cups Rice Krispies cereal
- 1 package (10 oz) fresh mini marshmallows
- 1/2 cup unsalted butter
- 1 teaspoon vanilla extract
- Gel food coloring (green, purple, orange, and blue)
- 1/2 cup candy eyeballs (various sizes)
- 1/4 cup candy melts (optional, for drizzling)
- Pinch of salt
Instructions
- Line a 9×9 inch square baking pan with parchment paper. Leave a little overhang on the sides so you can easily lift the treats out later. Lightly grease the parchment paper with butter or non-stick cooking spray to ensure nothing sticks.
- In a large pot or Dutch oven, melt the butter over low heat. Once the butter is completely liquid, add the mini marshmallows and a pinch of salt. Stir constantly with a rubber spatula until the marshmallows are completely melted and smooth. Remove the pot from the heat immediately to prevent the sugar from getting too hard.
- Stir in the vanilla extract. If you want all your monsters to be one color, add the gel food coloring now. If you want multiple colors, divide the marshmallow mixture into separate bowls before adding the coloring. Stir until the color is vibrant and even.
- Gently fold the Rice Krispies cereal into the marshmallow mixture. Use a folding motion to ensure every piece of cereal is coated in gooey goodness. Work quickly before the marshmallows begin to set and become difficult to stir.
- Transfer the mixture into your prepared baking pan. Use a greased spatula or a piece of wax paper to gently press the mixture into an even layer. Do not press too hard; a light touch keeps the treats light and airy rather than dense and hard.
- While the treats are still slightly warm and sticky, press the candy eyeballs into the top. Use different sizes and placements to give each “monster” a unique look. If the treats have already set, use a tiny dot of melted candy melts or icing to stick the eyes on. Let the treats cool completely at room temperature for at least 30 minutes before slicing into squares.
- Cook Time: 25 minutes