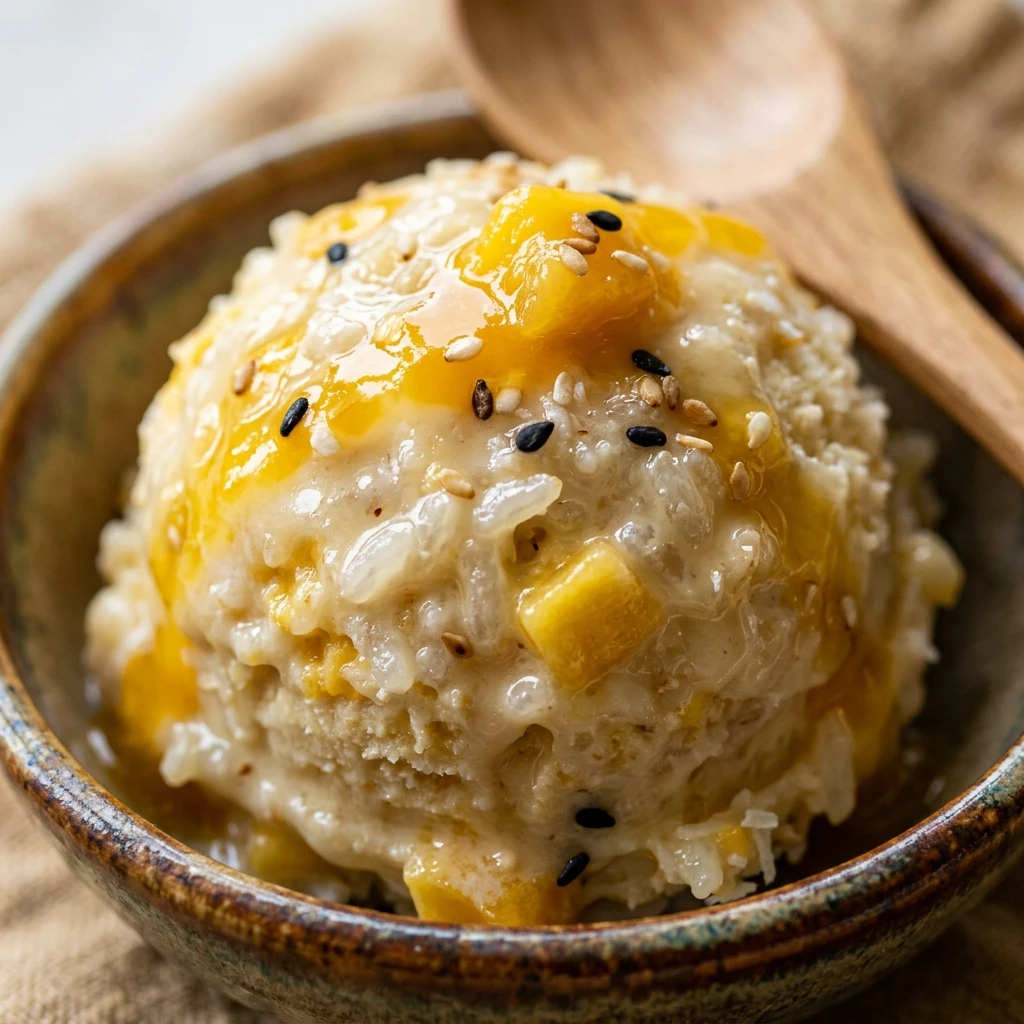
Mango sticky rice is a beloved Thai dessert known for its perfect balance of sweet, creamy coconut and juicy, fresh mango. While the original is a culinary masterpiece, it can be quite high in calories and sugar. This Mango Sticky Rice Protein Ice Cream takes those iconic flavors and packs them into a high-protein, low-calorie treat that fits perfectly into your fitness routine.
Imagine the tropical aroma of coconut and the chewy texture of glutinous rice swirled into a velvety smooth protein base. Whether you are looking for a post-workout snack or a healthy way to cool down on a hot day, this recipe delivers an authentic taste experience with a modern, health-conscious twist. It is easy to prepare and uses simple ingredients you likely already have in your pantry.
Recipe Information
- Prep Time: 15 minutes
- Cook Time: 15 minutes
- Total Time: 30 minutes
- Servings: 2
- Difficulty Level: Easy
Nutrition Information
- Calories per serving: 295 kcal
- Protein: 26g
- Carbohydrates: 35g
- Fat: 6g
- Fiber: 3g
- Sugar: 14g
- Sodium: 145mg
Why Make This Mango Sticky Rice Protein Ice Cream
This recipe is a game-changer for anyone who loves tropical flavors but wants to keep their macros in check. Unlike traditional ice cream, which is often loaded with heavy cream and refined sugar, this version uses protein powder and coconut milk to create a satisfying texture that supports muscle recovery and keeps you full longer.
Beyond the health benefits, the combination of textures is what truly makes this dish special. The addition of real cooked sticky rice provides a delightful chewiness that contrasts beautifully with the smooth ice cream, making every spoonful feel like a gourmet dessert. It’s a creative way to use up leftover rice while enjoying a taste of Thailand in your own kitchen.
How to Make Mango Sticky Rice Protein Ice Cream
Making this tropical delight is surprisingly straightforward; all you need is a blender or an ice cream maker and a few minutes of preparation to create a masterpiece.
Ingredients
- 1.5 cups unsweetened coconut milk (from a carton)
- 1 scoop vanilla or coconut-flavored protein powder
- 2 tablespoons granulated sugar-free sweetener (like monk fruit or erythritol)
- 1/4 cup cooked glutinous (sticky) rice, cooled to room temperature
- 1/2 cup fresh mango, diced into small cubes
- 1/4 teaspoon coconut extract
- A pinch of sea salt
- Optional: Toasted sesame seeds for garnish
Directions
Step 1: Prepare the Ice Cream Base
In a large blender or mixing bowl, combine the coconut milk, protein powder, sugar-free sweetener, coconut extract, and a pinch of sea salt. Blend or whisk vigorously until the mixture is completely smooth and no protein clumps remain.
Step 2: Chill the Mixture
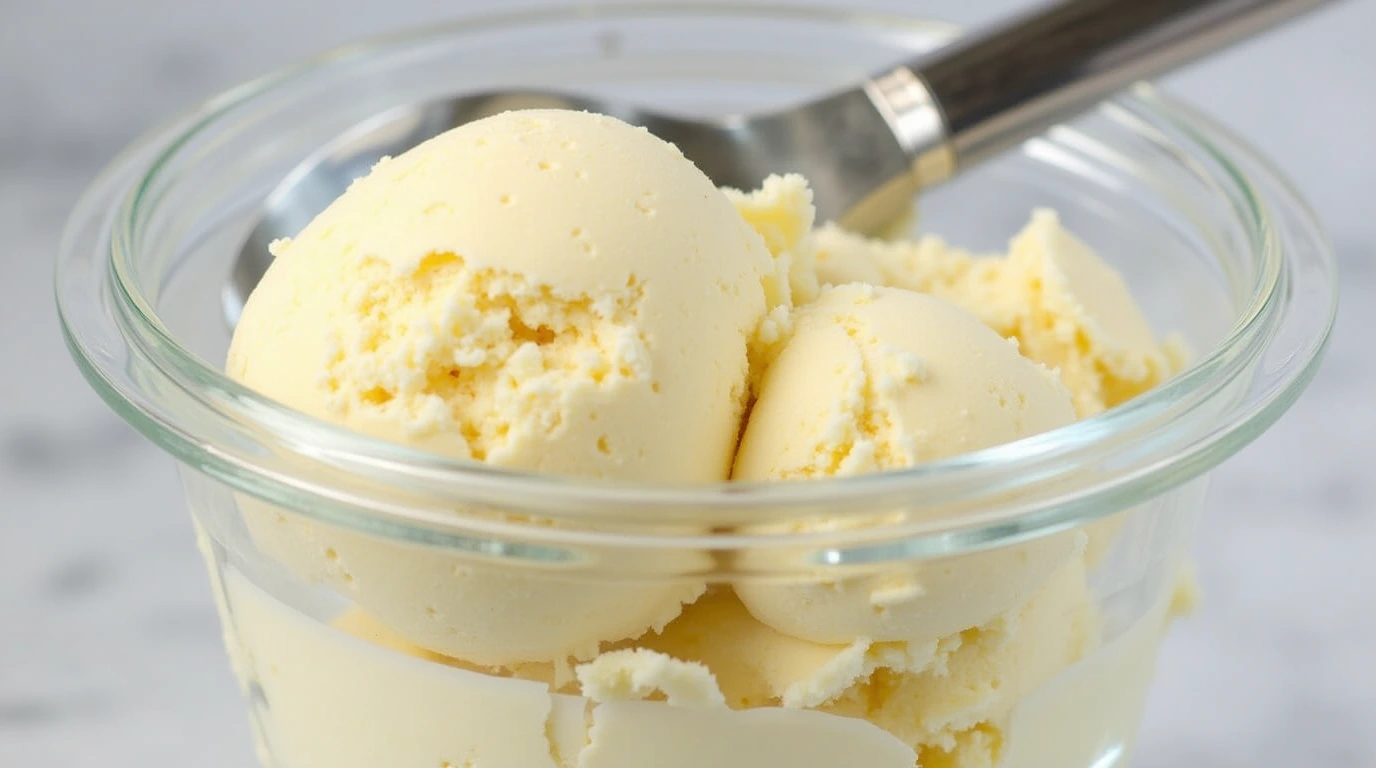
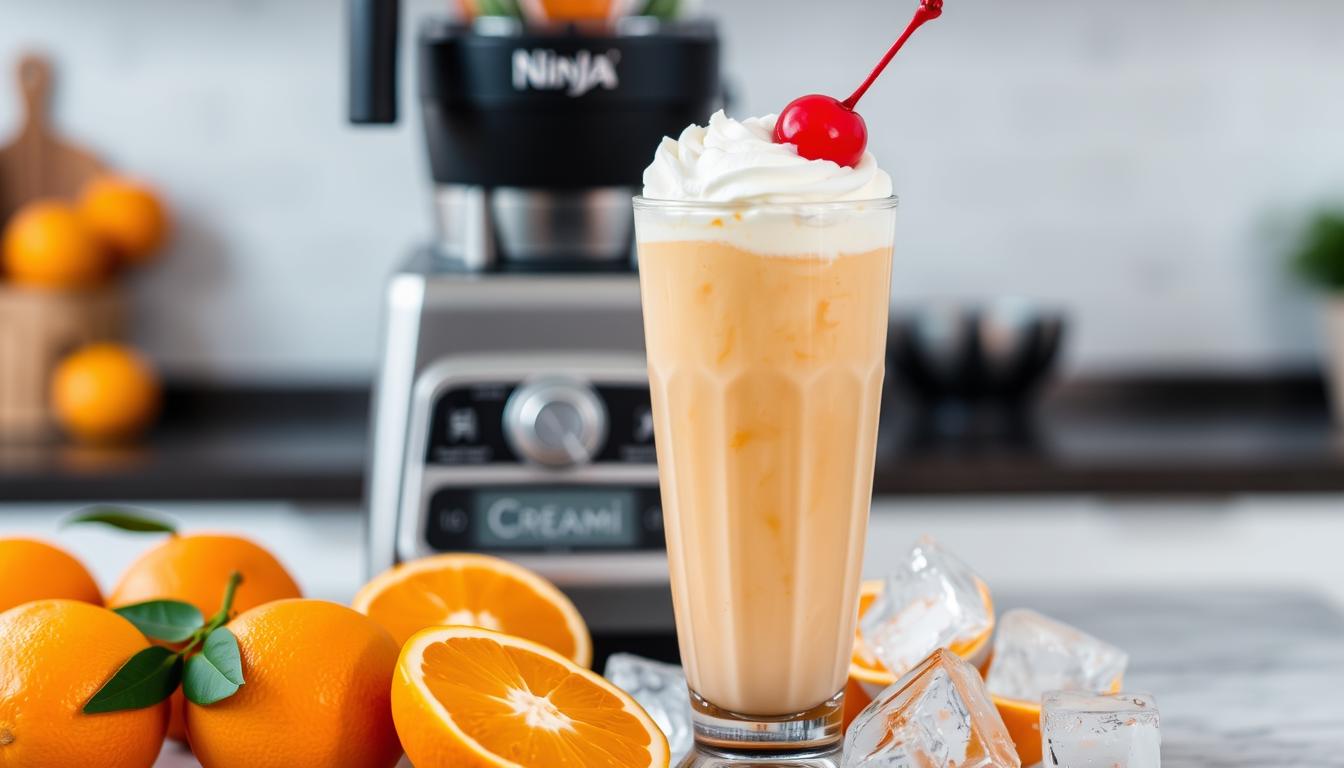
If you are using a Ninja Creami or a similar ice cream maker, pour the base into the designated pint container and freeze for 24 hours. If you are using a traditional churner, let the mixture chill in the refrigerator for at least 2 hours before proceeding.
Step 3: Process the Ice Cream
Once frozen or chilled, process the mixture according to your machine’s instructions. If using a blender method, blend the frozen base with a splash of extra coconut milk until it reaches a soft-serve consistency.
Step 4: Fold in the Mix-ins
Once the base is creamy, gently fold in the cooked sticky rice and the diced mango cubes using a spatula. Do not over-mix, as you want to maintain the distinct textures of the rice and fruit throughout the ice cream.
Step 5: Final Set
For a firmer texture, place the ice cream back in the freezer for about 20-30 minutes before serving. This allows the rice to slightly firm up and the flavors to meld together perfectly.
How to Serve Mango Sticky Rice Protein Ice Cream
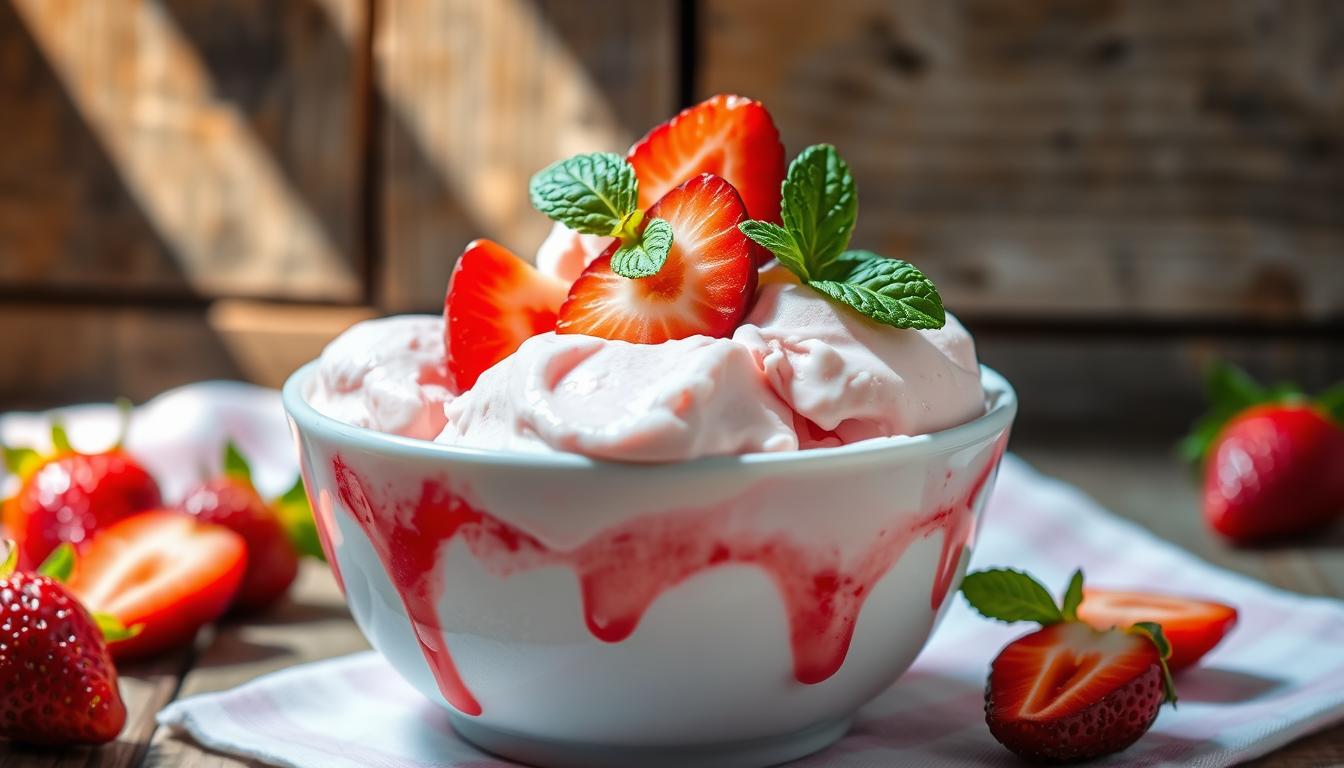
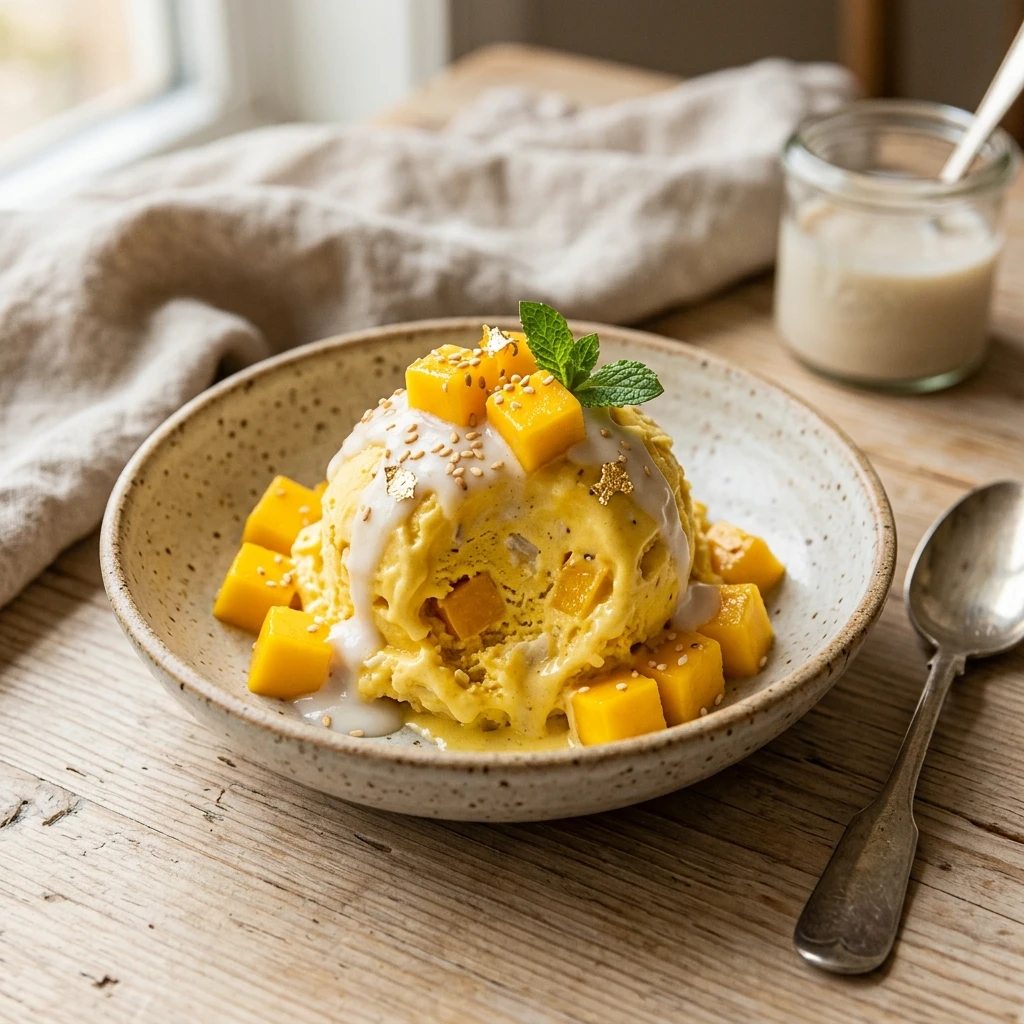
To serve, scoop the ice cream into chilled bowls. For a truly authentic look, top with a few extra cubes of fresh mango and a sprinkle of toasted sesame seeds. If you want an extra touch of indulgence, you can drizzle a tablespoon of light coconut cream over the top. It’s best enjoyed immediately while the texture is at its peak creaminess.
How to Store Mango Sticky Rice Protein Ice Cream
Store any leftover ice cream in an airtight, freezer-safe container. Because this version is lower in fat than traditional ice cream, it may freeze quite hard. Before eating leftovers, let the container sit on the counter for 10-15 minutes to soften, or give it a quick 10-second zap in the microwave to restore its scoopable texture.
Expert Tips for Perfect Mango Sticky Rice Protein Ice Cream
The secret to the best texture is using very ripe mangoes; they provide the most natural sweetness and a soft consistency. When cooking your sticky rice, ensure it is fully cooled before adding it to the ice cream base to prevent it from melting the mixture. Additionally, using a casein-whey protein blend often results in a creamier texture than using 100% whey isolate.
Delicious Variations
For a nutty twist, try adding a tablespoon of toasted shredded coconut to the mix-ins. If you prefer a more vibrant color, you can blend a small amount of the mango directly into the base before freezing. For those who enjoy a bit of spice, a tiny pinch of ginger powder added to the base can complement the mango and coconut beautifully.
Frequently Asked Questions
Q: Can I use regular white rice instead of sticky rice?
While you can use regular white rice, the texture will be different. Sticky rice (glutinous rice) has a unique chewiness that is essential for the authentic “sticky rice” experience.
Q: Is this recipe vegan-friendly?
Yes, as long as you use a plant-based protein powder (like pea or soy protein) and ensure your sweetener is vegan-friendly.
Q: Can I use frozen mango?
Absolutely! Just make sure to thaw the mango slightly before folding it into the ice cream so it isn’t too hard to bite into.
Q: Why does my protein ice cream turn out icy?
Icy texture usually happens if there isn’t enough stabilizer or fat. Using a milk with a higher fat content or adding a tiny pinch of xanthan gum can help achieve a smoother result.
Q: How long can I keep this in the freezer?
This ice cream is best consumed within 2 weeks for the best flavor and texture, though it will remain safe to eat for up to a month.
Conclusion
This Mango Sticky Rice Protein Ice Cream is proof that you don’t have to sacrifice your favorite flavors to maintain a healthy lifestyle. It captures the essence of a classic Thai dessert while providing a significant protein boost. Give this recipe a try next time you’re craving something tropical, and enjoy a delicious, guilt-free treat that tastes just as good as the original!
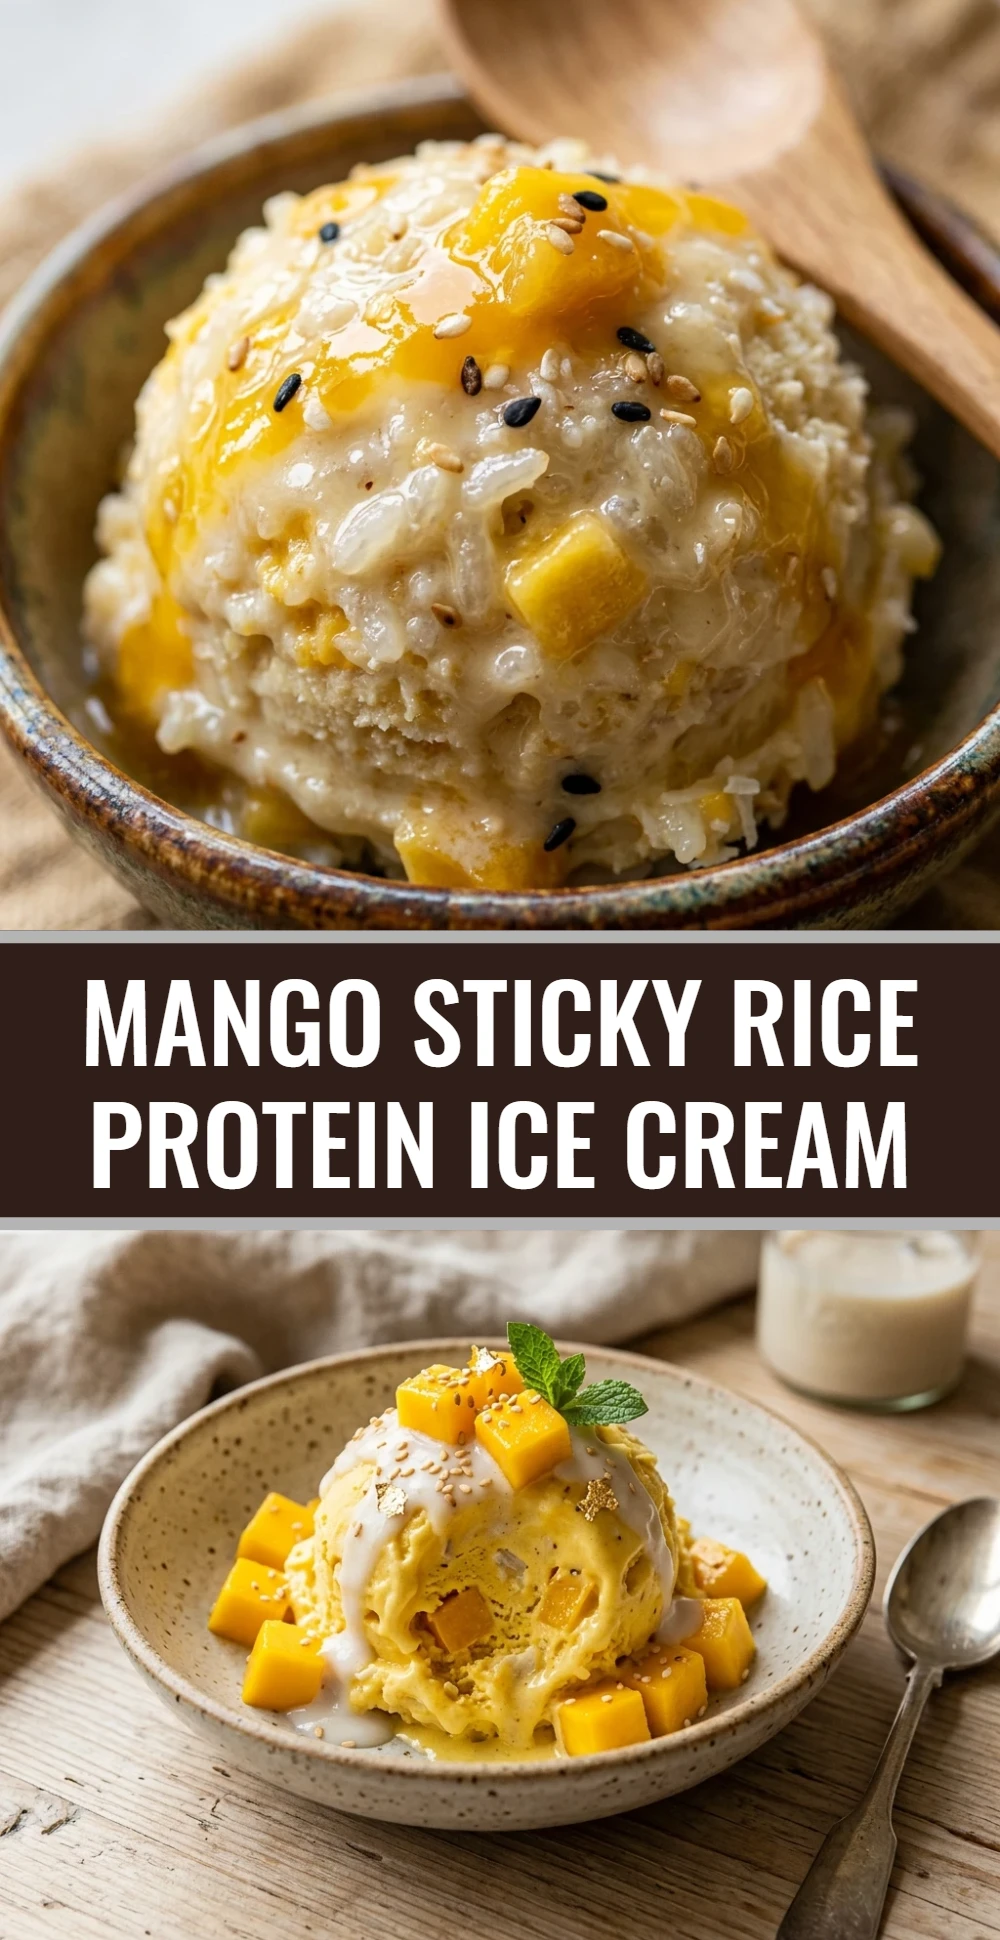
Mango Sticky Rice Protein Ice Cream
- Total Time: 30 minutes
- Diet: High-Protein, Low-Calorie, Vegan-Friendly
Ingredients
- 1.5 cups unsweetened coconut milk (from a carton)
- 1 scoop vanilla or coconut-flavored protein powder
- 2 tablespoons granulated sugar-free sweetener (like monk fruit or erythritol)
- 1/4 cup cooked glutinous (sticky) rice, cooled to room temperature
- 1/2 cup fresh mango, diced into small cubes
- 1/4 teaspoon coconut extract
- A pinch of sea salt
- Optional: Toasted sesame seeds for garnish
Instructions
- In a large blender or mixing bowl, combine the coconut milk, protein powder, sugar-free sweetener, coconut extract, and a pinch of sea salt. Blend or whisk vigorously until the mixture is completely smooth and no protein clumps remain.
- If you are using a Ninja Creami or a similar ice cream maker, pour the base into the designated pint container and freeze for 24 hours. If you are using a traditional churner, let the mixture chill in the refrigerator for at least 2 hours before proceeding.
- Once frozen or chilled, process the mixture according to your machine’s instructions. If using a blender method, blend the frozen base with a splash of extra coconut milk until it reaches a soft-serve consistency.
- Once the base is creamy, gently fold in the cooked sticky rice and the diced mango cubes using a spatula. Do not over-mix, as you want to maintain the distinct textures of the rice and fruit throughout the ice cream.
- For a firmer texture, place the ice cream back in the freezer for about 20-30 minutes before serving. This allows the rice to slightly firm up and the flavors to meld together perfectly.
- Cook Time: 30 minutes