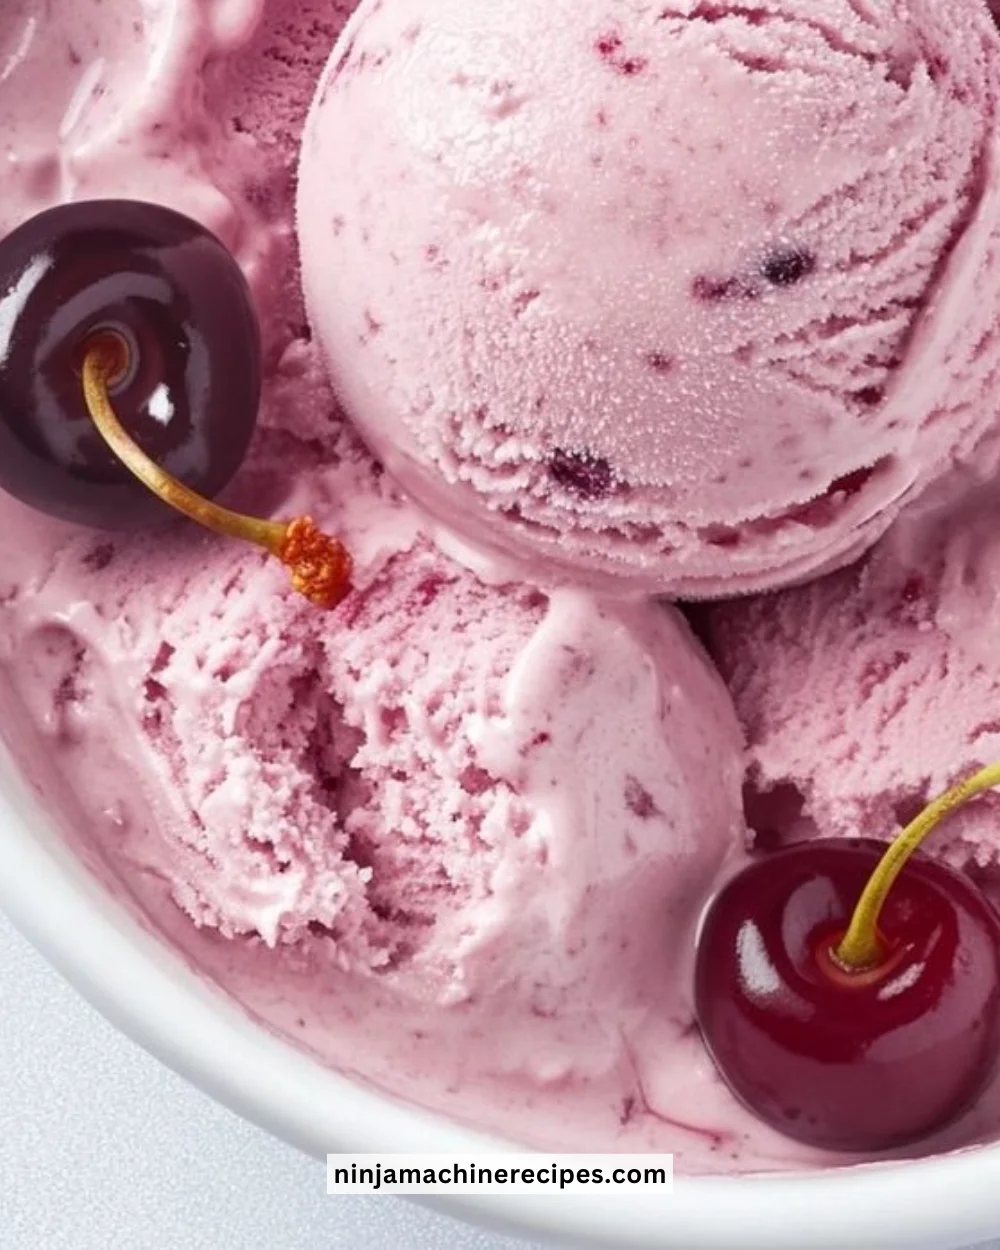
Healthy Ninja Creami Cherry Ice Cream is a delightful, refreshing treat that packs a punch when it comes to flavor and nutrition. Made with the goodness of cherries and creamy coconut milk, this ice cream is a guilt-free dessert that the whole family will love. Not only is it easy to prepare, but it’s also perfect for those hot summer days when you’re craving something sweet and cool!
Recipe Information
- Prep Time: 10 minutes
- Cook Time: 0 minutes
- Total Time: 4 hours 10 minutes
- Servings: 4
- Difficulty Level: Easy
Nutrition Information
- Calories per serving: 150
- Protein: 2 grams
- Carbohydrates: 27 grams
- Fat: 6 grams
- Fiber: 3 grams
- Sugar: 20 grams
- Sodium: 20 mg
Why Make This Healthy Ninja Creami Cherry Ice Cream
Making Healthy Ninja Creami Cherry Ice Cream is a fantastic way to enjoy a homemade dessert without added preservatives or artificial ingredients. Cherries are packed with antioxidants and essential vitamins, while coconut milk provides a creamy texture and healthy fats that can help you feel satisfied. By preparing this treat yourself, you’re ensuring that it’s not just delicious but also nourishing. Plus, it’s incredibly simple and can be enjoyed as a snack, dessert, or even as a healthy breakfast option on warm days!
How to Make Healthy Ninja Creami Cherry Ice Cream
Ingredients:
- 2 cups fresh or frozen cherries, pitted
- 1 cup coconut milk (or yogurt)
- 2 tablespoons honey or maple syrup (optional)
- 1 teaspoon vanilla extract
- Pinch of salt
Directions:
Step 1: Preparation
In a blender, combine the cherries, coconut milk, honey (if using), vanilla extract, and salt. Blend until smooth.
Step 2: Freezing
Pour the mixture into the Ninja Creami container and freeze for at least 4 hours or until solid.
Step 3: Creamifying
Once frozen, process the mixture in the Ninja Creami according to the manufacturer’s instructions until creamy.
Step 4: Serving
Serve immediately for a soft-serve consistency or refreeze for a firmer texture.
How to Serve Healthy Ninja Creami Cherry Ice Cream
This cherry ice cream is perfect for any occasion! Serve it in bowls topped with fresh cherries or a sprinkle of granola for added crunch. It makes a lovely dessert for summer gatherings or a refreshing treat after a barbecue. Consider pairing it with a slice of cake or using it to make a cherry float by adding it to sparkling water or soda!
How to Store Healthy Ninja Creami Cherry Ice Cream
You can store any leftovers in an airtight container in the freezer. Ideally, consume within a week for the best taste and texture. If it becomes too firm, simply let it sit at room temperature for a few minutes before serving to soften.
Expert Tips for Perfect Healthy Ninja Creami Cherry Ice Cream
- Ensure your cherries are fully pitted for a smooth texture.
- For a sweeter ice cream, adjust the amount of honey or maple syrup according to your taste preference.
- Blend for longer if you prefer a creamier texture.
- Experiment with different fruits or mix-ins like chocolate chips or nuts for added flavor.
Delicious Variations
- Berry Medley: Swap cherries for mixed berries like strawberries, blueberries, and raspberries.
- Chocolate Delight: Add 2 tablespoons of cocoa powder to the base mixture for a chocolate-flavored ice cream.
- Nutty Option: Stir in chopped nuts or nut butter for a crunchy twist.
Frequently Asked Questions
-
Can I use frozen cherries?
Yes, frozen cherries work perfectly and can save you time on preparation. -
Is there a non-dairy substitute for coconut milk?
Almond milk or cashew milk are great alternatives, but they might result in a slightly thinner consistency. -
Can I make this without a Ninja Creami?
Yes, if you don’t have a Ninja Creami, you can blend the mixture and freeze it in a regular container, stirring every 30 minutes for the first 2 hours to achieve a creamy texture. -
How can I make this sugar-free?
Simply omit the honey or maple syrup or use a sugar substitute of your choice. -
What if I don’t have fresh cherries?
You can use canned cherries in their juice or frozen cherries; just make sure to drain them properly.
Conclusion
Healthy Ninja Creami Cherry Ice Cream is not just a treat; it’s a wholesome indulgence that you can enjoy without any guilt. Its rich cherry flavor, creamy texture, and ease of preparation make it an excellent choice for any dessert lover looking to satisfy their sweet tooth in a healthier way. Gather your ingredients, follow the simple steps, and enjoy a refreshing bowl of homemade cherry ice cream that will cool you down and delight your taste buds!
Print
Healthy Ninja Creami Cherry Ice Cream
- Total Time: 250 minutes
- Yield: 4 servings 1x
- Diet: Vegan
Description
A delightful and refreshing cherry ice cream made with cherries and creamy coconut milk, perfect for hot summer days!
Ingredients
- 2 cups fresh or frozen cherries, pitted
- 1 cup coconut milk (or yogurt)
- 2 tablespoons honey or maple syrup (optional)
- 1 teaspoon vanilla extract
- Pinch of salt
Instructions
- In a blender, combine the cherries, coconut milk, honey (if using), vanilla extract, and salt. Blend until smooth.
- Pour the mixture into the Ninja Creami container and freeze for at least 4 hours or until solid.
- Once frozen, process the mixture in the Ninja Creami according to the manufacturer’s instructions until creamy.
- Serve immediately for a soft-serve consistency or refreeze for a firmer texture.
Notes
Ensure cherries are fully pitted for a smooth ice cream. Adjust sweetness with honey or maple syrup as desired. Can be stored in an airtight container in the freezer; consume within a week for the best quality.
- Prep Time: 10 minutes
- Cook Time: 0 minutes
- Category: Dessert
- Method: Freezing
- Cuisine: American
Nutrition
- Serving Size: 1 serving
- Calories: 150
- Sugar: 20g
- Sodium: 20mg
- Fat: 6g
- Saturated Fat: 5g
- Unsaturated Fat: 1g
- Trans Fat: 0g
- Carbohydrates: 27g
- Fiber: 3g
- Protein: 2g
- Cholesterol: 0mg