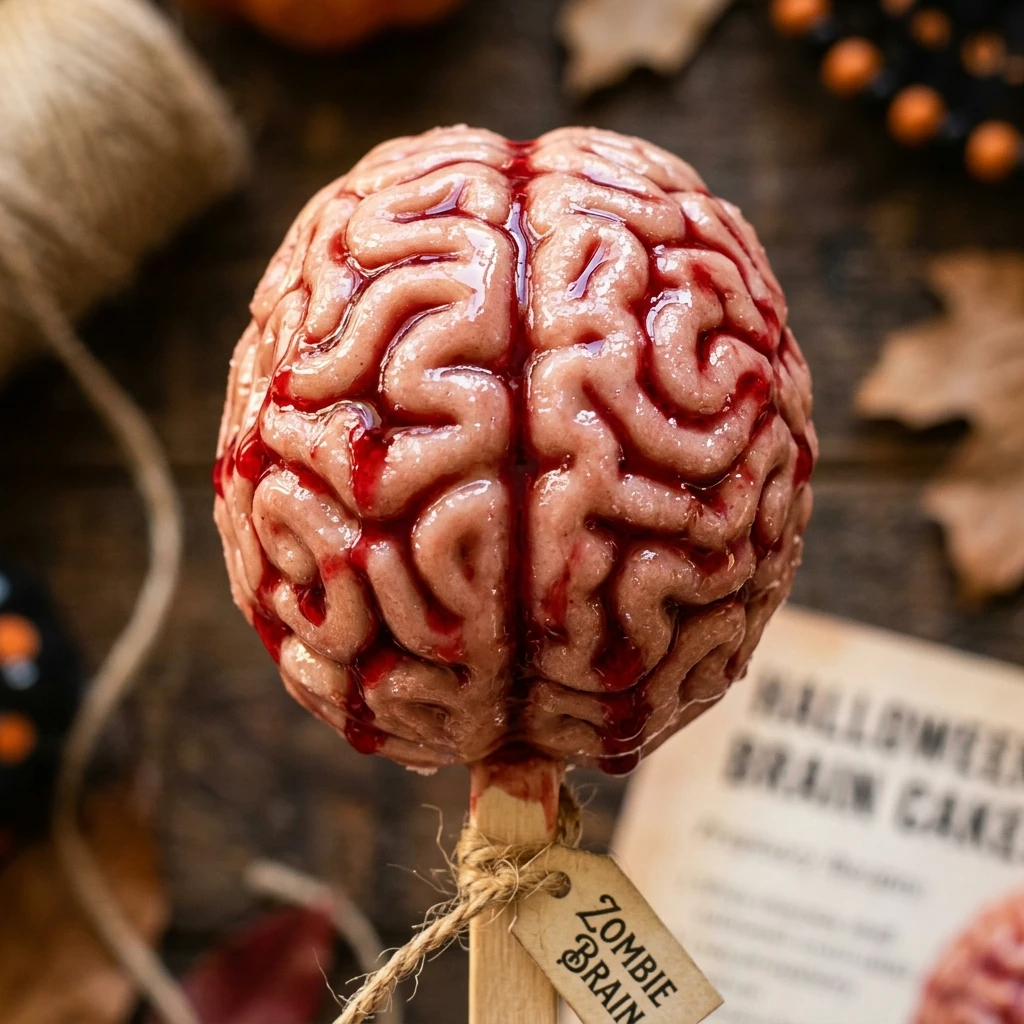
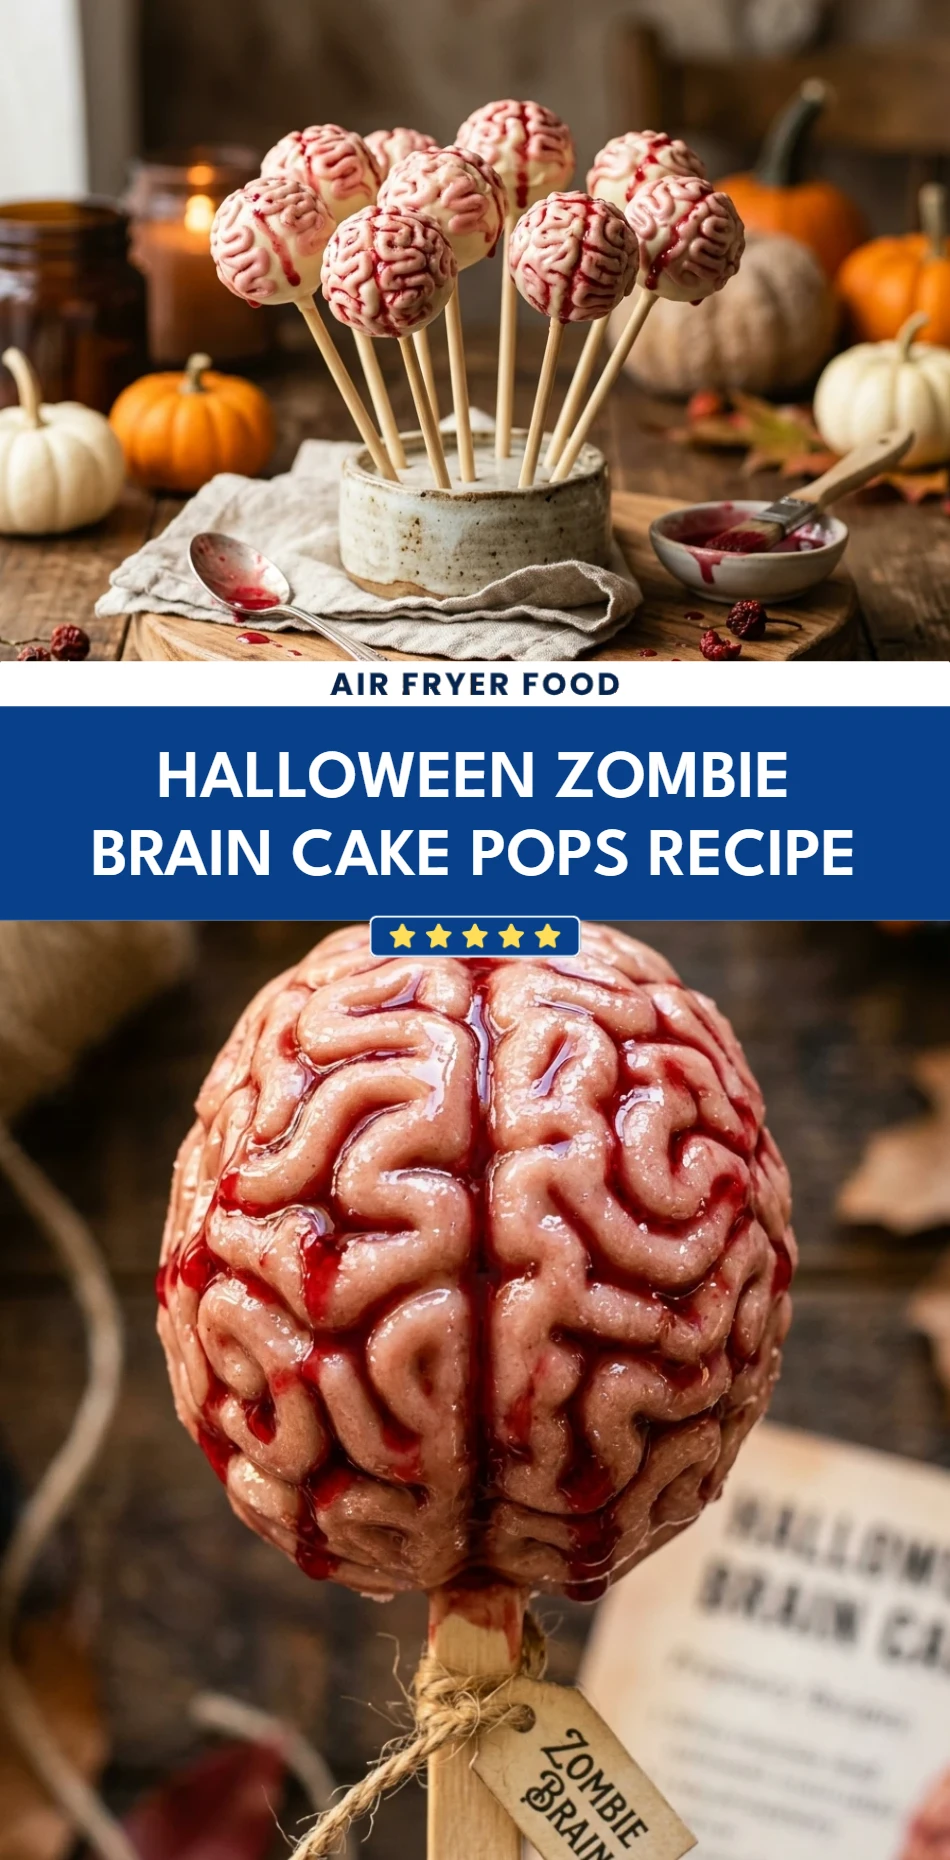
Halloween is the one time of year when “gross” food becomes the life of the party, and these Zombie Brain Cake Pops are the ultimate showstopper. Imagine a moist, sweet cake center encased in a crunchy candy shell, intricately piped to look like a tiny, realistic brain. They are spooky, squishy-looking, and absolutely delicious. Whether you are hosting a haunted house bash or looking for a fun kitchen project with the kids, these treats bring a perfect balance of horror and humor. Get ready to serve up some brains that your guests will actually want to eat!
Recipe Information
- Prep Time: 45 minutes
- Cook Time: 30 minutes
- Total Time: 1 hour 15 minutes
- Servings: 24 cake pops
- Difficulty: Medium
Nutrition values
- Calories: 245 kcal
- Protein: 2g
- Carbs: 36g
Why Make This Halloween Zombie Brain Cake Pops Recipe
These cake pops are the perfect conversation starter for any October gathering. Unlike traditional round cake pops, the irregular brain shape hides imperfections, making them surprisingly forgiving for beginners. They offer a fantastic sensory experience—the smooth texture of the candy melts mimics a “brain” surface, while the red food gel adds a gory, realistic touch. Plus, you can customize the flavor of the “gray matter” inside using anything from classic vanilla to a deep “bloody” red velvet cake.
Ingredients
- 1 box (15.25 oz) white or red velvet cake mix (plus ingredients listed on the box)
- 1/2 cup vanilla frosting
- 24 oz pink or pale flesh-toned candy melts
- 1 tube red decorating food gel or edible red luster dust mixed with vodka
- 24 lollipop sticks
- 1 tablespoon coconut oil or paramount crystals (for thinning candy melts)
- Styrofoam block or cake pop stand
Directions
Step 1: Baking the Base
Bake the cake according to the package instructions using a 9×13 inch pan. Once the cake finishes baking, remove it from the oven and let it cool completely. It is helpful to trim off any browned edges or “crust” so your cake pop centers remain soft and brightly colored.
Step 2: Crumbling and Mixing
Crumble the cooled cake into a large bowl using your hands or a fork until it looks like fine crumbs. Add the vanilla frosting one tablespoon at a time. Mix until the cake crumbs hold together like dough when squeezed. Do not add too much frosting, or the cake pops will be too heavy and fall off the sticks.
Step 3: Shaping the Brains
Scoop about one tablespoon of the cake mixture and roll it into an oval shape. Use a toothpick or the back of a knife to press a shallow indentation down the center of the oval to create two “hemispheres” of the brain. Place these on a parchment-lined baking sheet and chill in the freezer for 15 minutes to firm up.
Step 4: Dipping and Piping
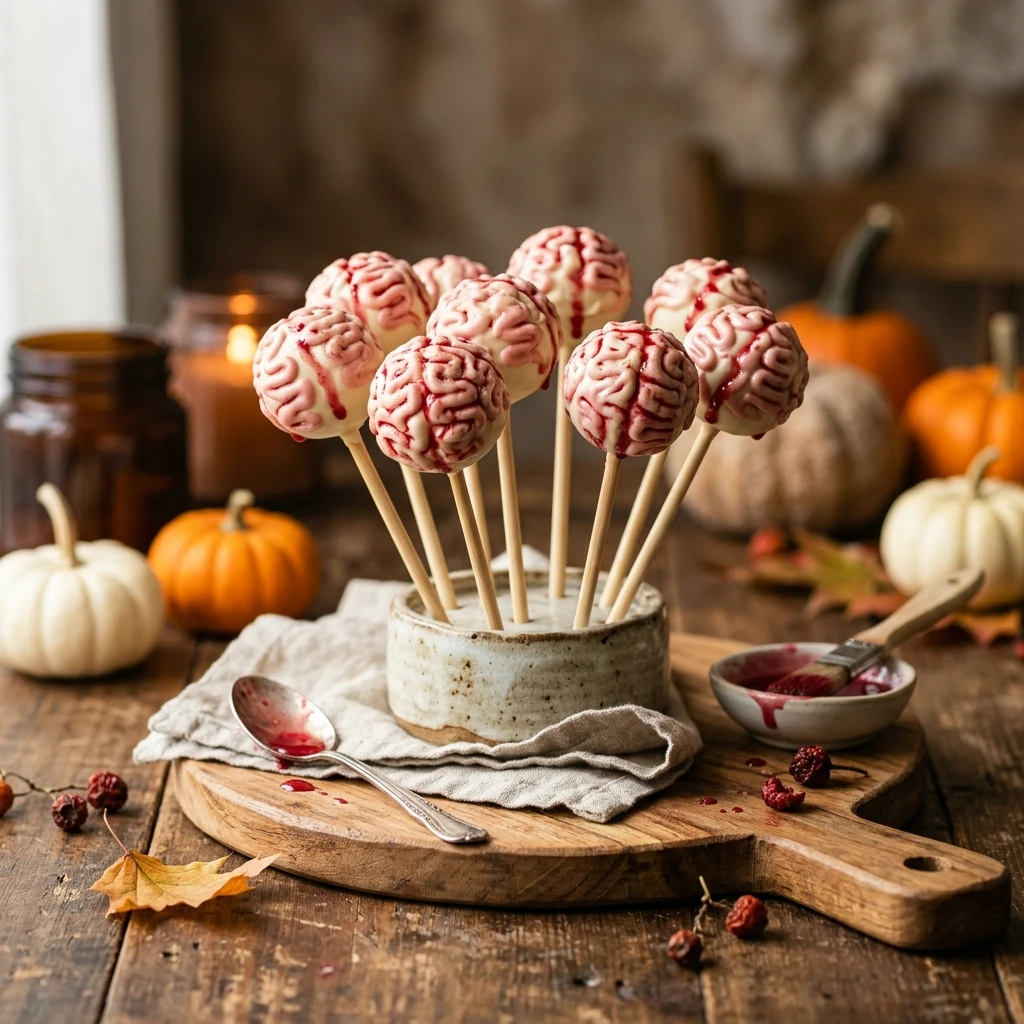
Melt the candy melts in the microwave in 30-second intervals until smooth, adding coconut oil to reach a fluid consistency. Dip the tip of a lollipop stick into the melted candy and insert it into the bottom of a chilled cake brain. Then, dip the entire brain into the candy melts to coat. Once the base coat sets, fill a piping bag with the remaining melted candy. Pipe squiggly, wiggly lines over each hemisphere to create the “cerebral cortex” texture.
Step 5: Adding the Bloody Details
Once the piped brain lines have completely hardened, take your red food gel or edible red paint. Use a small food-safe brush to lightly dab red “blood” into the center crevice and around the base of the brain. For a more gruesome look, you can splatter the red gel randomly across the pops. Let them dry completely before serving.
Expert Tips for Perfect Halloween Zombie Brain Cake Pops Recipe
To ensure your brains look as realistic as possible, keep the candy melts at a warm but not hot temperature. If the candy is too hot, it will melt your cake ball; if it is too cold, it won’t flow smoothly through the piping bag. Always chill your cake balls before dipping, but never freeze them solid, as the expanding and contracting cake can cause the outer shell to crack. If you want a more “undead” look, add a drop of black food coloring to your pink candy melts to create a dusty, grayish-pink hue.
Delicious Variations
For a “Nuclear Waste” version, use bright neon green candy melts and lime-flavored cake. If you want a more sophisticated flavor, try using a dark chocolate cake base with a raspberry jam and frosting mix for a tart, “bloody” interior. You can also skip the sticks entirely and serve these as “Brain Truffles” in small cupcake liners for a creepy dessert platter.
Frequently Asked Questions
Why are my cake pops falling off the sticks?
This usually happens if the cake mixture is too heavy with frosting or if the cake balls were not chilled properly before dipping. Ensure you dip the stick in melted chocolate before inserting it into the cake ball to act as a glue.
Can I make these in advance?
Yes, you can make the cake balls and shape them up to two days in advance. Store them in an airtight container in the refrigerator. Once fully decorated, they stay fresh for up to 5 days at room temperature.
Do I have to use a cake mix?
Not at all! You can use any homemade cake recipe you prefer. Just ensure the cake is fully baked and cooled before crumbling.
My candy melts are too thick to pipe. What should I do?
Add a teaspoon of coconut oil or vegetable shortening to the melted candy and stir well. This thins the consistency without making it watery, allowing for those perfect brain squiggles.
How do I stop the candy coating from cracking?
Cracks occur due to extreme temperature changes. Avoid dipping frozen cake balls into very hot candy. Let the cake balls sit at room temperature for a few minutes after taking them out of the fridge before you start the dipping process.
Conclusion
These Halloween Zombie Brain Cake Pops are the perfect mix of creepy and sweet. They require a bit of patience during the piping stage, but the reaction you’ll get from your friends and family is well worth the effort. With their “gory” red accents and realistic textures, they are guaranteed to be the highlight of your spooky season. Grab your piping bag and start creating your own army of delicious, edible brains today!
Halloween Zombie Brain Cake Pops Recipe
- Total Time: 1 hour 15 minutes
- Diet: Vegetarian
Ingredients
- 1 box (15.25 oz) white or red velvet cake mix (plus ingredients listed on the box)
- 1/2 cup vanilla frosting
- 24 oz pink or pale flesh-toned candy melts
- 1 tube red decorating food gel or edible red luster dust mixed with vodka
- 24 lollipop sticks
- 1 tablespoon coconut oil or paramount crystals (for thinning candy melts)
- Styrofoam block or cake pop stand
Instructions
- Bake the cake according to the package instructions using a 9×13 inch pan. Once the cake finishes baking, remove it from the oven and let it cool completely. It is helpful to trim off any browned edges or “crust” so your cake pop centers remain soft and brightly colored.
- Crumble the cooled cake into a large bowl using your hands or a fork until it looks like fine crumbs. Add the vanilla frosting one tablespoon at a time. Mix until the cake crumbs hold together like dough when squeezed. Do not add too much frosting, or the cake pops will be too heavy and fall off the sticks.
- Scoop about one tablespoon of the cake mixture and roll it into an oval shape. Use a toothpick or the back of a knife to press a shallow indentation down the center of the oval to create two “hemispheres” of the brain. Place these on a parchment-lined baking sheet and chill in the freezer for 15 minutes to firm up.
- Melt the candy melts in the microwave in 30-second intervals until smooth, adding coconut oil to reach a fluid consistency. Dip the tip of a lollipop stick into the melted candy and insert it into the bottom of a chilled cake brain. Then, dip the entire brain into the candy melts to coat. Once the base coat sets, fill a piping bag with the remaining melted candy. Pipe squiggly, wiggly lines over each hemisphere to create the “cerebral cortex” texture.
- Once the piped brain lines have completely hardened, take your red food gel or edible red paint. Use a small food-safe brush to lightly dab red “blood” into the center crevice and around the base of the brain. For a more gruesome look, you can splatter the red gel randomly across the pops. Let them dry completely before serving.
- Cook Time: 1 hour 15 minutes