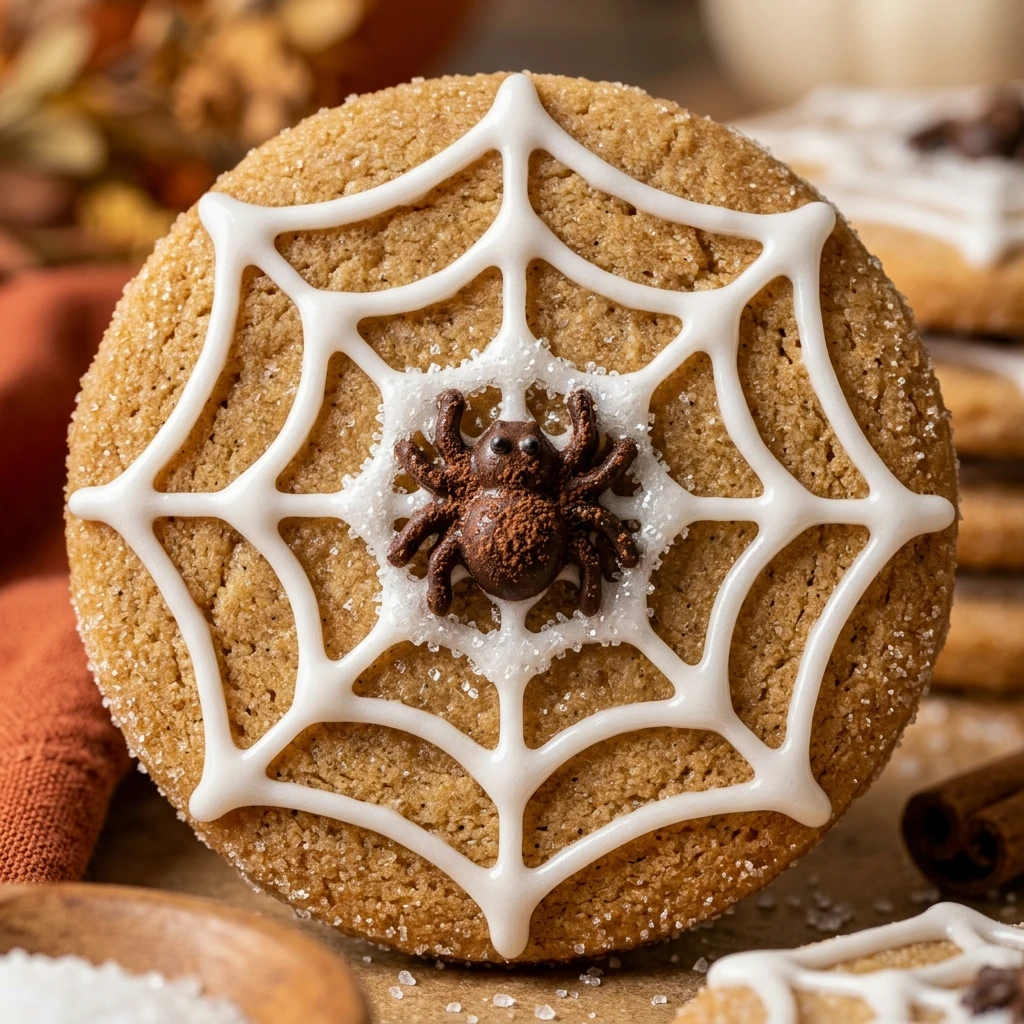
Get ready to brew up some magic in your kitchen with these spooktacular Halloween Spider Web Sugar Cookies! They are the ultimate treat for any October gathering, combining a buttery, soft sugar cookie base with a striking monochromatic web design. This recipe looks professional but remains surprisingly easy to master, even for beginner decorators. Whether you are hosting a haunted house party or looking for a festive afternoon project with the kids, these cookies provide the perfect balance of creepy and cute.
Recipe Information
- Prep Time: 40 minutes
- Cook Time: 10 minutes
- Total Time: 50 minutes
- Servings: 24 cookies
- Difficulty: Medium
Nutrition values
- Calories: 195 kcal
- Protein: 2g
- Carbs: 28g
Why Make This Halloween Spider Web Sugar Cookies Recipe
You should make these cookies because they offer a high visual impact with minimal specialized equipment. Unlike complex 3D treats, the spider web effect only requires a toothpick and two contrasting colors of icing. They are also incredibly sturdy, making them the perfect choice for school bake sales or gift bags. The classic sugar cookie base is a crowd-pleaser that appeals to both kids and adults, ensuring no leftovers at the end of your Halloween bash.
Ingredients
- 2 3/4 cups all-purpose flour
- 1 teaspoon baking soda
- 1/2 teaspoon baking powder
- 1 cup unsalted butter, softened
- 1 1/2 cups granulated sugar
- 1 large egg, room temperature
- 1 teaspoon pure vanilla extract
- 2 cups black royal icing (or dark chocolate ganache)
- 1/2 cup white royal icing (in a piping bag with a small round tip)
- Optional: Plastic spiders or sprinkles for extra flair
Directions
Step 1: Cream the Butter and Sugar
Preheat your oven to 375°F (190°C). In a large bowl, cream together the softened butter and granulated sugar until the mixture is light and fluffy. This usually takes about 2 to 3 minutes of high-speed mixing. Add the egg and vanilla extract, beating until fully incorporated and smooth.
Step 2: Mix Dry Ingredients and Shape
In a separate medium bowl, whisk together the flour, baking soda, and baking powder. Gradually add the dry ingredients to the wet mixture, stirring until a cohesive dough forms. Roll the dough into 1-inch balls and place them on an ungreased cookie sheet. Gently flatten each ball with the bottom of a glass to create a smooth, flat surface for decorating.
Step 3: Bake and Cool
Bake the cookies for 8 to 10 minutes or until the edges are just barely golden. Do not overbake; you want them to remain soft. Let the cookies rest on the baking sheet for 2 minutes before transferring them to a wire rack. They must be completely cool to the touch before you begin the icing process, otherwise, the decoration will melt.
Step 4: Apply the Base Layer
Spread a smooth, circular layer of black royal icing or chocolate ganache over the top of each cooled cookie. Ensure the icing reaches almost to the edges. You want this base layer to be “wet” when you move to the next step, so it is best to work with three or four cookies at a time rather than icing the whole batch at once.
Step 5: Create the Spider Web Design
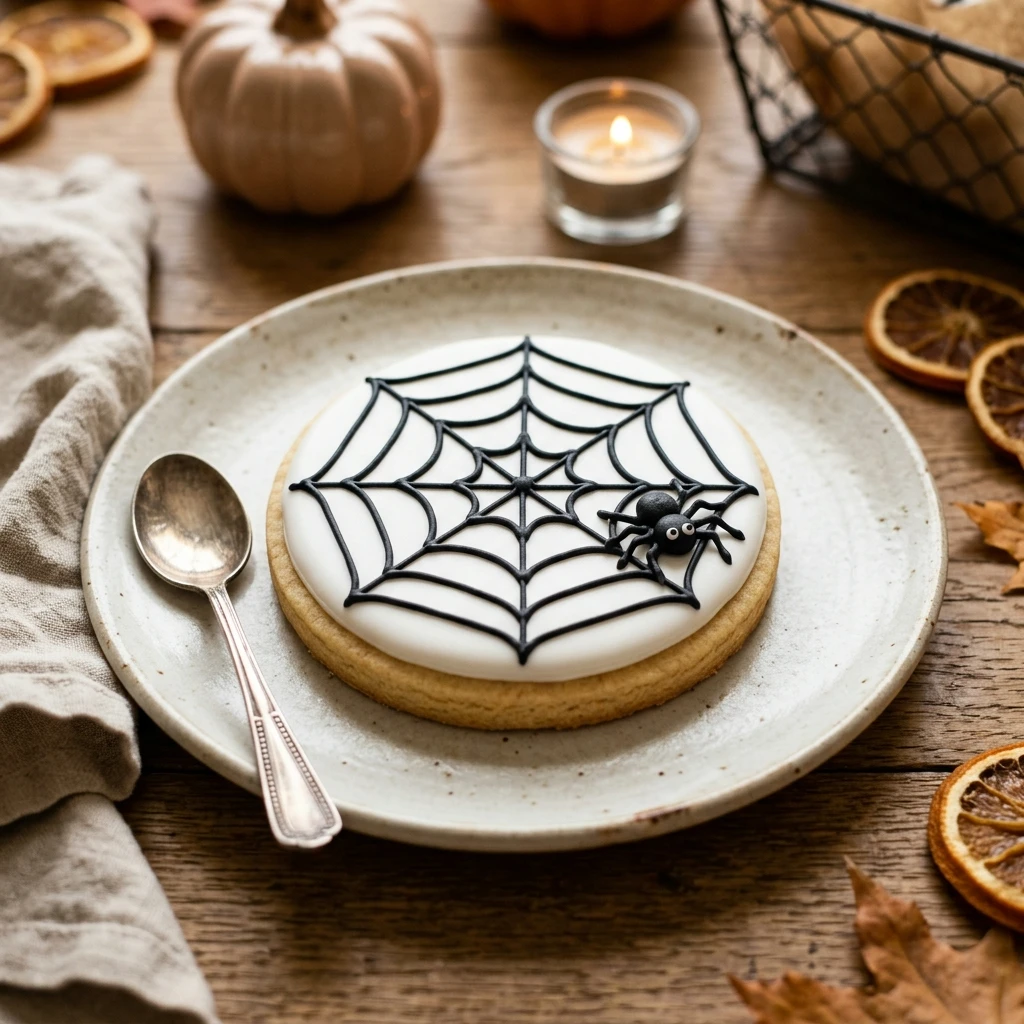
While the black icing is still wet, pipe three or four concentric circles of white icing onto the cookie, starting from the center and moving outward. Immediately take a toothpick and place the tip in the center of the cookie. Drag the toothpick toward the outer edge. Repeat this motion around the entire cookie (usually 6 to 8 times) to pull the white icing into a perfect spider web pattern. Let the cookies sit for at least 2 hours to allow the icing to harden completely.
Expert Tips for Perfect Halloween Spider Web Sugar Cookies Recipe
To get the cleanest web lines, wipe your toothpick clean after every single “drag” through the icing. If the icing builds up on the toothpick, the lines will look blurry rather than sharp. Additionally, make sure your white icing is a slightly thinner consistency than your base black icing so it sinks in and levels out smoothly. If your dough feels too soft to roll, chill it in the refrigerator for 20 minutes before shaping the balls to prevent the cookies from spreading too much in the oven.
Delicious Variations
You can easily switch up the color palette for a different vibe. Try a bright orange base with black webs for a classic look, or a deep purple base with lime green webs for a “toxic” neon aesthetic. If you prefer a different flavor profile, swap the vanilla extract for almond or lemon extract. For a chocolate version, replace 1/2 cup of the flour with unsweetened cocoa powder to create “dark night” cookies that look stunning with white webs.
Frequently Asked Questions
Can I use store-bought frosting instead of royal icing?
You can use store-bought frosting, but it will not harden as firmly as royal icing. This means you cannot stack the cookies, and the web design may smudge more easily. If using store-bought, look for “decorator frosting” which is designed to set firmer than standard tub frosting.
How do I store these cookies?
Store the decorated cookies in a single layer in an airtight container at room temperature. They will stay fresh for up to 5 days. If you must stack them, place a sheet of parchment paper between layers only after the icing has dried for at least 12 hours.
Can I make the dough in advance?
Yes, you can prepare the sugar cookie dough up to 3 days in advance. Wrap it tightly in plastic wrap and keep it in the refrigerator. Let it sit at room temperature for about 15 minutes before rolling so it is easier to handle.
Why did my spider web lines bleed together?
This usually happens if your icing is too thin or “runny.” The icing should be thick enough to hold its shape but thin enough to settle into a flat surface. This is often called “15-second consistency” in the baking world, meaning a line drawn in the icing disappears back into the mass in about 15 seconds.
Can I freeze these cookies?
You can freeze the baked, undecorated cookies for up to 3 months. However, it is not recommended to freeze them once they are decorated with royal icing, as the moisture from the thawing process can cause the colors to bleed and the icing to soften.
Conclusion
These Halloween Spider Web Sugar Cookies are the perfect way to celebrate the spooky season with style and flavor. By following the simple “drag-and-pull” technique with a toothpick, you can create impressive, professional-looking treats that will delight your friends and family. Put on your favorite Halloween playlist, grab your piping bags, and enjoy the creative process of making these festive delights!

Halloween Spider Web Sugar Cookies Recipe
- Total Time: 50 minutes
- Diet: Vegetarian
Ingredients
- 2 3/4 cups all-purpose flour
- 1 teaspoon baking soda
- 1/2 teaspoon baking powder
- 1 cup unsalted butter, softened
- 1 1/2 cups granulated sugar
- 1 large egg, room temperature
- 1 teaspoon pure vanilla extract
- 2 cups black royal icing (or dark chocolate ganache)
- 1/2 cup white royal icing (in a piping bag with a small round tip)
- Optional: Plastic spiders or sprinkles for extra flair
Instructions
-
Step 1: Cream the Butter and Sugar
Preheat your oven to 375°F (190°C). In a large bowl, cream together the softened butter and granulated sugar until the mixture is light and fluffy. This usually takes about 2 to 3 minutes of high-speed mixing. Add the egg and vanilla extract, beating until fully incorporated and smooth.
-
Step 2: Mix Dry Ingredients and Shape
In a separate medium bowl, whisk together the flour, baking soda, and baking powder. Gradually add the dry ingredients to the wet mixture, stirring until a cohesive dough forms. Roll the dough into 1-inch balls and place them on an ungreased cookie sheet. Gently flatten each ball with the bottom of a glass to create a smooth, flat surface for decorating.
-
Step 3: Bake and Cool
Bake the cookies for 8 to 10 minutes or until the edges are just barely golden. Do not overbake; you want them to remain soft. Let the cookies rest on the baking sheet for 2 minutes before transferring them to a wire rack. They must be completely cool to the touch before you begin the icing process, otherwise, the decoration will melt.
-
Step 4: Apply the Base Layer
Spread a smooth, circular layer of black royal icing or chocolate ganache over the top of each cooled cookie. Ensure the icing reaches almost to the edges. You want this base layer to be “wet” when you move to the next step, so it is best to work with three or four cookies at a time rather than icing the whole batch at once.
-
Step 5: Create the Spider Web Design
While the black icing is still wet, pipe three or four concentric circles of white icing onto the cookie, starting from the center and moving outward. Immediately take a toothpick and place the tip in the center of the cookie. Drag the toothpick toward the outer edge. Repeat this motion around the entire cookie (usually 6 to 8 times) to pull the white icing into a perfect spider web pattern. Let the cookies sit for at least 2 hours to allow the icing to harden completely.
- Cook Time: 50 minutes