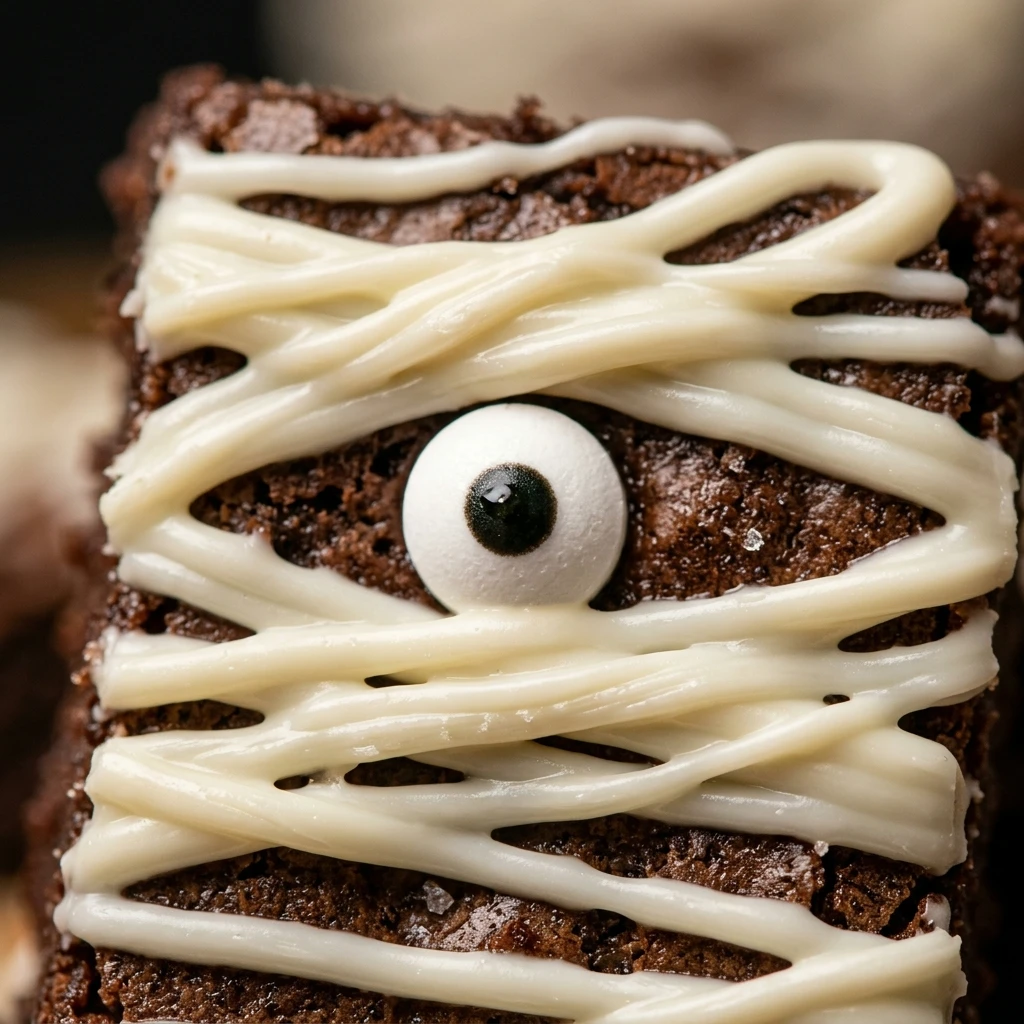
Halloween is the best time of year to get creative in the kitchen without needing professional pastry skills. These Halloween Mummy Brownies are the ultimate “cheat code” for spooky season treats. They look incredibly detailed and adorable, yet they take very little effort to assemble. Whether you are hosting a neighborhood bash or looking for a fun weekend activity with the kids, these fudgy, chocolatey mummies are guaranteed to be the star of the dessert table. Get ready to transform a simple pan of brownies into spooky masterpieces with just a few stripes of frosting and some candy eyes!
Recipe Information
- Prep Time: 15 minutes
- Cook Time: 25 minutes
- Total Time: 40 minutes
- Servings: 12 brownies
- Difficulty: Easy
Nutrition values
- Calories: 245 kcal
- Protein: 3g
- Carbs: 34g
Why Make This Halloween Mummy Brownies Easy Recipe
This recipe is a lifesaver for busy parents and party hosts. First, it uses simple ingredients that you likely already have in your pantry. Second, the “mummy” design is very forgiving; the bandages don’t have to be perfect to look great. In fact, a little bit of messiness actually adds to the character of the mummies! It is a high-impact dessert that requires zero baking expertise, making it the perfect entry-level Halloween craft for kids and adults alike.
Ingredients
- 1 box (18 oz) brownie mix (plus eggs, oil, and water as required by the box)
- 1 cup white chocolate chips or white vanilla frosting
- 1 teaspoon coconut oil (if using chocolate chips for melting)
- 24 edible candy eyes
- Optional: Black decorating gel for pupils
Directions
Step 1: Bake the Brownie Base
Preheat your oven according to the brownie mix instructions. Grease an 8×8 or 9×9 inch square baking pan or line it with parchment paper for easy removal. Prepare the brownie batter by mixing the dry mix with eggs, oil, and water. Pour the batter into the prepared pan and bake for 25 to 30 minutes. Ensure a toothpick inserted in the center comes out with just a few moist crumbs. Let the brownies cool completely in the pan before attempting to decorate.
Step 2: Cut into Rectangles
Once the brownies are entirely cool, lift them out of the pan using the parchment paper. Use a sharp knife to cut the block into 12 even rectangles. For cleaner cuts, wipe the knife blade between every slice. Space the brownies out on a piece of wax paper or a cooling rack so you have plenty of room to drizzle the “bandages” without them sticking together.
Step 3: Create the Mummy Bandages
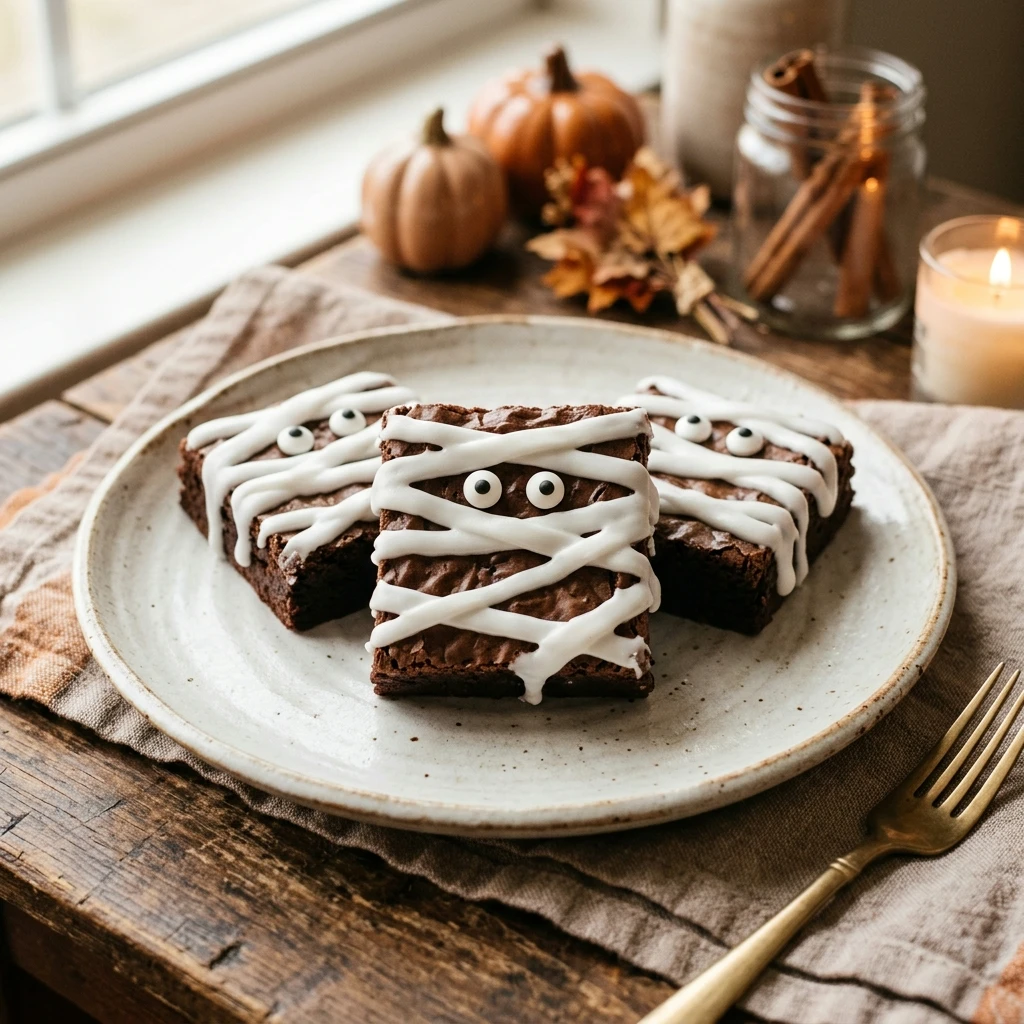
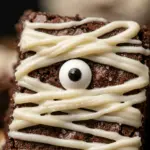
Melt the white chocolate chips with a teaspoon of coconut oil in the microwave in 30-second intervals until smooth. Alternatively, put vanilla frosting into a piping bag fitted with a small flat petal tip or a simple round tip. Drizzle the white chocolate or frosting back and forth across each brownie rectangle in a zigzag motion, leaving a small gap near the top for the eyes. Immediately place two candy eyes in the gap before the chocolate sets. Allow the “bandages” to harden for about 15 minutes before serving.
Expert Tips for Perfect Halloween Mummy Brownies Easy Recipe
For the best results, always let your brownies cool completely—or even chill them in the fridge—before cutting. This prevents the edges from crumbling. If you are using white chocolate for the bandages, make sure it is not too hot when you start piping; let it sit for a minute so it thickens slightly for better definition. If you don’t have a piping bag, simply use a Ziploc bag and snip off a tiny corner. For an extra spooky look, use a dark chocolate or “black cocoa” brownie mix to make the white bandages pop even more.
Delicious Variations
You can easily customize these mummies to fit your taste. Try adding a layer of orange-colored cheesecake swirl into the brownie batter before baking for a festive surprise inside. If you prefer a salty-sweet combo, use white chocolate peanut butter melts for the bandages instead of plain white chocolate. You can also swap the candy eyes for mini M&Ms or drops of green frosting to give your mummies different “eye” colors. For a gluten-free version, simply use your favorite gluten-free brownie mix as the base.
Frequently Asked Questions
Can I make these brownies in advance?
Yes, you can bake the brownies up to two days in advance. Store them in an airtight container at room temperature. For the best look, wait to add the “mummy” decorations until the day you plan to serve them so the frosting stays fresh and the candy eyes don’t bleed.
What if I don’t have candy eyes?
If you cannot find edible candy eyes, you can easily make your own. Use a small dot of the white frosting as the base of the eye and place a tiny dot of black decorating gel or a mini chocolate chip in the center to serve as the pupil.
Can I freeze these mummy brownies?
You can freeze the undecorated brownie rectangles for up to three months. Wrap them tightly in plastic wrap and foil. When you are ready to use them, thaw them at room temperature and then follow the decorating steps. We do not recommend freezing them after they are decorated, as the eyes may crack or bleed.
How do I get perfectly clean edges when cutting?
The secret to clean brownie edges is temperature and a clean knife. Chill the baked brownies in the refrigerator for at least an hour before cutting. Use a large chef’s knife and wipe it with a damp paper towel after every single cut to remove any sticky residue.
Can I use store-bought pre-made brownies?
Absolutely! If you are in a time crunch, buy a container of pre-cut brownies from the bakery section of your grocery store. You can skip the baking and cooling steps and go straight to the fun part—decorating the mummies!
Conclusion
These Halloween Mummy Brownies are proof that you don’t need to be a master baker to create something festive and fun. With just a few simple steps, you can turn a classic dessert into a spooky treat that everyone will love. They are chewy, chocolatey, and perfectly themed for the season. Give this easy recipe a try this October, and watch how quickly these little mummies disappear from the plate!
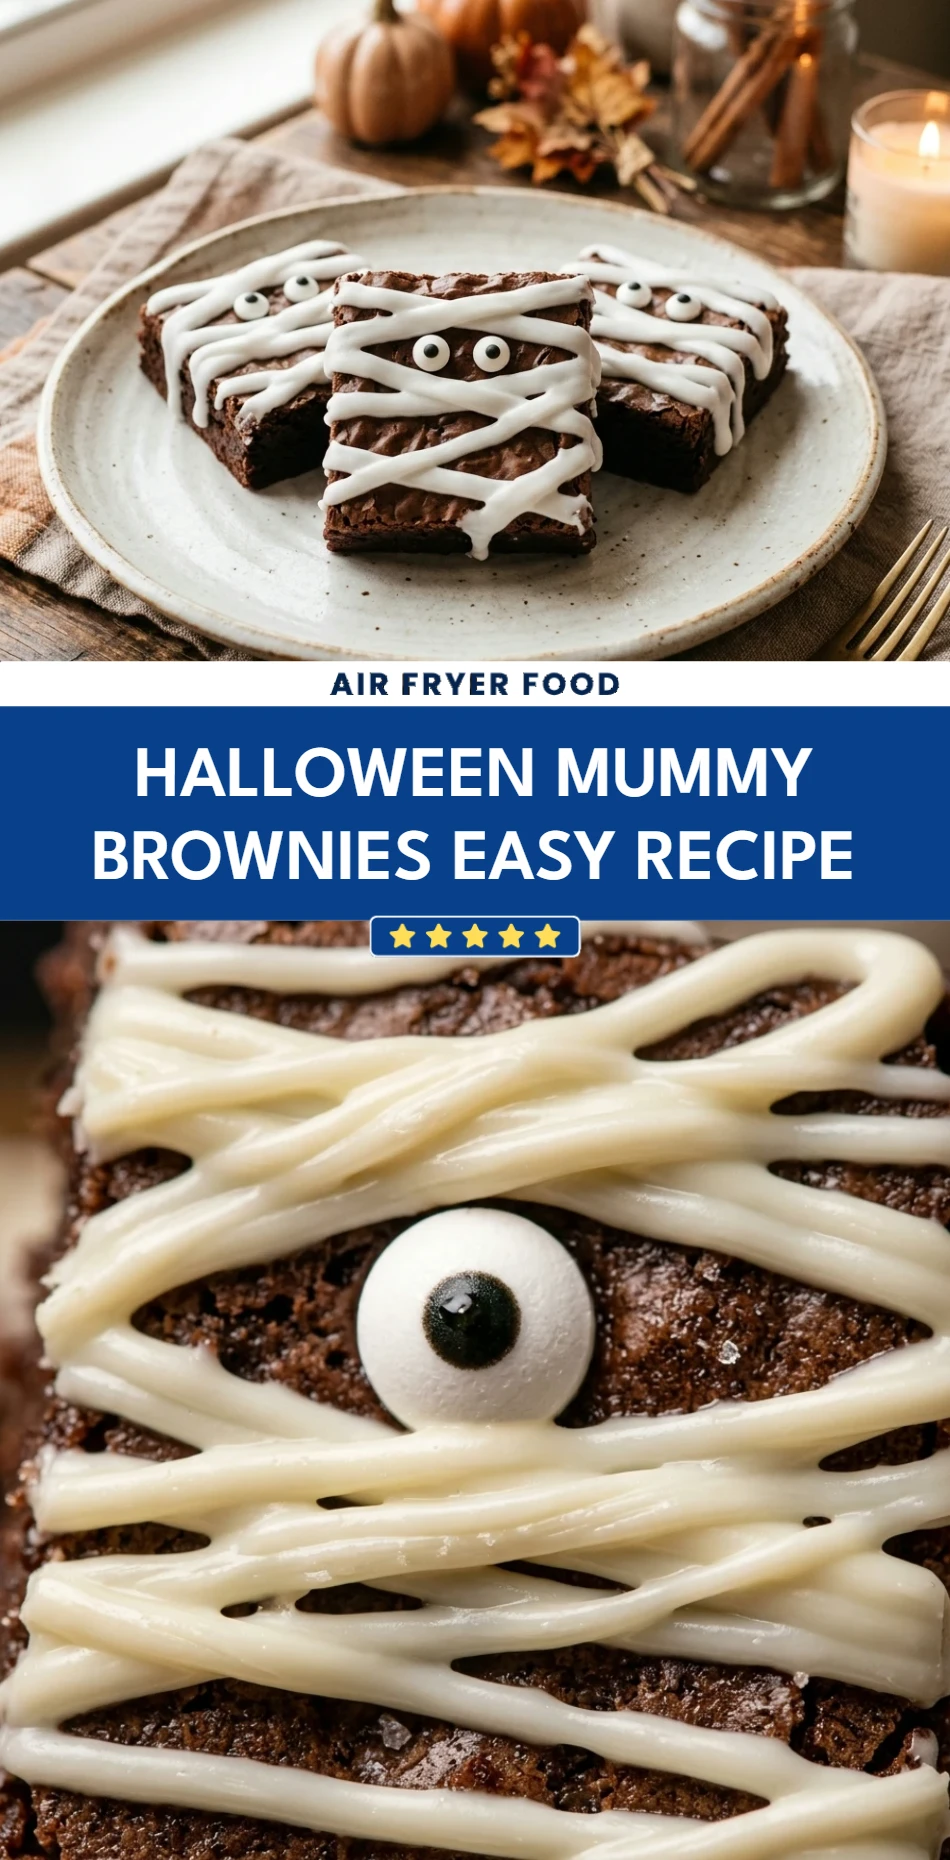
Halloween Mummy Brownies Easy Recipe
- Total Time: 40 minutes
- Diet: Vegetarian
Ingredients
- 1 box (18 oz) brownie mix (plus eggs, oil, and water as required by the box)
- 1 cup white chocolate chips or white vanilla frosting
- 1 teaspoon coconut oil (if using chocolate chips for melting)
- 24 edible candy eyes
- Optional: Black decorating gel for pupils
Instructions
- Preheat your oven according to the brownie mix instructions. Grease an 8×8 or 9×9 inch square baking pan or line it with parchment paper for easy removal. Prepare the brownie batter by mixing the dry mix with eggs, oil, and water. Pour the batter into the prepared pan and bake for 25 to 30 minutes. Ensure a toothpick inserted in the center comes out with just a few moist crumbs. Let the brownies cool completely in the pan before attempting to decorate.
- Once the brownies are entirely cool, lift them out of the pan using the parchment paper. Use a sharp knife to cut the block into 12 even rectangles. For cleaner cuts, wipe the knife blade between every slice. Space the brownies out on a piece of wax paper or a cooling rack so you have plenty of room to drizzle the “bandages” without them sticking together.
- Melt the white chocolate chips with a teaspoon of coconut oil in the microwave in 30-second intervals until smooth. Alternatively, put vanilla frosting into a piping bag fitted with a small flat petal tip or a simple round tip. Drizzle the white chocolate or frosting back and forth across each brownie rectangle in a zigzag motion, leaving a small gap near the top for the eyes. Immediately place two candy eyes in the gap before the chocolate sets. Allow the “bandages” to harden for about 15 minutes before serving.
- Cook Time: 40 minutes