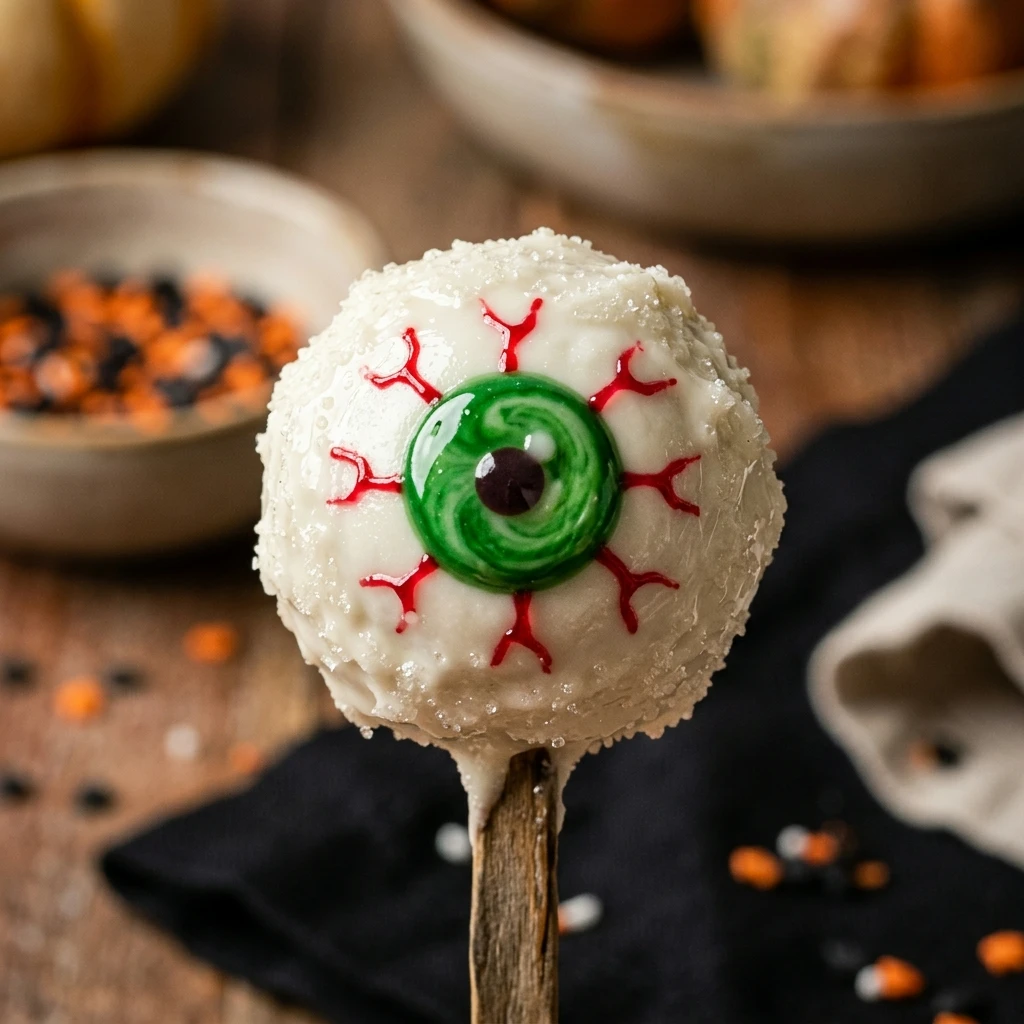
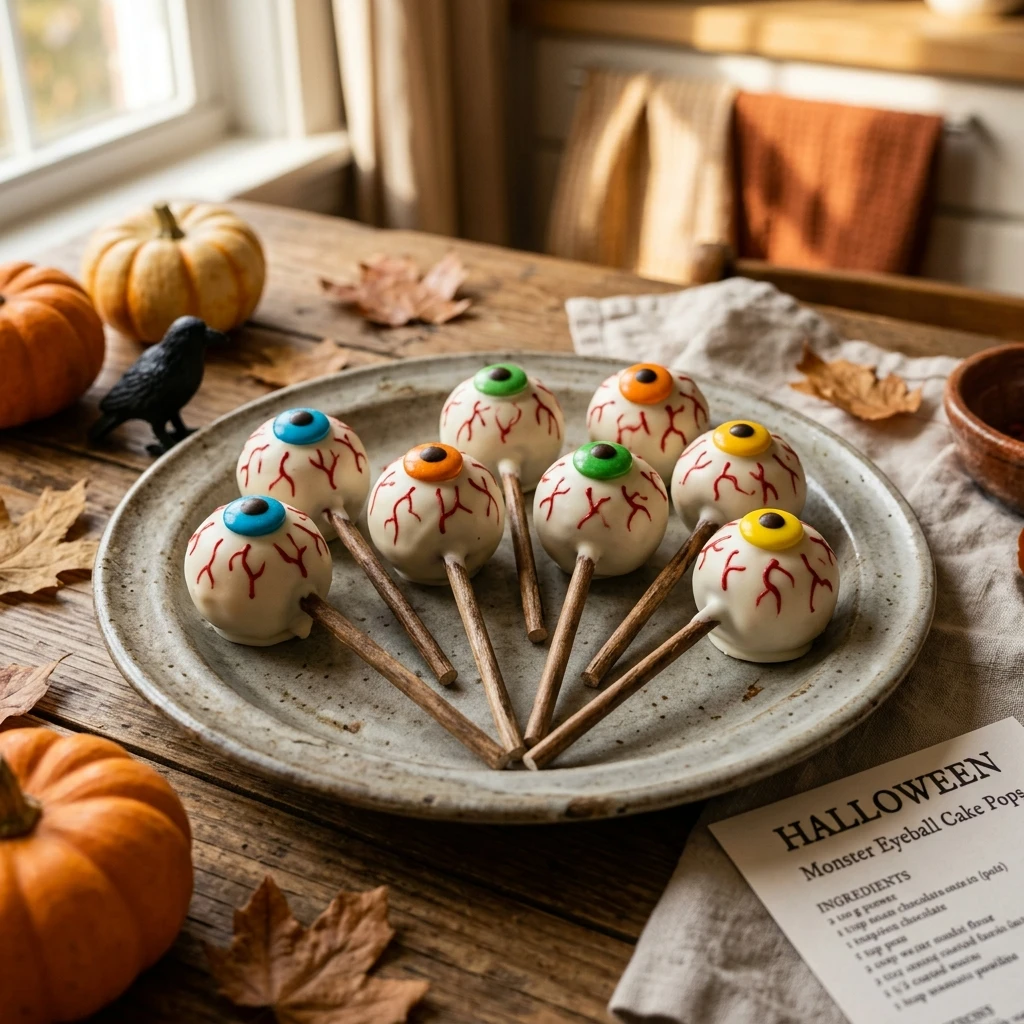
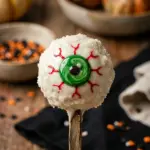
Halloween is the ultimate time to let your creativity run wild in the kitchen, and nothing captures the spooky spirit quite like these Halloween Monster Eyeball Cake Pops. These eerie treats are a total showstopper at parties, blending a rich, moist cake center with a crisp candy shell that “stares” back at you. Whether you are hosting a haunted house gathering or just want a fun weekend project with the kids, these cake pops are surprisingly easy to assemble. They strike the perfect balance between creepy and cute, making them a must-have addition to your holiday dessert spread. Get ready to watch these “eyes” disappear off the plate faster than you can say “Trick or Treat!”
Recipe Information
- Prep Time: 45 minutes
- Cook Time: 30 minutes
- Total Time: 75 minutes
- Servings: 20 cake pops
- Difficulty: Medium
Nutrition values
- Calories: 210 kcal
- Protein: 2g
- Carbs: 32g
Why Make This Halloween Monster Eyeball Cake Pops Recipe
These cake pops are more than just a sweet treat; they are an edible piece of art. Making them allows you to customize the colors and “intensity” of the monsters, ensuring no two eyeballs look exactly the same. They are also incredibly portable, making them the perfect handheld snack for guests of all ages. Since you can use a boxed cake mix as a shortcut, you save time on the baking process while still achieving a professional look with the decorations. Plus, they are a fantastic way to use up leftover cake if you have any from another project!
Ingredients
- 1 box (15.25 oz) chocolate or vanilla cake mix (plus ingredients required by the box)
- 1/2 cup vanilla or cream cheese frosting
- 12 oz bag white or light green candy melts
- 20 large candy eyeballs
- Red edible ink marker or red gel icing
- 1 tablespoon coconut oil or vegetable shortening (optional, for thinning chocolate)
- 20 lollipop sticks
- Styrofoam block or cake pop stand
Directions
Step 1: Bake and Cool the Cake
Prepare the cake mix according to the package instructions. Bake it in a standard 9×13 inch pan. Once the cake finishes baking, remove it from the oven and let it cool completely. It is vital that the cake is not warm, or the frosting will melt and create a greasy mess.
Step 2: Crumble and Mix
Once cooled, use your hands or a fork to crumble the cake into fine pieces in a large mixing bowl. Add the frosting one tablespoon at a time. Mix until the cake crumbs are moist enough to hold a shape when squeezed. Do not add too much frosting, or the pops will be too heavy and fall off the sticks.
Step 3: Roll and Chill
Scoop about one tablespoon of the mixture and roll it between your palms to create a smooth ball. Repeat this until all the mixture is used. Place the balls on a parchment-lined baking sheet and refrigerate for at least 30 minutes. Chilling firms up the cake balls so they stay intact during the dipping process.
Step 4: Dip and Secure
Melt a small amount of candy melts in a microwave-safe bowl. Dip the tip of a lollipop stick into the melted chocolate, then insert it halfway into a chilled cake ball. This acts as “glue.” Once all sticks are inserted, return the pops to the fridge for another 10 minutes to set the sticks firmly.
Step 5: Full Dip and Decorate
Melt the remaining candy melts, adding coconut oil if the mixture is too thick. Submerge each cake ball entirely into the chocolate, lifting it out and gently tapping the stick on the edge of the bowl to remove excess. Immediately press a candy eyeball into the center while the coating is still wet. Place the stick into a styrofoam block to dry.
Step 6: Add Bloodshot Details
Wait until the candy coating has completely hardened. Use a red edible ink marker or a toothpick dipped in red gel icing to draw squiggly “vein” lines radiating out from the candy eyeball. This gives the eyeballs a creepy, bloodshot look. Let them set completely before serving.
Expert Tips for Perfect Halloween Monster Eyeball Cake Pops Recipe
To ensure your cake pops look professional, always keep the cake balls cold. If they get too warm, they will lose their shape or slide down the stick when dipped in the warm chocolate. When dipping, move quickly but gently; avoid “stirring” the cake pop in the chocolate, as this can cause crumbs to break off into your smooth coating. If your chocolate is too thick, adding a tiny amount of shortening or coconut oil will make it much smoother and easier to work with. Lastly, use a tall, narrow glass for the melted chocolate so you can submerge the entire pop in one go.
Delicious Variations
- Red Velvet Interiors: Use a red velvet cake mix for a “gory” surprise when someone bites into the eyeball.
- Neon Monsters: Use purple, orange, or lime green candy melts instead of white for a more vibrant, monster-themed look.
- Flavor Infusion: Add a teaspoon of peppermint or orange extract to the cake crumble for a seasonal flavor boost.
- Glittery Eyes: Dust the wet chocolate with edible disco dust or sanding sugar before adding the eyeball for a magical shimmer.
Frequently Asked Questions
How long do these cake pops stay fresh?
You can store these cake pops in an airtight container in the refrigerator for up to 5 days. If you leave them at room temperature, they are best consumed within 2 days.
Can I make these in advance?
Yes! You can roll the cake balls and keep them in the fridge for 24 hours before dipping. You can also freeze the undipped balls for up to a month.
Why did my candy coating crack?
Cracking usually happens when there is a large temperature difference between the cold cake ball and the hot candy melts. Let your chilled cake balls sit at room temperature for a few minutes before dipping to reduce the shock.
Can I use homemade cake instead of a mix?
Absolutely. Any standard cake recipe works perfectly. Just ensure the cake is completely cooled before you start the crumbling process.
What is the best way to display them?
A styrofoam block wrapped in spooky fabric or a dedicated cake pop stand works best. You can also fill a jar with black jelly beans or sand to hold the sticks upright.
Conclusion
Halloween Monster Eyeball Cake Pops are the perfect blend of spooky aesthetics and delicious flavor. They are fun to make, even more fun to decorate, and guaranteed to be the star of any Halloween party. By following these steps and tips, you will create a treat that is as eye-catching as it is tasty. Don’t be afraid to experiment with different colors and “vein” patterns to make your monster eyeballs truly unique. Happy haunting and even happier baking!
Halloween Monster Eyeball Cake Pops Recipe
- Total Time: 1 hour 15 minutes
- Diet: Vegetarian
Ingredients
- 1 box (15.25 oz) chocolate or vanilla cake mix (plus ingredients required by the box)
- 1/2 cup vanilla or cream cheese frosting
- 12 oz bag white or light green candy melts
- 20 large candy eyeballs
- Red edible ink marker or red gel icing
- 1 tablespoon coconut oil or vegetable shortening (optional, for thinning chocolate)
- 20 lollipop sticks
- Styrofoam block or cake pop stand
Instructions
- Step 1: Bake and Cool the Cake
Prepare the cake mix according to the package instructions. Bake it in a standard 9×13 inch pan. Once the cake finishes baking, remove it from the oven and let it cool completely. It is vital that the cake is not warm, or the frosting will melt and create a greasy mess.
- Step 2: Crumble and Mix
Once cooled, use your hands or a fork to crumble the cake into fine pieces in a large mixing bowl. Add the frosting one tablespoon at a time. Mix until the cake crumbs are moist enough to hold a shape when squeezed. Do not add too much frosting, or the pops will be too heavy and fall off the sticks.
- Step 3: Roll and Chill
Scoop about one tablespoon of the mixture and roll it between your palms to create a smooth ball. Repeat this until all the mixture is used. Place the balls on a parchment-lined baking sheet and refrigerate for at least 30 minutes. Chilling firms up the cake balls so they stay intact during the dipping process.
- Step 4: Dip and Secure
Melt a small amount of candy melts in a microwave-safe bowl. Dip the tip of a lollipop stick into the melted chocolate, then insert it halfway into a chilled cake ball. This acts as “glue.” Once all sticks are inserted, return the pops to the fridge for another 10 minutes to set the sticks firmly.
- Step 5: Full Dip and Decorate
Melt the remaining candy melts, adding coconut oil if the mixture is too thick. Submerge each cake ball entirely into the chocolate, lifting it out and gently tapping the stick on the edge of the bowl to remove excess. Immediately press a candy eyeball into the center while the coating is still wet. Place the stick into a styrofoam block to dry.
- Step 6: Add Bloodshot Details
Wait until the candy coating has completely hardened. Use a red edible ink marker or a toothpick dipped in red gel icing to draw squiggly “vein” lines radiating out from the candy eyeball. This gives the eyeballs a creepy, bloodshot look. Let them set completely before serving.
- Cook Time: 75 minutes