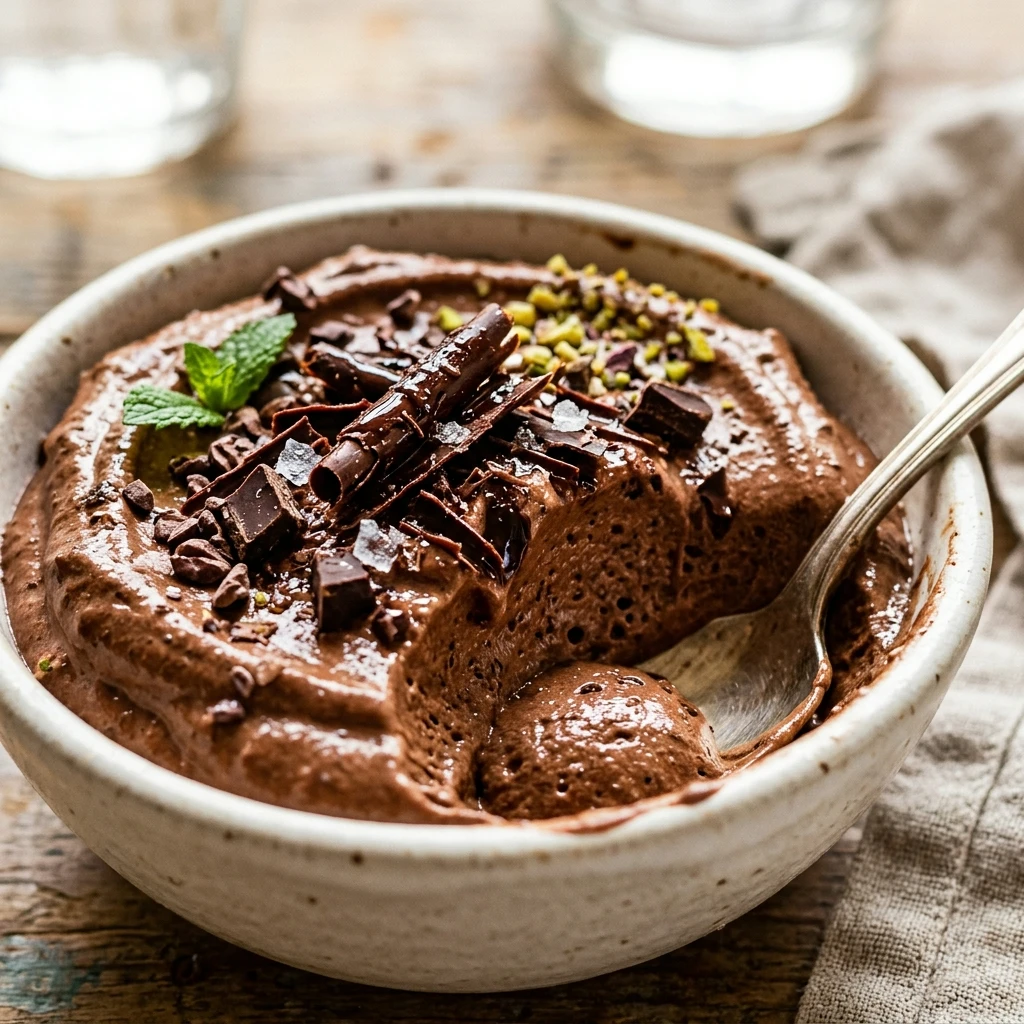
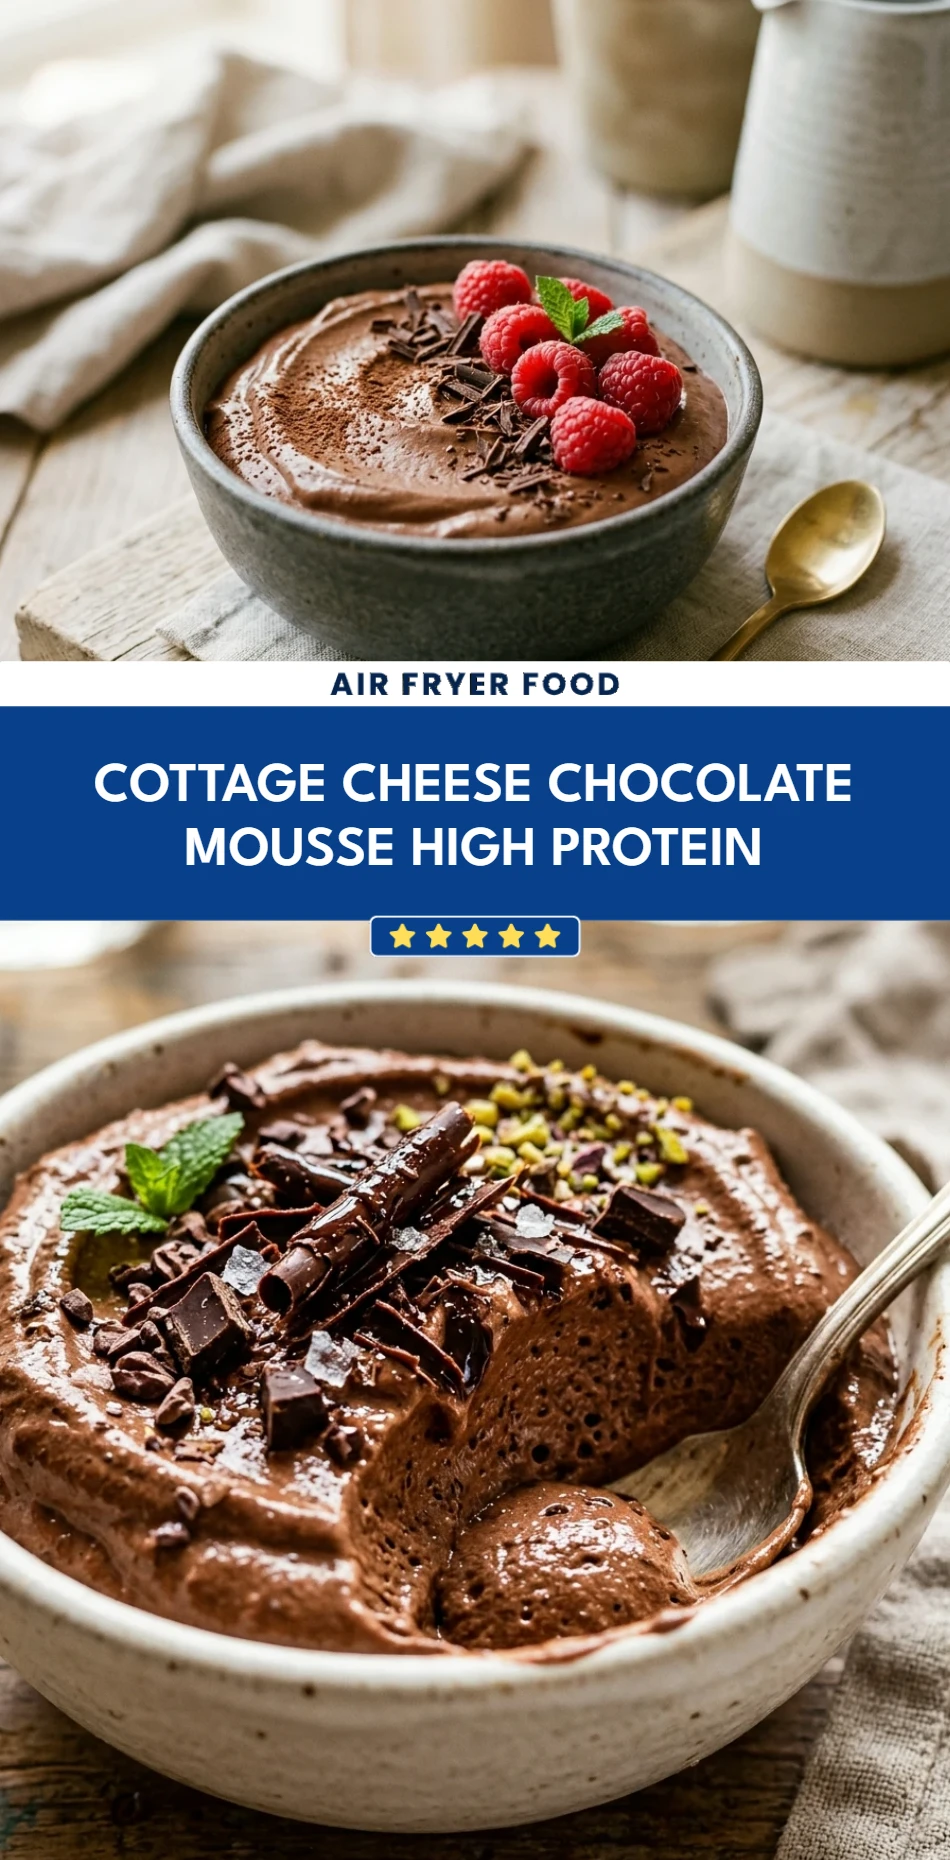
If you are skeptical about turning a tub of cottage cheese into a decadent, velvety dessert, prepare to be amazed. This Cottage Cheese Chocolate Mousse is the ultimate “guilt-free” treat that has taken the healthy food world by storm. It transforms the humble, chunky curd of cottage cheese into a silky, airy mousse that rivals any traditional French dessert. Packed with protein and naturally sweetened, it serves as the perfect post-workout snack or a late-night craving crusher that actually keeps you full. You won’t even taste the cheese—just pure, chocolatey bliss.
Recipe Information
- Prep Time: 5 minutes
- Cook Time: 0 minutes
- Total Time: 5 minutes
- Servings: 2 servings
- Difficulty: Easy
Nutrition values
- Calories: 215 kcal
- Protein: 22g
- Carbs: 16g
Why Make This Cottage Cheese Chocolate Mousse High Protein
This recipe is a game-changer for anyone looking to increase their protein intake without sacrificing flavor. Traditional mousse relies on heavy cream and eggs, which are delicious but high in fats and calories. By using cottage cheese as the base, you get a massive boost of casein protein, which digests slowly and keeps you satisfied for hours. It is incredibly easy to make, requires no cooking, and uses simple pantry staples. Whether you are a fitness enthusiast or just a busy parent looking for a healthier dessert for the kids, this mousse hits every mark.
Ingredients
- 16 oz (2 cups) Low-fat or full-fat cottage cheese
- 1/4 cup Unsweetened cocoa powder
- 3-4 tablespoons Maple syrup or honey (adjust to your sweetness preference)
- 1 teaspoon Pure vanilla extract
- A pinch of sea salt
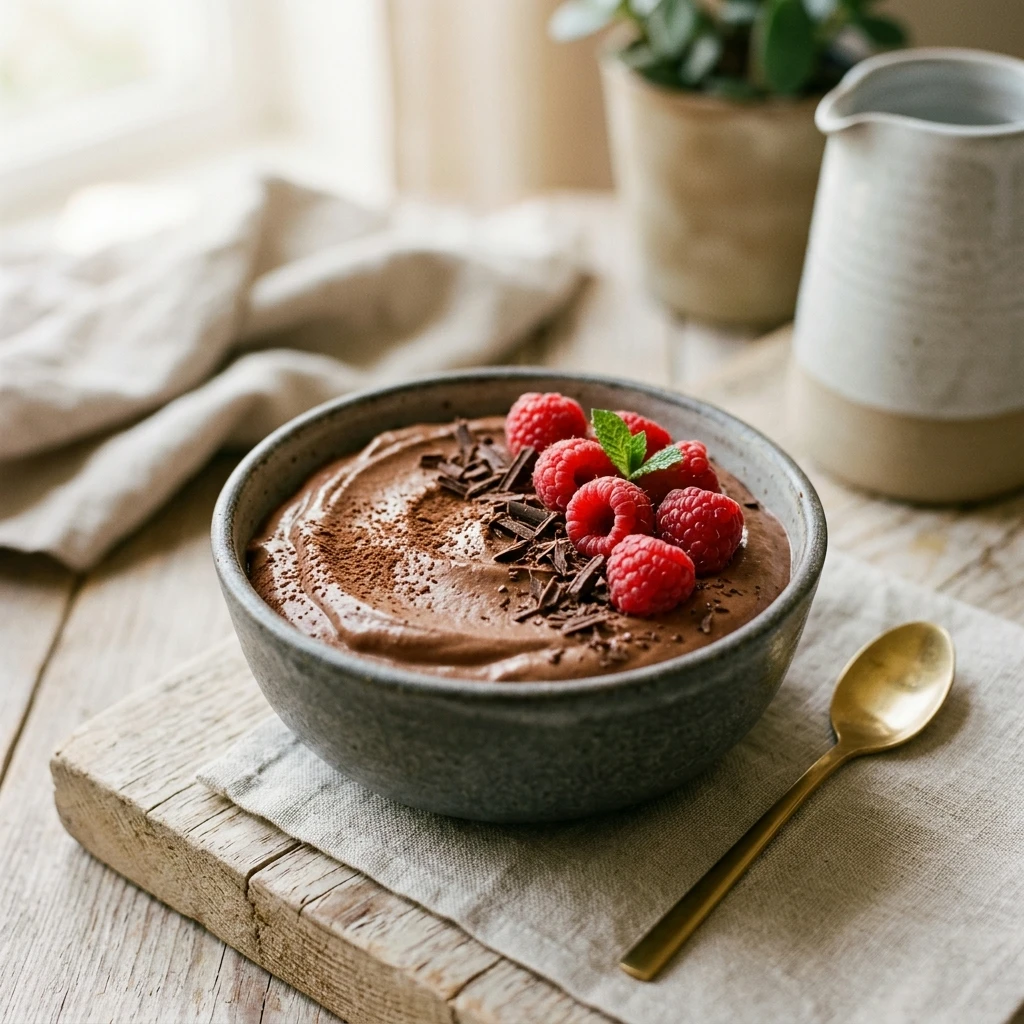
- Optional: Fresh berries, chocolate shavings, or crushed nuts for garnish
Directions
Step 1: Combine the Ingredients
Place the cottage cheese, unsweetened cocoa powder, maple syrup, vanilla extract, and a pinch of sea salt into a high-speed blender or a food processor. Ensure the cottage cheese is cold right from the fridge for the best initial consistency.
Step 2: Blend for Ultimate Smoothness
Process the mixture on high for about 60 to 90 seconds. Stop halfway through to scrape down the sides with a spatula to ensure every bit of cocoa powder is incorporated. Continue blending until the texture is completely smooth and no visible curds remain. The mixture should look glossy and thick.
Step 3: Chill and Set
Transfer the mousse into individual serving bowls or ramekins. While you can eat it immediately, the texture improves significantly if you let it chill in the refrigerator for at least 30 minutes. This allows the flavors to meld and the mousse to firm up into a classic, airy consistency. Top with your favorite garnishes before serving.
Expert Tips for Perfect Cottage Cheese Chocolate Mousse High Protein
For the best results, use a high-speed blender. A standard food processor works, but a powerful blender creates that truly whipped, professional-grade texture. If you find the mixture too thick to blend, add a teaspoon of almond milk to help it move. Additionally, using a high-quality cocoa powder or Dutch-processed cocoa will give you a deeper, richer chocolate flavor that masks the slight tang of the cottage cheese perfectly. If you want an even thicker “pudding” style, use full-fat (4%) cottage cheese.
Delicious Variations
- Peanut Butter Chocolate: Add one tablespoon of natural peanut butter to the blender for a Reese’s-style treat.
- Mocha Mousse: Mix in half a teaspoon of instant espresso powder to enhance the chocolate notes.
- Peppermint Crisp: Add a drop of peppermint extract and top with crushed sugar-free candy canes.
- Protein Powerhouse: Add half a scoop of your favorite chocolate protein powder for an even higher protein count.
Frequently Asked Questions
Does it actually taste like cottage cheese?
Surprisingly, no! Once blended thoroughly with the cocoa and sweetener, the salty, tangy flavor of the cheese disappears, leaving behind a neutral, creamy base that highlights the chocolate.
Can I make this dairy-free?
This specific recipe relies on cottage cheese for its structure and protein. For a dairy-free version, you would need to use a silken tofu base or a vegan cottage cheese alternative, though the protein content may vary.
How long does the mousse last in the fridge?
You can store this mousse in an airtight container in the refrigerator for up to 3 to 4 days. It is a great option for meal-prepping your snacks for the week.
Why is my mousse grainy?
Graininess usually happens if the blender isn’t powerful enough or if you didn’t blend it long enough. Continue processing until the mixture is perfectly liquid-smooth. If it still feels grainy, try adding a tiny splash of milk to help the blades work.
Can I freeze this recipe?
Yes! If you freeze it, it takes on a texture similar to chocolate frozen yogurt or fudge pops. It is a refreshing treat for hot summer days.
Conclusion
The Cottage Cheese Chocolate Mousse is a testament to how creative ingredients can transform healthy eating into a joyful experience. It is thick, creamy, and deeply satisfying without the sugar crash associated with traditional desserts. Give this recipe a try next time you need a quick protein fix or a sweet treat that aligns with your health goals. It is proof that you really can have your cake—or in this case, your mousse—and eat it too!

Cottage Cheese Chocolate Mousse High Protein
- Total Time: 5 minutes
- Diet: High-Protein, Vegetarian, Gluten-Free, Naturally Sweetened
Ingredients
- 16 oz (2 cups) Low-fat or full-fat cottage cheese
- 1/4 cup Unsweetened cocoa powder
- 3–4 tablespoons Maple syrup or honey (adjust to your sweetness preference)
- 1 teaspoon Pure vanilla extract
- A pinch of sea salt
- Optional: Fresh berries, chocolate shavings, or crushed nuts for garnish
Instructions
- Step 1: Combine the Ingredients
Place the cottage cheese, unsweetened cocoa powder, maple syrup, vanilla extract, and a pinch of sea salt into a high-speed blender or a food processor. Ensure the cottage cheese is cold right from the fridge for the best initial consistency.
- Step 2: Blend for Ultimate Smoothness
Process the mixture on high for about 60 to 90 seconds. Stop halfway through to scrape down the sides with a spatula to ensure every bit of cocoa powder is incorporated. Continue blending until the texture is completely smooth and no visible curds remain. The mixture should look glossy and thick.
- Step 3: Chill and Set
Transfer the mousse into individual serving bowls or ramekins. While you can eat it immediately, the texture improves significantly if you let it chill in the refrigerator for at least 30 minutes. This allows the flavors to meld and the mousse to firm up into a classic, airy consistency. Top with your favorite garnishes before serving.
- Cook Time: 5 minutes